
As the sun begins to warm the earth and flowers start to bloom, my kitchen transforms into a sanctuary of sweet aromas tempting my senses. These Spring Flower Cookies are my go-to treat that brings the essence of this vibrant season straight to the table. With their soft and tender texture, they not only make for delightful Easter treats but also add a pop of color to any gathering. Preparing these cookies is a breeze, making them an easy choice for busy home chefs looking to create memorable moments without the fuss. Plus, they are perfect for sharing—whether at a spring brunch or as a surprise for friends. Curious about how to bring a bit of that spring magic to your oven? Let’s dive into the recipe!
Why Make Spring Flower Cookies?
Joyful Baking Experience: The process is delightfully simple, making it perfect for both novice bakers and seasoned pros.
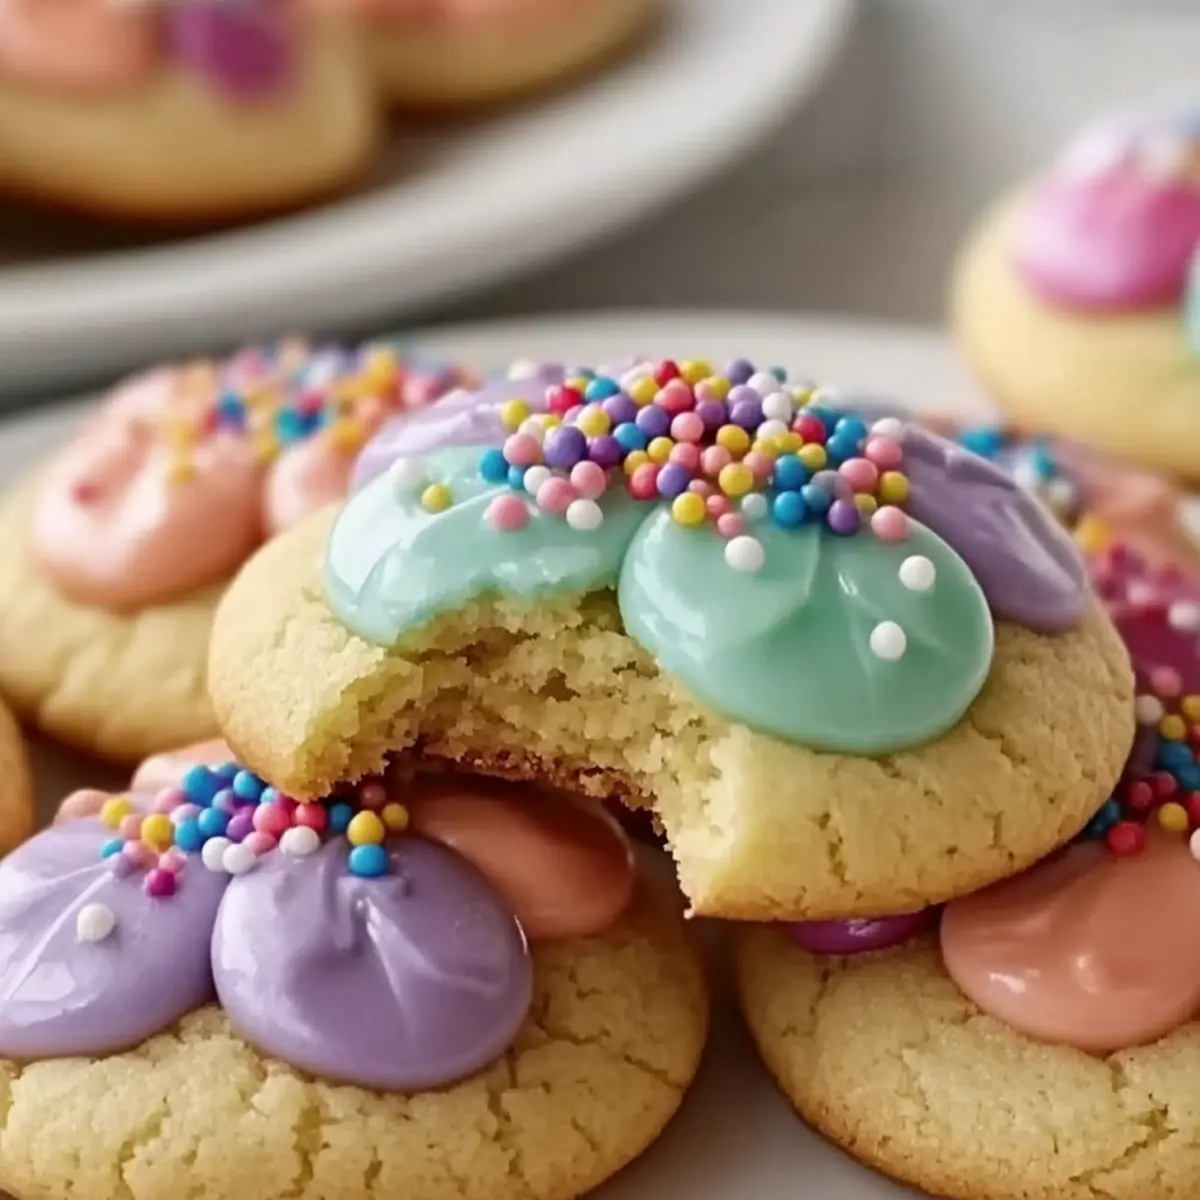
Colorful Presentation: Vibrant sprinkles turn these cookies into a visual treat, perfect for brightening up any gathering.
Versatile Ingredients: Swap out sprinkles for nuts or chocolate chips, allowing you to customize flavors to suit your palate.
Crowd-Pleasing Sweetness: These cookies are a hit with friends and family, ideal for brunch or just a sweet afternoon pick-me-up.
Make-Ahead Convenience: Bake them ahead of time and freeze for later enjoyment—who doesn’t love having delicious cookies at the ready?
Whether you’re enjoying a sunny afternoon or hosting a festive gathering, these Spring Flower Cookies are guaranteed to impress. For another delightful treat, check out my Peanut Butter Cookies.
Spring Flower Cookies Ingredients
For the Cookies
- All-purpose flour – Provides the necessary structure; you can swap it with cake flour for a more tender bite.
- Baking soda – Essential for leavening, helping the cookies rise beautifully in the oven.
- Salt – Enhances flavor, ensuring that the sweetness pops.
- Unsalted butter (8 tbsp) – Adds richness and moisture; make sure it’s softened for easy mixing.
- Granulated sugar (3/4 cup) – Provides sweetness; coconut sugar can be used for a unique flavor twist.
- Large eggs (2) – Binds the ingredients together and adds moisture; consider flax eggs for a vegan option.
- Vanilla extract (1 tbsp) – Infuses aromatic flavor, making the cookies even more delightful.
- Colorful sprinkles – Adds fun and visual appeal; they can be easily exchanged for chocolate chips or nuts to vary the recipe.
These ingredients come together to create the charming and delicious Spring Flower Cookies that will bring warmth and joy to any table.
Step‑by‑Step Instructions for Spring Flower Cookies
Step 1: Preheat the Oven
Begin by preheating your oven to 180°C (350°F). This initial step ensures that your Spring Flower Cookies will bake evenly. While the oven is heating up, you can gather your baking sheets and line them with parchment paper, creating a non-stick surface for your delightful cookies.
Step 2: Mix the Dry Ingredients
In a medium bowl, combine all-purpose flour, baking soda, and salt. Whisk these dry ingredients together until they’re well mixed. This will ensure an even distribution of the baking soda and salt throughout your cookie dough, which is crucial for achieving that perfect texture in your Spring Flower Cookies.
Step 3: Cream Butter and Sugar
In a separate large mixing bowl, cream together the softened unsalted butter and granulated sugar using an electric mixer on medium speed. Beat until the mixture is light and fluffy, about 3-4 minutes. This step is vital as it incorporates air into the mixture, helping your cookies rise beautifully and become wonderfully tender.
Step 4: Add Eggs
Next, add the large eggs one at a time to your butter-sugar mixture. Mix well after each addition until fully incorporated. This will help bind the ingredients together and impart moisture to your Spring Flower Cookies. Don’t forget to scrape down the sides of the bowl to ensure everything is well combined.
Step 5: Incorporate Vanilla Extract
Pour in the vanilla extract and mix again until fully incorporated. This simple yet impactful addition elevates the flavor of your cookies, providing a delightful aroma as the cookies bake. The warm, sweet scent will start to fill your kitchen, enhancing the anticipation for these spring treats.
Step 6: Combine Wet and Dry Ingredients
Gradually add the dry mixture into the wet ingredients, stirring gently until just combined. Be careful not to over-mix the dough, as this can lead to tougher cookies. Aim for a soft, slightly sticky consistency that signals your dough is ready for the next step in making these cheerful Spring Flower Cookies.
Step 7: Fold in Colorful Sprinkles
Now it’s time to add the colorful sprinkles! Gently fold them into your cookie dough using a spatula or wooden spoon, ensuring an even distribution without deflating the mixture. The sprinkles will not only enhance the visual appeal of your cookies but also add a joyful crunch with every bite.
Step 8: Form the Cookies
Using a cookie scoop or your hands, form small balls of dough, approximately 1-2 inches in diameter. Place them on the prepared baking sheet, spacing them about 2 inches apart to allow for spreading during baking. This step will help your Spring Flower Cookies achieve that lovely round shape.
Step 9: Bake the Cookies
Slide the cookie sheet into your preheated oven and bake for 10-12 minutes, or until the edges are lightly golden. Keep an eye on them, as this golden hue is a key sign that your Spring Flower Cookies are perfectly baked. The centers will appear soft and slightly underbaked, which is ideal for that tender texture.
Step 10: Cool and Enjoy
Once baked, remove the cookies from the oven and let them cool on the baking sheet for about 5 minutes. This allows them to set before transferring them to a wire rack for complete cooling. Once cooled, your Spring Flower Cookies are ready to be enjoyed, offering a delightful taste of springtime in each bite.

Spring Flower Cookies Variations & Substitutions
Feel free to get creative with these delightful cookies—with just a few tweaks, you can customize them to suit your tastes and dietary needs!
-
Dairy-Free: Substitute unsalted butter with coconut oil or dairy-free butter for a completely dairy-free version. This change retains that rich texture while accommodating lactose sensitivities.
-
Vegan: Replace the eggs with flax eggs (1 tablespoon ground flaxseed + 2.5 tablespoons water for each egg) or a commercial egg replacer. Your cookies will still come out soft and delightful!
-
Gluten-Free: Use a gluten-free all-purpose flour blend in place of regular flour. Just ensure it contains xanthan gum for the best texture and structure. These cookies will still have that wonderful flavor!
-
Citrus Zing: Add 1 tablespoon of lemon or orange zest to the dough for a refreshing burst of flavor. This twist brings a sunny brightness that complements spring beautifully.
-
Nutty Crunch: Incorporate 1/2 cup of chopped nuts (like walnuts or almonds) instead of or in addition to sprinkles for a crunchy texture. The nuts add a delicious depth to the sweetness.
-
Chocolate Lovers: Switch out colorful sprinkles for chocolate chips or even mini M&Ms for a rich, indulgent take. You just can’t go wrong with chocolate!
-
Spicy Touch: Sprinkle in a pinch of cinnamon or cardamom for a warm spiced flavor that adds sophistication. This unexpected twist can make your cookies a new favorite.
-
Seasonal Swaps: Experiment with swapping out sprinkles for crushed candy canes during the holidays or seasonal-themed candies for different celebrations! Just envision the fun variations for each season.
Feel inspired to try these variations, and for another sweet option to share, check out my delightful Peanut Butter Cookies. Your spring gatherings will never be the same!
Tips for the Best Spring Flower Cookies
-
Perfect Butter Temperature: Ensure the unsalted butter is at room temperature. This facilitates easier mixing and leads to a lighter, fluffier texture in your cookies.
-
Avoid Over-Mixing: When combining the dry and wet ingredients, mix until just combined. Over-mixing can develop gluten, resulting in tougher Spring Flower Cookies.
-
Adjust Baking Time: Depending on the size of your cookie dough balls, you may need to adjust the baking time. Larger cookies will require additional time, while smaller ones will bake quicker.
-
Cool on the Sheet: Allow cookies to cool on the baking sheet for a few minutes before transferring them to a wire rack. This helps them set properly and prevents breaking.
-
Store with Care: Store your cookies in an airtight container at room temperature. They stay fresh for 3-5 days, but for longer shelf life, freeze them for later enjoyment.
What to Serve with Spring Flower Cookies?
As you prepare these delightful treats, consider pairing them with complementary dishes that elevate every bite to new heights.
- Creamy Lemon Curd: A tangy and smooth lemon curd perfectly balances the sweetness of the cookies, adding a refreshing zest.
- Whipped Cream Topping: Fluffy whipped cream pairs beautifully with the cookies, creating a light and airy dessert that feels indulgent yet effortless.
- Fresh Berry Medley: A mix of strawberries, blueberries, and raspberries brings a burst of freshness, offering a bright contrast in flavor and color.
- Iced Tea Lemonade: This refreshing drink, combining sweet iced tea and tangy lemonade, adds a delightful hint of sweetness to your cookie experience.
- Chocolate Dipping Sauce: For those who crave a touch of decadence, serve with a warm chocolate dipping sauce to elevate the flavor profile of the cookies.
- Cheesecake Squares: Small, rich cheesecake squares provide a creamy, luxurious treat that complements the soft texture of the cookies for a delightful dessert spread.
- Mint-infused Sparkling Water: For a refreshing non-alcoholic option, this drink adds a light, bubbly touch with a hint of mint, perfect for spring celebrations.
How to Store and Freeze Spring Flower Cookies
Room Temperature: Store in an airtight container at room temperature for up to 3-5 days to keep your Spring Flower Cookies fresh and soft.
Freezer: For longer storage, freeze the cookies in a single layer on a baking sheet, then transfer to a freezer-safe bag for up to 2 months.
Thawing: When ready to enjoy, simply thaw cookies at room temperature for about 15-20 minutes.
Reheating: If you prefer warm cookies, pop them in a preheated oven at 180°C (350°F) for 5 minutes, bringing back that freshly-baked goodness!
Make Ahead Options
These Spring Flower Cookies are a fantastic choice for busy home cooks looking to save time! You can prepare the dough up to 24 hours in advance by mixing all the ingredients, forming the cookie balls, and placing them on a baking sheet lined with parchment paper. Cover the tray tightly with plastic wrap and refrigerate. When you’re ready to bake, simply preheat the oven and bake the chilled cookies straight from the fridge, adding an extra minute or two to the baking time. For longer storage, freeze the formed dough balls for up to 3 months. When ready to enjoy, thaw at room temperature and bake as directed for that fresh-baked goodness you love in your Spring Flower Cookies!

Spring Flower Cookies Recipe FAQs
How do I choose ripe ingredients for Spring Flower Cookies?
Absolutely! When selecting ingredients, the most crucial is the butter. Make sure your unsalted butter is softened to room temperature; this is key for achieving a creamy, fluffy mixture. Eggs should be fresh to ensure maximum moisture—if you’re aiming for a vegan version, opt for flax eggs made from 1 tablespoon of ground flaxseed mixed with 2.5 tablespoons of water, set aside for 5 minutes to thicken.
How should I store my Spring Flower Cookies?
Very simple! Keep your Spring Flower Cookies in an airtight container at room temperature for up to 3 to 5 days. This will help maintain their softness and flavor. Just remember to let them cool completely before storing to avoid moisture build-up!
Can I freeze Spring Flower Cookies?
Yes, you can! To freeze, place the cookies in a single layer on a baking sheet, ensuring they are not touching, and freeze for about 1-2 hours. Once they are firm, transfer them to a freezer-safe bag or container. They can last for up to 2 months. For best quality, label the bag with the date so you can keep track.
What if my cookies spread too much during baking?
Don’t worry, it happens! If your cookies spread too much, try chilling the dough in the fridge for about 30 minutes before baking. This helps the butter firm up again, which will reduce spreading. Also, ensure you’re measuring your flour correctly; using too little can lead to overly flat cookies.
Are there any allergy considerations for Spring Flower Cookies?
Absolutely! If you’re baking for someone with allergies, you can make several substitutions. Use coconut sugar instead of granulated sugar for a different flavor and to avoid refined sugar. For a nut-free version, ensure that your colorful sprinkles are made in a nut-free facility. Additionally, for people with egg allergies, flax eggs mentioned earlier are an excellent alternative.
How can I make these cookies dairy-free?
It’s easy! Simply substitute the unsalted butter with a dairy-free margarine or coconut oil. Just make sure to use unsweetened coconut oil for a cleaner flavor. If you opt for margarine, be sure to choose one that doesn’t contain any dairy ingredients. This way, you can still enjoy these delightful Spring Flower Cookies without the dairy!

Spring Flower Cookies That Bring Spring to Your Table
Ingredients
Equipment
Method
- Preheat your oven to 180°C (350°F). Line baking sheets with parchment paper.
- In a medium bowl, whisk together the all-purpose flour, baking soda, and salt.
- Cream the softened butter and granulated sugar until light and fluffy.
- Add the large eggs one at a time, mixing well after each addition.
- Incorporate the vanilla extract and mix again until fully combined.
- Gradually add the dry ingredients to the wet ingredients and stir gently until just combined.
- Fold in the colorful sprinkles using a spatula, ensuring even distribution.
- Form small balls of dough, approximately 1-2 inches in diameter, and place them on the baking sheet.
- Bake for 10-12 minutes or until the edges are lightly golden. The centers should appear soft.
- Cool on the baking sheet for about 5 minutes before transferring to a wire rack to cool completely.
Leave a Reply