
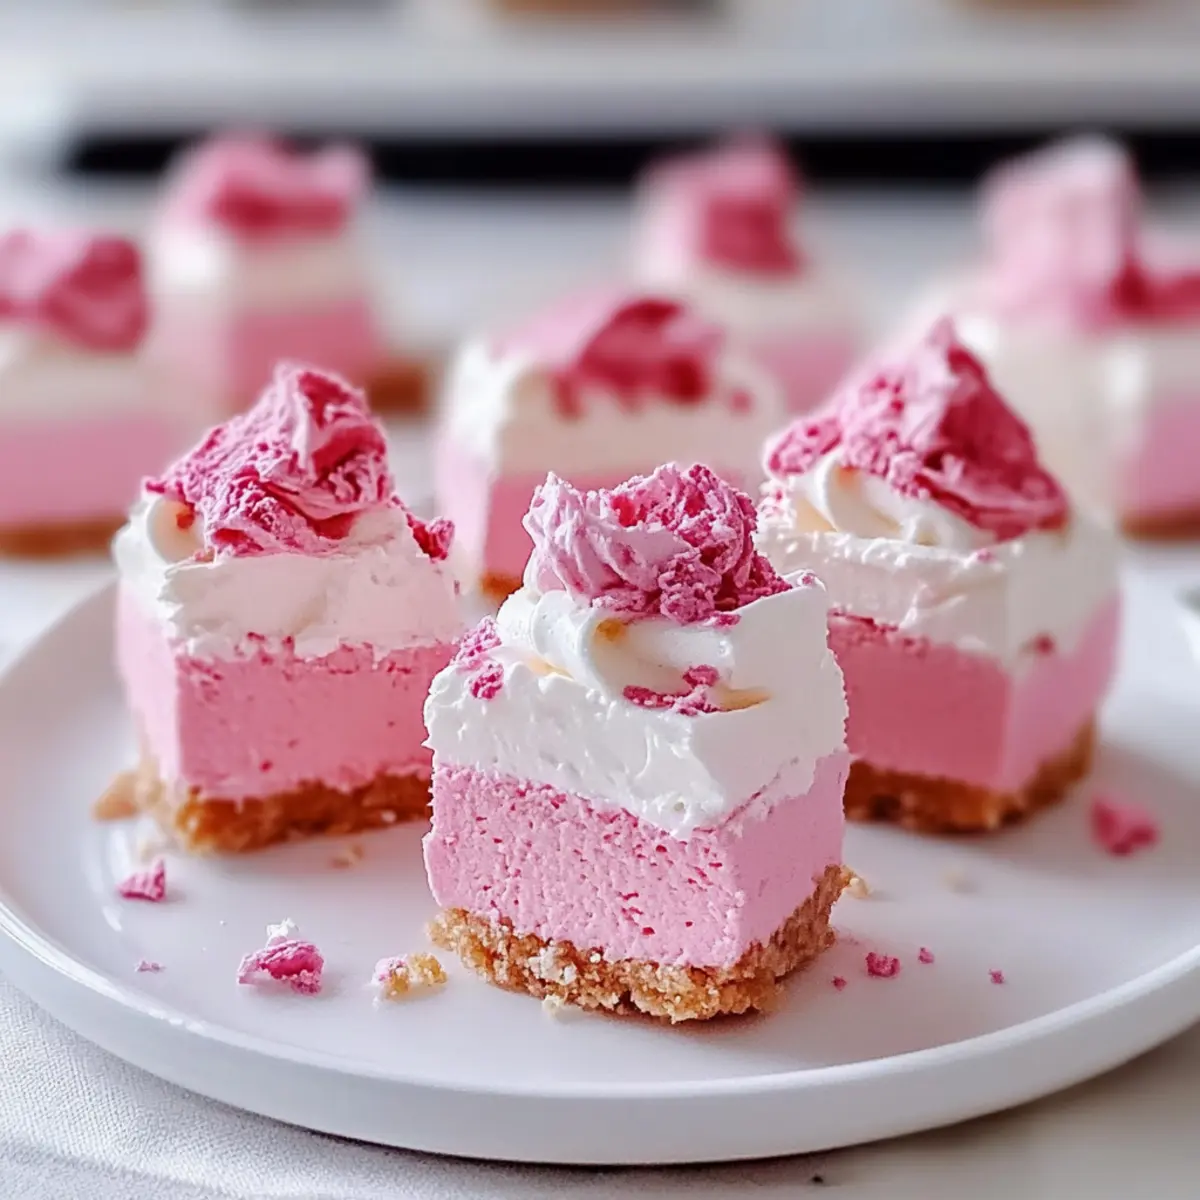
The moment I whipped up my first batch of No-Bake Pink Velvet Cheesecake Bites, a wave of delight washed over me. These cute little gems are not only visually stunning with their rosy hue but also serve as a decadent solution for anyone craving a sweet escape without the hassle of baking. The beauty of this recipe lies in its simplicity—effortless preparation combined with customizable flavors make it the ideal dessert for any occasion. Whether you’re hosting a party or simply treating yourself on a cozy afternoon, these bites promise creamy, dreamy indulgence in every mouthful. Plus, you can easily adjust the recipe to match your taste buds, whether it’s a chocolate swirl or a fruity fusion! Are you ready to create a confection that’s sure to impress?
Why Are These Cheesecake Bites Irresistible?
Customization at Its Best: The recipe allows you to mix and match flavors like chocolate swirl or fruit fusion, catering to any palate.
No-Bake Wonder: Skip the oven and still create a show-stopping dessert with minimal time and effort!
Perfect for Any Occasion: Whether it’s a birthday, holiday, or just a sweet treat for yourself, these bites fit seamlessly into any celebration.
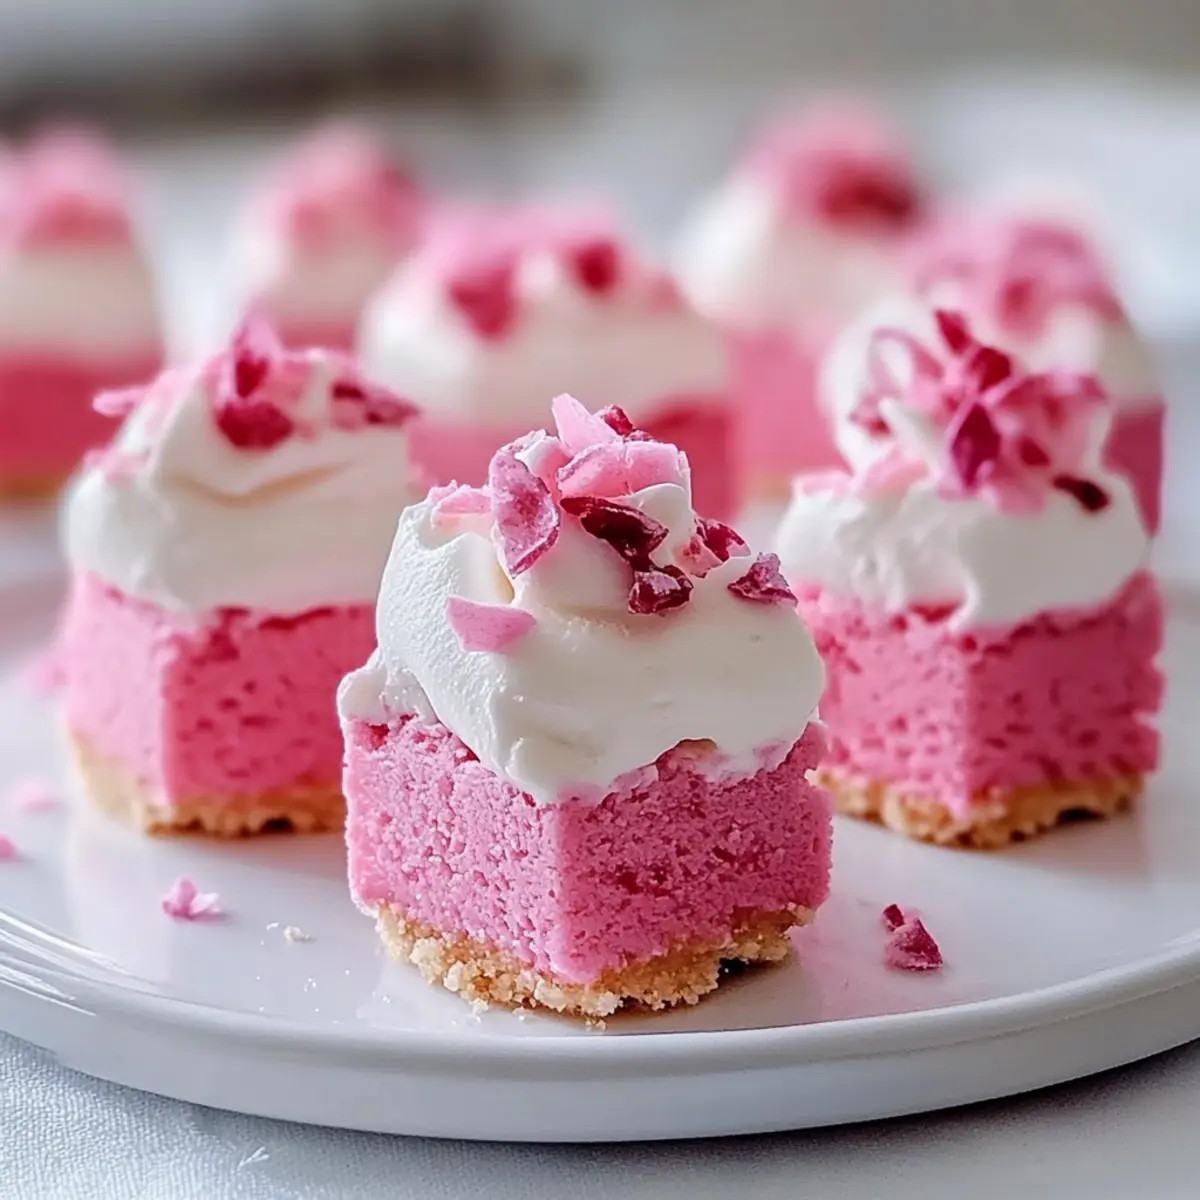
Light and Creamy: Enjoy a guilt-free indulgence with a rich, velvety texture that melts in your mouth.
Easy Prep and Storage: With straightforward instructions, you can whip these up in no time and store them effortlessly for later enjoyment.
When you’re in the mood for a delightful, homemade dessert, don’t forget to check out my Strawberry Cheesecake Protein for a nutritious twist on flavors!
Pink Velvet Cheesecake Bites Ingredients
For the Crust
• Graham Crackers – Use finely crushed graham crackers to create a sturdy base for your cheesecake bites.
• Unsalted Butter (or Coconut Oil) – Melted butter binds the crust together; coconut oil offers a dairy-free option.
• Sugar – Sweetens the crust; you can reduce the amount or substitute with a sweetener of your choice if desired.
For the Filling
• Cream Cheese – Ensures a rich and creamy filling; let it sit at room temperature for best results.
• Sugar – Balances the creaminess of the filling; feel free to use stevia for a lighter version.
• Vanilla Extract – Enhances the flavor profile; opt for pure vanilla for a deeper taste.
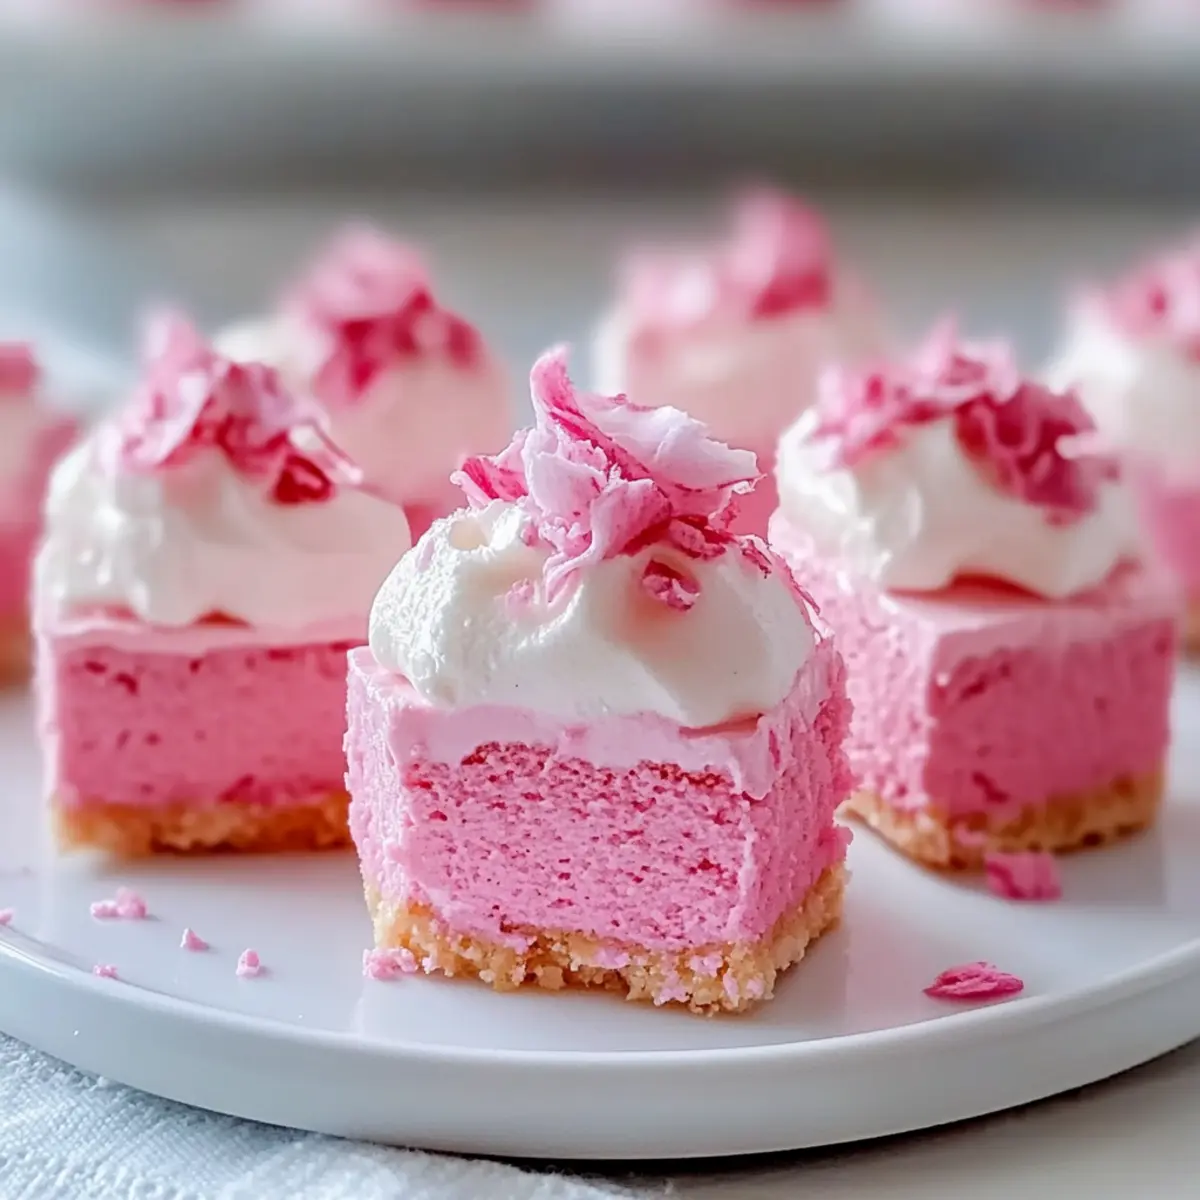
• Pink Food Coloring – Adjust the quantity for your preferred shade of pink; it makes these bites as adorable as they are delicious.
For the Topping (optional)
• Fresh Berries – Add a pop of color and freshness; strawberries or raspberries work beautifully.
• Edible Glitter – For an extra touch of fun; it makes these cheesecake bites festive and eye-catching.
Each ingredient plays a vital role in crafting these delightful Pink Velvet Cheesecake Bites, ensuring they’re not only delicious but also customizable!
Step‑by‑Step Instructions for Pink Velvet Cheesecake Bites
Step 1: Prepare the crust
Start by preheating your oven to 350°F (if you’re toasting the graham cracker crumbs for an extra crunch). Crush the graham crackers into fine crumbs using a food processor. In a bowl, combine the crumbs with melted butter and sugar until the mixture resembles damp sand. Press this mixture firmly into a lined baking pan to create a sturdy crust, smoothing it evenly across the bottom.
Step 2: Make the cheesecake filling
In a large mixing bowl, beat the room-temperature cream cheese with an electric mixer until it’s smooth and creamy, about 2 minutes. Gradually add in the sugar and vanilla extract, mixing until fully combined. Incorporate the pink food coloring, adjusting the amount to achieve your desired vibrant shade, creating a delightful mix that embodies the essence of Pink Velvet Cheesecake Bites.
Step 3: Combine the mixtures
In a separate bowl, whip the cream until soft peaks form; this will add lightness to your filling. Gently fold the whipped cream into the cheesecake mixture using a spatula, being careful not to overmix. This step ensures that your cheesecake filling remains fluffy and airy, setting the stage for those luxurious Pink Velvet Cheesecake Bites.
Step 4: Chill for perfect texture
Spread the luscious cheesecake mixture evenly over the prepared crust. Use a spatula to smooth the top, creating an even surface. Cover the baking pan with plastic wrap and refrigerate for at least 4 hours, or overnight if time permits, allowing the cheesecake bites to set properly. This step is crucial for achieving that perfect bite when you’re ready to serve.
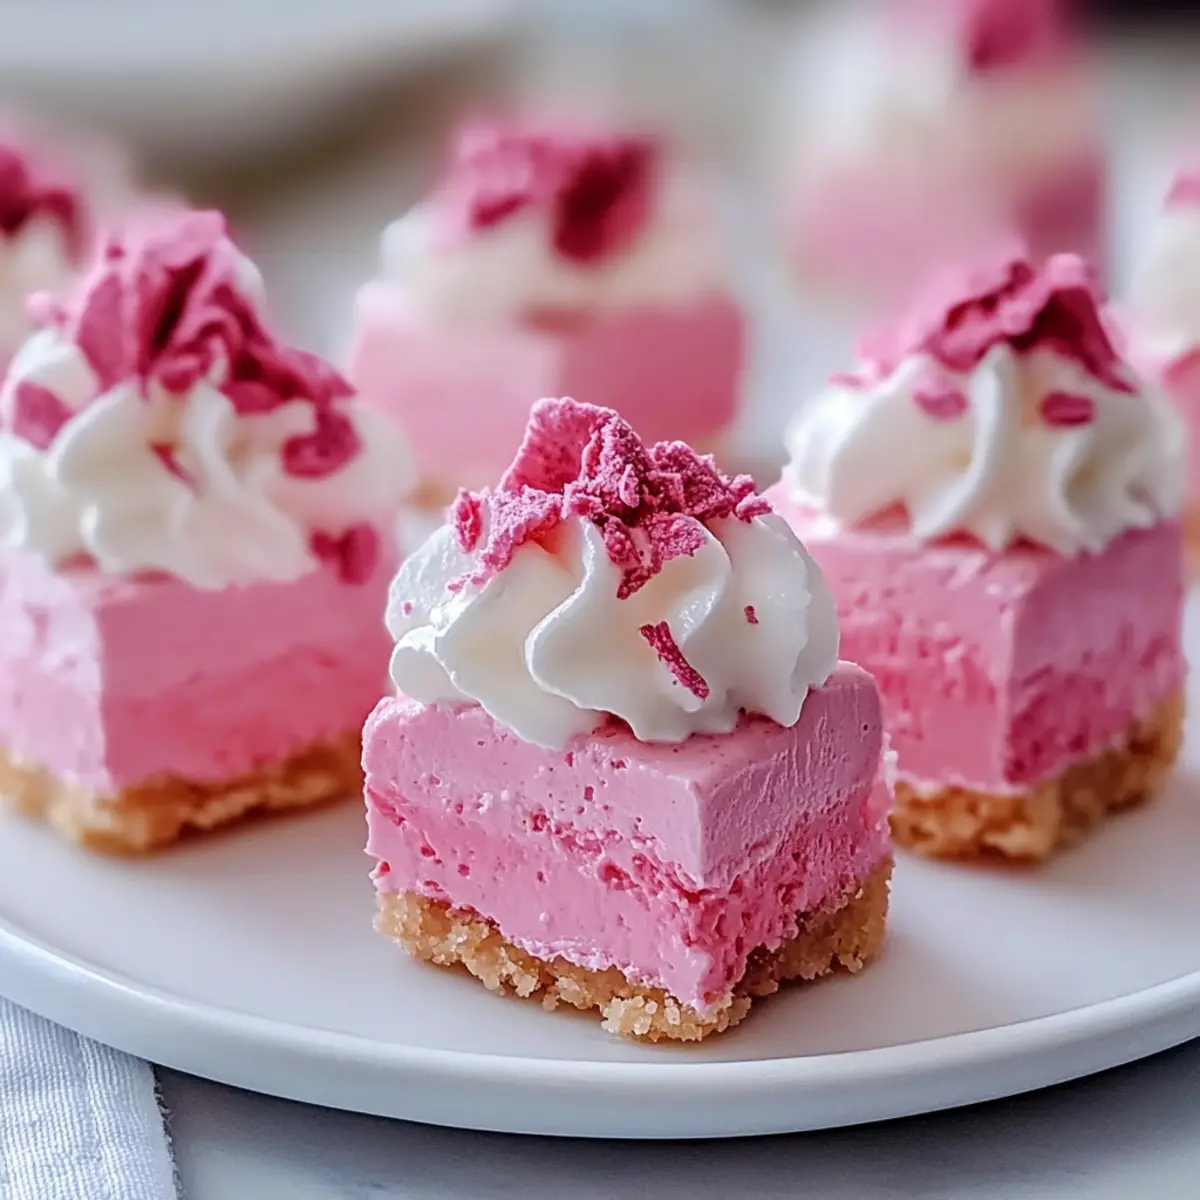
Step 5: Serve and garnish
Once the cheesecake has fully set, remove it from the refrigerator. Using a sharp knife, cut the chilled mixture into bite-sized squares for easy serving. For an extra touch of flair, consider garnishing the Pink Velvet Cheesecake Bites with fresh berries or a sprinkle of edible glitter, making them visually stunning for any occasion and elevating your dessert presentation.
Make Ahead Options
These No-Bake Pink Velvet Cheesecake Bites are perfect for meal prep enthusiasts! You can create the crust and filling up to 24 hours in advance, allowing for a hassle-free dessert preparation. To do this, prepare the crust and fill a lined baking pan, then refrigerate it overnight. When you’re ready to serve, simply make the cheesecake filling, spread it on top, and chill for at least 4 hours (or overnight for a firmer texture) until everything is set and ready to enjoy. This method not only saves time on busy day but also ensures your bites taste just as delicious the next day!
Pink Velvet Cheesecake Bites Variations
Feel free to explore different flavors and textures that will perfectly complement your Pink Velvet Cheesecake Bites!
- Chocolate Swirl: Drizzle in melted chocolate before chilling for a decadent twist. The rich chocolate complements the creamy cheesecake beautifully!
- Fruit Fusion: Add pureed strawberries or raspberries for a fruity flavor boost and a vibrant color gradient. Enjoy the freshness with a bright berry swirl that’s as delightful to look at as it is to taste!
- Nutty Crunch: Mix in crushed nuts or granola for an added crunch. Just imagine biting into the creamy filling and encountering those delightful, crunchy surprises!
- Coconut Bliss: Include shredded coconut in the crust or filling for a tropical adventure. The sweet coconut takes these bites to a whole new level of deliciousness!
- Spice It Up: Incorporate a pinch of cinnamon or nutmeg for extra warmth. These comforting spices can elevate your cheesecake bites, making them perfect for cozy gatherings.
- Dairy-Free: Substitute cream cheese with a vegan cream cheese alternative and use coconut oil in the crust to keep it plant-based. You won’t miss the dairy when you taste how creamy and luscious these bites still turn out!
- Caramel Drizzle: Top with a luscious caramel sauce for a sweet and salty flavor combination. The sticky, warm caramel adds a delightful finish to each bite!
- Matcha Infusion: Mix in matcha powder for an earthy twist and a beautiful green hue. The unique flavor profile of matcha creates a sophisticated take on these delicious bites.
If you’re feeling adventurous, don’t forget to try my Blueberry Lemon Cheesecake for another burst of flavors that will brighten your dessert table!
How to Store and Freeze Pink Velvet Cheesecake Bites
Fridge: Store your cheesecake bites in an airtight container in the refrigerator for up to 5 days, ensuring they stay fresh and delicious.
Freezer: To enjoy these treats later, freeze them for up to 2 months. Wrap each bite in plastic wrap before placing them in a freezer-safe container.
Thawing: When you’re ready to indulge, simply thaw the frozen Pink Velvet Cheesecake Bites in the refrigerator overnight for the best texture and flavor.
Reheating: There’s no need to reheat these bites—serve them chilled for the ultimate creamy experience!
What to Serve with Pink Velvet Cheesecake Bites
Bring the delight of homemade desserts to your table by pairing these bites with tantalizing accompaniments.
- Fresh Berries: The tartness of strawberries or raspberries balances the sweetness and enhances the visual appeal of the cheesecake bites.
- Chocolate Drizzle: A rich chocolate sauce adds a decadent touch, fueling the indulgent experience with each delightful bite.
- Vanilla Ice Cream: Creamy vanilla ice cream provides a dreamy contrast in texture, perfect for those who crave an extra layer of sweetness.
- Mint Leaves: Fresh mint elevates the flavors, offering a refreshing burst that cuts through the richness of the cheesecake bites.
- Lemon Zest: A sprinkle of lemon zest brightens the dish, balancing the creamy sweetness of the cheesecake with a citrusy zing.
- Sparkling Wine: Celebrate with a glass of bubbly! The effervescence contrasts nicely with the creamy cheesecake bites, making every bite special.
- Decaf Coffee: A cup of decaf coffee enhances the flavors, inviting comforting moments as you savor these sweet delights.
- Coconut Whipped Cream: For an exotic spin, serve with coconut whipped cream for a tropical twist that harmonizes beautifully with pink velvet notes.
- Shortbread Cookies: Pairing with buttery shortbread creates a delightful crunch, offering varying textures to enjoy with the creamy cheesecake.
Expert Tips for Pink Velvet Cheesecake Bites
-
Room Temperature Cream Cheese: Always use cream cheese at room temperature for a creamy, lump-free filling that blends effortlessly.
-
Chill Time is Key: To ensure your Pink Velvet Cheesecake Bites set properly, allow at least 4 hours of chilling. Overnight is even better!
-
Flavorful Variations: Feel free to mix in pureed fruits or chocolate swirls. Just remember to do this gently to keep the airy texture of the filling.
-
Garnish for Flair: Elevate your presentation by adorning the bites with fresh berries or edible glitter, adding a touch of elegance to your dessert!
-
Avoid Overmixing: When folding in whipped cream, be gentle! Overmixing can deflate the fluffy texture, compromising the lusciousness of your cheesecake bites.
-
Storage Tips: Keep these delicious bites fresh by storing them in an airtight container in the refrigerator for up to 5 days.
Pink Velvet Cheesecake Bites Recipe FAQs
What kind of cream cheese should I use for the filling?
For the best texture in your Pink Velvet Cheesecake Bites, it’s crucial to use fresh, room-temperature cream cheese. This allows it to blend seamlessly, resulting in a smooth and creamy filling without any lumps.
How should I store my Pink Velvet Cheesecake Bites?
You can store your cheesecake bites in an airtight container in the refrigerator for up to 5 days. Make sure they’re well covered to prevent them from absorbing any odors from the fridge.
Can I freeze Pink Velvet Cheesecake Bites?
Absolutely! To freeze your cheesecake bites, wrap each one individually in plastic wrap, then place them in a freezer-safe container. They will stay fresh in the freezer for up to 2 months. When you’re ready to enjoy them, just thaw them overnight in the refrigerator for the best texture and flavor.
What if my cheesecake filling is too runny?
If your cheesecake filling turns out too runny, it may be due to under-whipping the cream or not chilling it long enough. To fix this, gently fold in more whipped cream and chill the mixture for a longer time—at least an additional hour—until it sets properly in the refrigerator.
Can my pets eat these cheesecake bites?
No, it’s best to keep these Pink Velvet Cheesecake Bites away from pets. Ingredients like sugar and cream cheese can upset their stomachs, so save these delicious treats for yourself!
Are there any allergy considerations for this recipe?
Yes! This recipe contains dairy (cream cheese and butter), gluten (graham crackers), and potentially nuts if you customize with a nutty crunch. Always check labels if you have allergies, and consider alternatives like gluten-free graham crackers or coconut milk for a dairy-free option.
Irresistible Pink Velvet Cheesecake Bites with Easy Variations
Ingredients
Equipment
Method
- Preheat the oven to 350°F. Crush the graham crackers into fine crumbs using a food processor.
- Combine crumbs with melted butter and sugar until resembling damp sand. Press into a lined baking pan.
- Beat the cream cheese until smooth. Gradually add sugar and vanilla, mixing until combined.
- Incorporate pink food coloring to achieve desired shade.
- Whip cream until soft peaks form, then gently fold into the cheesecake mixture.
- Spread the cheesecake mixture over the prepared crust and smooth the top.
- Cover and refrigerate for at least 4 hours or overnight.
- Once set, cut into bite-sized squares and garnish with berries or edible glitter if desired.
Leave a Reply