
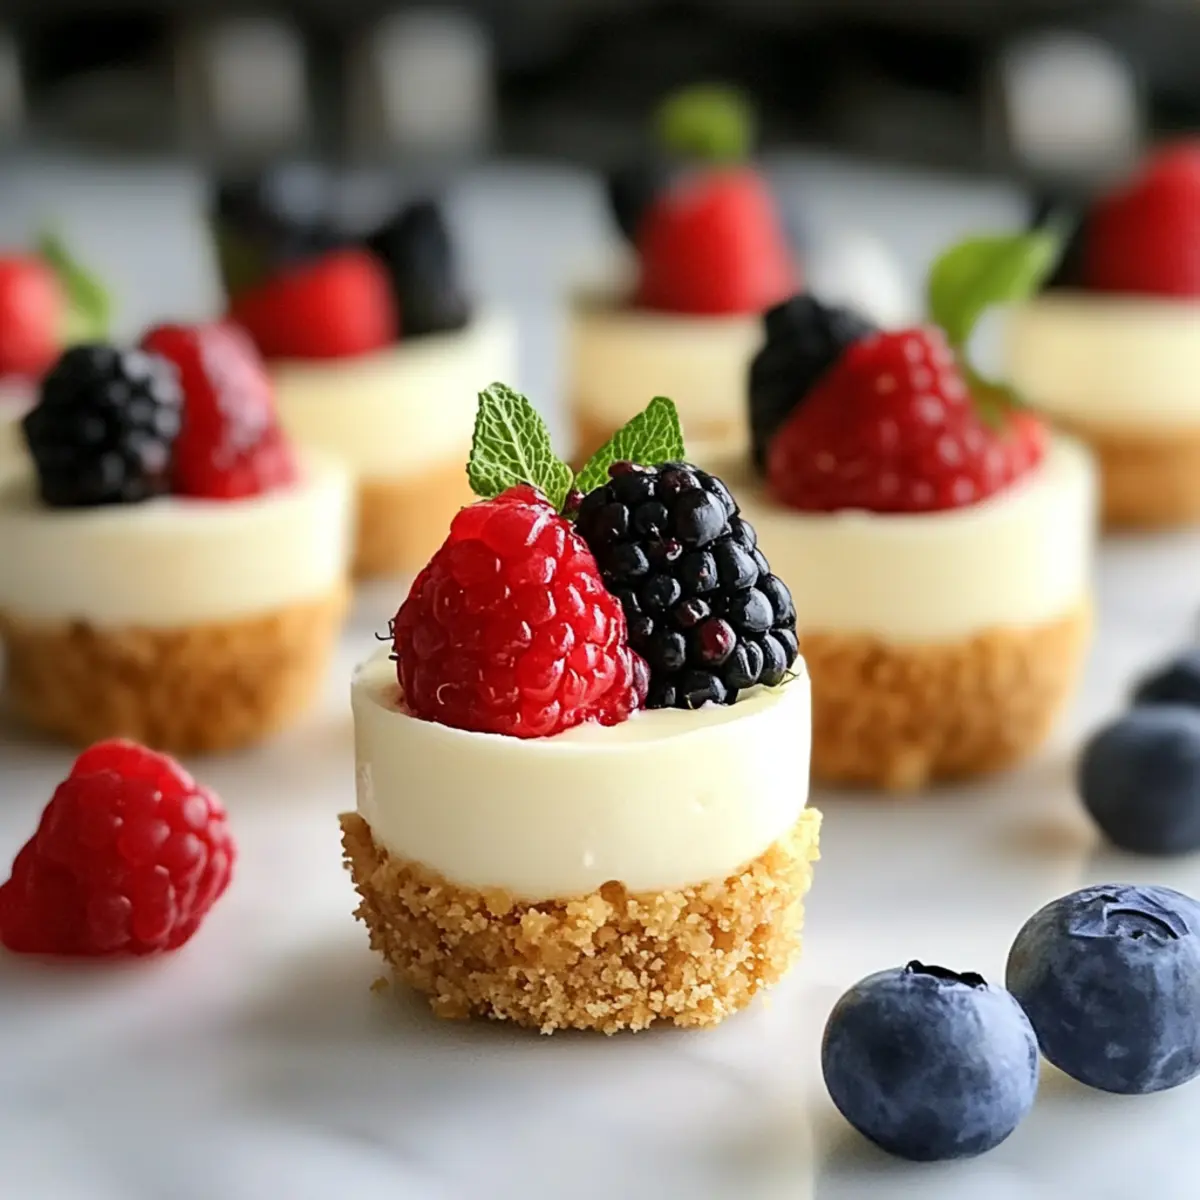
Can you hear that? The gentle clang of spoons against glass as friends dive into a rainbow of flavors fills the air—it’s the perfect backdrop for a gathering. Here’s the scoop: these No-Bake Mini Cheesecake Cups are your ticket to a delightful dessert experience, ready in just 15 minutes. Say goodbye to tedious baking rituals and hello to a quick dessert that combines a luscious creamy filling with a satisfyingly crunchy graham cracker base. The beauty of these mini cheesecakes lies not only in their incredible taste but also in their customizable nature—add fresh fruit, chocolate sauce, or whatever topping your heart desires. Ideal for unexpected guests or a sweet tooth craving, these little cups of joy come together quickly and can be prepped ahead of time. What flavor combination will you create to impress your family and friends?
Why Are These Cheesecake Cups a Must-Try?
Simplicity at its Finest: You can whip up these delightful No-Bake Mini Cheesecake Cups in just 15 minutes—perfect for busy days or last-minute gatherings!
Customizable Delight: The real magic comes from their versatility; choose your favorite toppings like fresh strawberries or rich chocolate sauce to make them unique every time.
Appeal to Everyone: With a creamy filling that contrasts beautifully with a crunchy crust, these mini treats are sure to please both kids and adults alike.
Make-Ahead Goodness: Prepare them a day in advance to enhance flavor, making your life easier without sacrificing taste. Why not complement your gathering with other easy desserts like Blueberry Lemon Cheesecake or Christmas Cheesecake Cranberry?
Light and Luscious: At approximately 150 calories per cup, they offer a guilt-free indulgence that doesn’t compromise on flavor!
No-Bake Mini Cheesecake Cups Ingredients
For the Cheesecake Filling
- Cream Cheese – Provides a rich, creamy base for the cheesecake; ensure it’s softened for easy mixing.
- Powdered Sugar – Adds a smooth sweetness to the mixture, balancing the tanginess of the cream cheese.
- Vanilla Extract – Enhances flavor, giving the cheesecake a warm, inviting aroma.
- Whipped Cream – Lightens the filling, creating an airy and fluffy texture.
For the Crust
- Graham Cracker Crumbs – Creates a crunchy base; you can substitute with crushed Oreos or ginger snaps for a twist.
- Melted Butter – Binds the crumbs together, adding moisture and richness to the crust.
For Garnishing (optional)
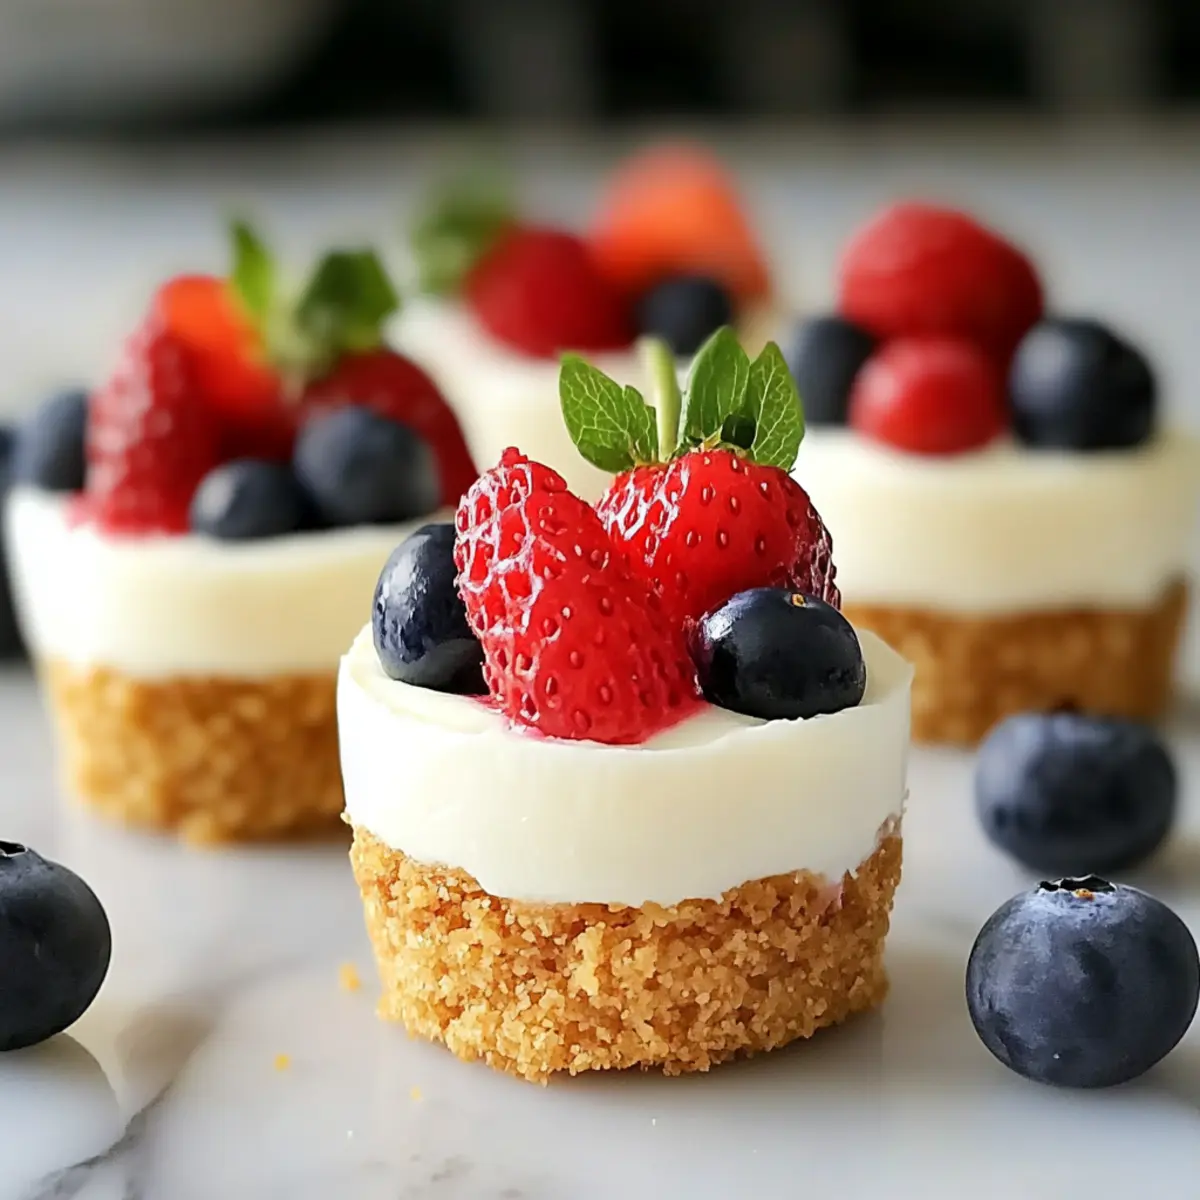
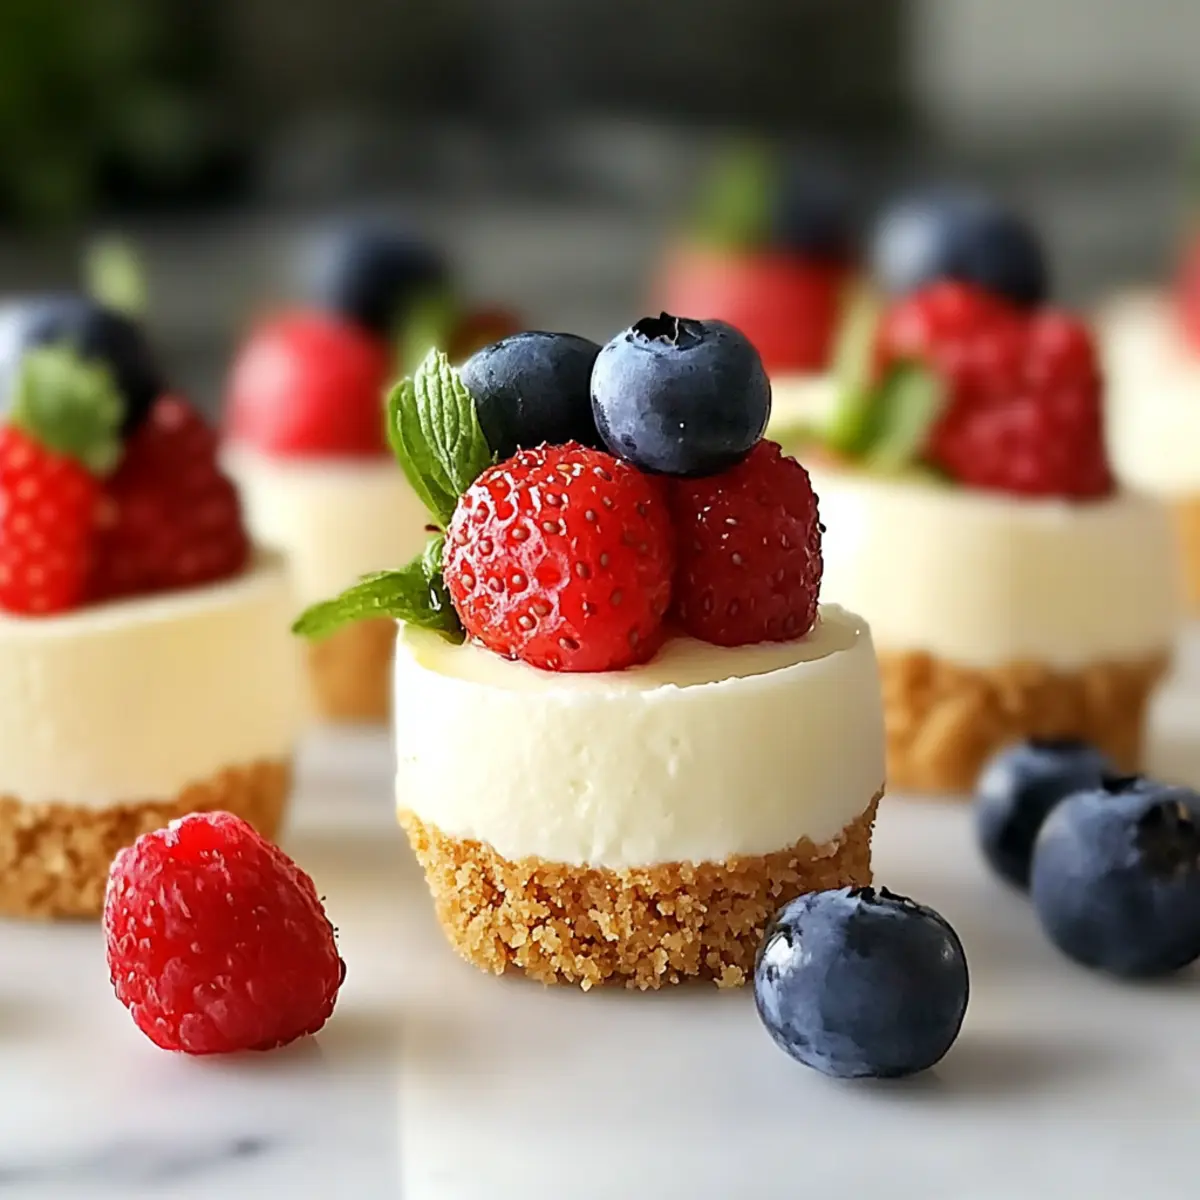
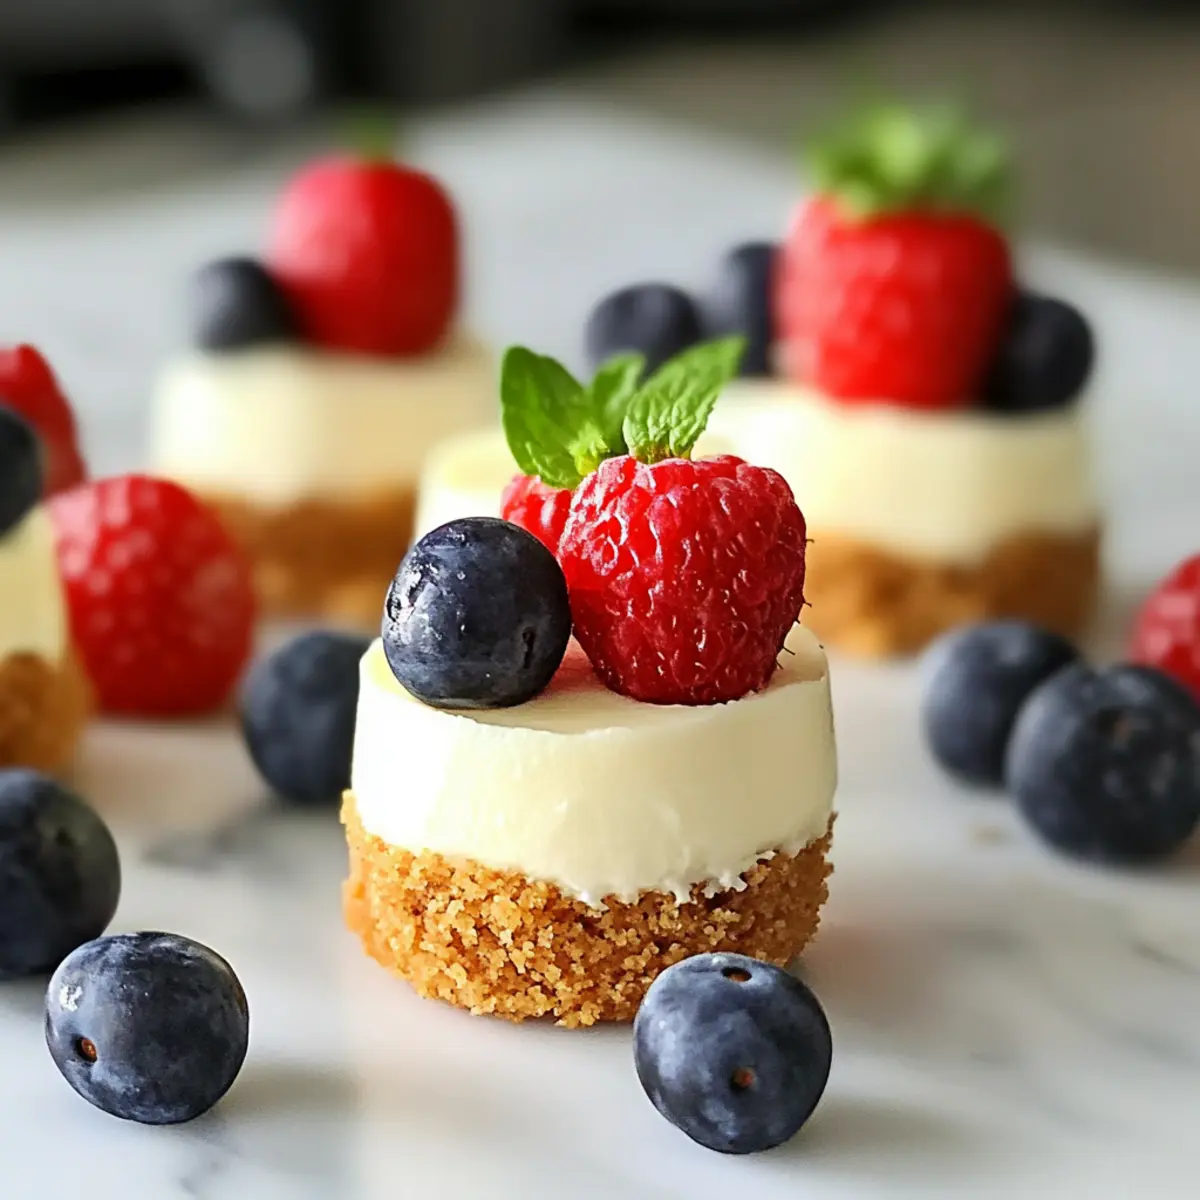
- Fresh Fruit – Customize the flavor by adding seasonal fruits like berries or sliced bananas.
- Chocolate Sauce – Drizzle over the top for an indulgent touch that complements the cheesecake.
- Caramel – Adds a rich sweetness that pairs beautifully with the creamy filling.
- Nuts – Sprinkle chopped nuts for an extra crunch and enhanced flavor.
Enjoy whipping up these delightful No-Bake Mini Cheesecake Cups that are sure to impress your guests!
Step‑by‑Step Instructions for No-Bake Mini Cheesecake Cups
Step 1: Prepare the Crust
In a medium bowl, combine 1 cup of graham cracker crumbs with 4 tablespoons of melted butter. Mix thoroughly until the crumbs are evenly coated and resemble wet sand. Spoon this mixture into mini dessert cups, pressing it firmly into the bottom using the back of a spoon or your fingers. Set aside to allow the crust to firm up while you prepare the filling.
Step 2: Make the Cheesecake Filling
In a large mixing bowl, beat together 8 ounces of softened cream cheese, ½ cup of powdered sugar, and 1 teaspoon of vanilla extract using an electric mixer. Start on low speed to avoid splattering, then increase to medium until the mixture is completely smooth and creamy, about 2-3 minutes. This rich filling is the heart of your No-Bake Mini Cheesecake Cups.
Step 3: Fold in Whipped Cream
In a separate bowl, gently fold in 1 cup of whipped cream into the cream cheese mixture. Use a spatula for a light touch, ensuring you maintain the airy texture. This step is crucial for achieving that luscious, fluffy filling that will balance perfectly with your crunchy crust. Continue until just combined, taking care not to over-mix.
Step 4: Assemble the Cups
Spoon the cheesecake filling evenly over the prepared graham cracker crusts in each cup, filling them until just slightly heaping. Use a small offset spatula or the back of a spoon to smooth the tops for a clean finish. The delightful layering of the creamy filling sits beautifully atop your crust, ready to chill.
Step 5: Chill Before Serving
Cover the assembled No-Bake Mini Cheesecake Cups with plastic wrap or place them in an airtight container. Refrigerate for a minimum of 2 hours, allowing the flavors to meld and the filling to set. This chilling time is key to achieving a firm yet creamy texture that will hold its shape when served.
Step 6: Serve with Toppings
Once chilled, remove the cups from the refrigerator and prepare to decorate. Add your desired toppings—fresh fruit, chocolate sauce, or nuts—and serve immediately. The beautiful presentation of these mini cheesecakes will surely impress your family and friends as they dive into their delicious layers.
What to Serve with Irresistible No-Bake Mini Cheesecake Cups
Can you envision the sweet harmony a well-rounded meal creates as you indulge in velvety cheesecake? Pairing these delightful cups with complementary dishes elevates your experience!
-
Fresh Fruit Salad: A vibrant medley of seasonal fruits enhances the freshness and provides a colorful, healthy contrast to the creamy cheesecake.
-
Chocolate-Covered Strawberries: The sweet and slightly tart flavors of chocolate-dipped strawberries create a harmonious balance, adding a fun twist to dessert.
-
Minty Greek Yogurt: A dollop of mint-infused yogurt offers a cooling creaminess that pairs marvelously with the rich cheesecake cups, bringing a refreshing touch.
-
Coffee or Espresso: A warm cup of coffee or a shot of espresso intensifies the flavors, making each bite of your No-Bake Mini Cheesecake Cups all the more enjoyable.
-
Bubbly Sparkling Water: A fizzy drink with a hint of lemon or lime adds a refreshing zest, perfectly cleansing the palate between bites of the rich dessert.
-
Mini Chocolate Mousse Cups: For the chocolate lovers, serve alongside silky chocolate mousse cups that provide a delightful textural contrast to the cheesecake.
-
Shortbread Cookies: Simple yet delicious, these buttery cookies offer a satisfying crunch and enhance the overall dessert experience.
-
Vegan Ice Cream: For those seeking a lighter option, a scoop of vegan ice cream can create a delightful combo, adding an interesting flavor layer to your meal.
-
Coconut Cream: A swirl of coconut cream not only complements the cheesecakes but also introduces a tropical flair that’s simply irresistible!
How to Store and Freeze No-Bake Mini Cheesecake Cups
-
Fridge: Store in an airtight container in the refrigerator for up to 3-4 days. This keeps the cheesecake cups fresh and maintains their creamy texture.
-
Freezer: If you wish to keep them longer, these no-bake mini cheesecake cups can be frozen for up to 2 months. Just ensure they are well-wrapped to prevent frostbite.
-
Thawing: To enjoy, thaw the frozen cups overnight in the fridge. This allows them to regain their creamy consistency before serving.
-
Reheating: There’s no need to reheat these delicious mini cheesecake cups; simply enjoy them slightly chilled straight from the fridge!
Make Ahead Options
These No-Bake Mini Cheesecake Cups are perfect for meal prep enthusiasts looking to save time! You can prepare the crust and filling up to 24 hours ahead of time. Simply combine the graham cracker crumbs and melted butter, then press into mini cups to set. For the filling, make the creamy mixture and store it in an airtight container in the refrigerator. When you’re ready to serve, spoon the filling into the crusts and chill for an additional 2 hours for the best texture. This makes serving a breeze while ensuring they remain just as delicious and fresh as if they were made that day!
Expert Tips for No-Bake Mini Cheesecake Cups
-
Softened Cream Cheese: Ensure your cream cheese is completely softened for a smooth filling; cold cream cheese can lead to lumps.
-
Perfect Crust Texture: Avoid adding too much melted butter to the crust; it should hold together but not be overly soggy.
-
Chill Time Matters: Don’t rush the chilling process; allowing at least 2 hours in the fridge helps the filling set properly.
-
Creative Toppings: Explore various toppings to keep it fresh each time; think seasonal fruits or flavored syrups to customize your No-Bake Mini Cheesecake Cups.
-
Storage Tips: Store any leftovers in an airtight container in the refrigerator for up to 3-4 days to maintain their delightful texture.
No-Bake Mini Cheesecake Cups Variations
Feel free to unleash your creativity with these No-Bake Mini Cheesecake Cups, crafting delightful flavors and textures that excite the palate!
-
Cookie Crust: Swap graham cracker crumbs with crushed Oreos for a rich, chocolatey base that pairs beautifully with the cheesecake filling.
-
Fruit-Infused Filling: Stir in pureed strawberries or raspberries into the cheesecake mix to create a fresh and fruity twist. This burst of flavor makes every bite a delightful surprise!
-
Flavorful Extracts: Experiment with extracts like almond or coconut instead of vanilla for a unique twist on the classic flavor profile. It’s a simple way to elevate your cheesecake game!
-
Dairy-Free Delight: Replace cream cheese with cashew cream or silken tofu for a creamy, dairy-free version. Add a splash of lemon juice for tanginess—you’ll never miss the traditional ingredients!
-
Nutty Crunch: Incorporate finely chopped nuts like almonds or pecans into the crust for an extra crunch that enhances texture. They add a delightful contrast to the creamy filling.
-
Spiced Touch: Add a pinch of cinnamon or nutmeg to the filling for a warm, cozy flavor that reminds you of homemade pies. It’s like wrapping yourself in a cozy blanket with every bite!
-
Decadent Toppings: Top with a luscious chocolate ganache for an indulgent dessert experience. The rich chocolate pairs perfectly with the creamy cheesecake, creating a decadent treat!
While enjoying these variations, you might also want to check out some other fantastic desserts like Strawberry Cheesecake Protein or Mini Mushroom Gruyere for more inspiration in the kitchen!
No-Bake Mini Cheesecake Cups Recipe FAQs
What type of cream cheese should I use for the filling?
I recommend using full-fat, softened cream cheese for the best flavor and texture. Ensure it’s at room temperature so it blends smoothly without lumps. Low-fat cream cheese can also work, but it may result in a slightly different texture.
How should I store the No-Bake Mini Cheesecake Cups?
Store the mini cheesecake cups in an airtight container in the refrigerator for up to 3-4 days. This keeps them fresh and preserves their delightful creamy texture. If you’re preparing them ahead of time for a gathering, they can be made a day in advance!
Can I freeze the No-Bake Mini Cheesecake Cups?
Absolutely! You can freeze these delightful treats for up to 2 months. Here’s how: place the assembled cups in a freezer-safe airtight container, ensuring they are well-wrapped to prevent frostbite. When you’re ready to enjoy them, thaw overnight in the fridge for the best results.
What if my filling is too thick?
If the cheesecake filling turns out too thick, you can whip in a bit more whipped cream or a tablespoon of milk to lighten it. Mix gently to keep the airy texture you want, as over-mixing can cause the filling to lose its fluffiness.
Can these cheesecake cups be made dairy-free?
Yes, you can create a dairy-free version by using vegan cream cheese and whipped coconut cream. These alternatives will provide a similar texture and flavor, allowing everyone to enjoy these No-Bake Mini Cheesecake Cups!
How can I customize my cheesecake flavors?
Get creative with flavors by adding pureed fruits, flavored extracts like almond or coconut, or even lemon zest for a citrus kick in your cheesecake filling. Remember to adjust the sweetness accordingly to maintain that perfect balance!
Delicious No-Bake Mini Cheesecake Cups
Ingredients
Equipment
Method
- In a medium bowl, combine graham cracker crumbs with melted butter. Mix until the crumbs are evenly coated and resemble wet sand. Spoon into mini dessert cups and press down firmly.
- In a large mixing bowl, beat together softened cream cheese, powdered sugar, and vanilla extract using an electric mixer until smooth and creamy.
- Gently fold in whipped cream into the cream cheese mixture using a spatula, ensuring you maintain an airy texture.
- Spoon cheesecake filling evenly over the prepared crust in each cup. Smooth the tops for a clean finish.
- Cover with plastic wrap or place in an airtight container and refrigerate for at least 2 hours to set.
- Once chilled, add desired toppings like fresh fruit or chocolate sauce and serve.
Leave a Reply