
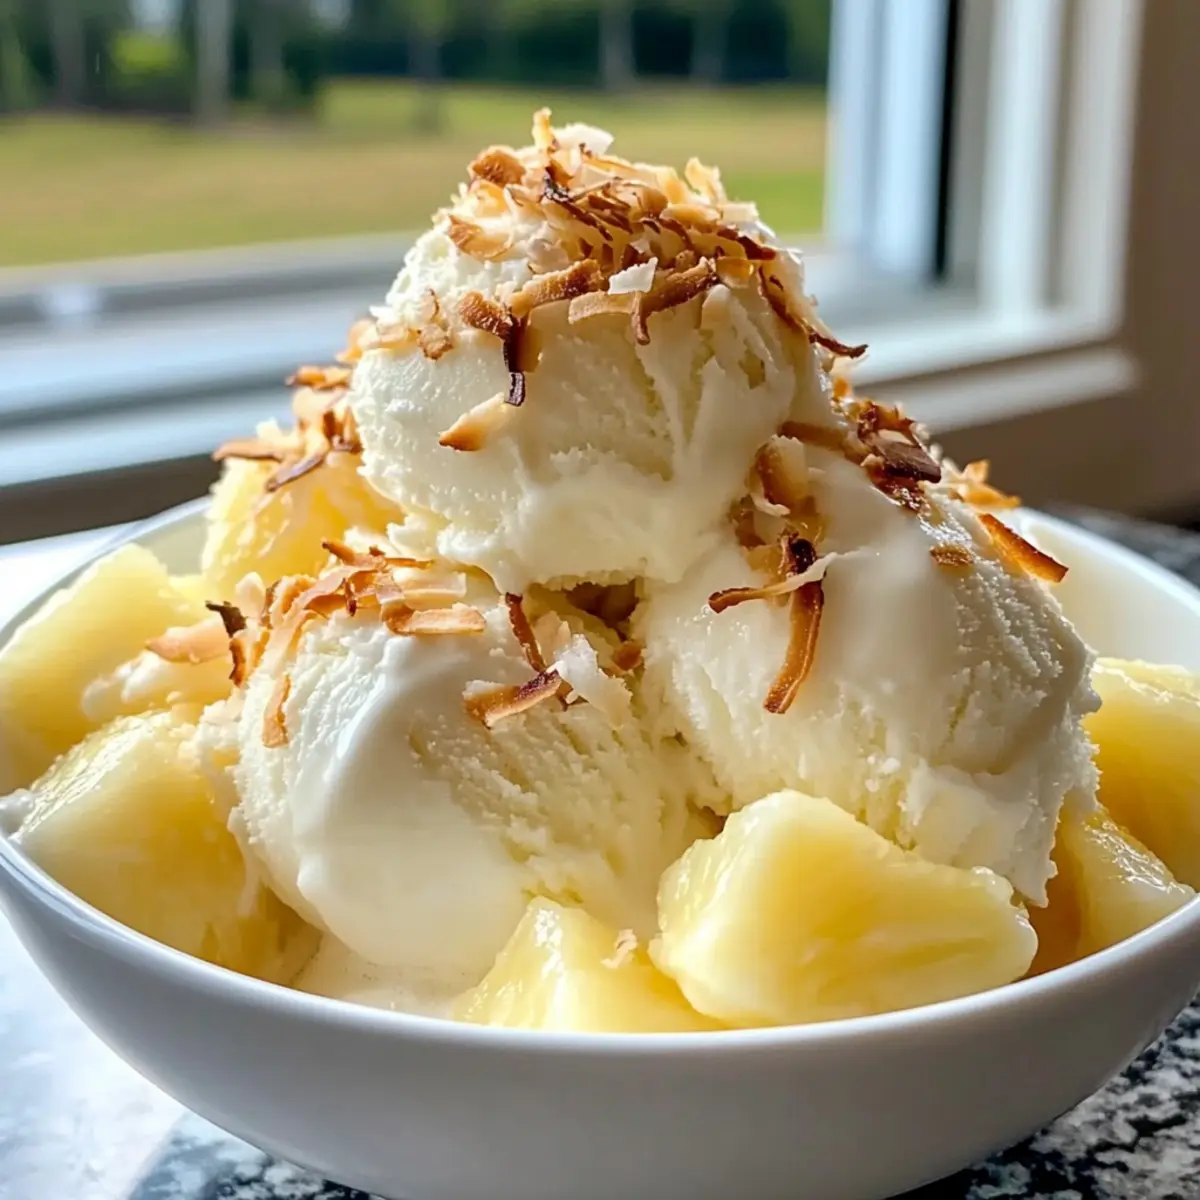
Every scoop of this Toasted Coconut Pina Colada Ice Cream takes me on a mini-vacation to sun-drenched beaches, all from the comfort of my kitchen. This delightful homemade treat bursts with the tropical flavors of fresh pineapple and creamy coconut, delivering a refreshing escape that’s perfect for sweltering summer days. What makes it even better? It’s incredibly easy to whip up, and whether you leave out the rum for a family-friendly version or add a splash for those warm evenings, this ice cream is fully customizable to suit your taste. Immerse yourself in the creamy, dreamy goodness of this recipe, and trust me—your friends and family will be clamoring for more. Ready to dive into a dessert that feels as good as a beach getaway? Let’s get started!
Why is this ice cream a must-try?
Tropical Escape: Each scoop transports you to sun-soaked beaches, making it the perfect refreshing treat for hot days.
Customizable: Whether you prefer a splash of rum or a family-friendly version, feel free to tailor it to your taste.
Easy to Make: With simple ingredients and no baking required, you can whip this up quickly, impressing your guests without the hassle.
Vibrant Flavors: The combination of fresh pineapple and toasted coconut creates a delightful explosion of tropical goodness in every bite.
Versatile Dessert: Experiment with various toppings or mix-ins like chocolate drizzle or nuts, letting your creativity shine!
Try serving it alongside some grilled pineapple skewers for a refreshing dessert that’ll leave everyone wanting more. Enjoy this delightful treat that captures the essence of a beach vacation, right from your freezer!
Homemade Pina Colada Ice Cream Ingredients
For the Ice Cream Base
- Thai Coconut Milk – Provides a creamy base that enhances the richness of the ice cream; use unsweetened for the best texture.
- Fresh Pineapple – Acts as the primary flavor component; yields about 1 ¾ cups of sweet puree from ½ a pineapple.
- Sugar – Sweetens the mix according to personal preference; adjust to taste for sweetness level.
- Salt – Balances and enhances the flavors; a pinch is sufficient.
- Dark Rum (optional) – Adds a classic Pina Colada flavor; can substitute with light rum or omit for a family-friendly version.
For the Topping
- Toasted Coconut – Adds flavor and crunchy texture; save ¼ cup for topping—use sweetened coconut flakes for the best results.
Dive into this delightful homemade Pina Colada ice cream, where each scoop brings the essence of tropical bliss straight to your home!
Step‑by‑Step Instructions for Homemade Pina Colada Ice Cream
Step 1: Prepare Pineapple
Start by peeling and chopping half a fresh pineapple. Blend the pieces in a blender until slightly chunky, making sure you have about 1 ¾ cups of puree. This fresh pineapple will add a burst of tropical flavor to your homemade Pina Colada ice cream.
Step 2: Mix Base
In a large mixing bowl, whisk together the Thai coconut milk, pineapple puree, sugar, and a pinch of salt until you achieve a smooth and creamy consistency. If you want to add an adult twist, now’s the time to stir in the dark rum. This blend will be the base of your delightful ice cream.
Step 3: Toast Coconut
Preheat your oven to 350°F (175°C). Spread a generous layer of remaining coconut flakes on a baking sheet. Toast them in the oven for about 6-7 minutes, stirring occasionally, until they are golden brown and fragrant. This toasted coconut will enhance the flavor and texture of your ice cream.
Step 4: Churn Ice Cream
Pour the coconut and pineapple mixture into your ice cream machine. Follow the manufacturer’s instructions and churn for approximately 20-25 minutes, or until the mixture becomes thick and creamy, resembling soft serve. This step is vital for achieving the perfect texture in your homemade Pina Colada ice cream.
Step 5: Fold in Coconut
Once the mixture is churned, gently fold in ¾ cup of the toasted coconut, ensuring it evenly distributes throughout the ice cream. Reserve the remaining toasted coconut for topping later. This addition will give your ice cream a delightful crunch and added tropical flavor.
Step 6: Freeze
Transfer the ice cream mixture to an airtight container. Spread it evenly and smooth the top. Freeze for at least 4 hours or until the ice cream is firm. This step is crucial for getting that scoopable texture, making your homemade Pina Colada ice cream the perfect treat.
Step 7: Serve
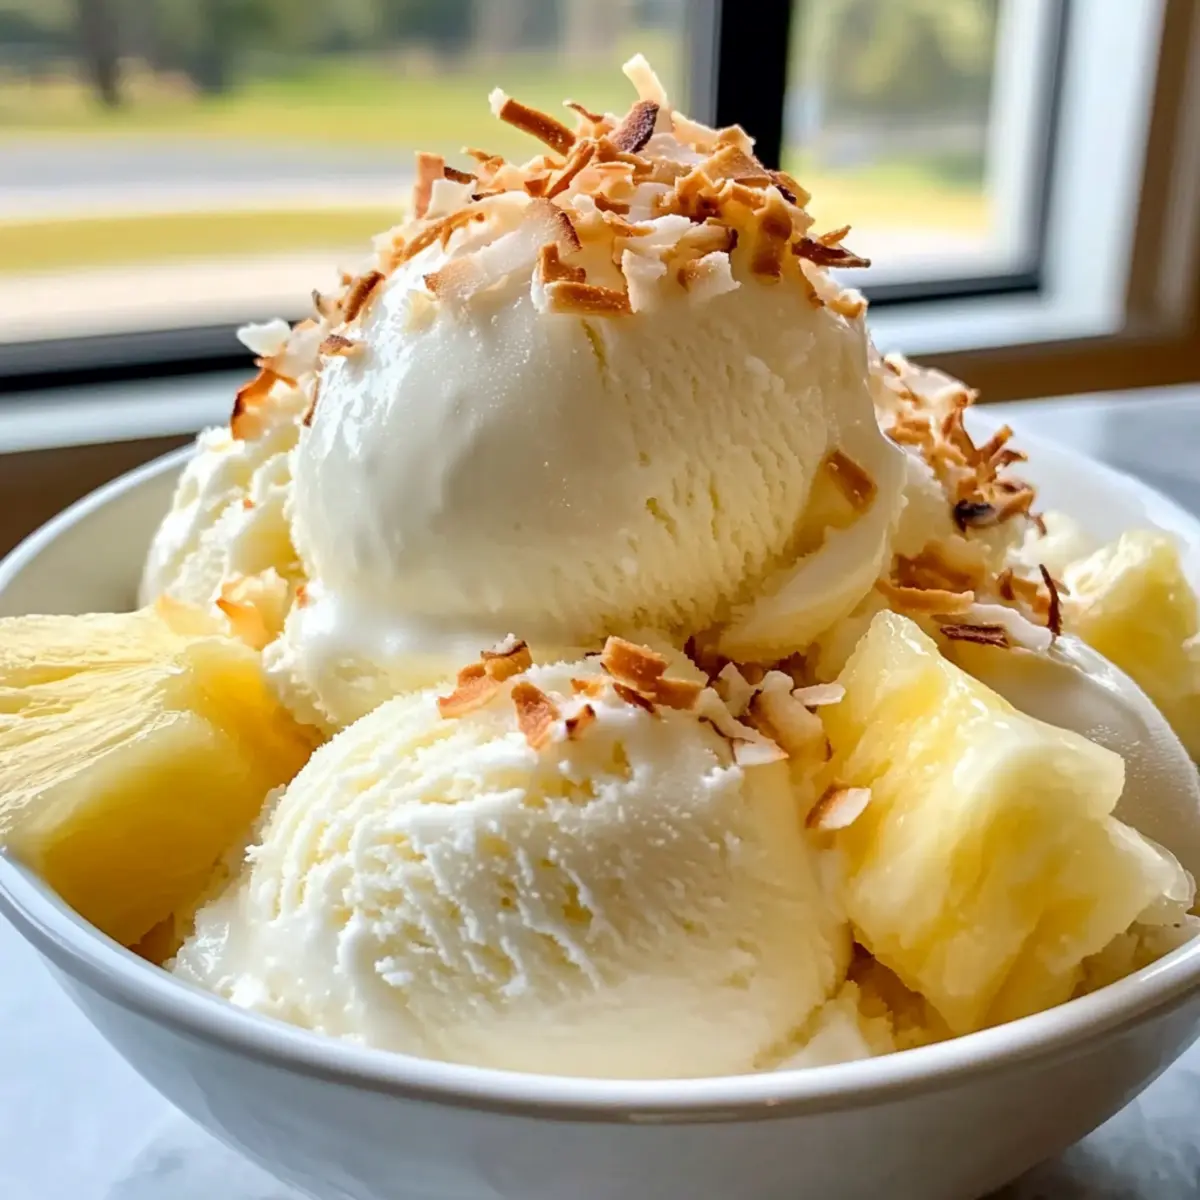
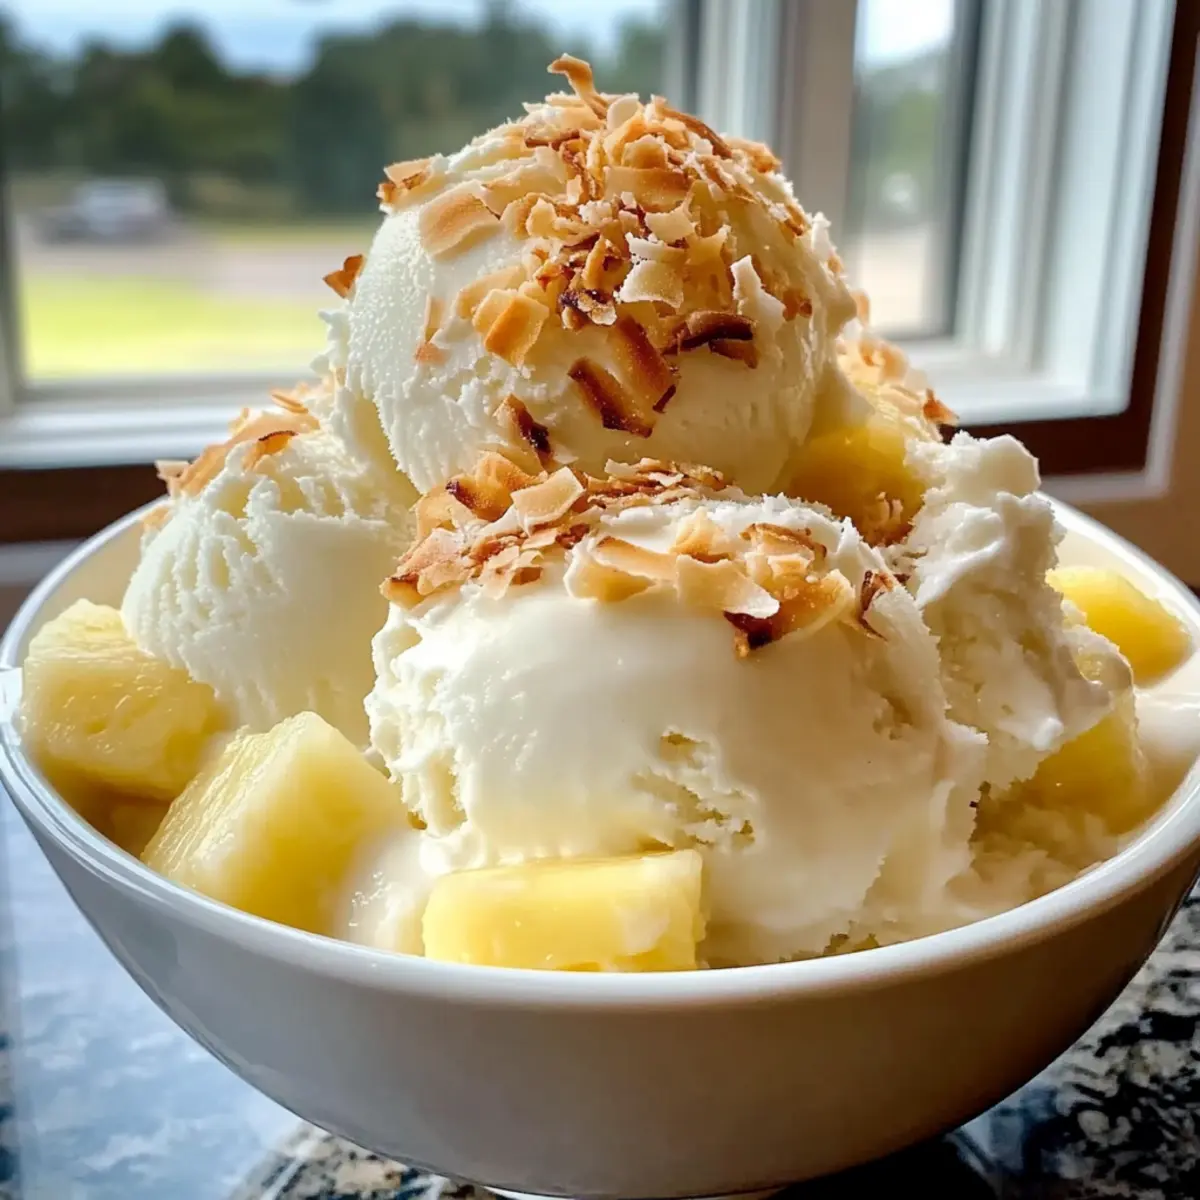
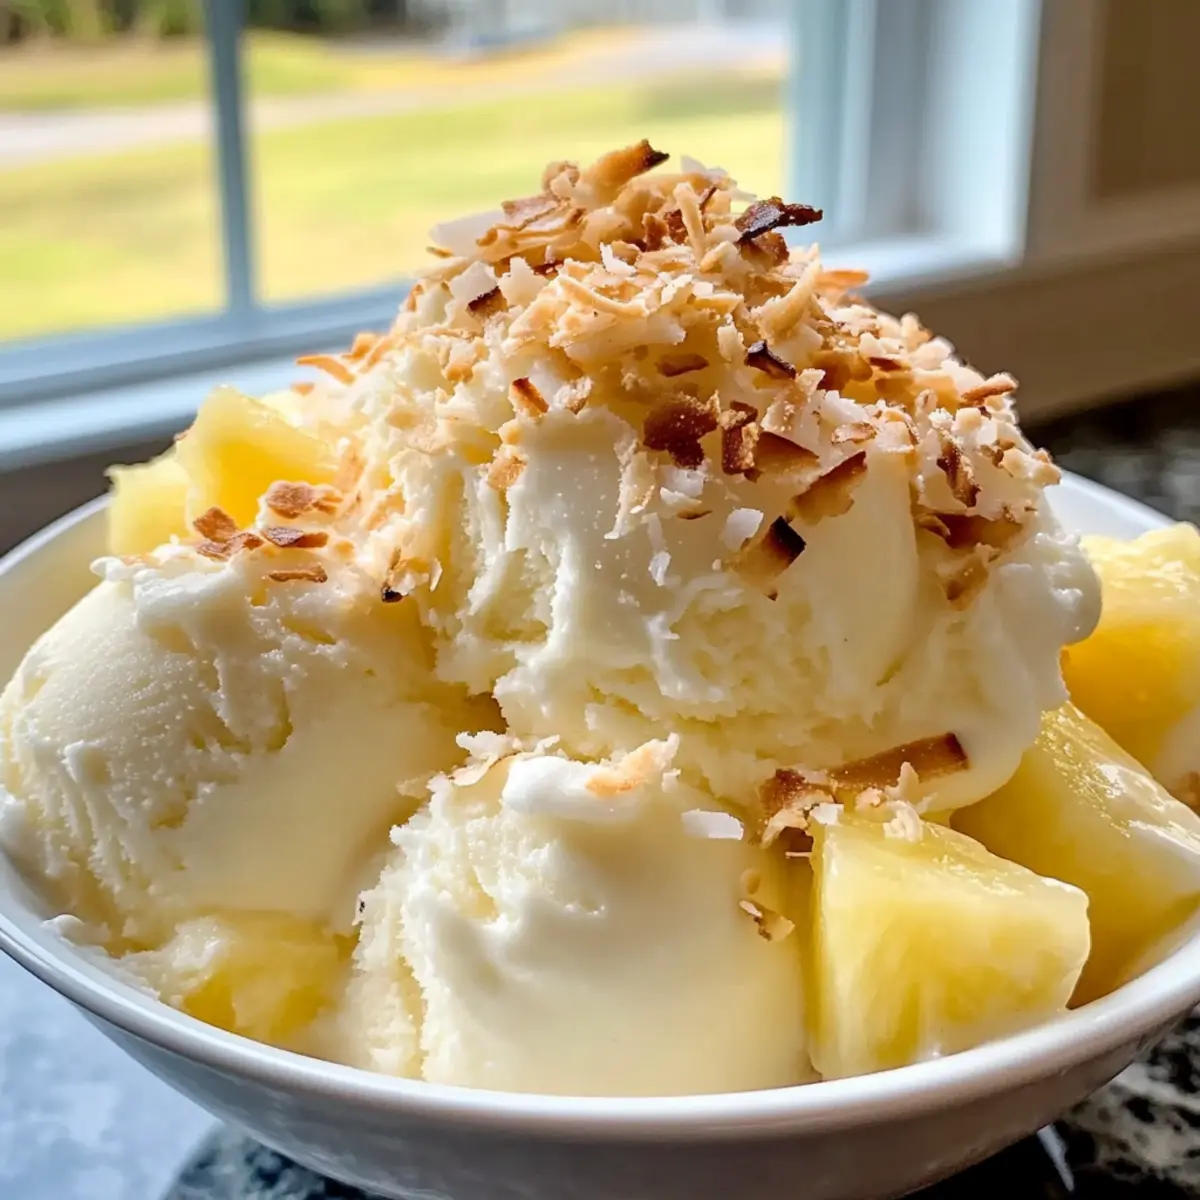
Before serving, allow the ice cream to sit at room temperature for a few minutes to soften, making it easier to scoop. Top each serving with the reserved toasted coconut and optional pineapple chunks for an extra tropical touch. Enjoy your homemade Pina Colada ice cream with friends and family!
How to Store and Freeze Homemade Pina Colada Ice Cream
- Fridge: Store any leftover ice cream in the fridge for up to 3 days, but it’s best enjoyed fresh for the ultimate creamy texture.
- Freezer: Keep your homemade Pina Colada ice cream in an airtight container in the freezer for up to 2 weeks. This way, you can savor your tropical treat whenever the craving strikes!
- Reheating: If the ice cream hardens too much, let it sit at room temperature for 5-10 minutes before scooping to restore its delightful creaminess.
What to Serve with Toasted Coconut Pina Colada Ice Cream
Every delightful scoop transports you to a sun-drenched tropical paradise, making it the perfect centerpiece for a fun summer gathering.
-
Grilled Pineapple Skewers: Juicy and caramelized, grilled pineapple brings out the sweetness of the ice cream and adds a fabulous texture contrast.
-
Chocolate Drizzle: A rich, warm chocolate drizzle adds an enticing layer of decadence, complementing the tropical flavors beautifully.
-
Fresh Mint Leaves: Garnishing with mint lends a refreshing aroma and a touch of color, enhancing both the flavor and presentation of your dessert.
-
Coconut Macaroons: These chewy little bites echo the coconut notes in your ice cream and provide a delightful crunch with every bite.
-
Mango Sorbet: A smooth and tart mango sorbet is a refreshing palate cleanser that balances the rich creaminess of the ice cream.
-
Tropical Fruit Salad: A colorful mix of kiwis, papayas, and berries offers vibrant flavors and textures, making your dessert table a feast for the eyes.
-
Sparkling Coconut Water: For a refreshing drink option, serve chilled sparkling coconut water that enhances the ice cream’s tropical vibe without overpowering it.
-
Pineapple Upside-Down Cake: This warm, buttery cake creates a delightful contrast to the chilled ice cream, making every bite a celebration of summer flavors.
Treat your taste buds to an amazing complementary experience, elevating your homemade Pina Colada Ice Cream to new delicious heights!
Homemade Pina Colada Ice Cream Variations
Feel free to let your creativity shine as you customize this delightful dessert! From flavor swaps to dietary options, the possibilities are endless.
-
Fruit Swap: Substitute pineapple with mango or peach for a refreshing twist that keeps the tropical vibe alive. Each fruit brings its own unique sweetness!
-
Dairy-Free Delight: Use almond or cashew milk instead of Thai coconut milk, making it completely dairy-free without compromising creaminess. This option is perfect for anyone looking for that guilt-free indulgence.
-
Nutty Crunch: Toss in crushed macadamia nuts or pecans to elevate the texture and add a delightful crunch. They beautifully complement the coconut and pineapple.
-
Chocolate Drizzle: Drizzle melted dark chocolate over the top just before serving for a rich, indulgent finish. The combination of chocolate with tropical flavors is a match made in dessert heaven!
-
Spicy Surprise: Add a pinch of cayenne pepper or chili powder for an unexpected kick. It adds a fun contrast to the sweet tropical notes, perfect for adventurous palates.
-
Rum Substitute: If you’re looking for a family-friendly version, simply omit the rum altogether or replace it with coconut extract for a flavor-rich alternative. You won’t lose any of the fun!
-
Tropical Toppings: Try adding fresh mint or lime zest on top for an extra burst of freshness. These additions brighten the dish and enhance the overall experience.
-
Add Layers: Create an ice cream sundae with layers of this ice cream and different fruits, like banana or strawberries. Serve alongside Zesty Bacon Cream for a truly tropical taste fiesta!
With these variations, you can make this homemade Pina Colada ice cream your own, ensuring every scoop is a little more special. Happy scooping!
Expert Tips for Homemade Pina Colada Ice Cream
-
Ingredient Integrity: Ensure all ingredients, especially the coconut milk and pineapple puree, are well combined. This avoids an icy texture in your homemade Pina Colada ice cream.
-
Watch the Coconut: When toasting coconut, keep an eye on it to prevent burning. It should be golden and fragrant after about 6-7 minutes.
-
Churning Technique: Churn the mixture until it reaches the consistency of soft serve. This step is essential for a creamy end result.
-
No Ice Cream Maker Option: If you don’t have an ice cream maker, pour the mixture into a shallow dish and stir every 30 minutes until frozen, which takes about 3-4 hours.
-
Creative Variations: Feel free to customize the recipe by replacing pineapple with other tropical fruits or adding nuts for extra texture. Go wild with flavor!
Make Ahead Options
This Homemade Pina Colada Ice Cream is ideal for busy cooks looking to save time while still enjoying a delicious treat! You can prepare the pineapple puree and toasted coconut up to 24 hours in advance. Simply chop and blend your pineapple, then store the puree in an airtight container in the refrigerator. For the toasted coconut, spread the flakes on a baking sheet and toast as per the recipe, allowing them to cool before storing in an airtight container as well. When you’re ready to make the ice cream, combine the prepped ingredients with the coconut milk, churn, and freeze. This approach not only streamlines the process but ensures your ice cream is just as delightful when served!
Toasted Coconut Pina Colada Ice Cream Recipe FAQs
What type of coconut milk should I use for the best texture?
Absolutely! For a creamy base, I recommend using unsweetened Thai coconut milk. It provides the rich, smooth texture essential for homemade Pina Colada ice cream. Avoid sweetened varieties, as they can make your ice cream too sweet and affect the flavor balance.
How should I store the leftover ice cream?
To keep your homemade Pina Colada ice cream fresh, store it in an airtight container in the freezer. It can last up to 2 weeks, but for the best texture, try to enjoy it sooner. If it becomes too hard during storage, let it soften at room temperature for about 5-10 minutes before scooping.
Can I freeze the mixture if I don’t have an ice cream maker?
Yes! If you don’t have an ice cream maker, you can still enjoy this treat. Pour the mixture into a shallow dish and place it in the freezer. Stir it every 30 minutes for about 3-4 hours until it’s fully frozen. This method incorporates air, ensuring a smoother texture, similar to churned ice cream.
Are there any dietary considerations when making this ice cream?
Very! For a dairy-free version, just stick with the Thai coconut milk and omit any dairy ingredients. Always check your sugar source for allergens, as some products may include traces of dairy or nuts. If you’re serving this to kids or pets, skip the rum to keep it family-friendly!
Homemade Pina Colada Ice Cream: Your Tropical Treat Awaits
Ingredients
Equipment
Method
- Prepare Pineapple: Peel and chop half a fresh pineapple. Blend until slightly chunky to yield about 1 ¾ cups of puree.
- Mix Base: In a large mixing bowl, whisk together the coconut milk, pineapple puree, sugar, and a pinch of salt until smooth. Stir in dark rum if desired.
- Toast Coconut: Preheat your oven to 350°F (175°C). Spread coconut flakes on a baking sheet and toast for 6-7 minutes until golden brown.
- Churn Ice Cream: Pour the mixture into your ice cream maker and churn for 20-25 minutes until thick and creamy.
- Fold in Coconut: Gently fold in ¾ cup of toasted coconut into the churned ice cream.
- Freeze: Transfer the mixture to an airtight container and freeze for at least 4 hours.
- Serve: Allow the ice cream to sit at room temperature for a few minutes before scooping. Top with reserved toasted coconut and enjoy!
Leave a Reply