
As I savored a creamy scoop of ice cream on a hot summer afternoon, I couldn’t help but wonder—why settle for store-bought when homemade is so easy? My Homemade Biscoff Ice Cream dispels the need for an ice cream maker while delivering that luscious, rich texture we all crave. In just 15 minutes, you’ll whip up a delightful treat filled with crunchy Biscoff cookie pieces and swirls of cookie butter, making it a perfect crowd-pleaser for any occasion. Plus, it’s so straightforward, you’ll be back for more as you enjoy the thrill of crafting your own summer comfort food. Are you ready to dive into this indulgent yet simple recipe?
Why Make Homemade Biscoff Ice Cream?
Simplicity: This no-churn, easy recipe means you can enjoy delightful ice cream without any fancy equipment!
Decadence: Each bite features creamy vanilla ice cream swirled with luscious cookie butter, making it a divine indulgence on warm days.
Quick: In just 15 minutes, you can craft a delicious treat, perfect for unexpected guests or fun summer nights.
Versatile: Customize with different mix-ins, like chocolate chips or nuts, to keep things exciting after your first batch!
Crowd-Pleaser: With its rich flavor profile, this ice cream is sure to be a hit at barbecues and gatherings—much more impressive than fast food!
Dive into making your own blissful delights, and don’t forget to pair your ice cream with some Zesty Bacon Cream for a savory treat to complement your sweet cravings!
Homemade Biscoff Ice Cream Ingredients
For the Ice Cream
• Sweetened Condensed Milk – Provides creaminess and sweetness; you can substitute with a homemade version using milk and sugar.
• Biscoff Cookie Butter – Adds rich, spiced flavor; if unavailable, substitute with any nut butter or cookie spread.
• Heavy Whipping Cream – Creates a light, fluffy texture; replace with coconut cream for a dairy-free version.
• Vanilla Extract – Enhances flavor; pure vanilla extract is preferred for the best taste.
• Chopped Biscoff Cookies – Adds a crunchy texture; use any chocolate or vanilla cookies as a substitute.
Enjoy making your Homemade Biscoff Ice Cream with these simple yet essential ingredients!
Step‑by‑Step Instructions for Homemade Biscoff Ice Cream
Step 1: Mix Condensed Milk and Cookie Butter
In a large mixing bowl, whisk together the sweetened condensed milk and 1/2 cup of Biscoff cookie butter until the mixture is smooth and creamy, about 2 minutes. You want a luscious blend that becomes a delightful base for your homemade Biscoff ice cream. This step sets the stage for those rich flavors that will make your ice cream irresistible.
Step 2: Melt Remaining Cookie Butter
Place the remaining 1/2 cup of Biscoff cookie butter in a microwave-safe bowl and heat in the microwave for about 30 seconds, or until it becomes warm and pourable. Stir it well to ensure it’s completely smooth. This melted cookie butter will serve as a delicious swirl in your ice cream, enhancing its flavor and texture.
Step 3: Whip the Cream
In a separate bowl, use an electric mixer to beat the heavy whipping cream and vanilla extract together on medium-high speed for about 3-5 minutes. Look for the formation of stiff peaks; this means your cream is well whipped and airy. Gently ensure that the mixture is light, as this will be folded into the cookie butter mixture for a creamy homemade Biscoff ice cream.
Step 4: Fold in the Mixtures
Carefully fold the whipped cream into the cookie butter mixture using a spatula. Go slowly and gently, aiming to preserve the airiness of the whipped cream while blending the two mixtures together. This ensures that your ice cream will have a luxuriously smooth and fluffy texture that everyone will love.
Step 5: Add Chopped Cookies
Once well combined, gently fold in 1 cup of the chopped Biscoff cookies. These cookie pieces will provide delightful crunch and flavor to your homemade Biscoff ice cream. Be careful not to overmix; you want to retain those tasty chunks throughout the mixture.
Step 6: Layer in Loaf Pan
Pour 1/3 of the ice cream mixture into a loaf pan, spreading it evenly using a spatula. This will be the first layer of your beautiful ice cream. The loaf pan allows for a lovely presentation and easy scooping once frozen.
Step 7: Create Layers with Cookie Butter
Drizzle the melted Biscoff cookie butter over the first layer of ice cream, letting it add richness and flavor. Next, add another 1/3 of the ice cream mixture on top and spread it out evenly. This technique ensures that every scoop will have those scrumptious swirls of cookie butter throughout.
Step 8: Swirl the Mixtures
Repeat the layering process by adding the final 1/3 of the ice cream mixture to the pan. Use a knife or chopstick to gently swirl the melted cookie butter into the top layer, creating beautiful patterns. This will give your homemade Biscoff ice cream a visual appeal, enticing anyone to grab a scoop.
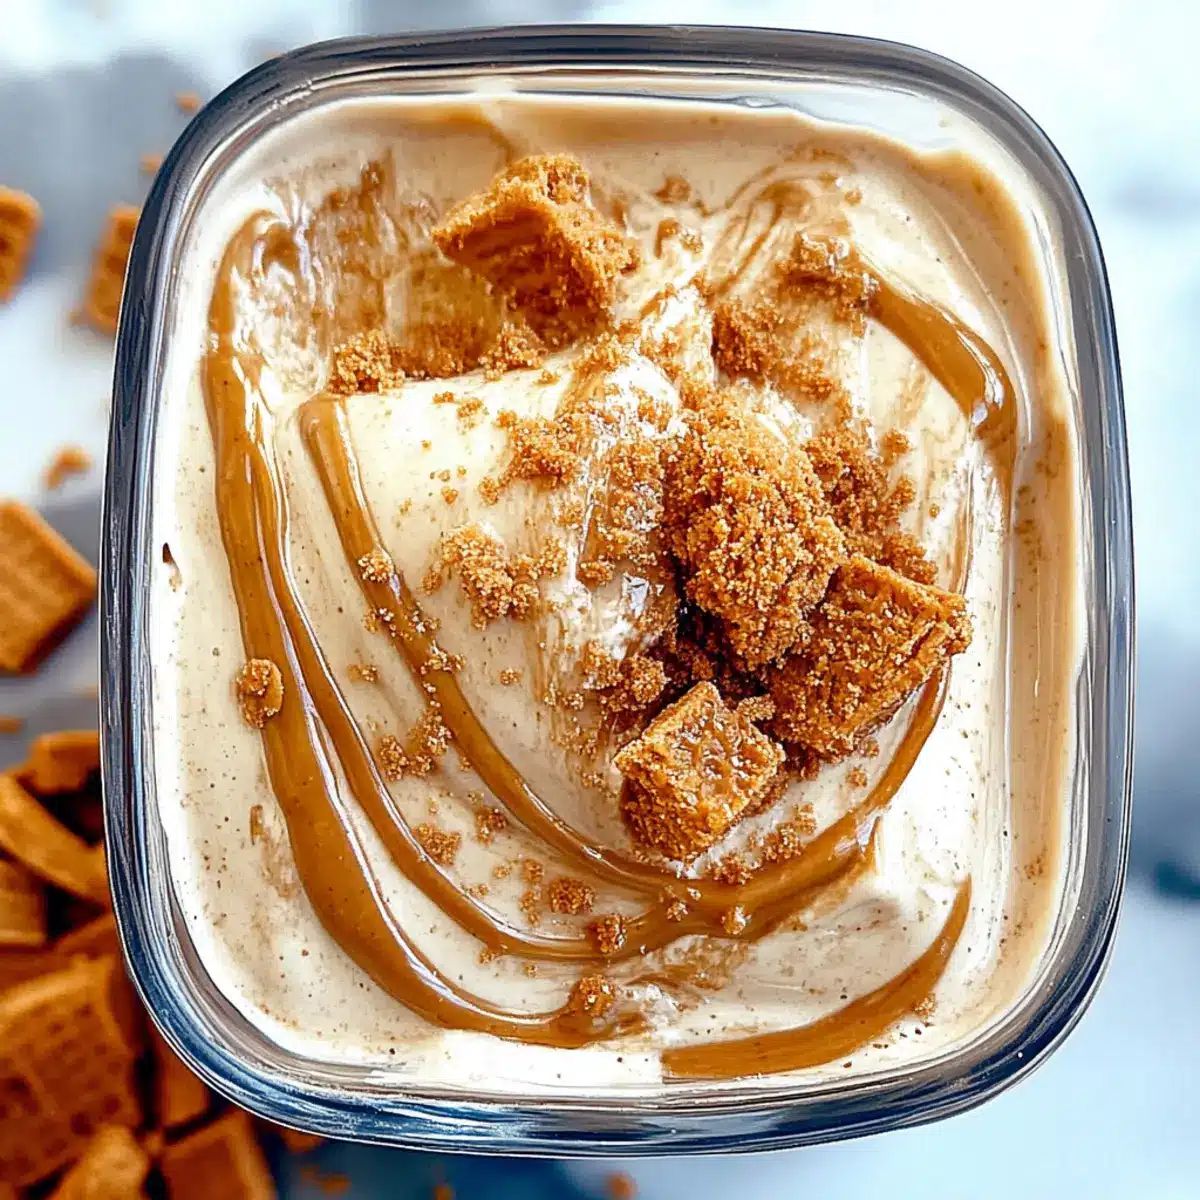
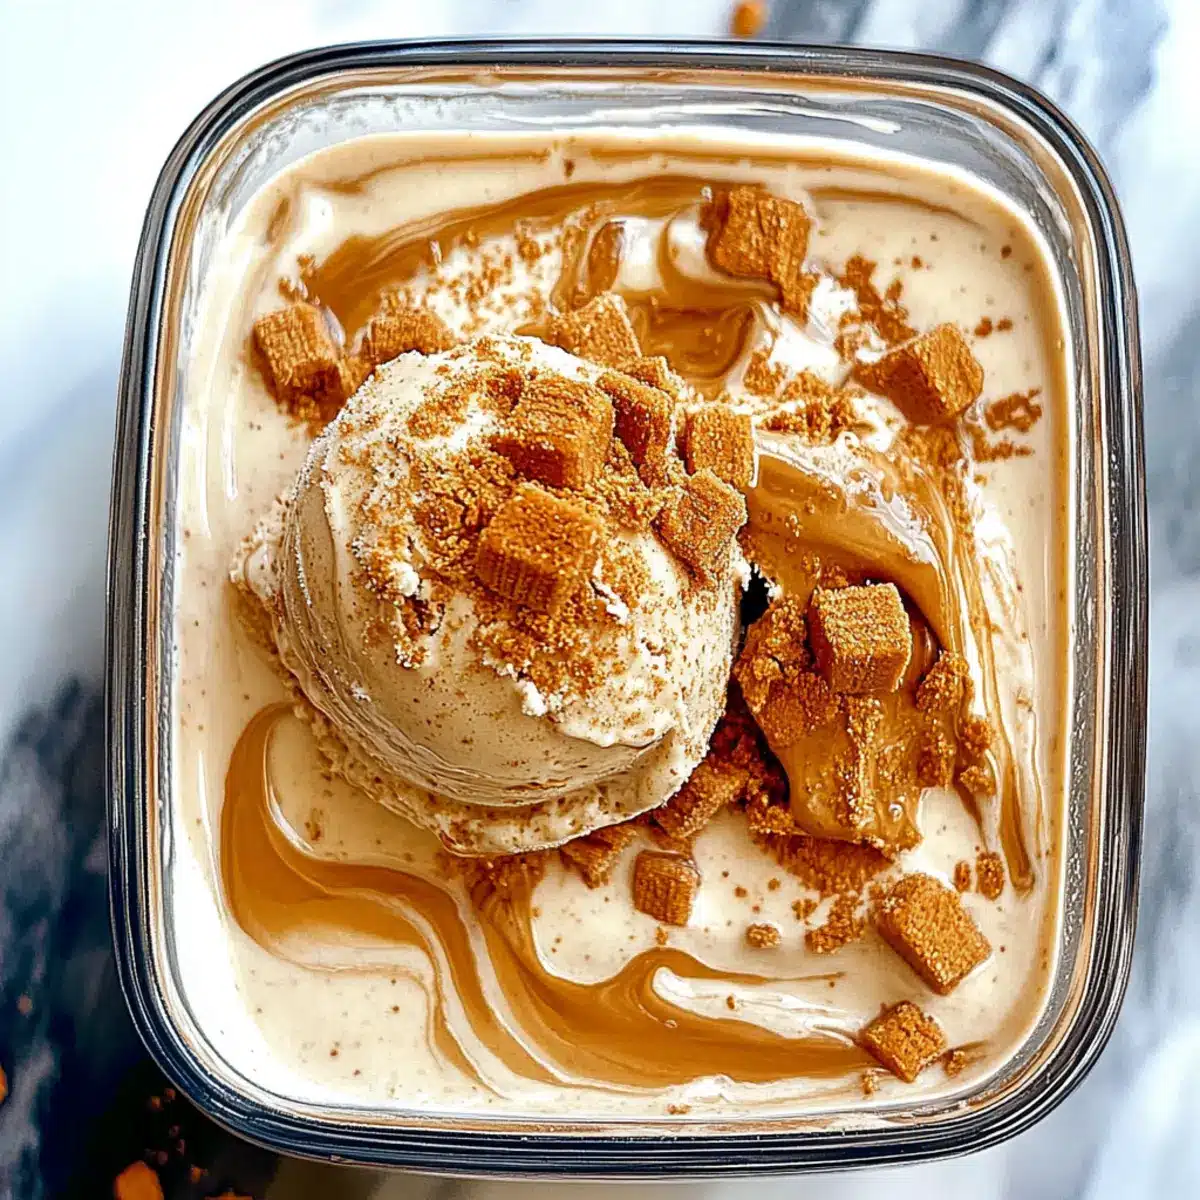
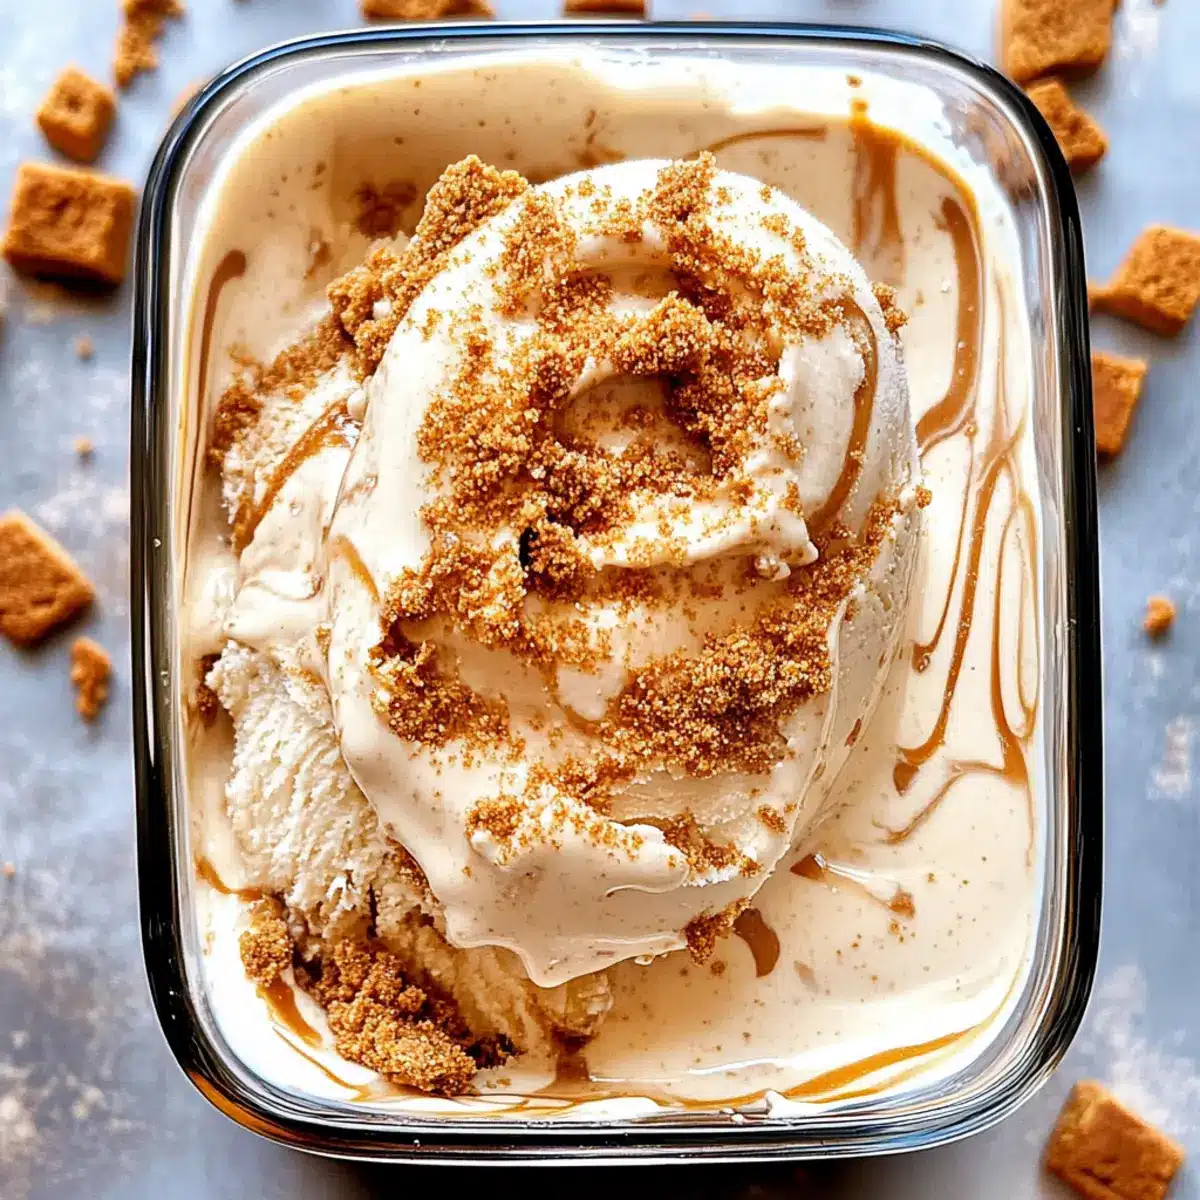
Step 9: Final Touches and Freeze
Sprinkle the remaining chopped Biscoff cookies generously over the top of the ice cream. Cover the loaf pan tightly with plastic wrap to prevent freezer burn. Place it in the freezer for at least 8 hours or until the ice cream is firm. Patience is key here, as the flavors meld together beautifully during freezing.

Homemade Biscoff Ice Cream Variations
Feel free to get creative and tailor your ice cream experience to your liking with these fun twists!
-
Nut Butter Swap: Replace Biscoff cookie butter with any nut butter for a different flavor, such as almond or peanut butter. This offers a delightful, nutty richness that’s simply irresistible!
-
Dairy-Free Version: Use coconut cream and dairy-free sweetened condensed milk for a vegan treat. The creamy texture of coconut cream is a fantastic alternative that still delivers comfort without dairy.
-
Chocolate Delight: Add a handful of chocolate chips or chunks for an extra sweet surprise. The combination of chocolate and Biscoff cookie flavors is a match made in heaven!
-
Spicy Kick: Mix in a dash of cinnamon or a sprinkle of cayenne pepper to the cookie butter for a warm, spicy finish. The subtle heat will surprise and delight your taste buds!
-
Caramel Swirls: Incorporate swirls of caramel sauce for an added layer of sweetness. Drizzling caramel throughout creates beautiful patterns while intensifying the flavor profile.
-
Crunchy Toppings: Top with crushed nuts or another type of cookies for an exciting texture. A delightfully crunchy contrast elevates your ice cream experience!
-
Fruit Fusion: Toss in some diced ripe bananas or berries for a fruity twist. The freshness of fruit pairs beautifully with the richness of the ice cream, creating a balanced treat.
-
Decadent Layering: Layer your ice cream with additional scoops of other flavors, such as making an ice cream sundae topped with Biscoff Cookie Butter or a drizzle of Butterbeer Cream Cake for something truly magical.
With each of these options, your homemade ice cream will be uniquely yours! Enjoy experimenting and discovering your perfect scoop!
What to Serve with Homemade Biscoff Ice Cream?
Indulge in a delightful summer feast by pairing your creamy ice cream with other delicious treats that elevate your dessert experience.
-
Chocolate Brownies: The fudgy richness of brownies complements the sweet spice of Biscoff, creating a blissful contrast in flavors. A scoop of ice cream alongside a warm brownie makes for a heavenly dessert duo.
-
Fresh Berries: Juicy strawberries or raspberries add a tart freshness that balances the indulgent sweetness of the ice cream. Toss them in a little sugar for an extra pop of flavor!
-
Caramel Sauce: Drizzling warm caramel over your ice cream introduces a delightful sweetness and a beautiful glossy finish. The smooth caramel enhances the luscious nature of the homemade Biscoff ice cream.
-
Waffle Cones: Crunchy waffle cones are perfect for scooping up creamy ice cream, making for a classic sweet treat. Plus, you can fill the cone with crushed Biscoff cookies for an extra delightful twist.
-
Coffee: A rich cup of coffee complements the spiced flavors of the ice cream beautifully. The warm bitterness of coffee can enhance the overall dessert experience, creating a satisfying balance.
-
Coconut Macaroons: These chewy treats add extra texture and a tropical twist. Their sweet, nutty flavor pairs wonderfully with the cookie richness, offering delightful variance in your dessert bite.
-
Chocolate Sauce: Pouring melted chocolate over your ice cream brings an element of decadence, creating a dreamy, velvety treat. Let the chocolate drips cascade over the creamy Biscoff, igniting a flavor explosion.
-
Peanut Butter Cookies: The nutty crunch of peanut butter cookies provides a contrast to the smooth ice cream. Crumbling a few over the top creates a delightful textural play and a heavenly flavor combination.
-
Cinnamon Sugar Tortilla Chips: Crisp, sweet tortilla chips dusted with cinnamon sugar make for an addictive crunch to scoop or dip into your ice cream. They introduce a unique flavor that dances with the Biscoff cookie essence!
How to Store and Freeze Homemade Biscoff Ice Cream
- Fridge: Homemade Biscoff Ice Cream can be stored in the refrigerator for about 30 minutes if you need to soften it slightly before serving.
- Freezer: Keep the ice cream in an airtight container to maintain its creamy texture for up to 2 weeks. Make sure to cover the surface with plastic wrap before sealing the container.
- Reheating: Allow the ice cream to sit at room temperature for 5-10 minutes before scooping for easier serving. This helps restore its luscious, creamy consistency.
- Preventing Ice Crystals: To avoid ice crystals forming, ensure the container has minimal air inside. Use a spatula to press the ice cream down before sealing.
Expert Tips for Homemade Biscoff Ice Cream
-
Stiff Peaks: Ensure the cream is beaten to stiff peaks for a light and fluffy texture that makes your Homemade Biscoff Ice Cream truly delightful.
-
Gently Fold: Be careful when folding the whipped cream into the mixture; overmixing can deflate your ice cream, resulting in a denser final product.
-
Prepping the Pan: Line your loaf pan with parchment paper for easier removal of the ice cream once frozen. It helps in serving those pristine scoops.
-
Layer Wisely: When drizzling the melted cookie butter, alternate the layers evenly to ensure every scoop has that rich swirl throughout, enhancing flavor and appeal.
-
Be Patient: Allow the ice cream to sit out for a few minutes post-freezing before scooping. This simple trick makes serving a breeze!
Make Ahead Options
These Homemade Biscoff Ice Cream treats are perfect for prep-ahead enthusiasts! You can mix together the sweetened condensed milk and cookie butter up to 24 hours in advance, allowing those flavors to marry beautifully. Simply store this mixture in an airtight container in the refrigerator until you’re ready to whip the heavy cream. Additionally, you can chop the Biscoff cookies ahead of time and keep them in a sealed bag for up to 3 days. When you’re ready to finish your Homemade Biscoff Ice Cream, whip the cream, fold in the prepared mixtures, and layer everything as instructed before freezing. This method saves you time and provides that indulgent flavor just as fresh!
Homemade Biscoff Ice Cream Recipe FAQs
How do I select ripe ingredients for this recipe?
Absolutely! For the best results, ensure your heavy whipping cream is fresh and has not been sitting in the fridge for too long, as this will affect the overall creaminess. Vanilla extract should be pure for the most flavorful experience. As for the Biscoff cookie butter, check for any separation; it should be smooth and easily spoonable without any dark spots.
How can I store my Homemade Biscoff Ice Cream?
To keep your homemade Biscoff ice cream fresh and delicious, store it in an airtight container in the freezer. Cover the surface with plastic wrap before sealing the container to reduce air exposure, and it should maintain its perfect texture for up to 2 weeks. If you’re planning to enjoy it for a longer period, consider labeling it with the date to keep track!
Can I freeze the Homemade Biscoff Ice Cream, and how should I do it?
Yes, you can absolutely freeze your Homemade Biscoff Ice Cream! Pour the mixture into an airtight container, making sure to smooth the top as much as possible to limit air pockets. Seal it tightly and freeze for at least 8 hours or overnight for best results. When you’re ready to enjoy, simply let it sit at room temperature for about 5-10 minutes before scooping; this will make it easier to serve.
What should I do if my ice cream isn’t creamy enough?
If your ice cream turns out less creamy than expected, it might be due to under-whipping your cream. Ensure that your heavy whipping cream is whipped to stiff peaks before folding it into the mixture. Additionally, when mixing, be gentle; avoiding overmixing helps maintain the airiness in the ice cream. Another tip is to let the mixture sit for a few moments before serving, as this can help regain a smoother texture.
Are there any dietary considerations for this ice cream recipe?
Very! If you’re making this for guests with dietary restrictions, you can substitute the heavy cream with coconut cream for a dairy-free version, and use dairy-free condensed milk to make it completely vegan. Make sure to also check the Biscoff cookie ingredients for any allergens. While this ice cream is indulgent, enjoy it as an occasional treat instead of a daily dessert!
Creamy Homemade Biscoff Ice Cream You Can Make in 15 Minutes
Ingredients
Equipment
Method
- In a large mixing bowl, whisk together the sweetened condensed milk and 1/2 cup of Biscoff cookie butter until smooth and creamy, about 2 minutes.
- Place the remaining 1/2 cup of Biscoff cookie butter in a microwave-safe bowl and heat for about 30 seconds, until warm and pourable.
- In a separate bowl, beat the heavy whipping cream and vanilla extract together on medium-high speed for about 3-5 minutes until stiff peaks form.
- Carefully fold the whipped cream into the cookie butter mixture using a spatula.
- Once well combined, gently fold in 1 cup of the chopped Biscoff cookies.
- Pour 1/3 of the ice cream mixture into a loaf pan, spreading it evenly.
- Drizzle the melted Biscoff cookie butter over the first layer of ice cream, then add another 1/3 of the ice cream mixture on top.
- Repeat the layering process by adding the final 1/3 of the ice cream mixture and swirl the melted cookie butter gently into the top layer.
- Sprinkle the remaining chopped Biscoff cookies over the top, cover the loaf pan with plastic wrap, and freeze for at least 8 hours.
Leave a Reply