
There’s something magical about the smell of freshly baked biscuits wafting through the house; it’s like a warm embrace that invites everyone to gather. These Gluten-Free Honey Biscuits strike the perfect balance of soft and buttery goodness while being naturally sweet—ideal for brightening up any brunch or cozy evening at home. Not only are they simple to whip up, but they also cater to those who embrace gluten-free living without sacrificing taste. With a few basic ingredients and a gentle mixing hand, you’ll create tender biscuits that are sure to elicit compliments from friends and family alike. Curious about how to make this delightful treat? Let’s dive into the sweet world of baking!
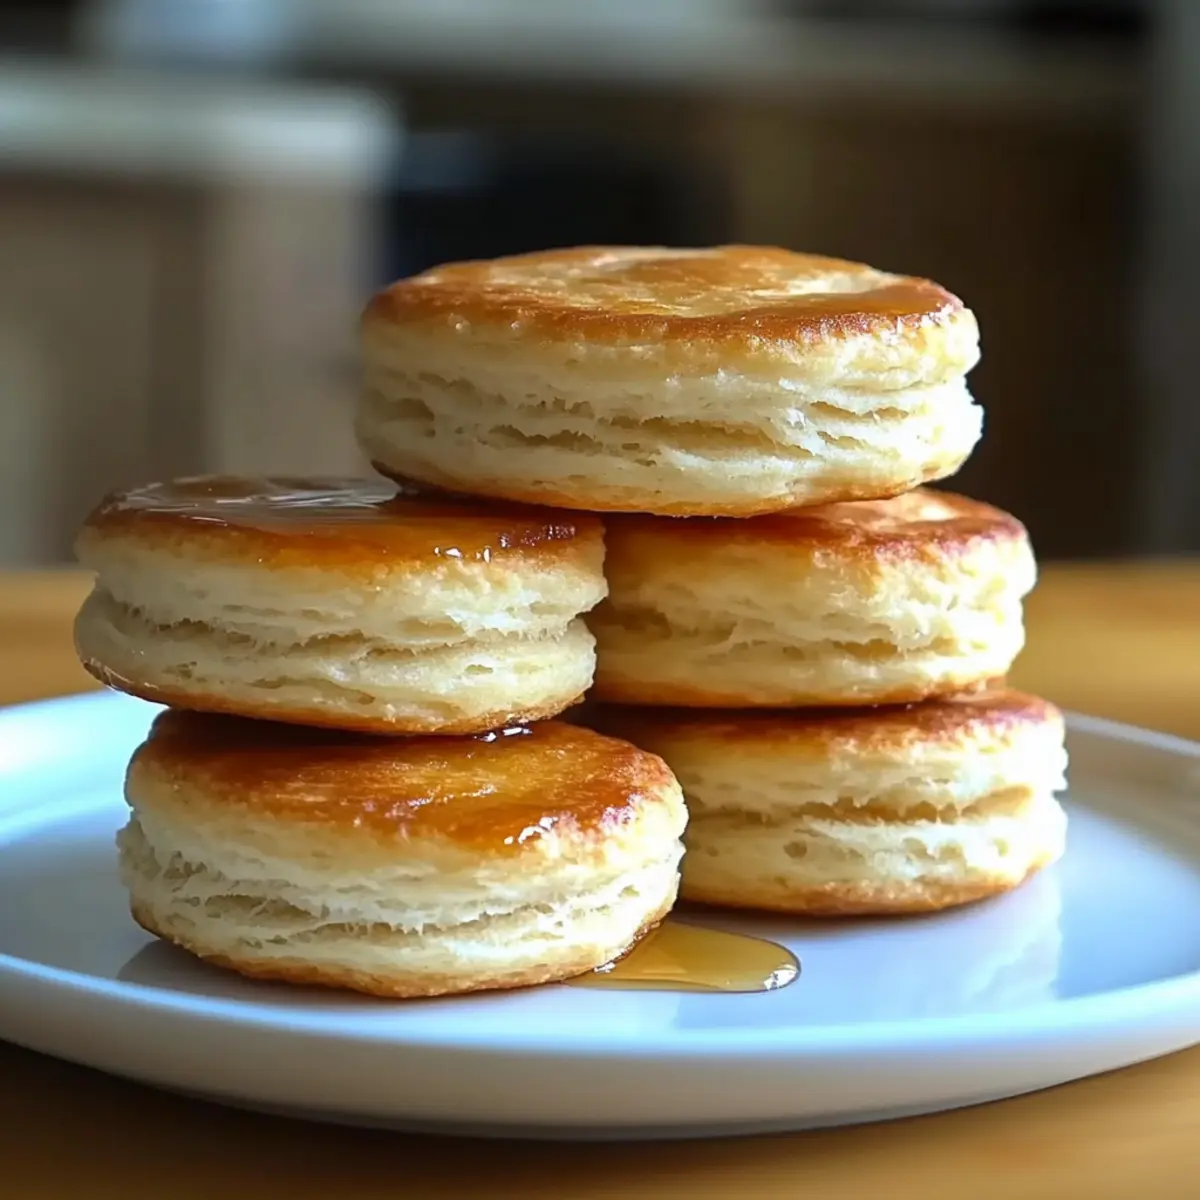
Why Are These Biscuits So Irresistible?
Simplicity: You’ll find this recipe incredibly easy, using basic baking techniques that anyone can master.
Delectable Sweetness: The honey not only sweetens but also adds moisture, making these biscuits a delightful treat you can’t resist.
Allergen-Friendly: Perfect for those with dietary restrictions, these gluten-free biscuits ensure everyone can enjoy delicious baked goods.
Versatile Add-ins: Feel free to get creative! Add cinnamon, orange zest, or even chocolate chips to customize your biscuits to your taste.
Crowd-Pleaser: Serve them warm at brunch and watch as family and friends eagerly devour each fluffy bite. They pair beautifully with homemade jam, similar to what you’d find in our Hot Honey Garlic recipe!
Make-Ahead Option: Bake a batch in advance to enjoy fresh biscuits anytime you desire; simply store them in the fridge or freezer.
Gluten-Free Honey Biscuits Ingredients
• Embrace the sweetness with these simple ingredients!
For the Biscuit Base
- Gluten-Free All-Purpose Flour – 1.5 cups; ensures a solid structure for your biscuits, choose one with xanthan gum for best results.
- Almond Flour – 0.5 cups; adds a lovely nutty flavor—coconut flour is a great substitute if you’re looking for a different twist.
- Baking Powder – 2 tsp; this leavening agent helps the biscuits rise perfectly.
- Baking Soda – 0.25 tsp; gives an extra lift to keep your biscuits fluffy.
- Sea Salt – 0.25 tsp; enhances the overall flavor by balancing the sweetness.
For the Buttery Goodness
- Cold Unsalted Butter – 0.25 cups; keeps the biscuits flaky and rich, so make sure it’s cold before mixing!
For Sweetness and Moisture
- Honey – 0.33 cups; the star sweetener of these biscuits that adds both moisture and a delightful taste; feel free to swap with maple syrup.
- Large Egg – 1; binds everything together; can use a flax egg for a vegan alternative.
- Unsweetened Almond Milk – 0.33 cups; keeps the dough moist; substitute with any preferred milk.
- Apple Cider Vinegar – 1 tsp; this ingredient aids in creating a tender crumb.
- Pure Vanilla Extract – 1 tsp (optional); adds a warm sweetness to enhance the flavor profile.
Add-Ins for Customization
- Optional Add-ins – Feel free to get creative with cinnamon, orange zest, chopped nuts, or dried cranberries to tailor these Gluten-Free Honey Biscuits to your taste.
Step‑by‑Step Instructions for Gluten-Free Honey Biscuits
Step 1: Preheat the Oven
Start by preheating your oven to 375°F (190°C) while you prepare your baking sheet. Line a baking sheet with parchment paper to prevent sticking and ensure easy cleanup. This step sets the stage for your Gluten-Free Honey Biscuits to bake perfectly, giving them that golden-brown finish we all crave.
Step 2: Mix the Dry Ingredients
In a large mixing bowl, whisk together the gluten-free all-purpose flour, almond flour, baking powder, baking soda, and sea salt until well combined. This ensures that all your leavening agents are evenly distributed, which is essential for achieving the ideal rise in your biscuits. The mixture should appear light and fluffy, inviting you to continue with the next steps.
Step 3: Cut in the Butter
Next, take cold unsalted butter straight from the fridge and cut it into small cubes. Using a pastry cutter or your fingertips, work the butter into the dry mixture until it resembles coarse crumbs. This process is key to achieving that flaky, tender texture in your Gluten-Free Honey Biscuits, so be gentle and avoid overmixing.
Step 4: Combine Wet Ingredients
In a separate bowl, whisk together the honey, large egg, unsweetened almond milk, apple cider vinegar, and vanilla extract (if using) until smooth. This liquid mixture adds moisture and sweetness to your dough, forming the perfect balance with the dry ingredients. It should be free of lumps, rich, and inviting.
Step 5: Form the Dough
Pour the wet ingredients into the bowl of dry ingredients and stir gently until a soft, sticky dough forms. If the dough feels too dry, add a little more almond milk; if too sticky, sprinkle in a bit more gluten-free flour. This dough should be soft but manageable, making it easy to spoon or cut onto your prepared baking sheet.
Step 6: Shape the Biscuits
Use a spoon or cookie scoop to drop generous portions of dough onto the lined baking sheet, leaving space between each mound. Each biscuit should be about 2 inches apart, as they will expand while baking. Keep in mind that they will puff up beautifully, promising a delightful fluffy interior.
Step 7: Bake the Biscuits
Slide the baking sheet into your preheated oven and bake for 12-15 minutes, or until the biscuits are golden brown with slightly crispy edges. The warm aroma of these Gluten-Free Honey Biscuits will fill your kitchen, signaling that they are nearly ready to emerge from the oven!
Step 8: Cool and Serve
Once baked to perfection, remove the biscuits from the oven and allow them to cool on a wire rack for at least 10 minutes. If you like, brush the tops with a drizzle of warm honey for an extra touch of sweetness before serving. These biscuits are best enjoyed warm, offering a soft, buttery bite that everyone will love.
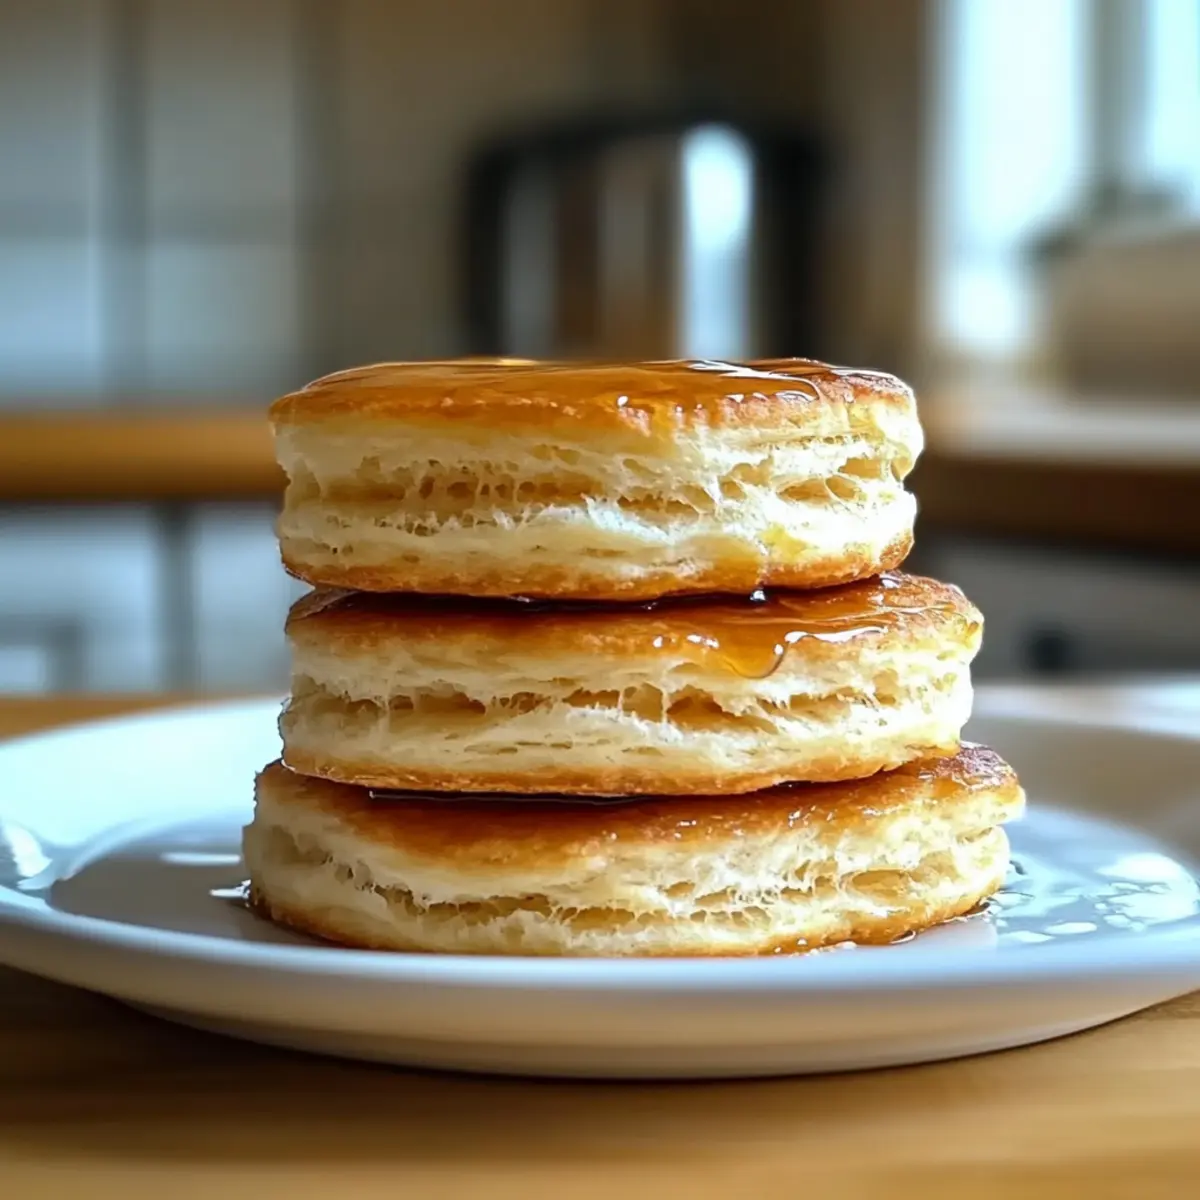
What to Serve with Gluten-Free Honey Biscuits
Pair these delightful biscuits with a range of flavors and textures to create a comforting meal that warms the heart.
-
Creamy Butter: A generous pat of butter melts into the warm biscuits, enhancing their buttery flavor and making each bite irresistibly rich.
-
Homemade Jam: Pair with a tangy homemade jam; the sweetness of the honey biscuits combined with the jam’s tartness creates a beautiful balance.
-
Fruity Salad: A refreshing fruit salad adds a burst of freshness, complementing the sweetness of the biscuits while offering a satisfying crunch.
-
Savory Cheese Platter: Slice up some aged cheese for a savory contrast; the creaminess of the cheese contrasts beautifully with the soft, sweet biscuits.
-
Herbal Tea: Brew a fragrant cup of herbal tea, such as chamomile or mint; its warmth and soothing qualities enhance the cozy experience of enjoying biscuits.
-
Whipped Cream: A dollop of lightly sweetened whipped cream gives a delightful touch, making for a decadent dessert-style indulgence that can’t be missed.
-
Roasted Vegetables: Serve with a side of lightly roasted seasonal vegetables to bring in earthy flavors that balance the sweetness of the biscuits.
-
Chocolate Drizzle: Drizzled chocolate adds a luscious touch, perfect for those with a sweet tooth, turning an already delectable biscuit into an indulgent treat.
Expert Tips for Gluten-Free Honey Biscuits
-
Keep It Cold: Ensure your unsalted butter is cold to achieve those flaky layers. Warm butter will lead to greasy biscuits.
-
Don’t Overmix: Mix the wet and dry ingredients until just combined to maintain a tender texture in your Gluten-Free Honey Biscuits.
-
Check for Doneness: Look for golden edges and a fragrant aroma to tell when your biscuits are done baking. Undercooking can leave them gummy inside.
-
Customize Wisely: Experiment with add-ins like cinnamon or citrus zest, but keep the dough’s consistency in mind. Too much can affect texture.
-
Storage Savvy: Store biscuits in an airtight container for up to 3 days or freeze for longer freshness. Reheat in a toaster oven for the best texture!
Gluten-Free Honey Biscuits Variations
Feel free to let your creativity shine in the kitchen! These delightful biscuits can easily adapt to your taste buds and dietary needs.
-
Dairy-Free: Substitute cold unsalted butter with coconut oil or vegan butter for a completely dairy-free version. They’ll still be rich and delightful!
-
Sweetness Boost: Add 1/2 cup of mini chocolate chips or your favorite dried fruit to the dough for bursts of sweetness in every bite. Imagine sinking your teeth into those chewy morsels!
-
Nutty Twist: Replace almond flour with finely ground pecans or hazelnut flour for a deliciously nutty flavor profile. Don’t shy away from experimenting; it can elevate your biscuits in unexpected ways!
-
Citrus Zing: Mix in 1 tablespoon of orange or lemon zest for a fresh, vibrant flavor that brightens up the sweetness of the honey. The zesty aroma will leave your kitchen smelling heavenly!
-
Spicy Kick: Incorporate a pinch of cayenne pepper or black pepper into the dough for a surprising and delightful kick. Just a hint will keep things exciting!
-
Whole Grain: Swap 1/2 cup of gluten-free flour with oat flour for added texture and nuttiness. This change can change the way you approach these biscuits!
-
Savory Version: Mix in chopped fresh herbs like rosemary or thyme and reduce honey to 2 tablespoons for a savory twist ideal for accompanying soups and salads. Who knew biscuits could be so versatile?
-
Brush with Love: Before baking, brush the tops with a mixture of butter and honey or a sprinkle of sea salt for an irresistible crust. A simple step for elevated flavor!
Feel free to explore and experiment as you whip up your batch of Gluten-Free Honey Biscuits. Each variation can bring a new experience, just like our favorites such as Hot Honey Garlic that pairs perfectly with these treats!
Make Ahead Options
These Gluten-Free Honey Biscuits are a fantastic choice for meal prep, saving you time on busy mornings or when entertaining. You can prepare the dry ingredients (gluten-free flour, almond flour, baking powder, baking soda, and salt) and store them in an airtight container up to 3 days in advance. Alternatively, you can mix the wet ingredients and refrigerate them up to 24 hours before baking to enhance their flavors. When you’re ready to enjoy your biscuits, simply combine the prepped ingredients, shape the dough, and bake as directed. This preparation not only keeps your biscuits just as delicious but also gives you the convenience of freshly baked goodness whenever you desire!
Storage Tips for Gluten-Free Honey Biscuits
-
Room Temperature: Keep the biscuits at room temperature in an airtight container for up to 2 days. This maintains their softness and flavor without refrigeration.
-
Fridge: Store in the refrigerator for up to 3 days. Ensure the biscuits are well-wrapped or in a sealed container to avoid drying out.
-
Freezer: Freeze your Gluten-Free Honey Biscuits for up to 1 month. Place them in a freezer-safe bag, removing as much air as possible to prevent freezer burn.
-
Reheating: To enjoy them warm, reheat in a toaster oven or microwave. For the toaster oven, 5-7 minutes at 350°F (175°C) works wonders, keeping them fluffy and delicious.
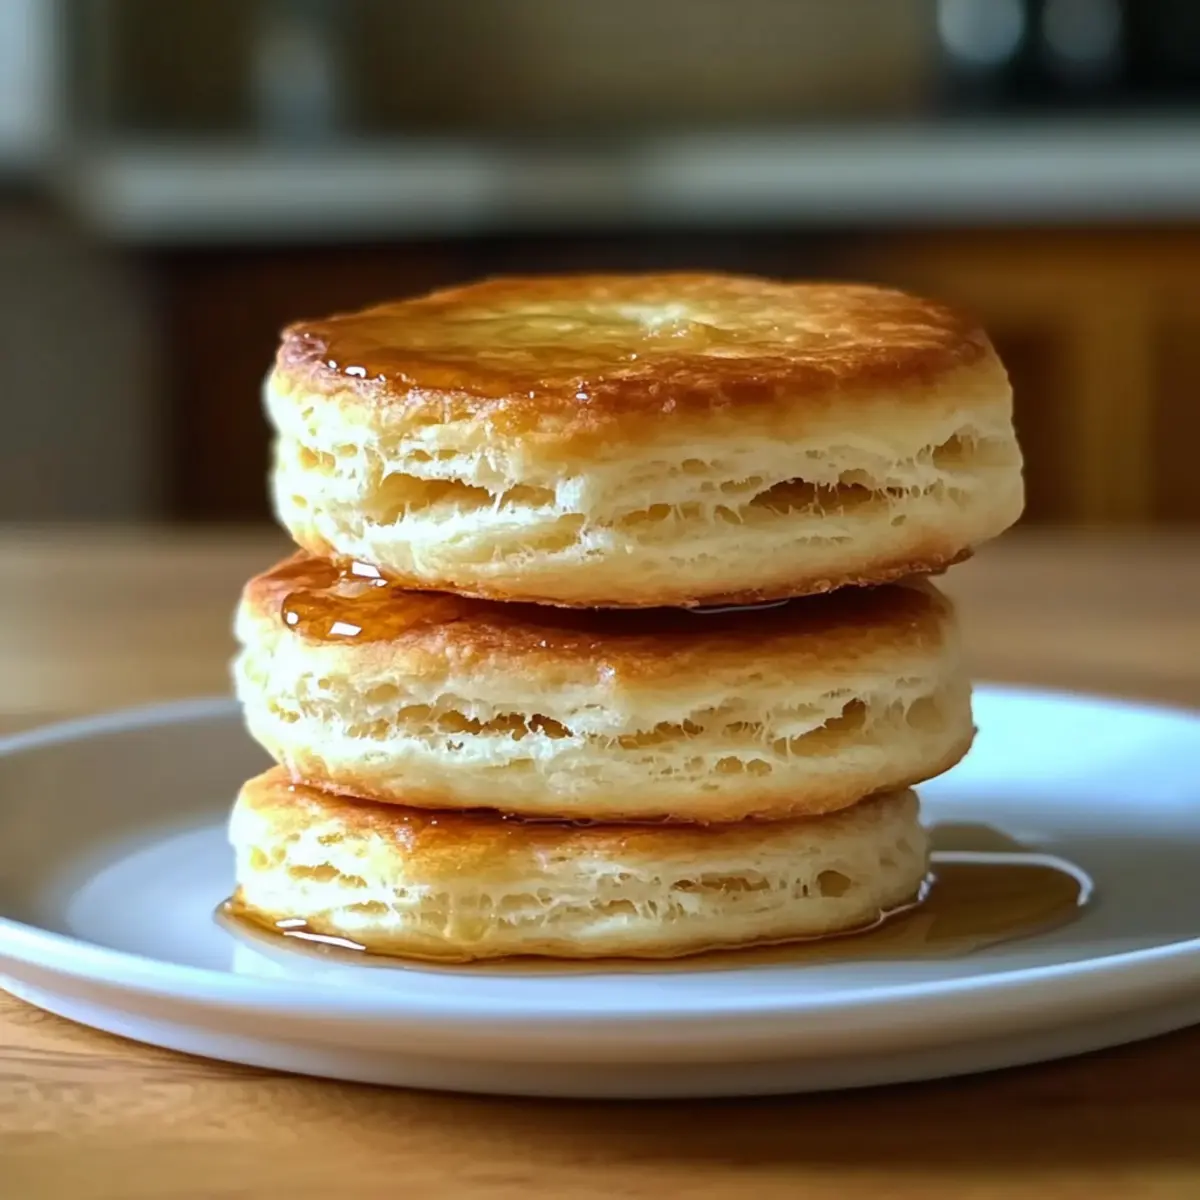
Gluten-Free Honey Biscuits Recipe FAQs
How do I choose the right gluten-free flour for this recipe?
Absolutely! When selecting gluten-free all-purpose flour, look for a blend that includes xanthan gum. This ingredient helps mimic the elasticity found in traditional flour, ensuring your biscuits have a great texture. Brands like Bob’s Red Mill or King Arthur Flour offer excellent options that deliver great results.
What is the best way to store leftover biscuits?
You can store your Gluten-Free Honey Biscuits in an airtight container at room temperature for up to 2 days. However, if you want to keep them fresh longer, pop them in the refrigerator, where they can last for up to 3 days. Just make sure they’re well-wrapped to avoid drying out!
Can I freeze these biscuits? How?
Yes, you can easily freeze your Gluten-Free Honey Biscuits! To do this, let them cool completely, then place them in a freezer-safe bag or container. Be sure to remove as much air as possible to prevent freezer burn. They can be frozen for up to 1 month! When you’re ready to enjoy them, reheat them in a toaster oven at 350°F (175°C) for about 5-7 minutes.
What can I do if my dough is too sticky?
Very! If you find your dough is too sticky, don’t worry. You can gradually sprinkle in a little more gluten-free flour until it reaches a softer, manageable consistency. Just be cautious not to overmix, as that can affect the fluffiness of your biscuits.
Are these biscuits safe for people with nut allergies?
If you’re making these Gluten-Free Honey Biscuits for someone with nut allergies, you can substitute the almond flour with an equal amount of oat flour or a nut-free gluten-free flour blend. This keeps the delightful texture while ensuring safety for everyone enjoying the biscuits.
What should I do if my biscuits don’t rise as expected?
Should your biscuits fail to rise, a couple of things might have happened. Check to ensure your baking powder and baking soda are fresh—they lose potency over time. Also, make sure the butter is cold before it’s cut into the dry ingredients to maintain the lightness of your biscuits. If you find your dough too heavy upon mixing the wet and dry ingredients, that might be a sign to adjust your mixing technique next time.
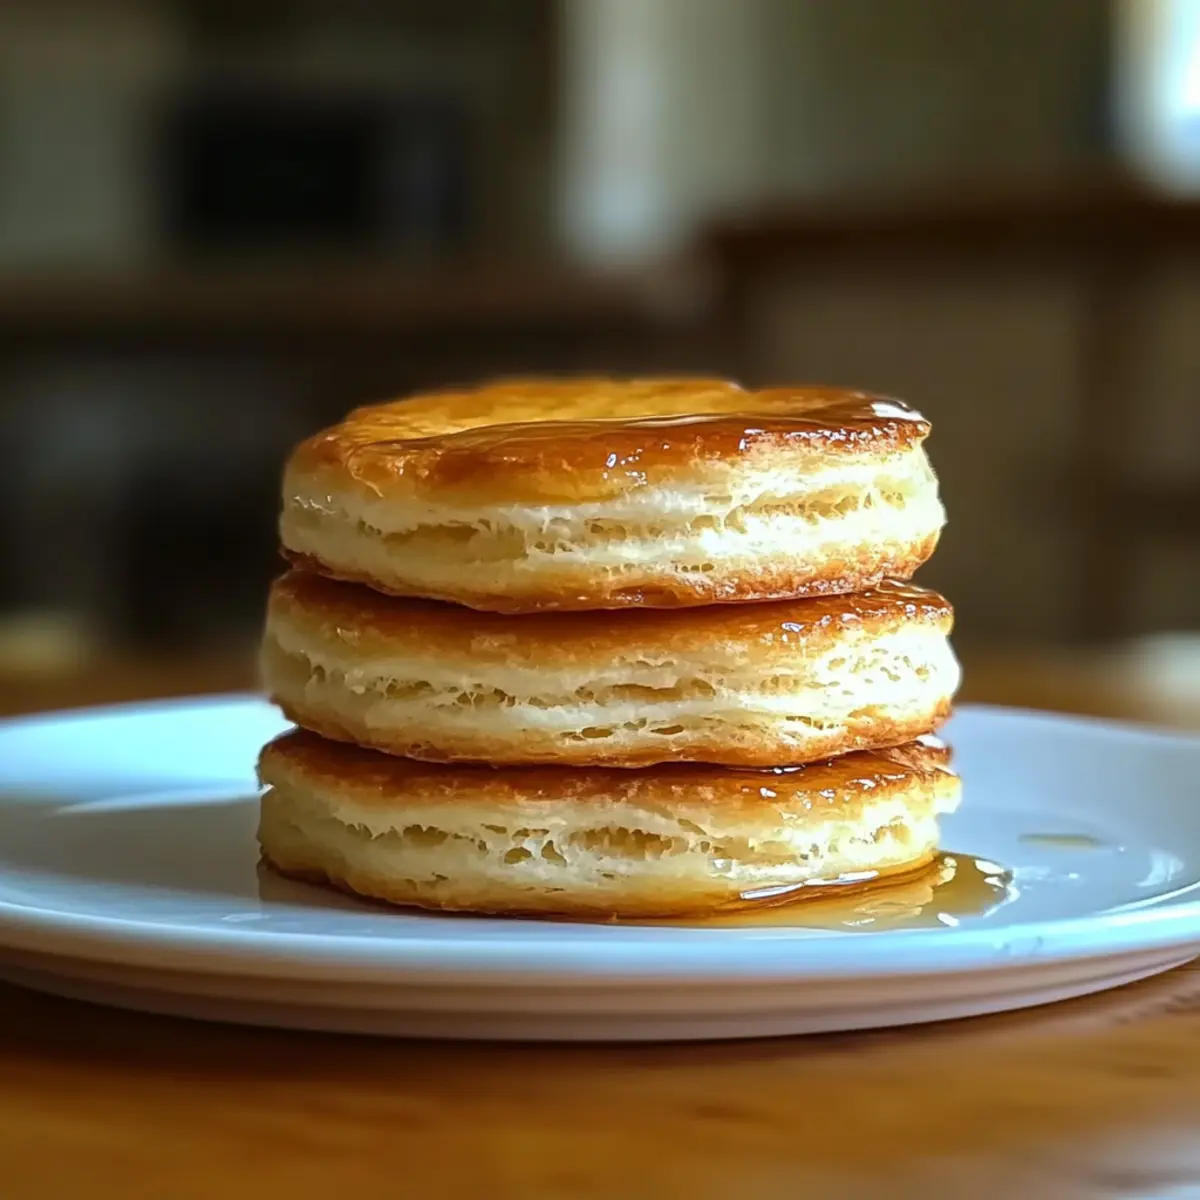
Irresistible Gluten-Free Honey Biscuits: Soft and Sweet Delight
Ingredients
Equipment
Method
- Preheat your oven to 375°F (190°C) and line a baking sheet with parchment paper.
- Whisk together the gluten-free all-purpose flour, almond flour, baking powder, baking soda, and sea salt in a large mixing bowl.
- Cut the cold unsalted butter into small cubes and work it into the dry mixture until it resembles coarse crumbs.
- In a separate bowl, whisk together the honey, egg, almond milk, apple cider vinegar, and vanilla extract until smooth.
- Pour the wet ingredients into the dry ingredients and stir gently until a soft dough forms.
- Drop portions of dough onto the lined baking sheet, leaving space between each.
- Bake for 12-15 minutes or until golden brown with crispy edges.
- Allow the biscuits to cool on a wire rack for at least 10 minutes before serving.
Leave a Reply