
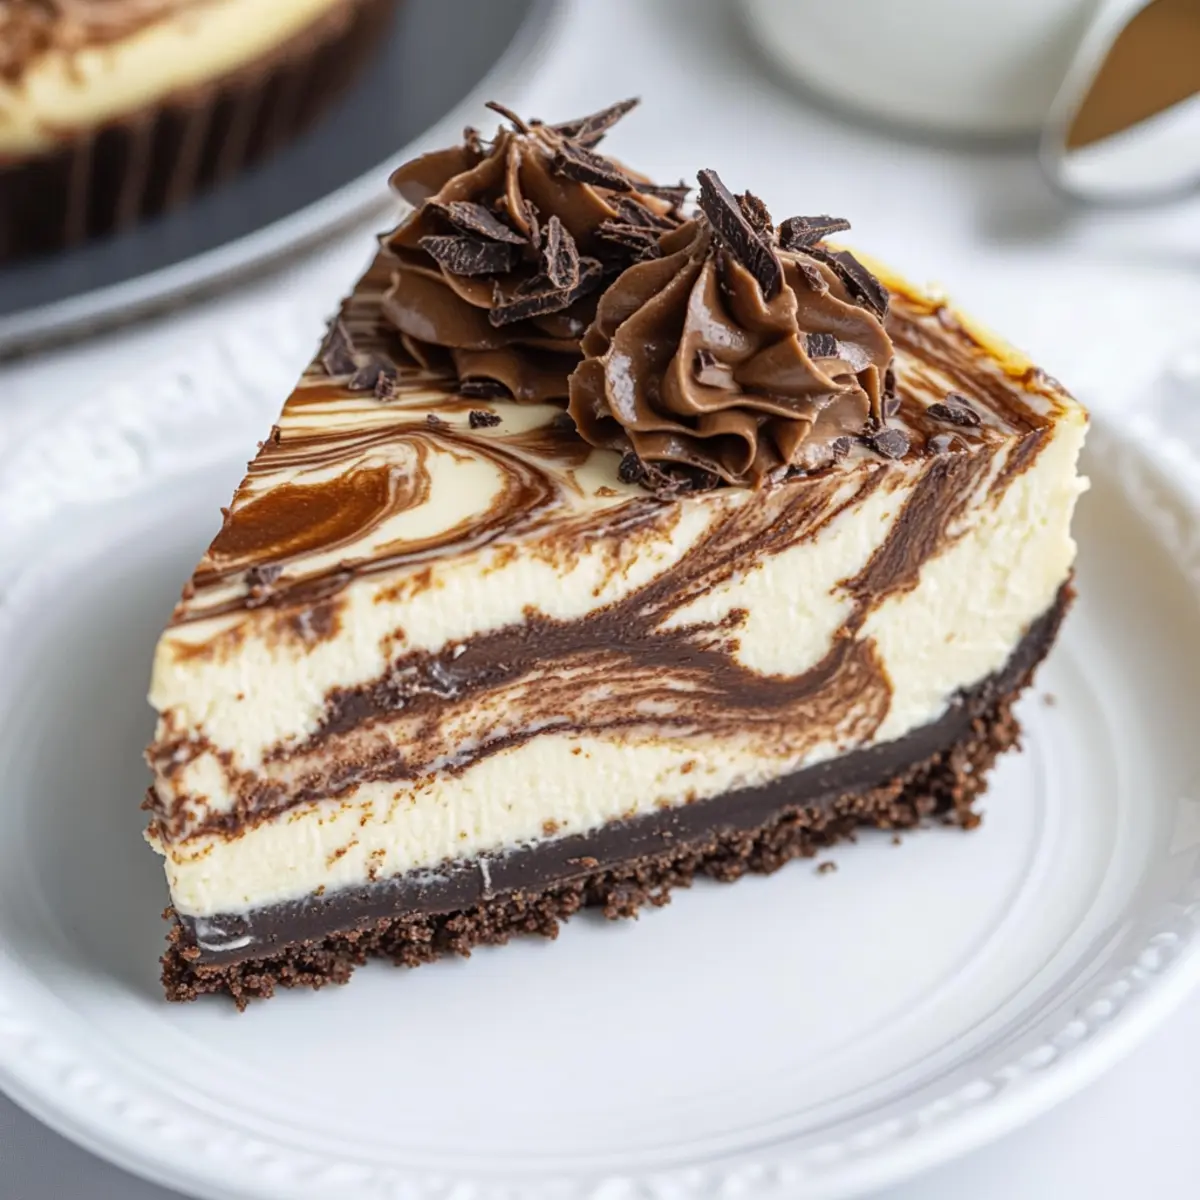
A delightful aroma wafts through the kitchen as I assemble my favorite showstopper: marbled cheesecake. This creamy dessert seamlessly combines the rich, deep flavor of chocolate with the light, airy essence of vanilla, creating an irresistible treat that never fails to impress. Not only is it a feast for the eyes with its stunning swirl patterns, but it’s also perfectly easy to follow, making it a great choice for both seasoned bakers and those just starting their culinary journey. This marbled cheesecake is perfect for celebrations, family gatherings, or simply when you’re in need of a little indulgence. Ready to dive into this mouthwatering recipe and create something truly unforgettable?
Why is Marbled Cheesecake so Irresistible?
Decadence, this marbled cheesecake is the ultimate indulgence, beautifully merging luscious chocolate with silky vanilla for a flavor explosion. Simplicity shines through with easy steps that even beginner bakers can follow—it’s a crowd-pleaser that’s accessible to all! Visual Appeal adds magic; those stunning swirls not only taste great, they look gorgeous on any dessert table. Versatility is key; feel free to swap in your favorite flavors, like fruity purees for a refreshing twist. Make-Ahead Friendly, this cheesecake can be prepared in advance, allowing you to focus on your guests. Elevate your next gathering with this delicious masterpiece that everyone will rave about!
Marbled Cheesecake Ingredients
-
For the Crust
-
Oreo Cookie Crumbs – Forms the crust for a sweet and crunchy base; substitute with graham cracker crumbs for a different flavor.
-
Salted Butter – Binds the cookie crumbs together and adds richness; unsalted butter can also be used if desired.
-
Granulated Sugar – Sweetens the crust and cheesecake; can be substituted with a sugar alternative if needed.
-
For the Cheesecake Filling
-
Semi-sweet or Dark Chocolate Chips – Provides the chocolate layer in the cheesecake; milk chocolate can be used for a sweeter version.
-
Granulated Sugar (for cheesecake filling) – Adds sweetness to balance the flavors; no substitutions recommended for the base recipe.
-
Cornstarch – Stabilizes the cheesecake filling, helping to prevent cracks; arrowroot powder can be an alternative.
-
Full-fat Cream Cheese – Ensures a rich and creamy texture; avoid organic cream cheese as it can be denser.
-
Large Eggs – Help set and provide structure to the cheesecake; room temperature eggs mix better.
-
Full-fat Sour Cream – Adds moisture and richness; can replace it with Greek yogurt for a lighter option.
-
Vanilla Extract – Enhances flavor; consider using vanilla bean paste for a more intense taste.
-
For the Garnish
-
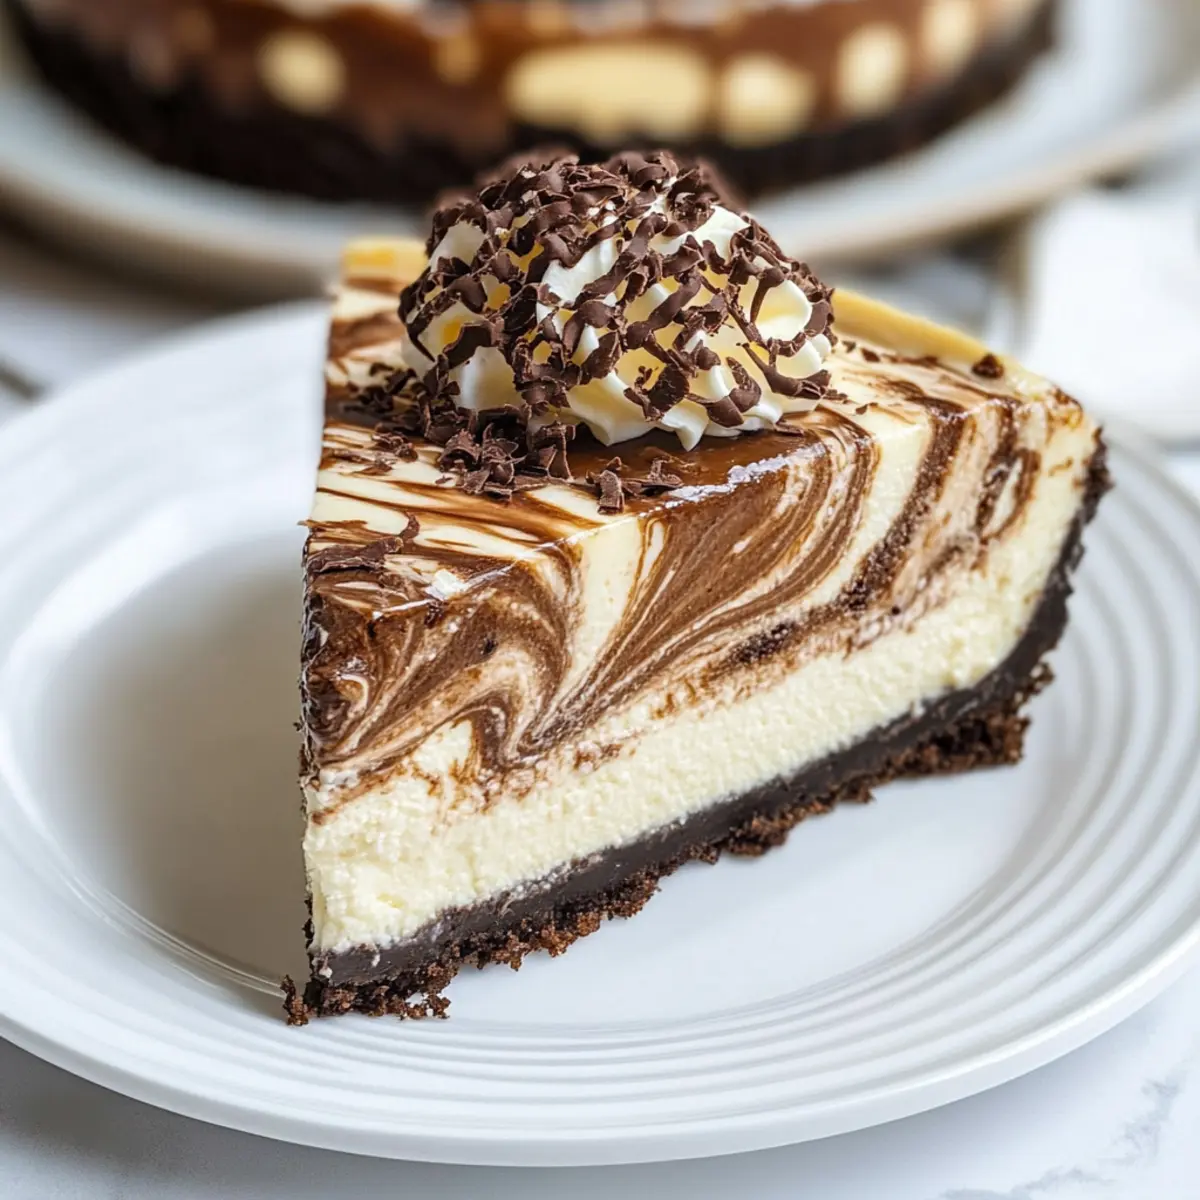
Whipped Cream – Adds a light and airy touch to the cheesecake.
-
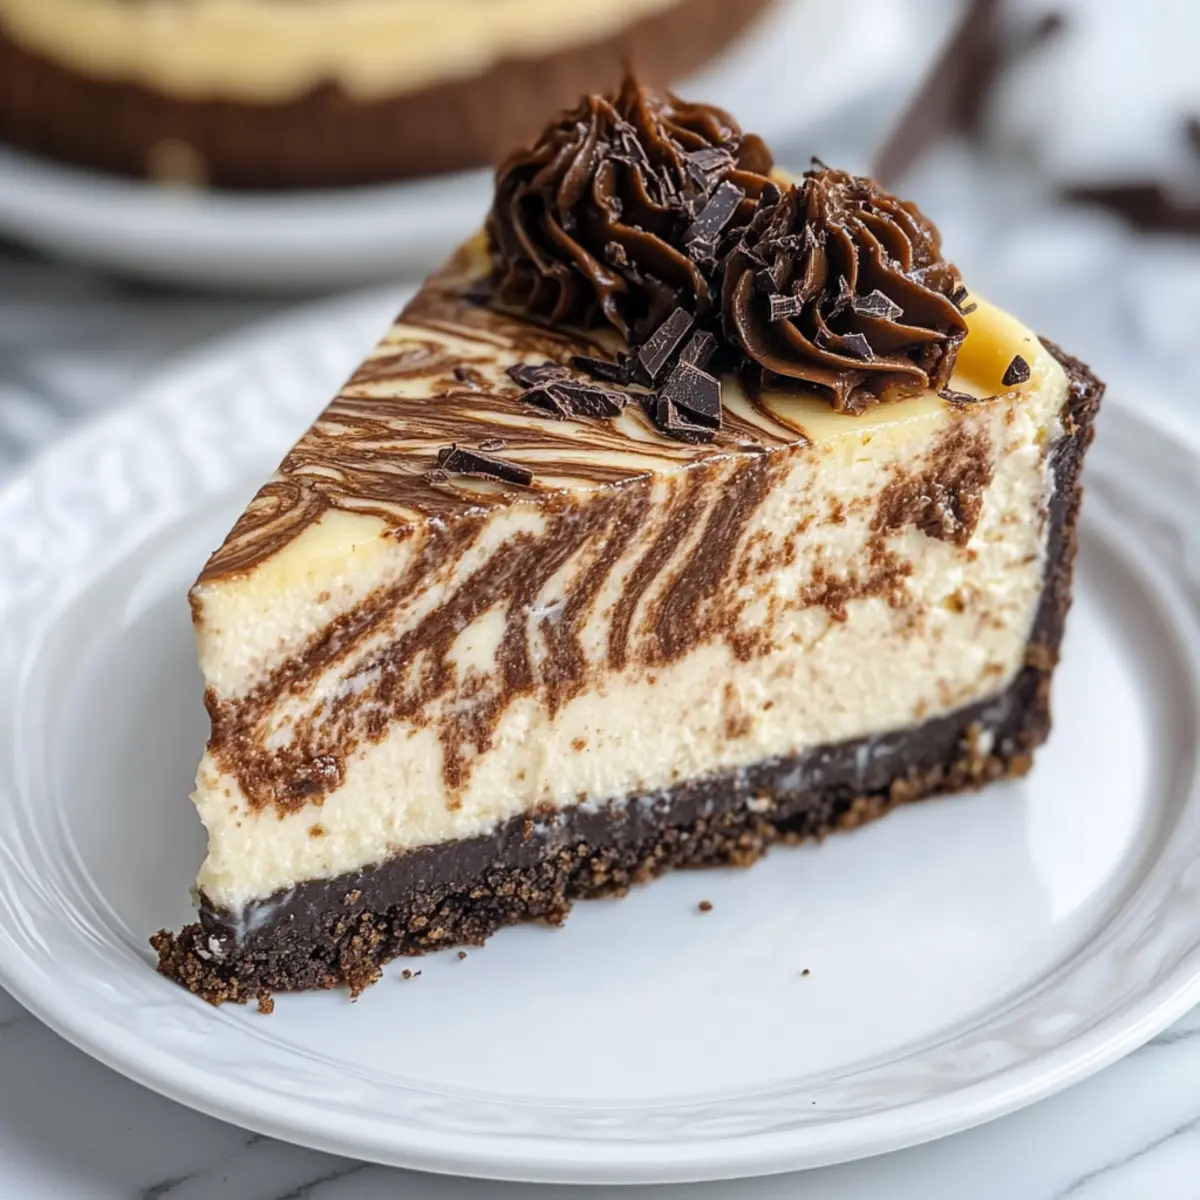
Chocolate Shavings – Provides decorative and flavorful finishing touches; make them from chocolate bars for a richer taste.
Add a delightful layer of flavor and an artful finish to your marbled cheesecake with these ingredients!
Step‑by‑Step Instructions for Marbled Cheesecake
Step 1: Prepare the Crust
Preheat your oven to 350°F (175°C). In a bowl, crush Oreo cookies until finely ground, then mix them with melted butter and granulated sugar until combined. Press this mixture firmly into the bottom of an 8-inch springform pan. Bake for 12-14 minutes until set, then remove from the oven and allow it to cool completely while you prepare the cheesecake filling.
Step 2: Make Cheesecake Filling
In a microwave-safe bowl, melt the chocolate chips until smooth, then set aside to cool slightly. In a mixer, whisk together sugar and cornstarch until well blended. Add the cream cheese and beat on medium speed until smooth and creamy. Gradually incorporate the eggs, sour cream, and vanilla extract, ensuring the mixture is smooth and free from lumps. Finally, separate 2 cups of this batter and mix in the melted chocolate until thoroughly combined.
Step 3: Layer Fillings
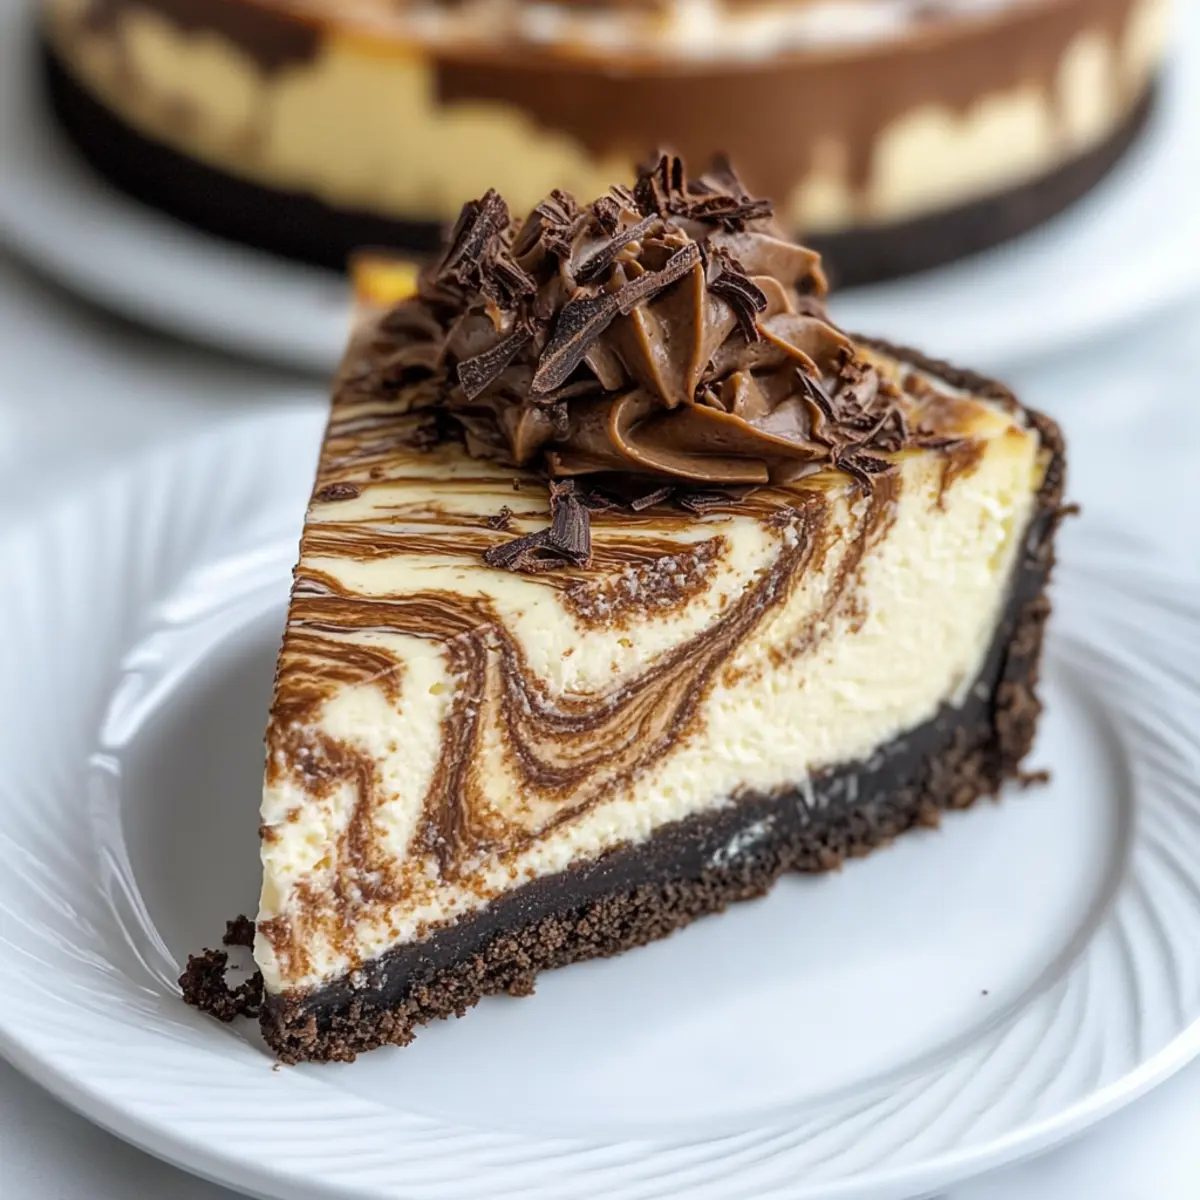
Spoon alternating dollops of the vanilla and chocolate cheesecake batter into the cooled crust, creating a marbled appearance. Use a knife to gently swirl the two batters together to achieve a beautiful marbled effect, being careful not to over-mix. This process makes your marbled cheesecake visually stunning and enhances the flavor as well.
Step 4: Bake
Lower the oven temperature to 300°F (150°C). Place the cheesecake pan on a baking sheet filled with water to create a pseudo water bath, which helps prevent cracking. Bake for 15 minutes, then reduce the temperature to 225°F (110°C) and continue baking for about 2 hours. Do not open the oven door during this time to maintain even heat.
Step 5: Cool and Refrigerate
After baking, turn off the oven and let the cheesecake cool inside for 1 hour with the door slightly ajar. Then, carefully crack the oven door and let it cool for an additional hour. Remove the cheesecake from the oven and let it cool at room temperature for 2 hours before refrigerating it for at least 3-4 hours or, preferably, overnight to achieve the best texture and flavor in your marbled cheesecake.
Marbled Cheesecake Variations & Substitutions
Feel free to get creative and tailor this marbled cheesecake to suit your taste!
- Fruit Purees: Replace chocolate with fruit purees like raspberry or strawberry for a fresh, fruity marbled twist. This adds a vibrant flavor that pairs beautifully with the creamy texture.
- Dairy-Free: Use non-dairy cream cheese and coconut yogurt to create a rich, dairy-free option. Your guests will love the creamy goodness without the dairy!
- Sugar-Free: Swap granulated sugar for a sugar alternative like erythritol or stevia for a low-sugar version without sacrificing sweetness. Just be mindful of the conversion ratios based on your chosen alternative.
- Nut Crust: Try a crust made from blended almonds, walnuts, or pecans for a gluten-free and nutty flavor. It adds depth and is a delightful change from the classic crumb crust.
- Swirl Flavors: Add flavor extracts like espresso, mint, or almond to the chocolate or vanilla batters for an exciting taste. Just a teaspoon can elevate your cheesecake’s flavor beautifully!
- Caramel Drizzle: Incorporate a layer of caramel sauce into the swirling for a sweet surprise. This chewy layer adds an indulgent touch that will charm any sweetheart!
- Extra Toppings: Experiment with toppings like crushed candy bars, fresh fruit, or toasted coconut to enhance the cheesecake’s presentation and flavor. These add texture and a burst of flavor with every slice.
- Fruity Cheesecake: For an even more adventurous dessert, consider trying out recipe variations like Blueberry Lemon Cheesecake or Strawberry Cheesecake Protein for more inspiration.
Let these variations inspire you to create a marbled cheesecake that truly reflects your flavor preferences!
What to Serve with Rich and Creamy Marbled Cheesecake
Indulging in a slice of this creamy dessert is just the beginning; let’s create a stunning meal experience together!
-
Fresh Berries: Juicy strawberries, raspberries, or blueberries add a bright, tart contrast that balances the cheesecake’s richness.
-
Chocolate Sauce: A drizzle of warm chocolate sauce enhances the decadent layers, adding extra sweetness and a luxurious touch.
-
Coffee or Espresso: A robust cup of coffee elevates the flavor profile of the cheesecake, creating a delightful contrast with its creamy textures.
-
Whipped Cream: Light and fluffy, this classic topping provides a heavenly contrast to the dense and rich layers of chocolate and vanilla.
-
Vanilla Ice Cream: Melting ice cream beside the cheesecake creates a delightful temperature contrast, and the creamy notes complement the dessert beautifully.
-
Nutty Granola: A sprinkle of nutty granola adds crunch and provides a wholesome, textured element to an otherwise rich dessert.
-
Mint Leaves: Fresh mint as a garnish not only enhances presentation but adds a refreshing bite that cuts through the richness of the cheesecake.
-
Milkshake: A chocolate or vanilla milkshake is a fun, nostalgic pairing that appeals to those with a sweet tooth, making dessert even more special.
Storage Tips for Marbled Cheesecake
-
Fridge: Store your marbled cheesecake in an airtight container in the fridge for up to 1 week. This helps maintain its creamy texture and flavor.
-
Freezer: For longer storage, wrap the cheesecake tightly in plastic wrap and then aluminum foil. It can be frozen for up to 3 months. Thaw overnight in the refrigerator before serving.
-
Serving: When ready to enjoy, top your cheesecake with fresh whipped cream or chocolate shavings. Add garnishes just before serving for the best taste and appearance.
-
Reheating: If you prefer a slightly warmer cheesecake, you can briefly microwave individual slices for about 10-15 seconds, but be careful not to overheat.
Make Ahead Options
These rich and creamy marbled cheesecakes are perfect for meal prep, saving you time for busy weeknights! You can prepare the crust and the cheesecake filling up to 24 hours in advance. Simply crush the Oreo cookies and mix with butter and sugar, then press into the pan; refrigerate until ready to bake. The cheesecake filling can also be prepared and stored in an airtight container in the fridge. When you’re ready to indulge, layer the batter and bake as directed. Cool completely before refrigerating for up to 3 days—this allows the flavors to meld beautifully! Just remember to keep it covered to maintain its delightful texture, and your marbled cheesecake will be just as delicious when served.
Expert Tips for Marbled Cheesecake
-
Room Temperature Ingredients: Ensure all ingredients, especially cream cheese and eggs, are at room temperature for a smooth batter without lumps.
-
Avoid Overbeating: Mix your batter gently to avoid incorporating too much air, which can lead to cracks during baking.
-
Gradual Cooling: Allow the cheesecake to cool slowly in the oven after baking to prevent sudden temperature changes that can cause cracking.
-
Warm Your Knife: When slicing the chilled marbled cheesecake, use a warm knife for clean cuts and beautiful presentation.
-
Don’t Open the Oven: Avoid opening the oven door while baking, as this can interrupt the heat and lead to an uneven texture in your cheesecake.
Marbled Cheesecake Recipe FAQs
How do I select ripe ingredients for my marbled cheesecake?
Absolutely! For the best results, ensure your cream cheese is fresh and preferably at room temperature for smoother mixing. The eggs should also be at room temperature, as this helps them incorporate better into the batter. As for the chocolate, use high-quality semi-sweet or dark chocolate for a rich flavor.
How should I store my marbled cheesecake, and how long does it last?
Very good question! Store your marbled cheesecake in an airtight container in the refrigerator for up to 1 week. This keeps it fresh and maintains its creamy texture. If you’re not enjoying it right away, you can also freeze it for up to 3 months—just wrap it tightly in plastic wrap followed by aluminum foil.
Can I freeze marbled cheesecake, and what’s the best way?
Absolutely! To freeze your marbled cheesecake, first ensure it is fully cooled. Wrap it tightly in plastic wrap and then in aluminum foil to prevent freezer burn. When you want to enjoy it, simply move it to the refrigerator to thaw overnight. This way, it’ll maintain its texture and taste beautifully.
What if my cheesecake cracks during baking?
Oh, that’s a common concern! To minimize cracking, make sure not to overmix your batter to incorporate too much air. Also, avoid sudden temperature changes by allowing the cheesecake to cool gradually in the oven after baking. If you do see a crack, don’t worry! You can easily cover it up with whipped cream or chocolate shavings when serving—no one will notice!
Are there any dietary considerations I should keep in mind for my cheesecake?
Indeed! If you have guests with dietary restrictions, you can easily modify this recipe. For a gluten-free version, simply use gluten-free cookie crumbs for the crust. Also, if someone has a dairy allergy, you may try substituting the cream cheese with a dairy-free alternative and adjust the other dairy ingredients accordingly. Just experiment with your favorite substitutes to find what works best!
What’s the best way to ensure I get clean slices of my marbled cheesecake?
Great question! To achieve perfectly clean slices, use a knife dipped in warm water. Wipe the knife clean after each cut to maintain that pristine look. This technique will give you beautiful, smooth portions that showcase the delightful marbling of your cheesecake.
Decadent Marbled Cheesecake: Chocolate and Vanilla Bliss
Ingredients
Equipment
Method
- Preheat your oven to 350°F (175°C). In a bowl, crush Oreo cookies until finely ground, then mix with melted butter and granulated sugar until combined. Press this mixture firmly into the bottom of an 8-inch springform pan. Bake for 12-14 minutes until set, then cool completely.
- In a microwave-safe bowl, melt the chocolate chips until smooth, then set aside to cool slightly. In a mixer, whisk together sugar and cornstarch until well blended. Add the cream cheese and beat on medium speed until smooth and creamy. Gradually incorporate the eggs, sour cream, and vanilla extract.
- Separate 2 cups of this batter and mix in the melted chocolate until thoroughly combined.
- Spoon alternating dollops of the vanilla and chocolate cheesecake batter into the cooled crust, creating a marbled appearance. Swirl gently with a knife.
- Lower the oven temperature to 300°F (150°C). Place the cheesecake pan on a water-filled baking sheet and bake for 15 minutes, then reduce temperature to 225°F (110°C) and continue baking for about 2 hours. Do not open the oven door.
- Turn off the oven, cool the cheesecake inside for 1 hour with the door slightly ajar. Cool for another hour, then allow to cool at room temperature for 2 hours before refrigerating for at least 3-4 hours, preferably overnight.
Leave a Reply