
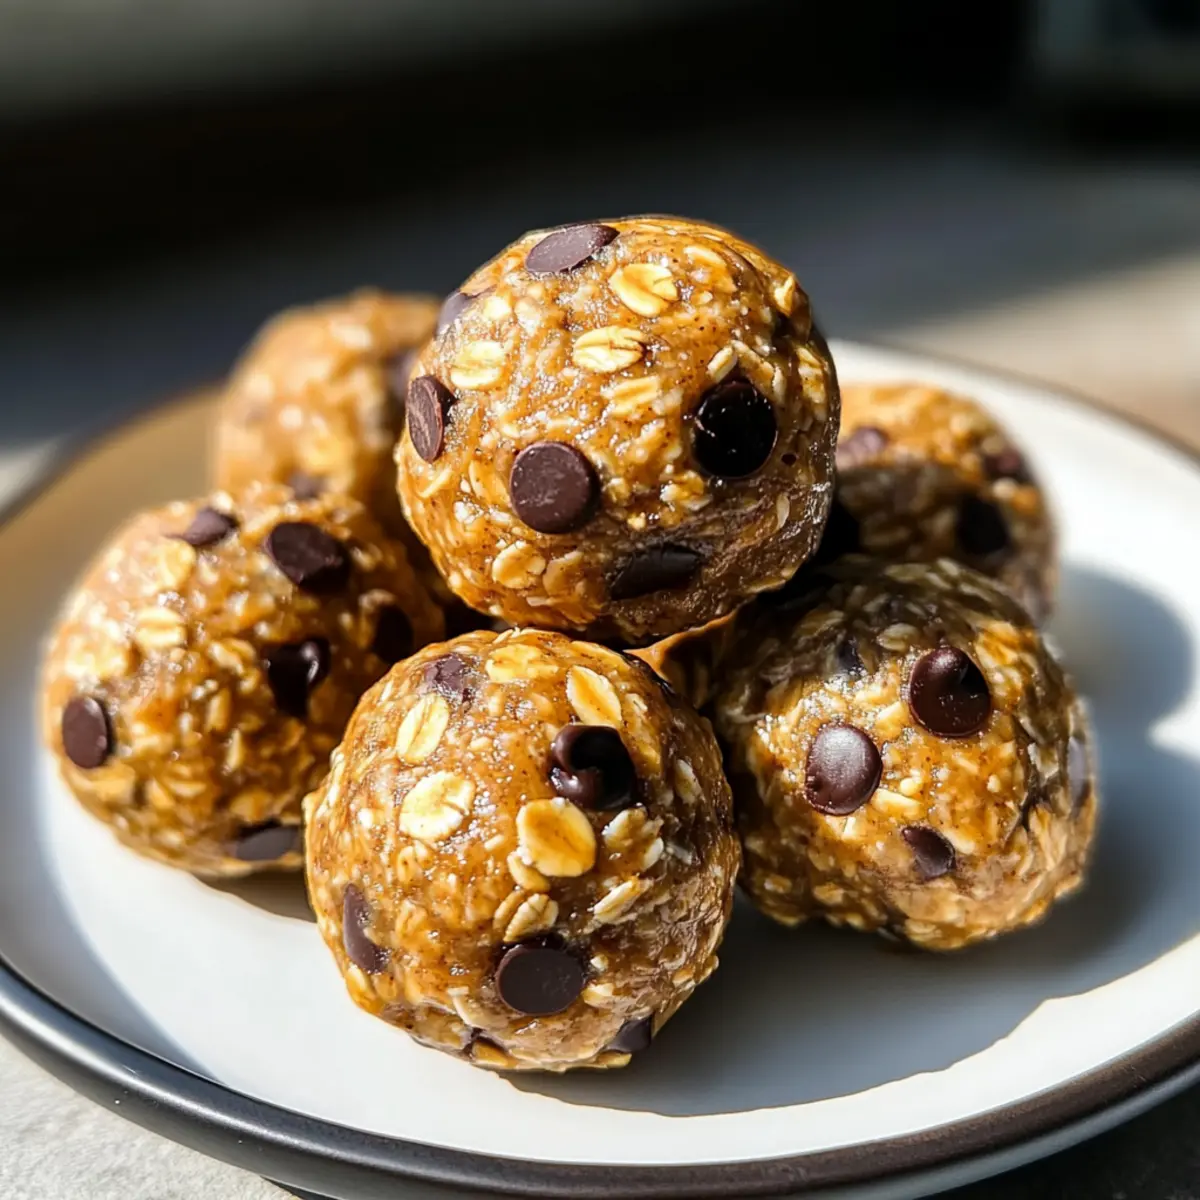
As I opened my pantry, the familiar scent of peanut butter wafted through the air, triggering sweet memories of childhood snacks. These No-Bake Peanut Butter Energy Balls have become my go-to whenever I need a quick energy boost or a guilt-free treat that satisfies those cookie cravings. With just five simple ingredients, they come together in less than 10 minutes, making them a lifesaver for busy days and post-workout fuel. Not only are they incredibly easy to make, but their customizable nature allows you to swap in dried fruits or nuts, ensuring everyone finds their favorite twist. Ready to create a snack that’s both nutritious and irresistible? Let’s dive into this delightful recipe!
Why Are Peanut Butter Energy Balls So Popular?
Quick and Easy: In just under 10 minutes, you’ll have a delicious snack ready to go, perfect for those hectic days when time is short.
Nutritious Boost: Packed with protein and healthy fats, these energy balls provide a satisfying lift to keep you energized throughout the day.
Customizable Appeal: Swap ingredients like chocolate chips for your favorite dried fruits or nuts, allowing everyone to enjoy their personal favorite flavors.
Kid-Friendly Fun: These no-bake bites are a hit with both children and adults, making them an ideal solution for busy families.
Health-Conscious Choice: With gluten-free options available, you can indulge guilt-free while still adhering to dietary preferences. Check out my Brothy Carrot Butter for another healthy snack that’s easy to make!
Peanut Butter Energy Balls Ingredients
For the Base
- Oats – Use rolled oats for optimal texture, or instant oats for a quick option.
- Peanut Butter – Acts as a binding agent packed with protein; consider using crunchy peanut butter for extra texture.
- Honey – This natural sweetener binds the ingredients together perfectly; feel free to swap in maple syrup for a vegan alternative.
For the Flavor Boost
- Chocolate Chips – Adds just the right touch of sweetness; you can replace them with dried fruits or nuts for a healthier spin.
- Flaxseed – Ground flaxseed enriches your energy balls with omega-3s and fiber for a nutritious punch.
These simple yet delightful Peanut Butter Energy Balls come together beautifully in under 10 minutes, ready to fuel your day!
Step‑by‑Step Instructions for Peanut Butter Energy Balls
Step 1: Combine the Base Ingredients
In a medium mixing bowl, add rolled oats, peanut butter, honey, and ground flaxseed. Use a spatula or your hands to mix thoroughly until everything is well incorporated and sticky. Aim for a cohesive texture that’s easy to shape—it should hold together when pressed. This step will take about 2-3 minutes, and you’ll see the ingredients blend into a delightful, thick mixture.
Step 2: Fold in the Flavor Boost
Next, stir in the chocolate chips (or your chosen substitute). Gently fold them into the mixture, ensuring even distribution without over-mixing, which could affect the texture. You’ll want to see those tasty morsels peeking through the mixture, adding visual appeal and sweetness. This should take another 1-2 minutes—feel free to taste and adjust if necessary!
Step 3: Chill to Firm Up
Transfer the combined mixture to the refrigerator and let it chill for 10-15 minutes. This step allows the Peanut Butter Energy Balls to set, making them easier to handle and roll. While waiting, you can prepare your workspace with parchment paper, readying it for the next stage. After chilling, the mixture should feel firmer but still malleable.
Step 4: Shape the Energy Balls
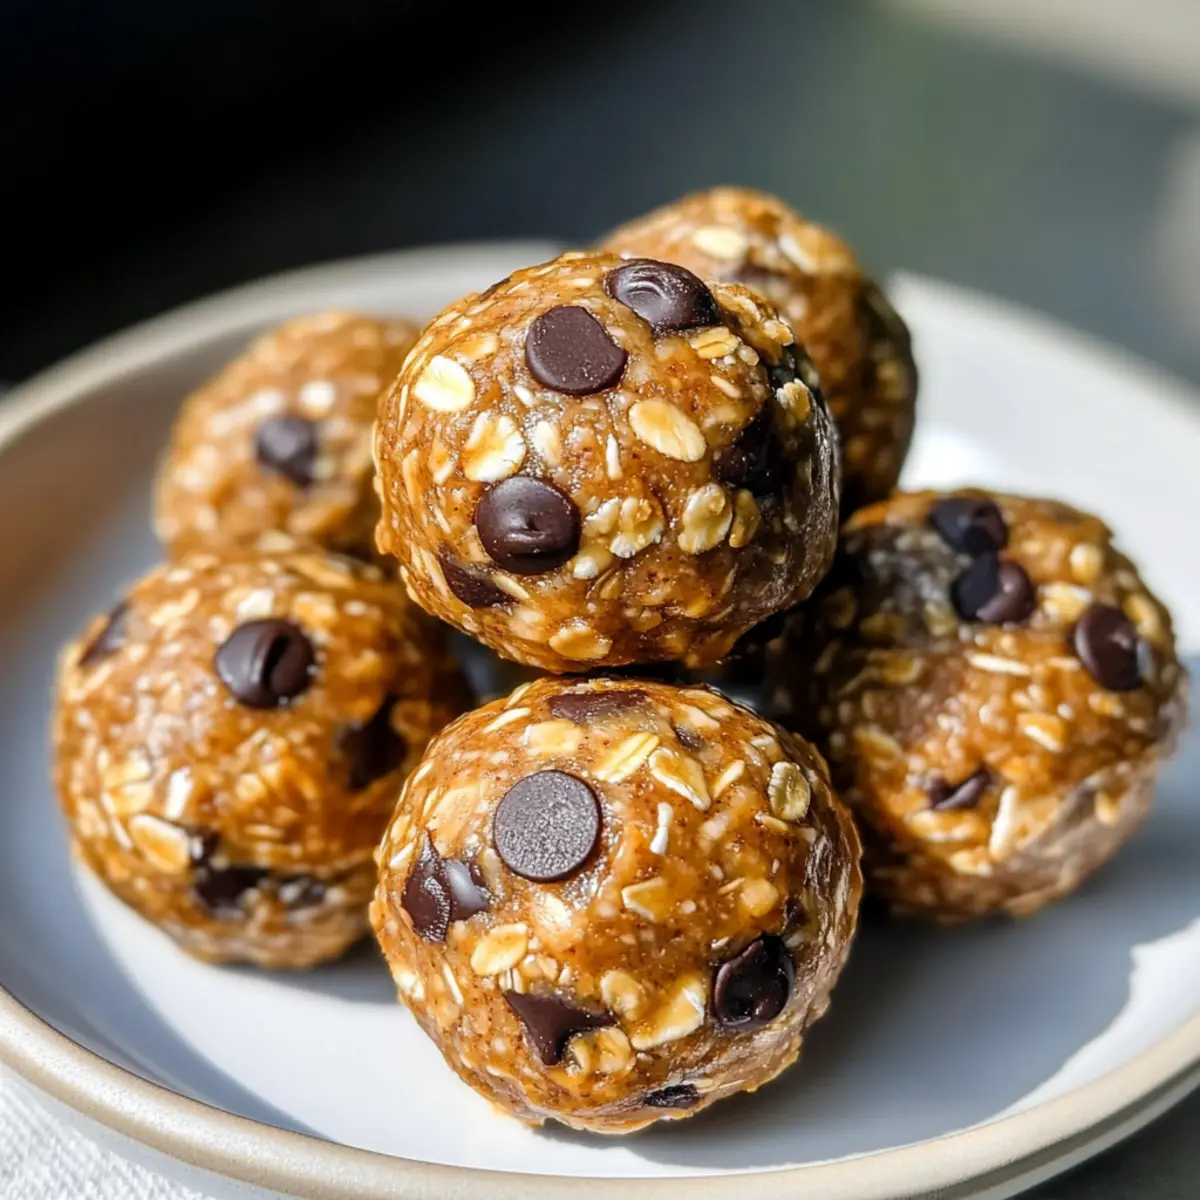
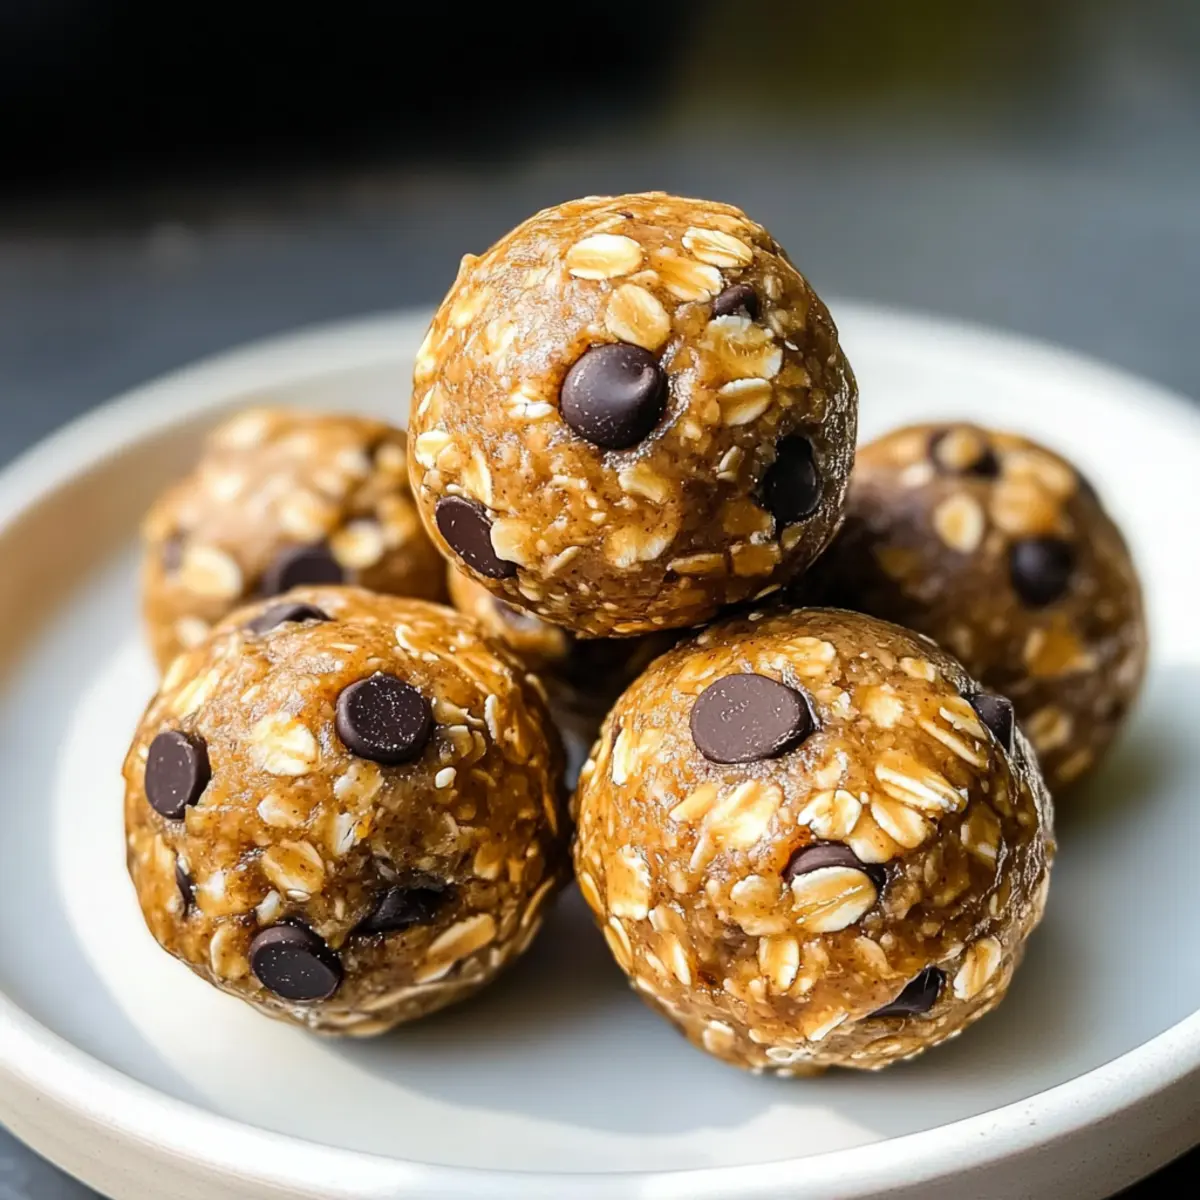
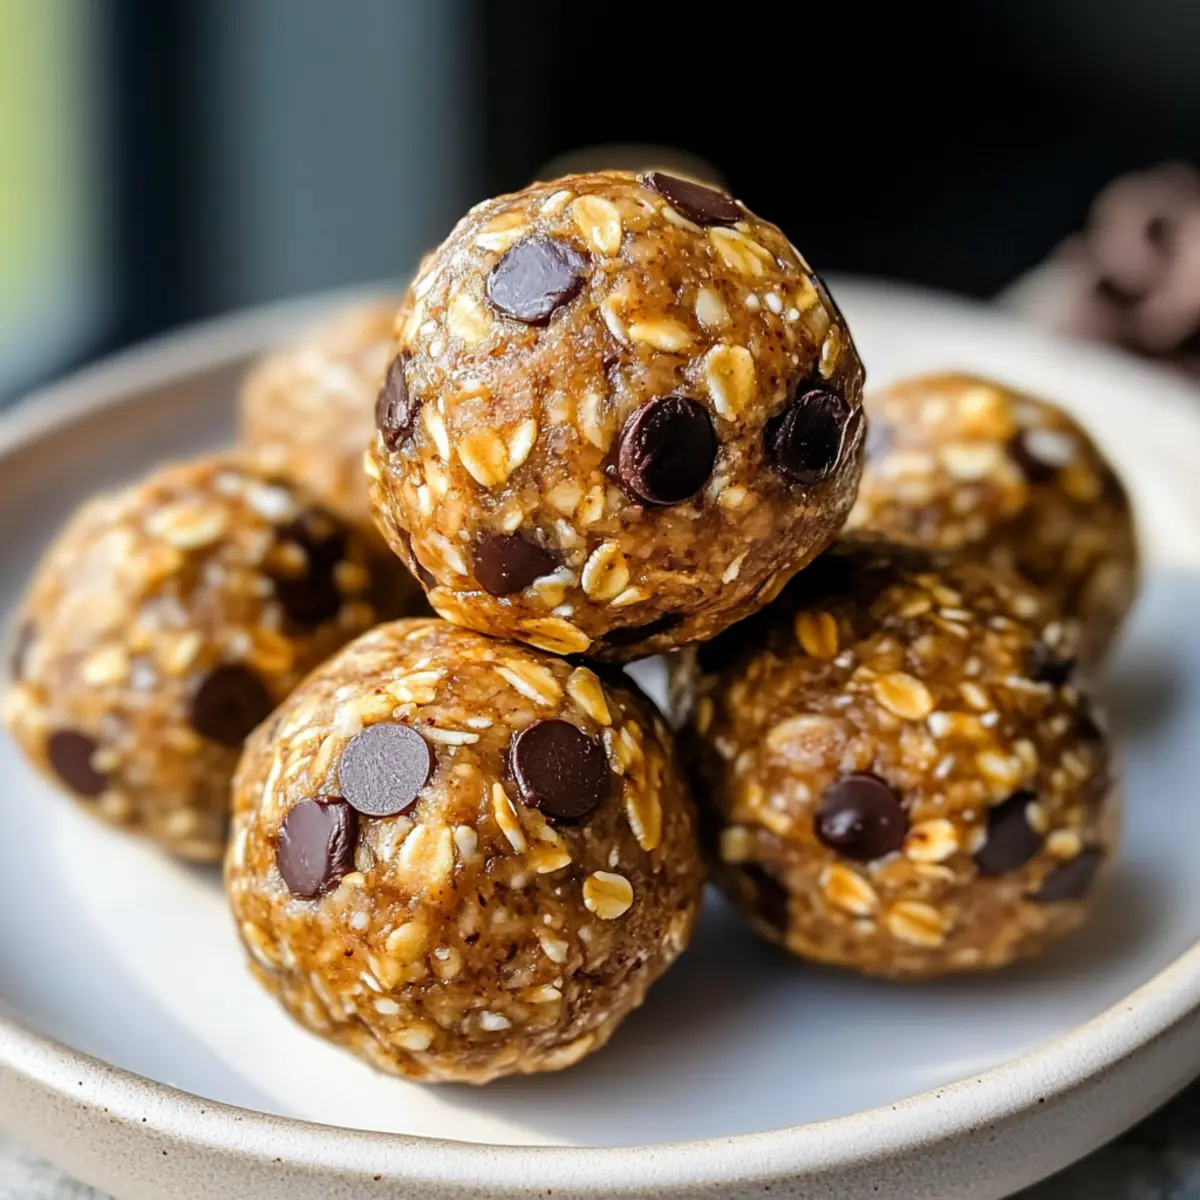
Once the mixture has chilled, remove it from the fridge and use your hands to roll it into bite-sized balls, about 1 inch in diameter. Aim for consistency, creating approximately 18 small rolls. Keep your hands slightly damp to help with shaping, avoiding any stickiness. This process should only take about 5-7 minutes, and you’ll enjoy the delightful aroma as you work.
Step 5: Store the Energy Balls
Place the rolled energy balls on a plate lined with parchment paper, ensuring they are spaced apart to prevent sticking. Once shaped, transfer the energy balls to an airtight container for storage. They can be kept in the refrigerator for up to 2 weeks or frozen for longer shelf life (up to 3 months). Enjoy your nutritious snacks anytime you need a quick energy boost!
Peanut Butter Energy Balls Variations
Feel free to mix things up and put your personal spin on these tasty treats!
-
Nut-Free: Use sunflower seed butter instead of peanut butter for a school-friendly snack.
-
Chocolate Lover: Swap in dark chocolate chips or cacao nibs for an indulgent twist, balancing sweetness with rich flavor.
-
Fruit Forward: Add dried cranberries, raisins, or chopped apricots for a burst of fruity sweetness and chewier texture that’ll make each bite delightful.
-
Spiced Up: Incorporate a dash of cinnamon or nutmeg for a warm, aromatic twist that elevates the flavor profile remarkably.
-
Crunch Factor: Fold in chopped nuts—like almonds or walnuts—right before rolling to achieve a crunchy texture that nibbles beautifully.
-
Protein Boost: Add a scoop of your favorite protein powder for a more filling energy ball, perfect for post-workout recovery.
-
Coconut Bliss: Mix in unsweetened shredded coconut for a tropical flair that adds flavor and a fun texture. This little touch can transport you to a sunny destination with every bite.
-
Sweetener Swap: For a vegan alternative, replace honey with maple syrup or agave nectar; each provides a unique sweetness. Check out my Butterbeer Cream Cake for another delicious dessert that embraces this concept!
With these variations, you’re sure to create Peanut Butter Energy Balls that everyone will love!
What to Serve with Peanut Butter Energy Balls?
There’s nothing quite like pairing a wholesome snack with fresh and vibrant dishes to create a memorable meal experience.
-
Fresh Fruit Salad: Bright, juicy fruits like berries and apples add a refreshing contrast to the chewy energy balls. A mix of sweet and tart flavors elevates your snack time.
-
Greek Yogurt Parfait: Creamy yogurt topped with granola and honey complements the texture of the energy balls while offering a protein boost. It’s a delightful way to enjoy a satisfying breakfast or snack.
-
Nutty Trail Mix: A crunchy trail mix with nuts and dried fruits enhances the nutty flavor of the energy balls, making it the perfect crunchy accompaniment. Mix it up for a fun snack option!
-
Vegetable Sticks and Hummus: Crisp veggies like carrots and cucumbers dipped in hummus provide a refreshing contrast to the energy balls’ chewy texture. It’s a fantastic way to sneak in more veggies!
-
Milk or Plant-based Alternatives: A glass of cold milk, almond, or oat milk can wash down these little powerhouses beautifully. The creamy texture pairs well with the nuttiness of the energy balls.
-
Homemade Smoothie: Blend up a fruity smoothie with spinach, bananas, and almond milk for a vibrant, nutrient-rich drink. Sip it while enjoying your energy balls for a perfectly balanced treat.
These pairings transform your Peanut Butter Energy Balls into part of a delightful, well-rounded eating experience.
Expert Tips for Peanut Butter Energy Balls
-
Measure Precisely: Accurate measurements ensure your energy balls have the right texture and flavor. Too much peanut butter can make them overly sticky, while too little may result in a dry mix.
-
Mix Gently: Avoid over-mixing, as this can lead to a dense and tough texture. Just combine the ingredients until they form a cohesive mixture; a little bit of texture is perfectly fine!
-
Hand Trick: For easier rolling, dampen your hands slightly to prevent the mixture from sticking. This small tip will save you from a gooey mess and make shaping a breeze!
-
Chill Time Matters: Letting the mixture chill is crucial for optimal firmness. If they’re too soft after chilling, you may not achieve that perfect energy ball shape.
-
Creative Customization: Feel free to experiment by swapping in different ingredients like chia seeds or protein powder to boost nutrition in your Peanut Butter Energy Balls.
Make Ahead Options
These Peanut Butter Energy Balls are a fantastic option for meal prep enthusiasts! You can mix the base ingredients (oats, peanut butter, honey, and flaxseed) up to 24 hours in advance, storing the mixture in an airtight container in the refrigerator to maintain freshness. If you prefer, you can also roll the balls and store them for up to 2 weeks in the fridge, or freeze them for up to 3 months. To keep the energy balls just as delicious, make sure they are well-coated with parchment paper when freezing to prevent sticking. When you’re ready to enjoy your no-bake snacks, simply grab a few from the refrigerator or freezer, and you’ll have a nutritious boost at your fingertips!
How to Store and Freeze Peanut Butter Energy Balls
Fridge: Store your Peanut Butter Energy Balls in an airtight container in the fridge, where they’ll stay fresh for up to 2 weeks. This ensures they remain tasty and firm for on-the-go snacking.
Freezer: For longer storage, freeze the energy balls in a single layer on a baking sheet for 1-2 hours. Once firm, transfer them to a freezer-safe container. They’ll last up to 3 months!
Thawing: When ready to enjoy, simply take out the desired amount and let them thaw in the fridge overnight, or enjoy them straight from the freezer for a cool treat.
Reheating: These no-bake snacks are best enjoyed cold, but if you prefer a warm option, microwave for about 10-15 seconds for a cozy version that’s soft and gooey!
Peanut Butter Energy Balls Recipe FAQs
What type of oats should I use for Peanut Butter Energy Balls?
I recommend using rolled oats for the best texture, but if you’re in a hurry, instant oats will work just fine. Rolled oats provide a chewiness that pairs wonderfully with the creamy peanut butter, while instant oats can make the mixture come together even faster!
How should I store my Peanut Butter Energy Balls, and how long will they last?
Store your Peanut Butter Energy Balls in an airtight container in the fridge, where they will stay fresh and delicious for up to 2 weeks. Keeping them cold is key to maintaining their firm texture and flavor, making them perfect for anytime snacking!
Can I freeze Peanut Butter Energy Balls for long-term storage?
Absolutely! To freeze, place your energy balls on a baking sheet in a single layer and pop them in the freezer for 1-2 hours or until firm. Then, transfer them to a freezer-safe container or bag. They can last for up to 3 months in the freezer!
What if my energy ball mixture is too sticky?
If your mixture is too sticky to shape, try adding a bit more oats or flaxseed to help absorb some of the moisture. Mixing in a touch more peanut butter can also help bind everything together. Remember, wetting your hands slightly while rolling them can prevent a gooey mess!
Are there any allergy considerations with Peanut Butter Energy Balls?
Great question! Since peanut butter is a common allergen, you can swap it for sunflower butter or almond butter if you need a nut-free option. Additionally, always check that your oats are certified gluten-free if anyone has gluten sensitivities. Customize as needed to accommodate everyone in your family!
How can I customize my Peanut Butter Energy Balls?
The more, the merrier! You can easily swap out chocolate chips for dried fruits, nuts, or even seeds to enhance the nutrition factor. Feel free to get creative with add-ins like chia seeds, coconut flakes, or protein powder to fit your taste and dietary needs!
Peanut Butter Energy Balls for Easy, Guilt-Free Snacking
Ingredients
Equipment
Method
- In a medium mixing bowl, add rolled oats, peanut butter, honey, and ground flaxseed. Mix thoroughly until everything is well incorporated and sticky.
- Next, stir in the chocolate chips (or your chosen substitute). Gently fold them into the mixture, ensuring even distribution.
- Transfer the mixture to the refrigerator and let it chill for 10-15 minutes to set.
- Remove from the fridge and roll it into bite-sized balls, about 1 inch in diameter.
- Place the rolled energy balls on a plate lined with parchment paper, then transfer to an airtight container for storage.
Leave a Reply