
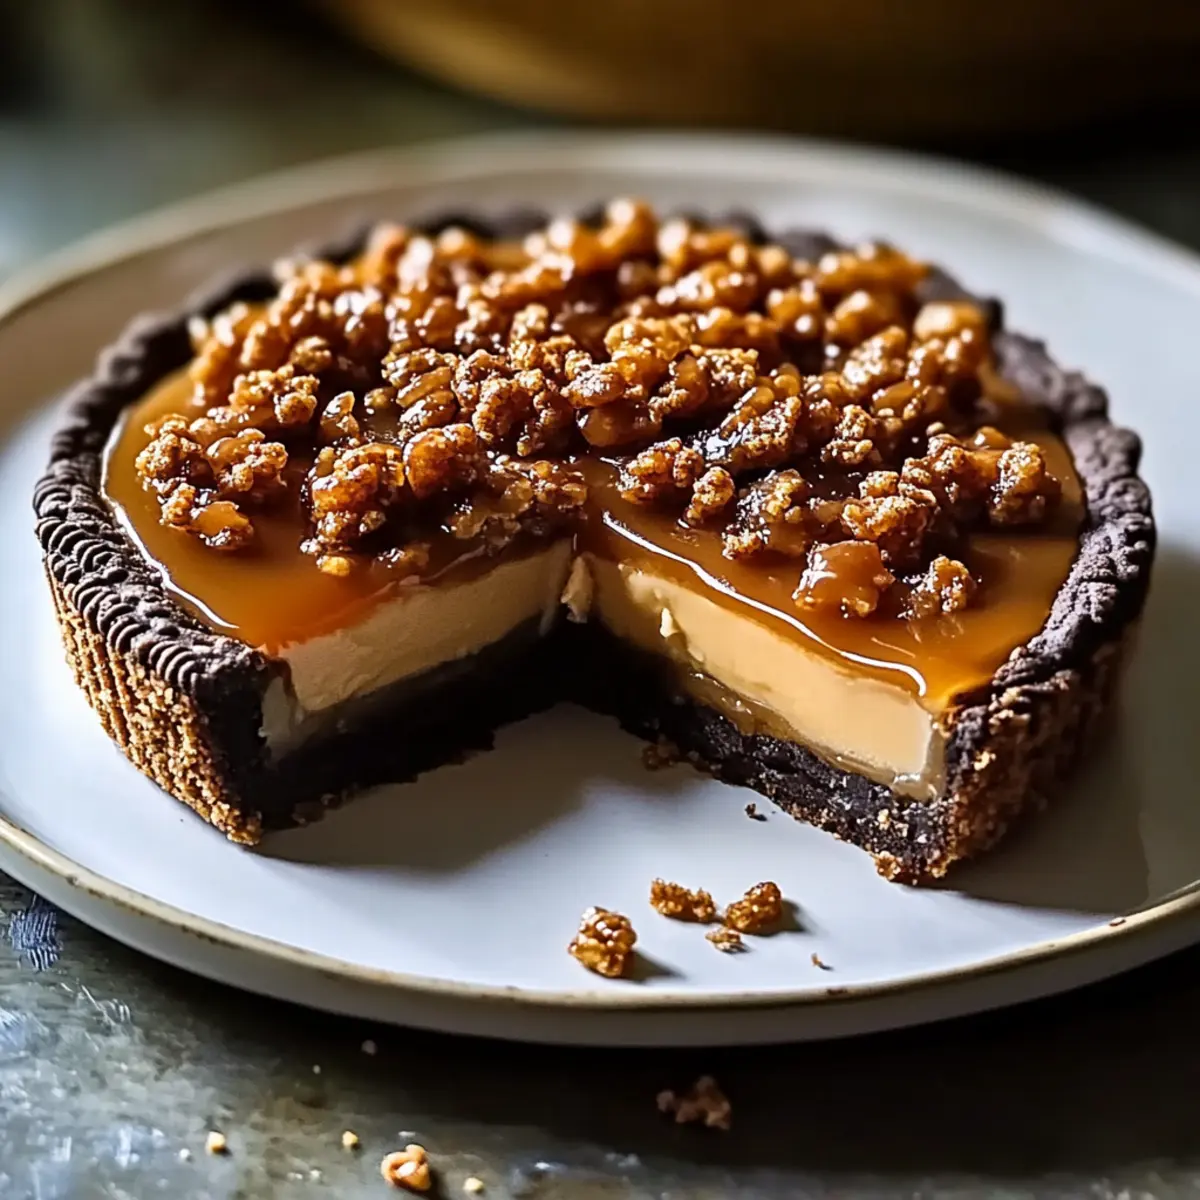
As I stood in my kitchen, the sun peeking through the window, I couldn’t help but smile at the divine aroma wafting through the air—sweet caramel mingling with rich chocolate. This No-Bake Caramel Crunch Tart is my go-to recipe for satisfying cravings while keeping my sanity intact. With its sturdy Oreo crust and a filling that bursts with gooey caramel and delightful Rice Krispies, it’s a dessert that’s not just quick to whip up but also a guaranteed hit at any gathering. You can make it ahead of time, leaving you free to enjoy the moment rather than stressing over the oven. Are you ready to dive into a world of effortless indulgence? Let’s get started!
Why is This Tart a Must-Try?
Effortless Creation: This No-Bake Caramel Crunch Tart is perfect for those busy days when you crave something sweet without the fuss of baking.
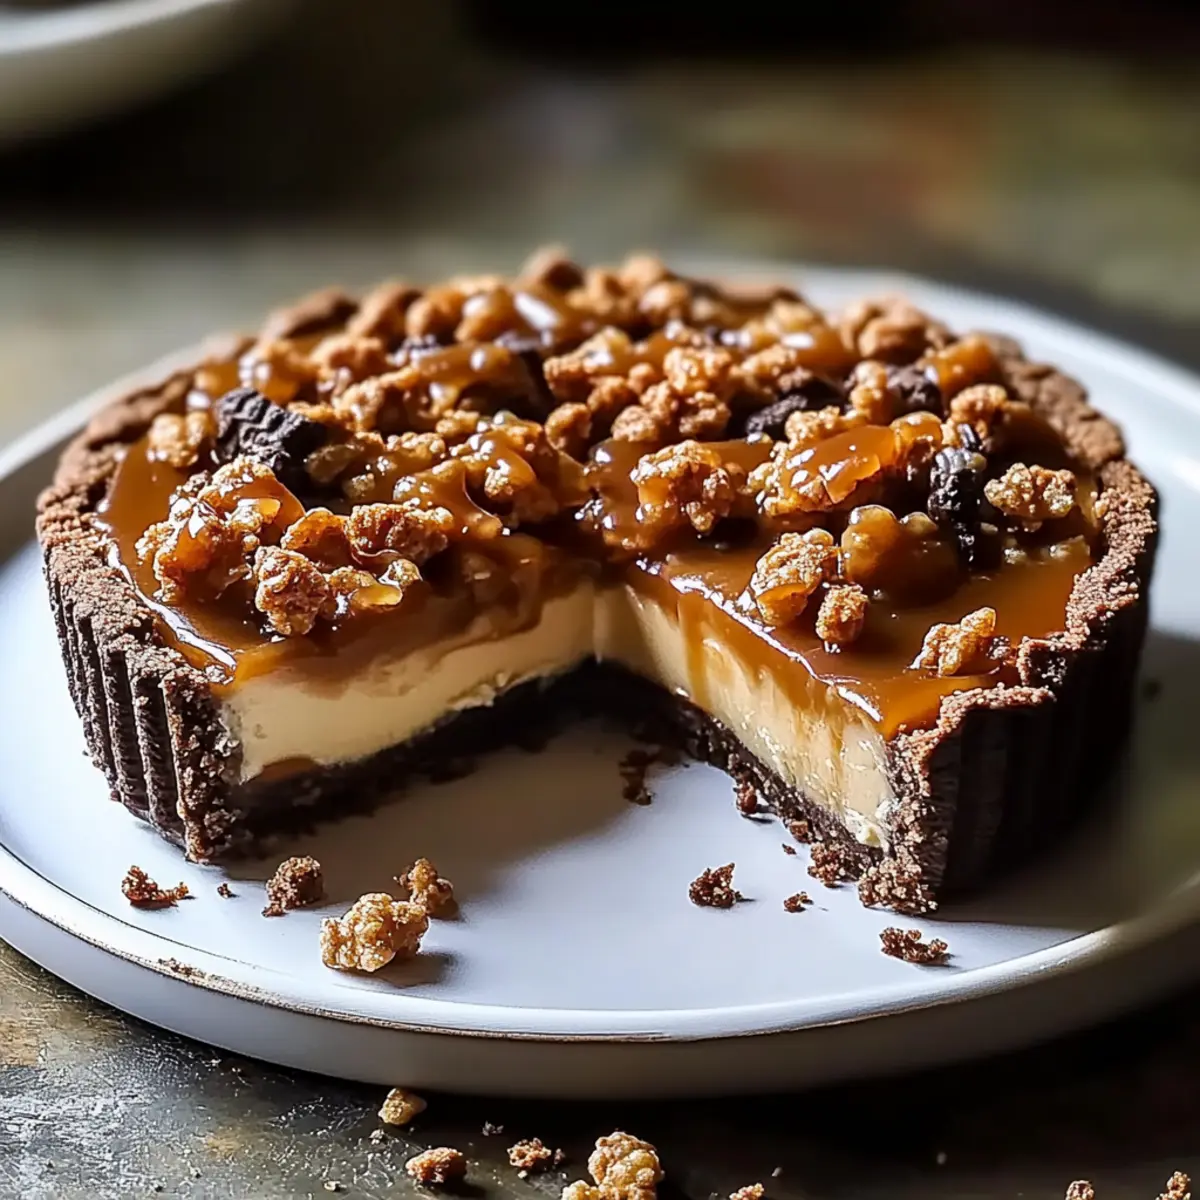
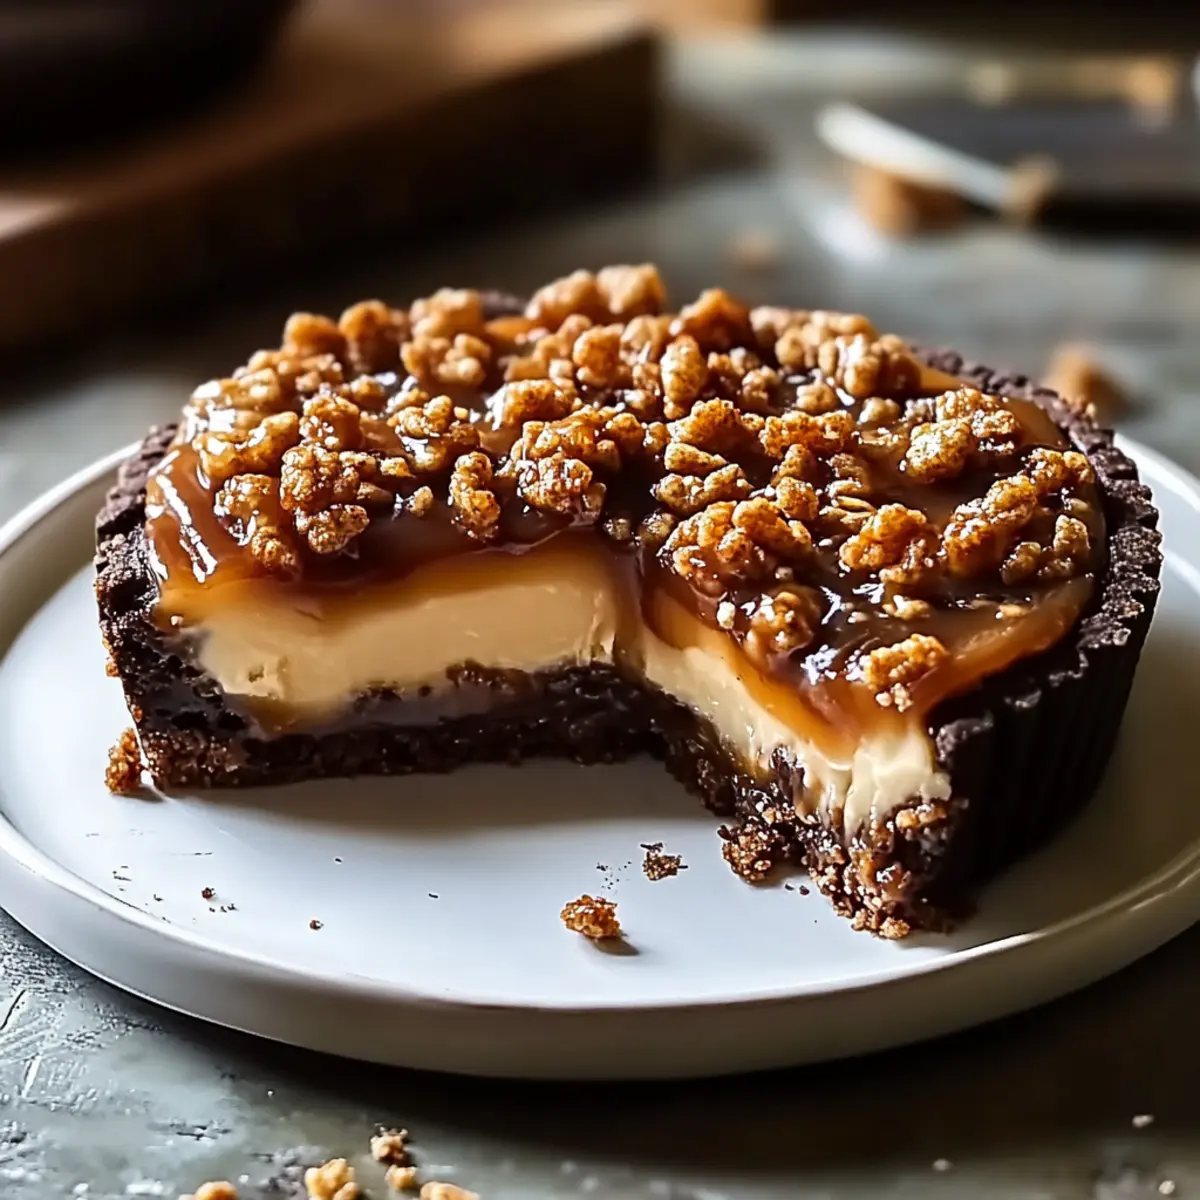
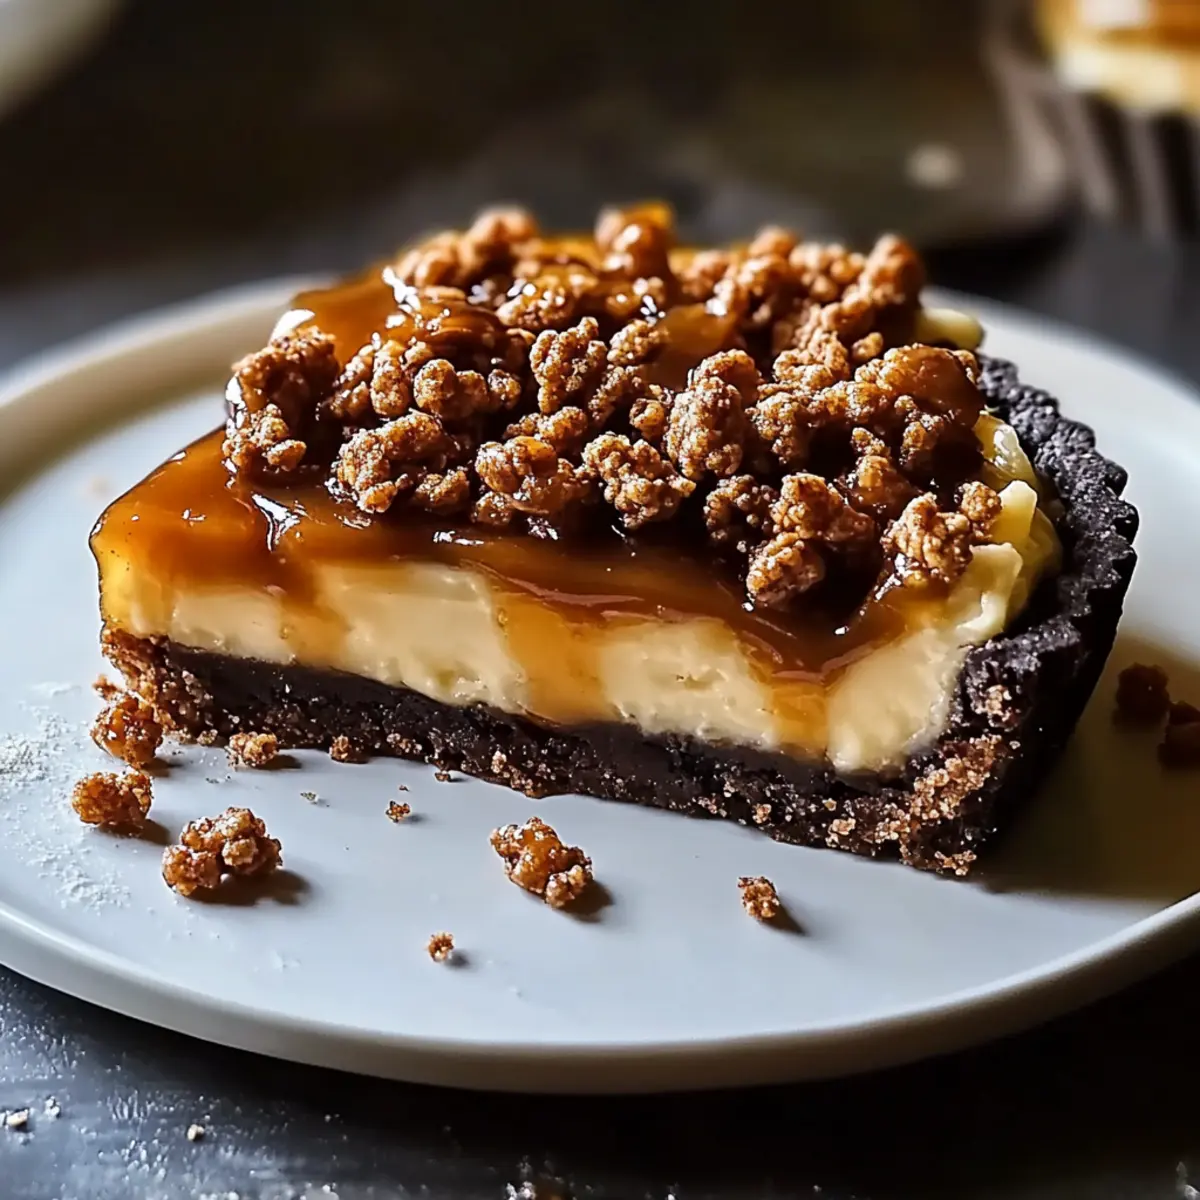
Irresistible Layers: Each bite combines the crispiness of the Oreo crust with gooey, rich caramel and a delightful crunch from the Rice Krispies, making it a unique treat.
Make-Ahead Convenience: Prepare it in advance and impress your friends at gatherings or enjoy a personal slice whenever you desire—no last-minute baking stress here!
Customizable Options: Feel free to get creative; swap in flavored Oreos, add fresh fruit, or even experiment with nuts for a personal twist.
Sweet Satisfaction: With each serving sitting at approximately 350 calories, this tart strikes a delightful balance of indulgence and enjoyment—perfect for any occasion!
Whether you’re a fan of Beer Brat Caramelized or have a sweet tooth for Potter Letter Caramel, this tart is sure to become a staple in your dessert repertoire!
No-Bake Caramel Crunch Tart Ingredients
For the Crust
• Oreos – The base of this dessert provides a sturdy and flavorful cookie crust; chocolate sandwich cookies can also work beautifully!
• Unsalted Butter – Binds the crust perfectly together; using salted butter can enhance that rich flavor.
For the Filling
• Caramel – This sweet filling brings gooey goodness and can be intensified with homemade caramel for a richer taste.
• Bittersweet Chocolate Chips – Offers depth and richness to your filling; consider switching to dark chocolate for an intense flavor explosion.
• Rice Krispies Cereal – Adds delightful crunch to contrast the creamy filling; feel free to substitute with crushed cornflakes or chopped nuts.
For the Topping
• Flaky Sea Salt – Just sprinkle on top to enhance and highlight all those delicious flavors; coarse salt can be used as an alternative but should be applied carefully.
Elevate your dessert experience with this No-Bake Caramel Crunch Tart, perfect for impressing guests or enjoying a well-deserved treat!
Step‑by‑Step Instructions for No-Bake Caramel Crunch Tart
Step 1: Prepare the Crust
Start by crushing 24 Oreo cookies into fine crumbs using a food processor or a rolling pin in a sealed bag. In a mixing bowl, combine the crumbs with 5 tablespoons of melted unsalted butter, mixing until the texture resembles wet sand. Press this mixture firmly into the bottom and up the sides of a 9-inch tart pan. Ensure it’s evenly packed and smooth, then set it aside.
Step 2: Make the Filling
In a medium saucepan over low heat, add 1 cup of caramel sauce, stirring occasionally until warmed through—about 3-5 minutes. Gradually introduce 1 cup of bittersweet chocolate chips to the caramel, stirring continuously until the mixture is completely melted and smooth. Remove from heat, allowing the rich filling to cool slightly while mixing in a bowl for better incorporation.
Step 3: Combine Ingredients
Once the chocolate-caramel mixture has cooled slightly, gently fold in 2 cups of Rice Krispies cereal using a spatula. The goal here is to ensure each cereal piece is evenly coated with the glossy chocolate-caramel mixture. This combination of crunchy and gooey will create the delightful filling for your No-Bake Caramel Crunch Tart.
Step 4: Fill the Tart
Pour the chocolate-caramel and Rice Krispies mixture into your prepared Oreo crust. Use a spatula to spread it evenly and smooth the top. Be sure to fill all corners and create a level surface. Once filled, press down lightly to ensure the filling adheres nicely to the crust, setting the stage for a perfect slice later on.
Step 5: Chill and Set
Cover the tart with plastic wrap and place it in the refrigerator to chill for at least 1 hour. For optimal results, allow it to set for 2 hours, giving the filling ample time to firm up. Once chilled, the tart should feel firm to the touch. Just before serving, sprinkle a generous pinch of flaky sea salt on top to enhance the sweet flavors of your No-Bake Caramel Crunch Tart.
What to Serve with No-Bake Caramel Crunch Tart
Enhance your dessert experience by pairing this luscious tart with delightful accompaniments that complement its flavors.
-
Whipped Cream: A dollop of light and airy whipped cream balances the sweetness of the tart beautifully, adding a creamy texture.
This pairing brings a fluffy contrast that elevates each bite, transforming the experience into something truly indulgent. -
Vanilla Ice Cream: Creamy vanilla ice cream offers a soothing contrast to the rich caramel and chocolate.
As it melts, it creates a delightful swirl of flavors that’s heavenly with every spoonful. -
Fresh Berries: A mix of ripe strawberries, raspberries, or blueberries adds a refreshing burst of tartness.
Their juicy sweetness can cut through the richness, bringing a refreshing dynamic to the dessert. -
Espresso or Coffee: A warm cup of coffee brings out the deep chocolate notes of the tart, enhancing the overall experience.
The bitterness of the coffee beautifully complements the sweetness, making each slice feel more balanced. -
Chocolate Sauce Drizzle: Drizzle warm chocolate sauce over each slice for an extra layer of indulgence.
It’s a simple way to take your dessert to the next level, appealing to all chocolate lovers. -
Coconut Whipped Cream: This dairy-free option introduces a light tropical essence that pairs wonderfully with caramel.
Its subtle sweetness and rich texture create an exotic twist to your tart experience.
Make Ahead Options
These No-Bake Caramel Crunch Tarts are a lifesaver for busy home cooks! You can prepare the Oreo crust up to 24 hours in advance and store it covered at room temperature to keep it crisp. The filling can also be made ahead and kept in an airtight container for up to 3 days in the fridge—just reheat gently before incorporating the Rice Krispies. When you’re ready to serve, simply fill the prepared crust with the chocolate-caramel mixture, chill for at least 1 hour, and sprinkle with flaky sea salt right before indulging. This way, you can enjoy a delicious dessert without the last-minute rush!
Expert Tips for No-Bake Caramel Crunch Tart
• Quality Ingredients Matter: Use high-quality bittersweet chocolate and homemade caramel for an even richer flavor in your No-Bake Caramel Crunch Tart.
• Perfect Slicing: For cleaner slices, warm your knife under hot water before cutting, wiping it clean between cuts to avoid messiness.
• Chill Time is Key: Ensure your tart chills adequately; it should be firm to the touch before serving to achieve the ideal texture.
• Fixing a Runny Filling: If your filling turns out too runny, gently reheat and stir in more chocolate, allowing it to thicken properly before filling the tart.
• Customize Your Tart: Don’t hesitate to experiment! You can swap out Oreos for flavored ones or add nuts for a delightful crunch in your No-Bake Caramel Crunch Tart.
Storage Tips for No-Bake Caramel Crunch Tart
Room Temperature: Store the tart at room temperature for around 2 hours if serving immediately. Beyond that, it’s best to refrigerate to maintain freshness.
Fridge: Keep the No-Bake Caramel Crunch Tart in an airtight container in the fridge for up to 3 days. This helps retain its delicious taste and texture while preventing it from drying out.
Freezer: You can also freeze the tart for up to 2 months. Wrap it tightly in plastic wrap followed by aluminum foil, and thaw it in the refrigerator before serving.
Reheating: There’s no need to reheat this tart! Simply slice and serve directly from the fridge or after it has thawed for the perfect treat.
No-Bake Caramel Crunch Tart Variations
Feel free to let your creativity shine by customizing this delightful tart with these fun swaps and additions!
-
Flavorful Oreos: Swap classic Oreos for mint or peanut butter-flavored cookies to infuse a unique twist into your crust. The flavors will elevate your tart to a whole new level!
-
Gluten-Free Delight: Choose gluten-free chocolate sandwich cookies to make a gluten-free version without sacrificing taste. Everyone can enjoy a slice of this delicious treat!
-
Nutty Crunch: Replace Rice Krispies with your favorite chopped nuts, like pecans or almonds, for a richer texture. The added crunch will bring a satisfying contrast to the creamy filling.
-
Fruity Freshness: Add sliced bananas or strawberries to the filling before chilling. This vibrant layer of fresh fruit brings a touch of brightness and even more flavor to your dessert!
-
Spicy Kick: Add a pinch of cinnamon or nutmeg into the chocolate-caramel mixture to warm it up with delightful spice notes. It’s a subtle change that can make a big impact.
-
Caramel Overload: Drizzle more caramel sauce on top of the tart before serving for an additional layer of sweetness and stickiness. It’s perfect for those who love their desserts extra sweet!
-
Citrus Zing: Sprinkle some fresh citrus zest—like orange or lemon—over the finished tart for a surprising pop of flavor that brightens the richness of the caramel.
Let this No-Bake Caramel Crunch Tart inspire your creativity in the kitchen. And for those looking for even more delicious ideas, you might enjoy making Blueberry Lemon Chow or trying your hand at Potter Letter Caramel for a whimsical twist!
No-Bake Caramel Crunch Tart Recipe FAQs
What kind of Oreos should I use for the crust?
Absolutely! Traditional Oreos are fantastic, but feel free to experiment. You can use any chocolate sandwich cookies for a unique twist, adding flavors like mint, peanut butter, or even gluten-free varieties to suit your needs.
How should I store the No-Bake Caramel Crunch Tart?
For best results, keep your tart in an airtight container in the fridge where it will stay fresh for up to 3 days. This way, you can enjoy those delicious flavors without drying out the tart. If you plan to keep it longer, freezing is a great option!
Can I freeze this tart? If so, how?
Yes, you can freeze the No-Bake Caramel Crunch Tart for up to 2 months! To do this, wrap it tightly in plastic wrap followed by aluminum foil to prevent freezer burn. When you’re ready to enjoy it, simply transfer it to the refrigerator and let it thaw overnight before serving.
What should I do if my filling is too runny?
No worries! If your filling doesn’t thicken as expected, gently reheat the mixture over low heat. Incorporate a bit more bittersweet chocolate, stirring well until smooth and slightly thickened. This should help achieve that delightful gooey consistency before you fill the tart.
Is this recipe safe for people with nut allergies?
The classic version is nut-free! However, if you choose to add nuts as a variation or topping, be cautious and ensure you know the dietary restrictions of those you’re serving. Always check ingredient labels for any hidden allergens!
What can I use instead of caramel sauce?
If you’re feeling adventurous, try making homemade caramel! Just cook sugar over medium heat until it melts, then add cream and butter for a rich and gooey filling. This will enhance the flavor of your No-Bake Caramel Crunch Tart beautifully!
Decadent No-Bake Caramel Crunch Tart for Effortless Indulgence
Ingredients
Equipment
Method
- Crush 24 Oreo cookies into fine crumbs and mix with 5 tablespoons melted unsalted butter until resembling wet sand. Press into a 9-inch tart pan.
- Melt 1 cup of caramel sauce in a saucepan over low heat for 3-5 minutes, then stir in 1 cup bittersweet chocolate chips until smooth.
- Fold in 2 cups Rice Krispies cereal into chocolate-caramel mixture until evenly coated.
- Pour filling into the crust and smooth it out. Press down lightly to adhere the filling.
- Cover with plastic wrap and chill in the refrigerator for at least 1 hour, or up to 2 hours for optimal firmness.
- Sprinkle flaky sea salt on top before serving.
Leave a Reply