
What’s better than a hot summer day and a homemade treat to cool you down? If you’re like me, memories of digging into a creamy chocolate fudge pop bring back endless joy. These delightful pops are not only simple to whip up, but my homemade chocolate fudge pops also offer a fun, customizable twist that everyone in the family will love. Whether you’re craving a classic chocolate flavor or seeking vegan and gluten-free options, this recipe has got you covered. With just a few pantry staples and minimal prep time, you’ll create a nostalgic dessert that’s sure to please, all while staying mindful of dietary preferences. So, are you ready to take a sweet stroll down memory lane and make your own fudge pops?
Why Will You Love These Fudge Pops?
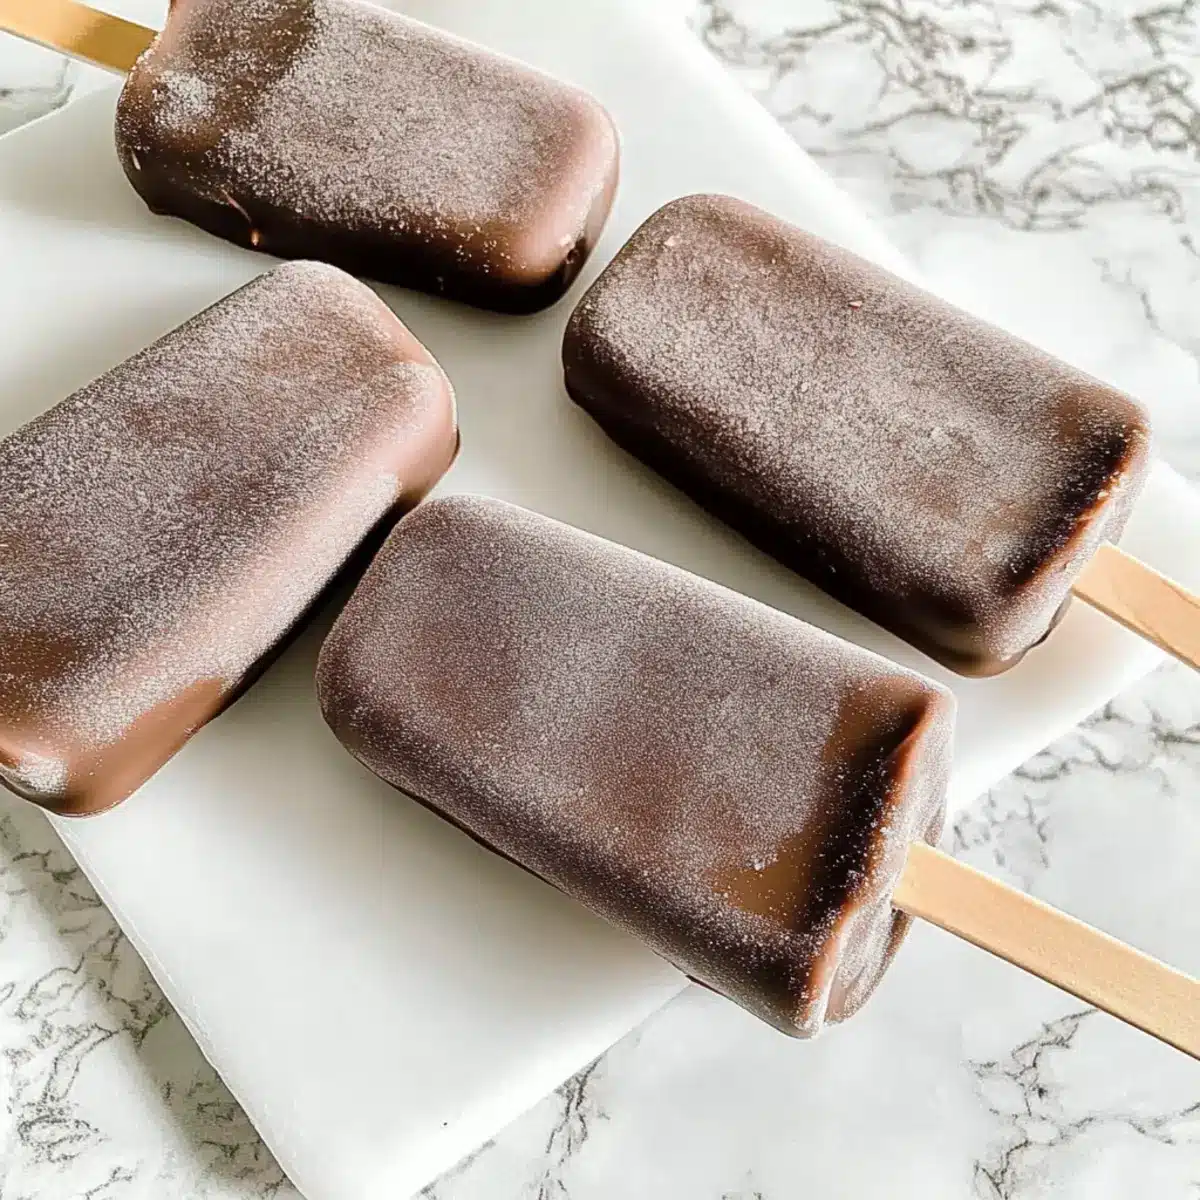
Decadent, Rich Flavor: Each bite of these homemade chocolate fudge pops is a delightful journey into smooth, creamy chocolate bliss.
Customizable for Everyone: Easily adjust the sweetness or switch to a vegan alternative by using non-dairy milk, ensuring everyone gets to enjoy them.
Quick and Easy: With minimal prep time and simple pantry ingredients, you can whip up a batch in no time, making this a perfect treat for busy families.
Kid-Friendly Fun: These pops are not just a delicious treat; they’re also a fantastic way to involve the kids in the kitchen. Let them experiment by adding fun mix-ins like crushed cookies!
Nostalgic and Refreshing: Remember those summer days as a child? Relive those moments with a modern twist, enjoying a treat that’s both nostalgic and joyfully refreshing.
If you’re interested in other sweet homemade treats, consider trying my Peanut Butter Chocolate cookies or indulge in a drink with some Homemade Chocolate Milk.
Homemade Chocolate Fudge Pop Ingredients
• For the Base
- 1/2 cup unsweetened cocoa powder – Provides that rich chocolate flavor; sift the cocoa for a lump-free mixture.
- 1 cup sugar – Adds sweetness; reduce to 1/2 cup or substitute with a sugar-free alternative like Truvia for less sweetness.
- 1 tbsp cornstarch – Helps to thicken the mixture; essential for achieving the ideal texture.
- 1/4 tsp salt – Enhances the chocolate flavor; don’t skip this for an elevated taste.
• For the Creaminess
- 2 cups milk – Creates a creamy base; can use dairy or non-dairy milk for vegan options.
- 1 tsp vanilla extract – Adds depth of flavor; always use pure vanilla for best results.
Step‑by‑Step Instructions for Homemade Chocolate Fudge Pop
Step 1: Combine Dry Ingredients
In a medium bowl, whisk together 1/2 cup of unsweetened cocoa powder, 1 cup of sugar, 1 tablespoon of cornstarch, and 1/4 teaspoon of salt. Ensure that the mixture is clump-free for a smooth chocolate fudge pop experience. This step sets the foundation for your rich chocolate flavor, so whisk thoroughly until well blended.
Step 2: Mix in Milk
Gradually pour in half of your 2 cups of milk while whisking continuously to form a smooth mixture. This gradual addition prevents lumps and ensures a silky texture. Once combined, add the remaining milk and mix thoroughly until the chocolate mixture is completely uniform.
Step 3: Heat the Mixture
Transfer the mixture to a saucepan and heat over medium heat. Stir constantly, using a wooden spoon or spatula, for about 5-7 minutes until the mixture thickens to the consistency of chocolate sauce. You’ll know it’s ready when it coats the back of your spoon. Be vigilant to avoid sticking or burning.
Step 4: Add Flavor
Remove the saucepan from heat and stir in 1 teaspoon of vanilla extract. Allow the mixture to cool for 5-7 minutes at room temperature; this cooling period will help thicken your homemade chocolate fudge pop mixture further, enhancing its overall texture.
Step 5: Pour into Molds
Once your chocolate mixture has slightly cooled, carefully pour it into popsicle molds. Fill them to about 3/4 full to allow for expansion while freezing. If you like, this is the perfect time to add any fun mix-ins, like crushed cookies or a sprinkle of salt for extra flavor.
Step 6: Insert Sticks and Freeze
Insert popsicle sticks into the center of each mold, ensuring they’re upright. Place the molds in the freezer and let them freeze for at least 8 hours, or until completely solid. The perfect homemade chocolate fudge pops will require patience, but the sweet reward will be worth it!
Step 7: Serve and Enjoy
After the fudge pops have frozen completely, remove them from the molds by gently running warm water over the outside for a few seconds. This will make the pops easier to release. Serve immediately, or store them in a freezer-safe bag for later enjoyment of your delightful homemade chocolate fudge pops!
Homemade Chocolate Fudge Pop Variations
Dive into the world of delightful customization and elevate your fudge pops to suit everyone’s taste!
-
Vegan Option: Substitute dairy milk with your favorite non-dairy milk, like almond or oat milk, for a creamy vegan treat.
-
Sugar-Free Delight: Replace regular sugar with a sugar substitute like Truvia or erythritol to enjoy a guilt-free flavor without sacrificing sweetness.
-
Minty Fresh: Crush peppermint candies and fold them into the mixture for a refreshing twist that’s perfect for the holidays.
-
Coffee Kick: Add a splash of brewed coffee or espresso for a sophisticated mocha flavor that’s ideal for adult palettes.
-
Nutty Crunch: Mix in chopped nuts like almonds or hazelnuts for a delightful crunchy texture that complements the creamy fudge.
-
Spicy Chocolate: Spice things up by adding a hint of cayenne pepper or chili powder for a surprisingly zesty heat!
-
Fruit Infusion: Fold in pureed bananas or strawberries to introduce a fruity element that balances the richness of the chocolate.
-
Cookie Surprise: Toss in crushed cookies or your favorite candy before freezing, turning your fudge pops into fun ice cream-style treats.
With these delightful variations, you can discover new flavors and textures that keep everyone coming back for more! For another sweet treat, you might want to check out my Sokolatina Chocolate Custard recipe or blend up a batch of Minute Homemade Condensed milk for extra sweetness.
How to Store and Freeze Homemade Chocolate Fudge Pops
Fridge: Store fudge pops in an airtight container in the fridge for up to 3 days if you prefer a softer texture, but freezing is best for longer storage.
Freezer: For optimal freshness, keep the homemade chocolate fudge pops in airtight containers or freezer-safe bags, where they can last for up to 8 months without losing quality.
Remove from Molds: After freezing, gently run warm water over the outside of the molds to help release the fudge pops when you’re ready to enjoy them.
Serving Later: If serving later, wrap individual fudge pops in plastic wrap before placing them in a container to prevent freezer burn and maintain their delightful taste.
What to Serve with Homemade Chocolate Fudge Pops?
Looking to create a delicious spread that pairs perfectly with these creamy chocolate treats?
-
Fresh Berries: The tartness of strawberries or raspberries balances the rich fudge flavor, adding a refreshing bite.
-
Whipped Coconut Cream: For a light, fluffy topping, coconut cream enhances the chocolate pops’ tropical vibe and adds a lovely texture.
-
Chocolate Dipped Pretzels: The combination of crisp, salty pretzels and sweet chocolate is irresistible—perfect for a fun snack alongside your fudge pops.
-
Mint Chocolate Chip Ice Cream: Complement the chocolate with a scoop of mint chocolate chip, creating a delightful flavor explosion that refreshes the palate.
-
Sparkling Lemonade: A bubbly, zesty lemonade provides a bright contrast to the fudge pops, making it a fabulous pairing for a summer day.
-
Chocolate-Covered Almonds: These provide an extra crunch and a nutty flavor that pairs excellently with the smooth fudge pops, creating a lovely textural balance.
Expert Tips for Homemade Chocolate Fudge Pops
• Sifting Cocoa: Always sift your cocoa powder before mixing. This prevents lumps and ensures a smooth texture in your homemade chocolate fudge pops.
• Sweetness Adjustment: Feel free to reduce the sugar or swap it for a sugar-free alternative. This can cater to different dietary needs while keeping the fudge pops delicious.
• Constant Stirring: When heating the mixture, stir continuously to avoid burning. It’s crucial for achieving that perfect thick consistency you desire.
• Cool Down Time: Allow the mixture to cool before pouring it into molds. This helps achieve a better texture and prevents overflow during freezing.
• Creative Mix-ins: Experiment with fun additions like crushed nuts or fruit. Just be sure to not overfill the molds to allow for expansion while freezing.
Make Ahead Options
These Homemade Chocolate Fudge Pops are perfect for meal prep, making them an excellent choice for busy families! You can prepare the chocolate mixture up to 24 hours in advance; simply whisk together the dry ingredients with half the milk, heat as directed, and allow it to cool. Once cooled, pour the mixture into popsicle molds and insert sticks. Instead of freezing immediately, cover them with plastic wrap and refrigerate until you’re ready to continue. When you’re set to enjoy, transfer them to the freezer for at least 8 hours. This way, you’ll have delicious, ready-to-serve fudgesicles anytime you crave a cold treat, just as flavorful as if made fresh!

Homemade Chocolate Fudge Pops Recipe FAQs
How do I choose the best cocoa powder?
Absolutely! When selecting cocoa powder, look for high-quality unsweetened cocoa for the richest flavor. The best cocoa powder should be dark and have a vibrant color, with no visible lumps. Always check the expiration date to ensure freshness!
How long do homemade chocolate fudge pops last in the freezer?
These delicious treats can last in the freezer for up to 8 months! To keep them at their best quality, store the fudge pops in airtight containers or freezer-safe bags. Just remember to label them with the date for easy reference!
Can I freeze this chocolate fudge pop mixture before molding?
Certainly! You can freeze the entire mixture in an airtight container. Just make sure to thaw it in the refrigerator overnight before proceeding with pouring it into molds. This method keeps the texture smooth and allows for easy pouring once thawed.
What if my fudge pops are too hard after freezing?
Very common! If your fudge pops are too hard to enjoy, simply let them sit at room temperature for about 5-10 minutes before serving. Alternatively, run warm water over the outside of the molds for a few seconds to help release them more easily.
What are some allergy considerations for this recipe?
Of course! This recipe is easily adaptable. For dairy allergies, substitute regular milk with a quality non-dairy milk like almond or oat milk. Always double-check labels for any pre-packaged ingredients to ensure they’re allergen-free, especially regarding potential cross-contamination.
Can pets enjoy homemade chocolate fudge pops?
Very important! While it may be tempting to share, chocolate is toxic to pets. It’s best to keep these homemade chocolate fudge pops for humans only! If you wish to treat your furry friends, consider making pet-friendly pops using pureed fruits and yogurt.
Homemade Chocolate Fudge Pop Bliss for All Ages
Ingredients
Equipment
Method
- In a medium bowl, whisk together cocoa powder, sugar, cornstarch, and salt until well blended.
- Gradually pour in half of your milk while whisking continuously to form a smooth mixture. Once combined, add the remaining milk and mix thoroughly.
- Transfer the mixture to a saucepan and heat over medium heat, stirring constantly for about 5-7 minutes until it thickens.
- Remove from heat and stir in vanilla extract. Allow to cool for 5-7 minutes.
- Carefully pour the chocolate mixture into popsicle molds, filling them to about 3/4 full.
- Insert popsicle sticks into the center of each mold and freeze for at least 8 hours.
- Once frozen, remove pops from molds by running warm water over the outside.
Leave a Reply