
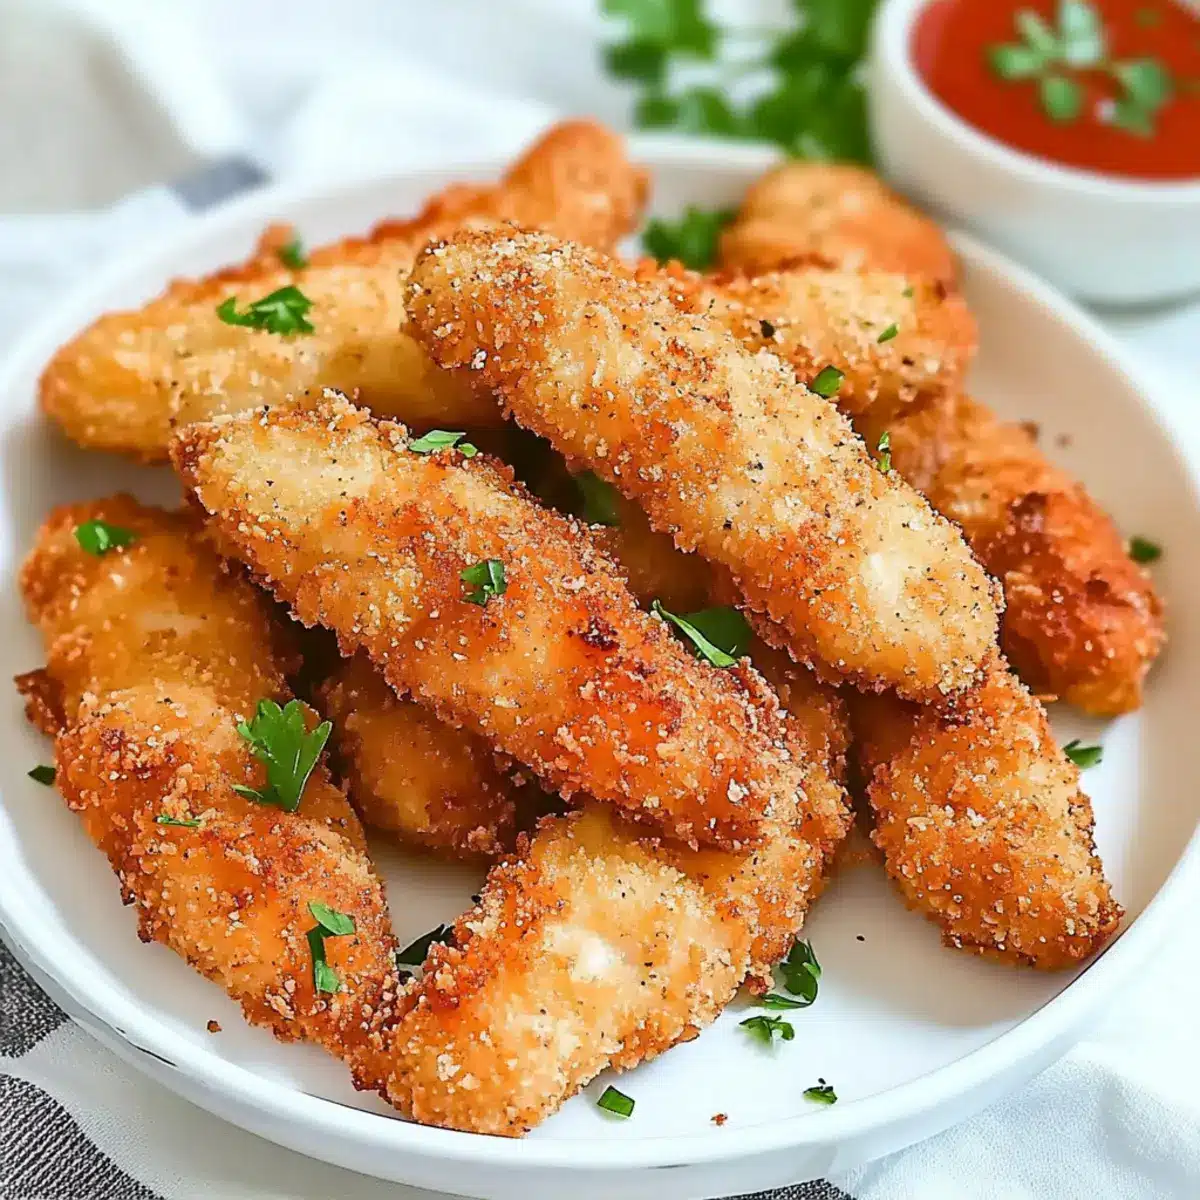
The aroma of sizzling chicken fills the kitchen, transforming a busy weeknight into a comforting culinary experience. These Crispy Easy Chicken Strips are my go-to solution when I crave something quick yet satisfying. They’re not only a delightful treat for both kids and adults, but they also let you enjoy the satisfaction of homemade comfort food without breaking a sweat. With a crispy golden crust wrapping around tender chicken, this recipe offers both speed and flavor that will have everyone coming back for more. Plus, you can easily customize it for a gluten-free twist! Are you ready to turn your kitchen into a haven of deliciousness? Let’s dive into the buttery, crunchy goodness of these chicken strips!
Why Are These Chicken Strips a Hit?
Versatile Ingredients: You can easily adapt this recipe with a few simple swaps, like using gluten-free flour and breadcrumbs, making it perfect for everyone.
Quick Meal Solution: With minimal prep and cooking time, these chicken strips make weeknight dinners a breeze, letting you serve up comfort in a flash.
Kid-Friendly Appeal: The crispy texture and juicy center make these strips a favorite among both kids and adults, ensuring a happy family meal.
Endless Customization: Add your favorite spices or herbs to the breading for a personalized touch, or enjoy them with various dipping sauces like BBQ, ranch, or even a tangy homemade sauce.
Unmatched Flavor: The delightful crunch and tender chicken create a satisfying bite that rivals any takeout option, bringing the joys of homemade food directly to your table!
If you’re looking for more delicious options, check out our Loaded Chicken Club or try the Herb Chicken Mashed that pairs beautifully with these chicken strips!
Chicken Strips Ingredients
For the Chicken Coating
• Chicken Breasts – Provides the main protein; opt for large pieces for juiciness.
• All-Purpose Flour – Adds structure and helps the coating adhere; substitute gluten-free flour for a gluten-free option.
• Salt & Pepper – Essential seasoning that enhances flavor for your chicken strips.
• Eggs – Binds the breading to the chicken; a flax egg can be used as a vegan alternative.
• Bread Crumbs – Creates a crispy outer layer; use Italian style for extra flavor or panko for heightened crunch.
For Cooking
• Oil – Necessary for sautéing and achieving that delicious crispy texture; olive oil or vegetable oil works well.
Step‑by‑Step Instructions for Crispy Easy Chicken Strips
Step 1: Prep Chicken
Begin by slicing the chicken breasts in half horizontally, then cut them into strips approximately 1-inch wide. Use a meat mallet to pound the strips to a uniform thickness of about 1/4 inch, ensuring even cooking. This process helps the chicken strips cook quickly while remaining juicy and flavorful.
Step 2: Set Up Breading Stations
Prepare three shallow dishes to create your breading stations. In the first dish, mix together all-purpose flour with a generous pinch of salt and pepper. In the second dish, whisk the eggs until well beaten. Fill the third dish with your chosen bread crumbs to ensure a crispy coating for your chicken strips.
Step 3: Coat Chicken
Now it’s time to assemble your crispy chicken strips! Take a chicken strip and dip it into the flour mixture, shaking off the excess. Next, plunge it into the beaten eggs, ensuring it’s completely coated, before rolling it in the bread crumbs for that irresistible crunch. Repeat this process for all strips, pressing the breading firmly onto the chicken for a better stick.
Step 4: Cook Chicken
Heat a generous amount of oil in a large frying pan over medium heat. You can test if the oil is ready by dropping in a few bread crumbs; they should sizzle when hot. Carefully place the coated chicken strips in the hot oil, ensuring not to overcrowd the pan. Cook for about 3-4 minutes on each side, turning golden brown and crispy.
Step 5: Drain and Serve
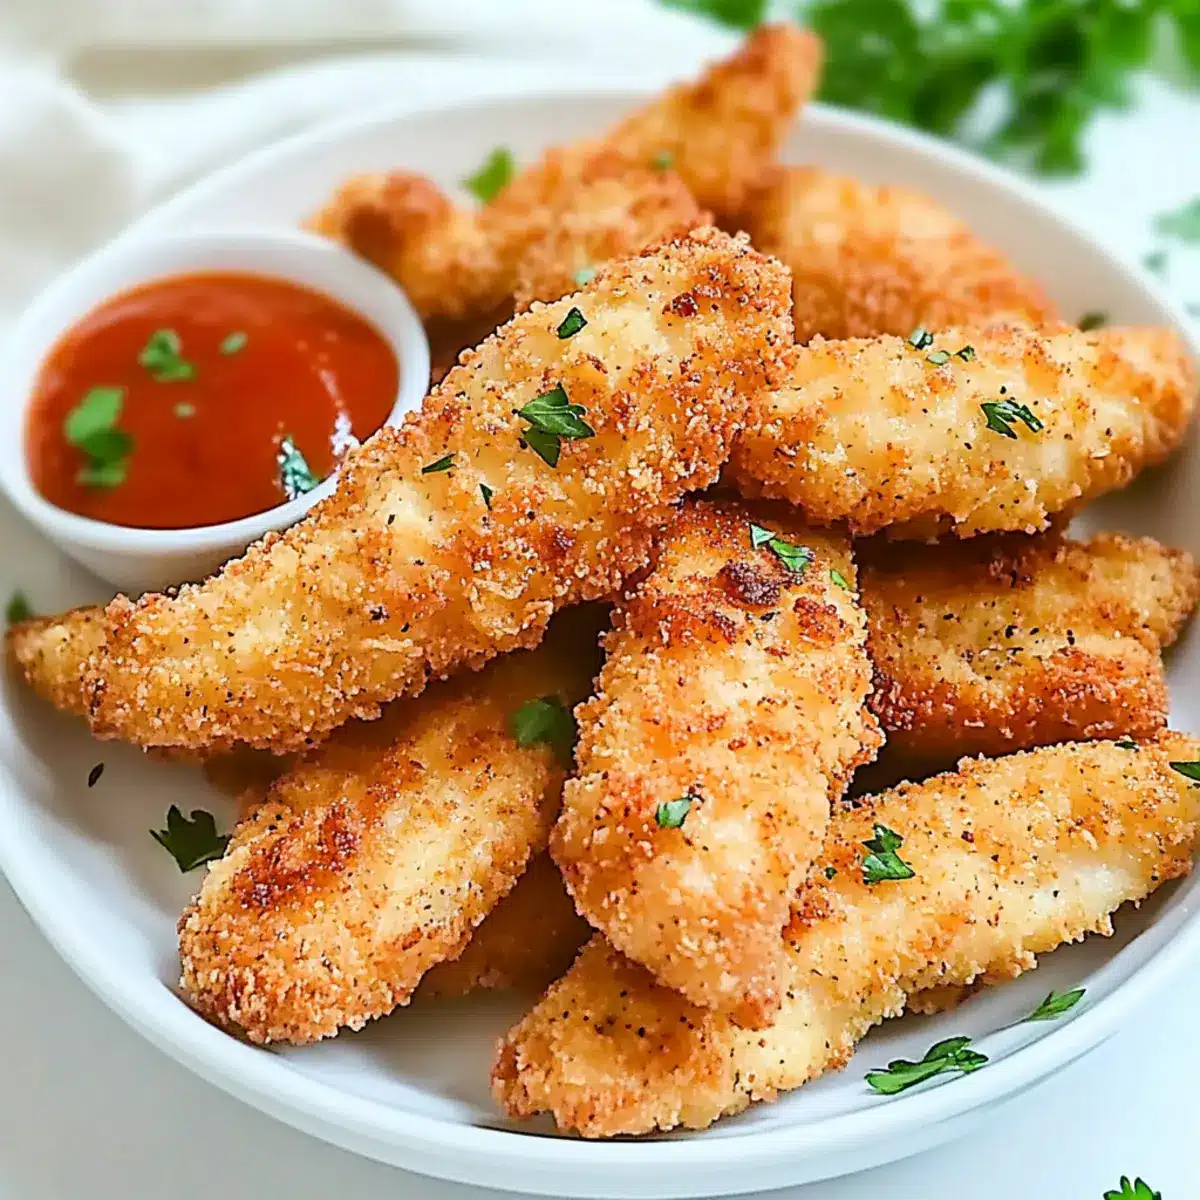
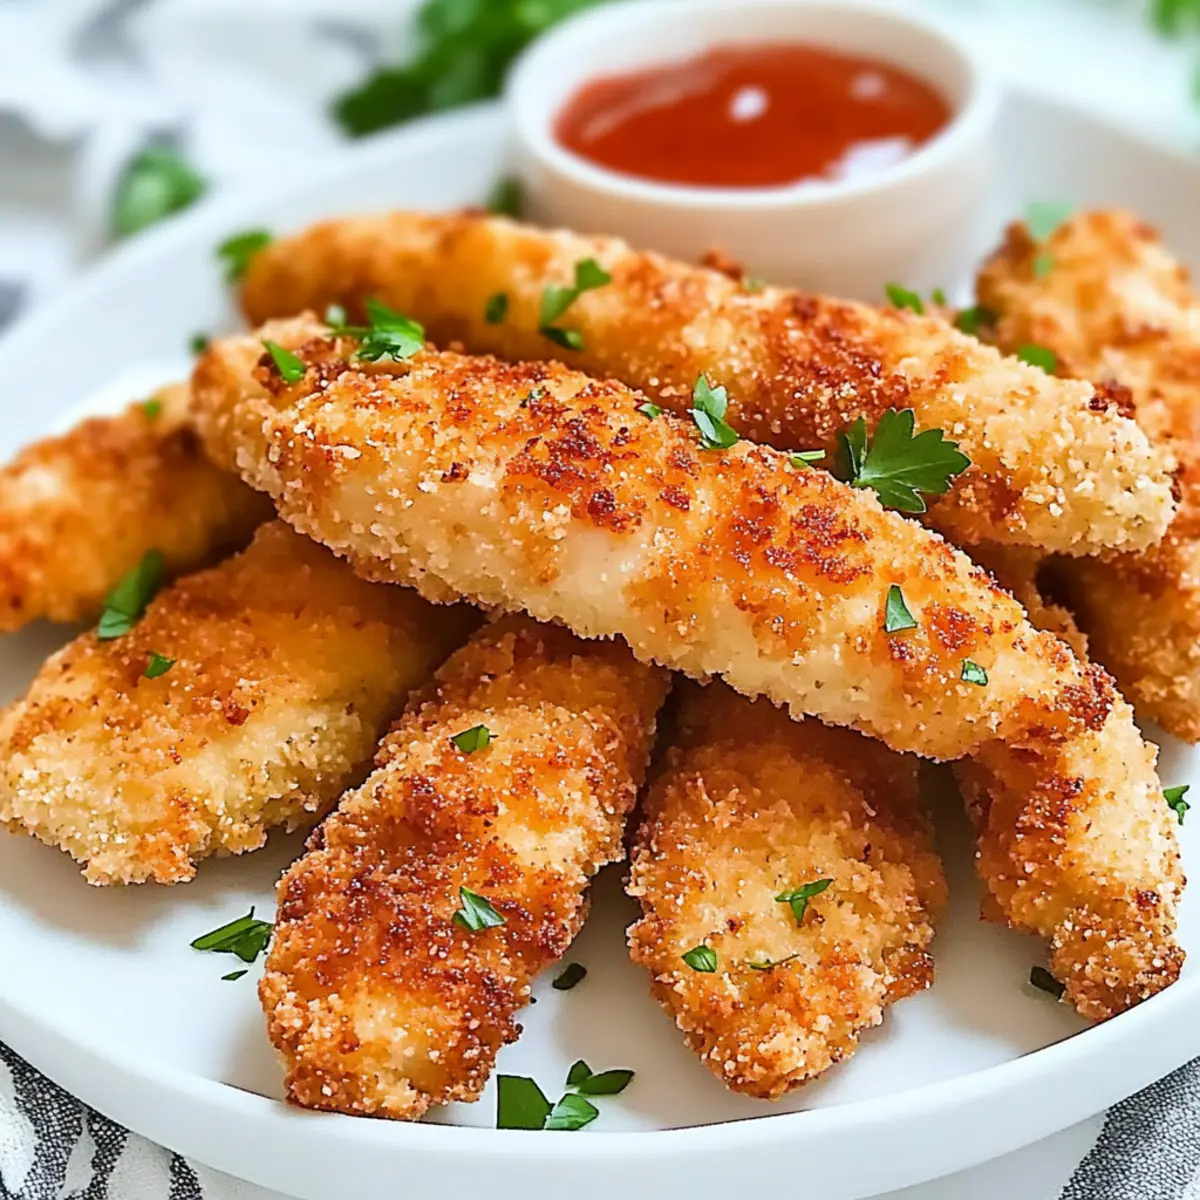
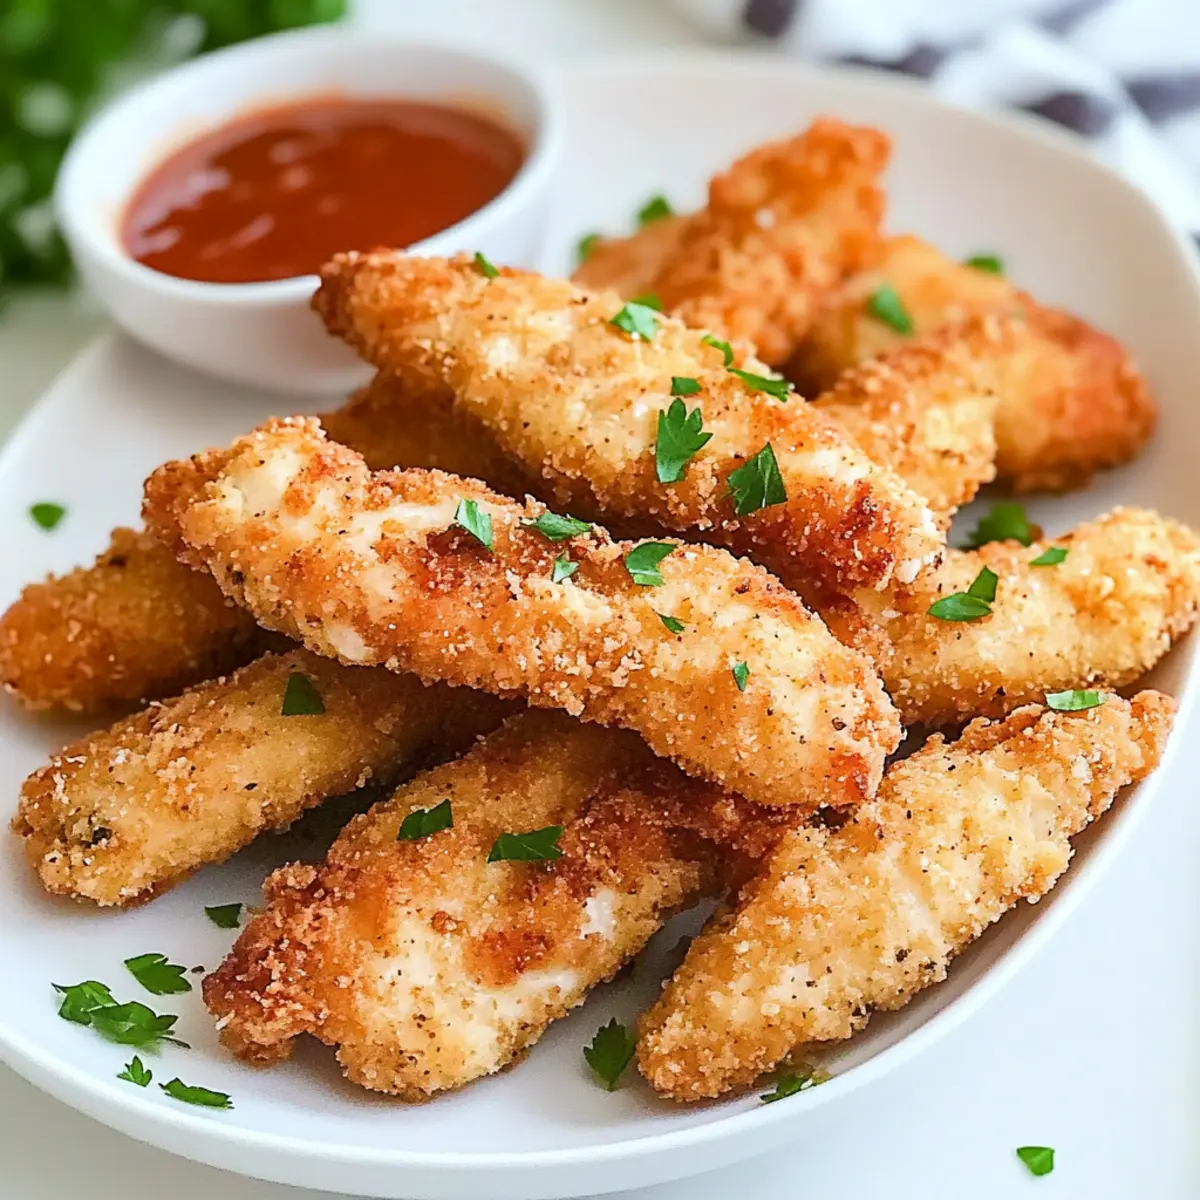
Once the chicken strips are perfectly golden and cooked through, remove them from the frying pan and place them on a plate lined with paper towels. This helps drain any excess oil. Let them rest for a couple of minutes while you prepare your favorite dipping sauces, then serve these delightful crispy easy chicken strips with a side of fresh salads or French fries for a satisfying family dinner!
Expert Tips for Chicken Strips
• Oil Temperature: Make sure the oil is hot enough before adding the chicken strips; too cool oil can lead to soggy breading.
• Uniform Size: Cut your chicken strips to similar sizes for even cooking; this ensures all pieces are perfectly crispy and juicy.
• Don’t Overcrowd: Avoid overcrowding the pan while cooking; this helps maintain the oil temperature and results in a crispier exterior on your chicken strips.
• Customize Breading: Feel free to experiment with spices in the breading mix, such as paprika or garlic powder, to add unique flavors to your chicken strips.
• Check Freshness: Use fresh ingredients, especially your bread crumbs and seasonings, to ensure the best flavor and texture in your chicken strips.
What to Serve with Crispy Easy Chicken Strips
Nothing completes a meal quite like delicious sides that elevate your chicken strips into a full family feast.
-
Garlic Mashed Potatoes: Creamy, buttery mashed potatoes provide a rich contrast to crispy chicken strips, soaking up flavorful sauces beautifully.
-
Refreshing Coleslaw: A crunchy, tangy coleslaw adds a refreshing crunch that balances the richness of chicken, making every bite exciting.
-
Crispy French Fries: These golden fries pair perfectly, offering a satisfying crunch and classic comfort alongside your chicken strips. Dip them in ketchup for a nostalgic experience!
-
Steamed Broccoli: Lightly steamed broccoli adds a healthy, vibrant splash of color to your plate, along with a subtle earthiness that complements the savory chicken.
-
Zesty Caesar Salad: A hearty Caesar salad provides a creamy dressing that contrasts wonderfully with the crispy coating of chicken strips, making each forkful delightful.
-
Sweet and Spicy Dipping Sauces: Try pairing your chicken strips with homemade spicy honey or tangy BBQ sauce to amp up the flavor and play with sweet and savory notes.
-
Iced Lemonade: A refreshing ice-cold lemonade offers a zesty, sweet drink option that cleanses the palate and complements the savory meal wonderfully.
Elevate your chicken strips with these side options for a dinner everyone will love!
Make Ahead Options
These Crispy Easy Chicken Strips are perfect for meal prep enthusiasts looking to save time during busy weeknights! You can prepare the chicken strips up to 24 hours in advance by following the breading steps, then refrigerate them in a single layer covered with plastic wrap to maintain their quality. Additionally, you can freeze the breaded chicken strips for up to 3 months; simply lay them on a baking sheet to freeze solid first. When you’re ready to cook, directly fry them from frozen for about 5-7 minutes per side until golden and cooked through. This ensures a quick dinner option that’s just as delicious as freshly made chicken strips!
Chicken Strips Variations & Substitutions
Get ready to make these chicken strips truly your own with delightful twists that will tantalize your taste buds!
- Gluten-Free: Use gluten-free flour and panko breadcrumbs to create the same crispy texture without the gluten.
- Spicy Twist: Add a teaspoon of cayenne pepper or chili powder to the breading for a fiery kick that will excite your palate.
- Vegan Option: Substitute chicken with tofu or tempeh, and use a flax egg in place of the regular egg for a plant-based delight.
- Herbed Delight: Mix dried herbs like oregano, thyme, or basil into your breading for an aromatic flavor explosion.
- Parmesan Crust: Incorporate grated Parmesan cheese into the breadcrumbs for a rich, savory addition that takes the flavor to another level.
- Cornmeal Crunch: Replace half of the breadcrumbs with cornmeal for an extra crunchy, Southern-inspired texture.
Experimenting in the kitchen can be so much fun! If you’re looking for more delicious inspiration, consider pairing these strips with our Street Corn Chicken Bowl for a complete meal that packs a punch!
How to Store and Freeze Chicken Strips
Fridge: Store leftover chicken strips in an airtight container in the refrigerator for up to 3 days to maintain their crispiness and flavor.
Freezer: For longer storage, freeze cooked chicken strips on a baking sheet in a single layer until solid, then transfer to a freezer bag. They can be kept for up to 3 months.
Reheating: Reheat in the oven at 375°F (190°C) for about 10-15 minutes or in an air fryer at 375°F for 5 minutes to regain their crispy texture.
Make-Ahead: Prepare and bread the chicken strips ahead of time, storing them in the fridge for up to 24 hours before frying for a quick weeknight dinner.
Easy Chicken Strips Recipe FAQs
What type of chicken is best for these strips?
It’s best to use boneless, skinless chicken breasts for easy chicken strips, as they provide a tender and juicy result. Choose larger pieces for even better moisture, ensuring a satisfying bite.
How should I store leftover chicken strips?
Leftover chicken strips can be stored in an airtight container in the fridge for up to 3 days. Make sure they cool completely before sealing to maintain their delicious texture and flavor.
Can I freeze chicken strips?
Absolutely! To freeze, arrange the cooked chicken strips in a single layer on a baking sheet. Freeze until solid, which should take about 1 hour, then transfer them to a freezer bag. They can be kept for up to 3 months.
What’s the best way to reheat frozen chicken strips?
To reheat, preheat your oven to 375°F (190°C) and spread the frozen chicken strips on a baking sheet. Bake for about 10-15 minutes until warmed through. Alternatively, you can use an air fryer at 375°F for about 5 minutes for optimal crispiness.
How can I make these chicken strips gluten-free?
To make gluten-free chicken strips, simply substitute all-purpose flour and bread crumbs with gluten-free options. For flour, I recommend using a 1:1 gluten-free baking flour, and for the breading, you can use gluten-free bread crumbs or crushed cornflakes for a delightful crunch!
What should I do if my chicken strips turn out soggy?
If your chicken strips end up soggy, it might be due to oil that wasn’t hot enough when you added them or overcrowding the pan. Always ensure your oil is hot (test with a breadcrumb) and fry in batches to keep that crispy texture intact.
Crispy Chicken Strips Perfect for Quick Family Dinners
Ingredients
Equipment
Method
- Begin by slicing the chicken breasts in half horizontally, then cut them into strips approximately 1-inch wide. Use a meat mallet to pound the strips to a uniform thickness of about 1/4 inch.
- Prepare three shallow dishes. In the first dish, mix together all-purpose flour with a pinch of salt and pepper. In the second dish, whisk the eggs until well beaten. Fill the third dish with your chosen bread crumbs.
- Take a chicken strip and dip it into the flour mixture, shaking off the excess. Next, plunge it into the beaten eggs, then roll it in the bread crumbs. Repeat for all strips.
- Heat oil in a large frying pan over medium heat. Place the coated chicken strips in the hot oil and cook for about 3-4 minutes on each side until golden brown and crispy.
- Once cooked, drain the chicken strips on a plate lined with paper towels. Let them rest for a couple of minutes before serving with dipping sauces.
Leave a Reply