
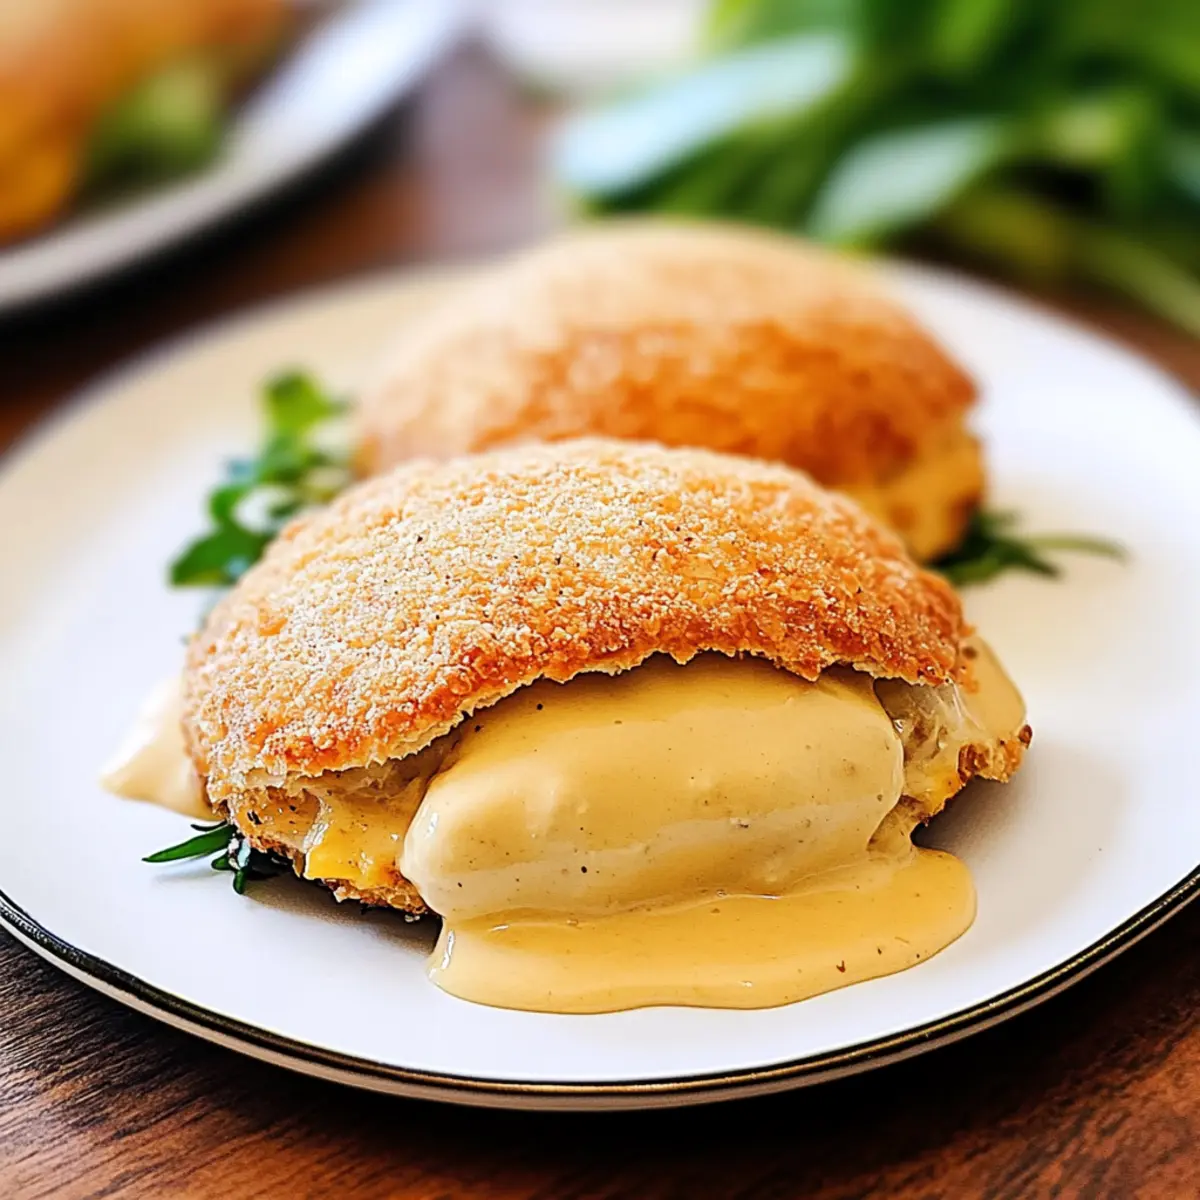
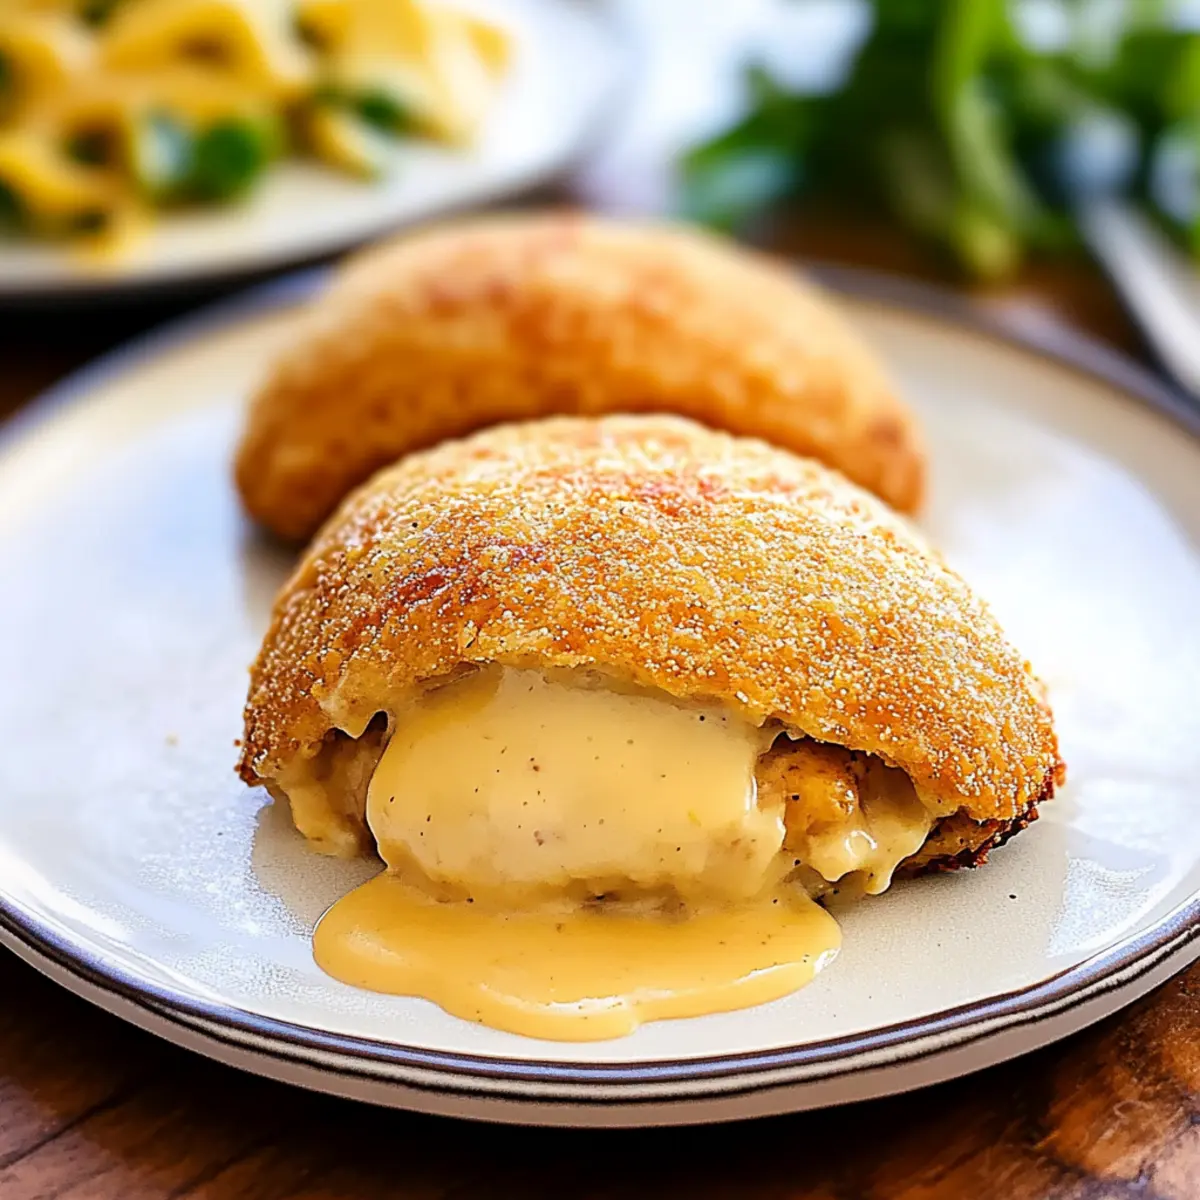
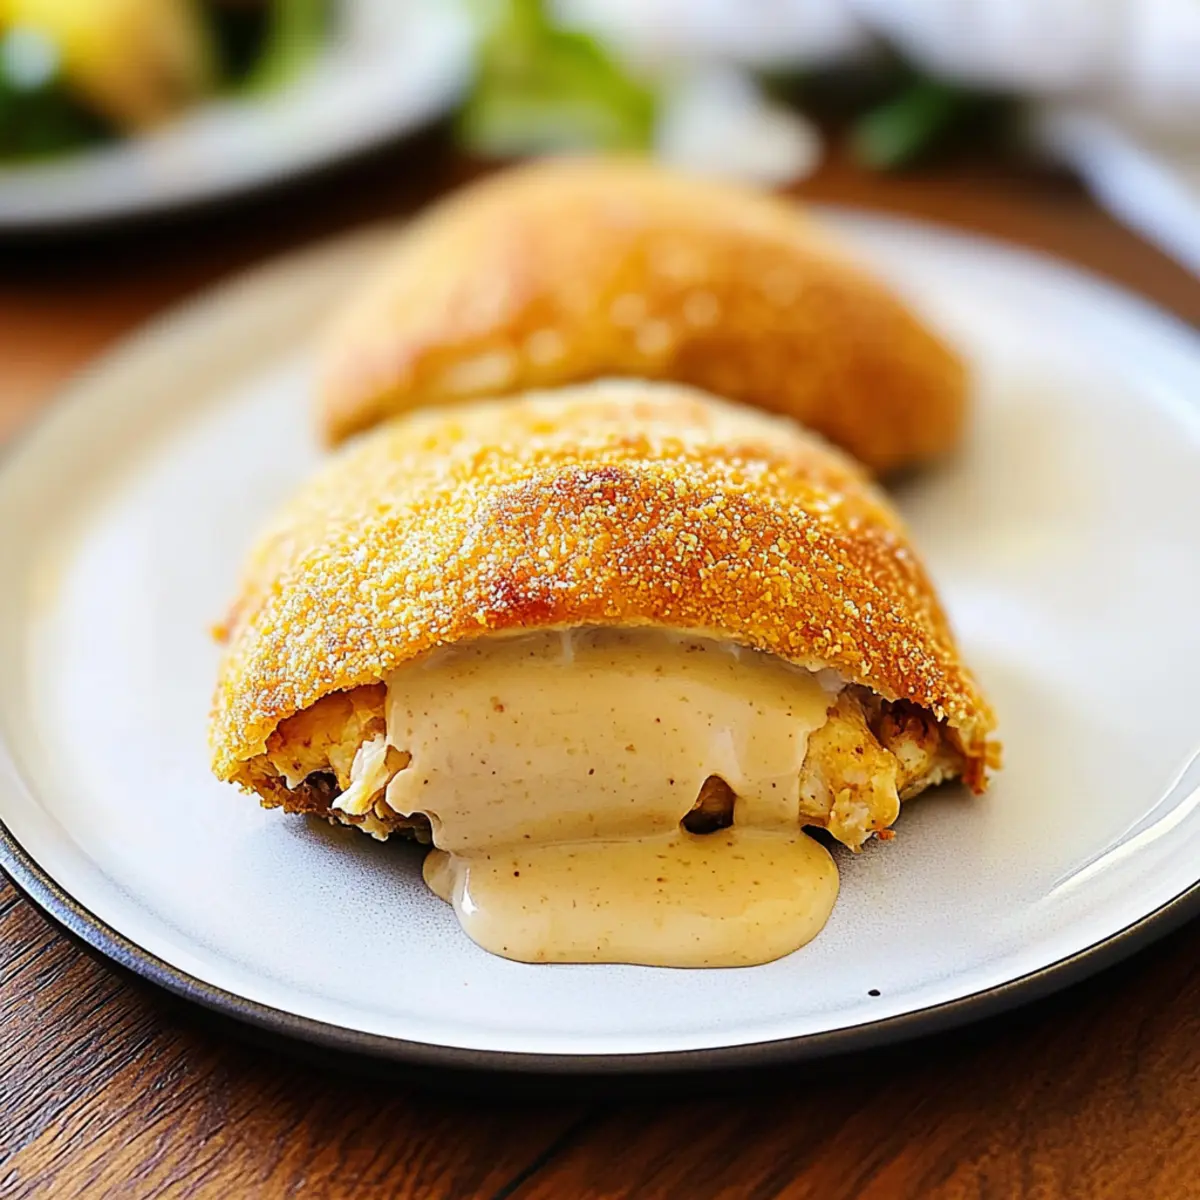
As the aroma of baked goodness wafted through my kitchen, I couldn’t help but chuckle at the sight of my family eagerly peeking into the oven. What were they so excited about? It was my new creation: Easy Cheesy Chicken Pillows. These delightful pockets of flaky crescent dough are filled with a creamy, seasoned chicken that warms the soul and satisfies even the pickiest eaters. The best part? This recipe is quick and easy, making it a weeknight lifesaver when time is tight. Plus, it’s a beloved comfort food that brings everyone together around the dinner table. Are you ready to fill your home with cozy aromas and delight every appetite? Let’s dive into making these irresistible Chicken Pillows!
Why Will You Love Chicken Pillows?
Simplicity at Its Best: This recipe is incredibly easy to follow, perfect for those busy weeknights when you need a comforting meal without the fuss.
Flavor Explosion: The creamy filling, enriched with herbs, delivers a taste that’s simply irresistible, pleasing even the pickiest of eaters.
Crowd-Pleaser: Chicken Pillows are a family favorite, bringing everyone together at the dinner table to share delicious bites of comfort.
Versatile Options: Feel free to customize the filling or swap out the gravy for alternatives like a homemade sauce; the possibilities are endless!
Effortless Preparation: With quick prep time and minimal ingredients, you’ll have these golden delights in the oven in no time, leaving you free to enjoy the moment.
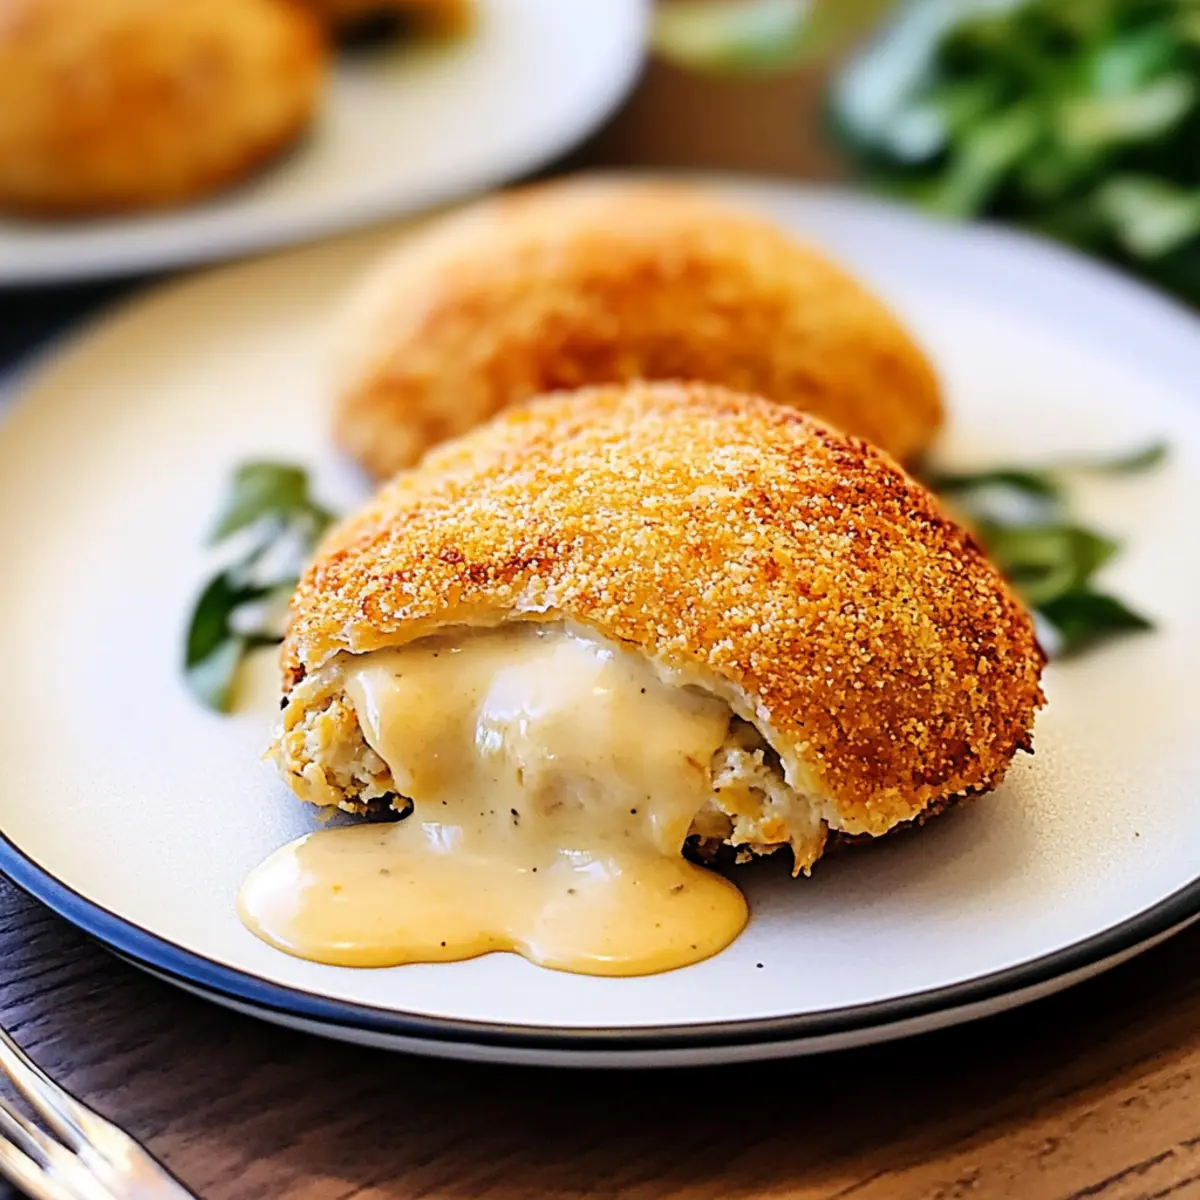
Perfectly Textured: The contrast of the flaky crust and creamy chicken filling makes every bite a satisfying experience. Whether you serve them with a side salad or some vegetable medley, your meal will be wholesome and delightful! For a veggie twist, try transforming your filling with leftover vegetables, or take a look at my Low Carb Chicken Casserole for another comforting dish.
Chicken Pillows Ingredients
Creating these Chicken Pillows is a delightful journey that starts with some simple yet flavorful ingredients. Each one plays a vital role in crafting the comfort food bliss that’s about to unfold!
For the Filling
- Cooked Shredded Chicken (10 ounces) – Main protein source; can substitute with rotisserie chicken for convenience.
- Cream Cheese (4 ounces) – Adds creaminess and richness; Neufchâtel is a lighter option.
- Salted Butter (1 tablespoon) – Enhances flavor and promotes browning; use unsalted butter if adjusting salt levels.
- Dried Chives (1/2 tablespoon) – Provides mild onion flavor; fresh chives can also be used if available.
- Dried Minced Onion (1/2 tablespoon) – Adds depth to the filling; fresh onion is a substitute but may require cooking.
- Salt and Pepper – Seasoning to taste; adjust according to preference.
For the Dough and Topping
- Refrigerated Pillsbury Crescent Roll Dough (1 can, 8 ounces) – Forms the outer layer of the pillows; puff pastry is an alternative.
- Melted Butter (1/4 cup) – For brushing over pastries to achieve a crispy exterior.
- Italian Breadcrumbs (1/2 cup) – Provides a crunchy coating; Panko breadcrumbs can be used for extra crunch.
For the Gravy
- Cream of Chicken Soup (1 can, 10 ounces) – Forms the base for the gravy; mushroom or vegetable soup can fit dietary needs.
- Chicken Gravy Mix (1 packet, 1 ounce) – Adds flavor to the sauce; homemade versions can be made if preferred.
- Water (3/4 cup) – To prepare the gravy.
Gather these ingredients, and you’ll be well on your way to crafting warm, inviting Chicken Pillows that your family will cherish!
Step‑by‑Step Instructions for Chicken Pillows
Step 1: Preheat the Oven
Begin by preheating your oven to 350°F (175°C) while you prepare your ingredients. This helps to ensure that your Chicken Pillows bake evenly and come out golden brown. As the oven heats, grease a baking sheet with non-stick spray to prevent sticking, making your cleanup a breeze later on.
Step 2: Prepare the Filling
In a mixing bowl, combine 4 ounces of cream cheese with 1 tablespoon of melted salted butter. Stir in 10 ounces of cooked shredded chicken, ½ tablespoon of dried chives, ½ tablespoon of dried minced onion, and season with salt and pepper to taste. Mix until all the ingredients are well blended and the filling is creamy and inviting.
Step 3: Shape the Crescent Dough
Unroll the refrigerated Pillsbury Crescent Roll Dough onto a clean surface. Pinch together two triangles to create a rectangle. Repeat this process until you have formed four rectangles in total, making sure the seams are well pressed together. This will provide a sturdy base for your Chicken Pillows.
Step 4: Fill the Dough
Spoon an equal amount of the chicken filling into the center of each rectangle. Carefully fold the corners of the dough over the filling, pinching the seams to seal them completely. This action shapes the Chicken Pillows into delightful little pockets, ready for baking and ensuring that none of the creamy goodness escapes!
Step 5: Coat and Place on Baking Sheet
Dip each sealed Chicken Pillow into the remaining melted butter, allowing it to soak up flavor. Then, roll each one in ½ cup of Italian breadcrumbs for a crunchy exterior that contrasts beautifully with the soft filling. Arrange the prepared Chicken Pillows on your greased baking sheet, leaving space between them to allow for even cooking.
Step 6: Bake the Chicken Pillows
Slide the baking sheet into your preheated oven and bake the Chicken Pillows for 22-25 minutes. Keep an eye on them until they turn a lovely golden brown, creating a tantalizing aroma that fills your kitchen. The crispy exterior will perfectly encase the creamy filling inside.
Step 7: Prepare the Gravy
While the Chicken Pillows bake, grab a saucepan and combine 1 can of cream of chicken soup, 1 packet of chicken gravy mix, and ¾ cup of water. Heat the mixture over medium heat, stirring frequently, until it comes to a boil. Once boiling, reduce the heat and let it simmer, allowing the flavors to meld together while your Chicken Pillows finish baking.
Step 8: Serve and Enjoy
Once the Chicken Pillows are baked to a perfect golden brown, remove them from the oven. Serve them hot, generously drizzled with the savory gravy you’ve prepared. This comforting meal is ready to be enjoyed by your family, bringing warmth and a delightful home-cooked aroma to your dinner table.
Chicken Pillows Variations & Substitutions
Feel free to elevate your Chicken Pillows with these creative twists that will delight your taste buds!
- Turkey Filling: Swap out the chicken for shredded turkey, perfect for using leftovers from holiday meals.
- Vegetable Medley: Use diced leftover veggies like bell peppers and broccoli for a hearty vegetarian option. Simply mix them into the cream cheese filling for extra flavor!
- Cheesy Goodness: Experiment with different cheeses such as cheddar, mozzarella, or even pepper jack for a delightful cheesy twist that adds a burst of flavor.
- Spice It Up: Add chopped jalapeños or a sprinkle of red pepper flakes to the filling, warming up your Chicken Pillows with a spicy kick for those who love heat.
- Whole Wheat Dough: For a healthier twist, opt for whole wheat crescent roll dough, boosting fiber content while maintaining the classic taste.
- Gravy Alternatives: Instead of cream of chicken soup, try mushroom or vegetable soup for a different base or make a homemade sauce to drizzle on top.
- Herbed Filling: Include fresh herbs like parsley or basil for an aromatic boost that enhances the overall flavor of your Chicken Pillows.
- Pork or Beef Filling: Change things up by using shredded cooked pork or beef seasoned similarly to give a different protein option that still satisfies.
For more comforting recipes, be sure to explore my Loaded Chicken Club or try the Street Corn Chicken for a fun twist!
Make Ahead Options
These Easy Cheesy Chicken Pillows are a fantastic meal prep solution for busy weeknights! You can prepare the filling—mixing together cooked shredded chicken, cream cheese, and seasonings—up to 24 hours in advance. Simply store it in an airtight container in the refrigerator to maintain its creamy texture. Additionally, you can assemble the Chicken Pillows and refrigerate them for up to 3 days before baking. When you’re ready to serve, just brush them with melted butter, coat in breadcrumbs, and bake directly from the fridge, adding a few extra minutes to the baking time. With these make-ahead tips, you’ll have a delicious, home-cooked meal ready with minimal effort!
How to Store and Freeze Chicken Pillows
Fridge: Store leftover Chicken Pillows in an airtight container for up to 3 days. Reheat them in the oven at 350°F (175°C) for approximately 10-15 minutes for the best texture.
Freezer: For longer storage, place unbaked Chicken Pillows on a parchment-lined baking sheet and freeze until solid. Transfer to a freezer-safe bag, and they can last for up to 2 months.
Reheating: When ready to enjoy, bake frozen Chicken Pillows directly from the freezer at 350°F (175°C) for 25-30 minutes, or until heated through and golden.
Thawing: If preferred, you can thaw them in the fridge overnight before baking, which can help reduce baking time.
Expert Tips for Chicken Pillows
• Seal Carefully: Ensure the dough is tightly sealed at the seams to prevent any filling from leaking out during baking.
• Herb-Infused Touch: For added flavor, brush the tops with herb-infused oil before baking, enhancing the aromatic experience of your Chicken Pillows.
• Watch the Oven: Stay close during the last few minutes of baking, monitoring for that perfect golden brown without burning.
• Use Fresh Ingredients: Opt for fresh herbs and spices when possible; they elevate the taste and freshness of your Chicken Pillows.
• Creative Fillings: Don’t hesitate to experiment with fillings, such as leftover turkey or different cheeses, to customize your Chicken Pillows for family preferences.
What to Serve with Easy Cheesy Chicken Pillows
Nothing completes a comforting meal quite like delicious sides that enhance the joy of chicken pillows fresh from the oven.
-
Creamy Mashed Potatoes: These velvety spuds are a classic duo, soaking up any extra gravy and adding a comforting touch to your plate. The smooth texture harmonizes perfectly with the flaky pillows.
-
Steamed Broccoli: Bright green florets add a nutritious punch to your dinner. Their gentle crunch and slight bitterness provide a delightful contrast to the creamy chicken filling within the pillows.
-
Caesar Salad: Crisp romaine, crunchy croutons, and tangy dressing offer a refreshing balance that perfectly juxtaposes the rich flavors of the chicken pillows. A light salad can cleanse the palate beautifully.
-
Roasted Carrots and Honey: The sweetness of roasted carrots brings out new flavors, creating a deliciously sweet and savory combination. Drizzling honey over them elevates their sweetness, making a perfect dance of flavors.
-
Savory Gravy: While the chicken pillows come with a delightful gravy, serving extra on the side allows everyone to customize their meal’s moisture and flavor—because who doesn’t love extra sauce?
-
Garlic Bread: Golden and crunchy with a buttery garlic flavor, this is a fantastic accompaniment that pairs well with the richness of chicken pillows. It’s perfect for mopping up any stray gravy or filling.
-
Chilled Sparkling Lemonade: A sparkling beverage adds a refreshing zing, brightening up the meal and balancing the comfort food vibes of the chicken pillows. It’s a perfect way to keep the dinner lively and fun!
Easy Cheesy Chicken Pillows Recipe FAQs
What type of chicken is best for Chicken Pillows?
Absolutely! For the best results, I recommend using cooked shredded chicken, which you can conveniently substitute with rotisserie chicken if you’re short on time. The flavors blend beautifully with the creamy filling.
How should I store leftover Chicken Pillows?
Store your leftover Chicken Pillows in an airtight container in the fridge for up to 3 days. When you’re ready to enjoy them again, reheat them in the oven at 350°F (175°C) for about 10-15 minutes to restore their crispy texture.
Can I freeze Chicken Pillows?
Certainly! To freeze unbaked Chicken Pillows, place them on a parchment-lined baking sheet until solid, then transfer them to a freezer-safe bag. They can be stored for up to 2 months.
How do I reheat frozen Chicken Pillows?
When you’re ready to enjoy your frozen Chicken Pillows, bake them directly from the freezer at 350°F (175°C) for 25-30 minutes, or until they are heated through and golden brown. Alternatively, for a quicker method, you can thaw them in the fridge overnight before baking.
What if my Chicken Pillows leak filling while baking?
Oh no! If you find that your Chicken Pillows leak during baking, it could be due to not sealing the dough properly. Make sure to pinch the seams tightly to prevent this. If you ever find yourself in a bind, don’t hesitate to add a bit more dough to patch leaks as they occur.
Are Chicken Pillows suitable for kids?
Very! Chicken Pillows are a hit with kids due to their fun shape and creamy filling. They’re a great way to encourage kids to enjoy a wholesome meal. Plus, you can customize the filling to suit your child’s taste preferences, making mealtime a delightful experience for everyone!
Tender Chicken Pillows with Creamy Filling for Comfort Food Bliss
Ingredients
Equipment
Method
- Preheat your oven to 350°F (175°C) and grease a baking sheet with non-stick spray.
- In a mixing bowl, combine cream cheese with melted salted butter, then stir in shredded chicken, chives, minced onion, salt, and pepper.
- Unroll the crescent roll dough, pinch two triangles together to form rectangles, and create a total of four rectangles.
- Spoon the chicken filling into the center of each rectangle, fold the dough over, and pinch the seams to seal the pillows.
- Dip each pillow in melted butter, then roll in breadcrumbs and place them on the greased baking sheet.
- Bake for 22-25 minutes or until golden brown.
- In a saucepan, combine cream of chicken soup, gravy mix, and water. Heat until boiling, then reduce heat and simmer.
- Serve the Chicken Pillows hot, drizzled with the prepared gravy.
Leave a Reply