
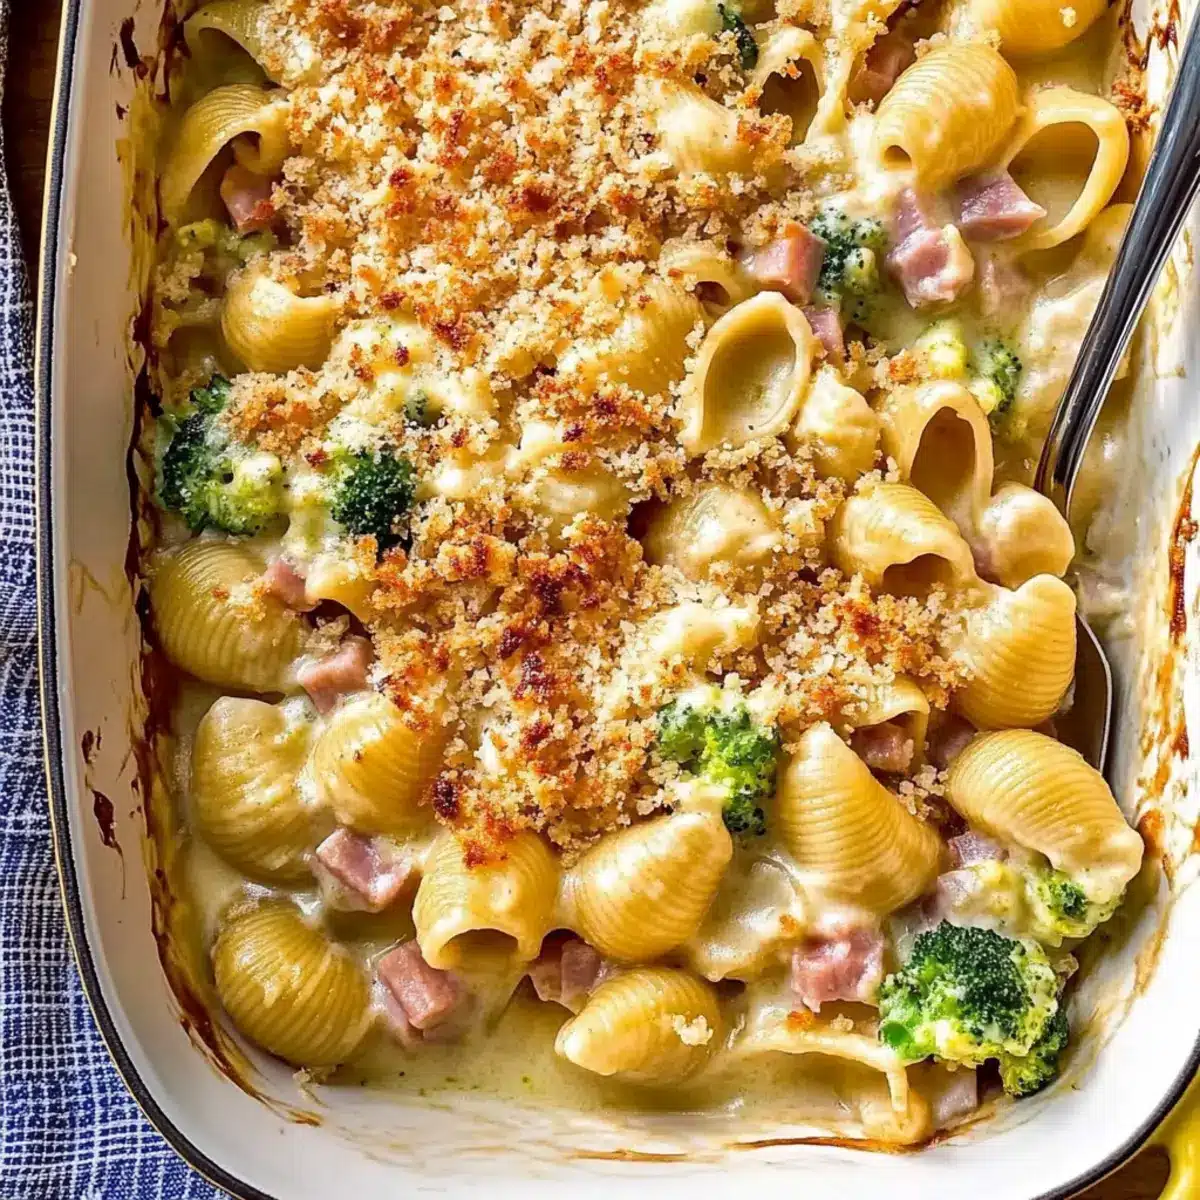
“Why does comfort food always remind us of home?” I found myself pondering this while savoring a dish that brings warmth to my heart and my kitchen: Cheesy Cauliflower Baked Shells. This delightful recipe transforms ordinary pasta into a cozy masterpiece, with velvety cauliflower sauce hugging each multigrain shell. Infused with nutty pecorino cheese and vibrant bits of broccoli, this dish not only satisfies your comfort food cravings but also sneaks in hidden vegetables for a healthful twist. Whether you’re creating a nourishing family dinner or meal prepping for the week ahead, these baked shells stand out as a versatile crowd-pleaser. Plus, with options for dietary adjustments like gluten-free and vegetarian, you can cater to everyone at your table. Are you ready to discover how to make this creamy delight? Let’s dive into the recipe!
Why Are These Baked Shells a Must-Try?
Comforting, creamy sauce envelops each pasta shell, making this dish a warm hug on a plate. Nutrient-packed cauliflower hides in the sauce, boosting health without compromising flavor. Versatile options allow for substitutions to cater to dietary needs such as gluten-free or vegetarian. Quick and easy preparations make it perfect for busy weeknights. Also, enjoy these with a side of Baked Parmesan Zucchini for a balanced meal. Family-friendly appeal ensures everyone at the table will ask for seconds!
Cheesy Cauliflower Baked Shells Ingredients
• Gather these for a delightful dish!
For the Pasta
- Medium Multigrain Pasta Shells – Offers a hearty structure and nutty flavor; regular pasta can be substituted if needed.
For the Sauce
- Cauliflower – Forms the creamy sauce base, providing a healthier alternative to traditional cheese sauces; chop into small pieces for even cooking.
- Skim Milk – Creates a lighter creamy texture for the sauce; go for 2% if you desire a richer flavor.
- Pecorino Cheese – Adds a sharp and salty kick; can be swapped for sharp cheddar or gruyère for different taste profiles.
- Shallots – Enhance the sauce’s flavor with sweetness; yellow or white onions work in a pinch.
- Garlic – Brings aromatic goodness to the sauce, elevating every bite.
- All-Purpose Flour – Essential for thickening the sauce; be sure to sprinkle evenly to avoid clumping.
- Extra-Virgin Olive Oil – Perfect for sautéing vegetables at the start of the cooking process.
- Freshly Grated Nutmeg – Adds a warm depth to the sauce; omit if unavailable, but it truly enhances flavor.
- Coarse Salt and Ground Black Pepper – Season to taste for a well-balanced sauce.
For the Topping
- Toasted Whole-Wheat Panko Breadcrumbs – Provide a delightful crunch on top; regular breadcrumbs can be used if needed.
Additional Ingredients
- Sliced Smoked Ham – Infuses the dish with protein and depth; cooked chicken, turkey, or crispy bacon are great alternatives.
- Broccoli Florets – Adds a pop of color and nutrition to the dish; swap with peas, asparagus, or spinach for variety.
These Cheesy Cauliflower Baked Shells are not just a comforting meal; they’re a canvas for creativity and personalization to suit any palate.
Step‑by‑Step Instructions for Cheesy Cauliflower Baked Shells
Step 1: Preheat the Oven
Begin by preheating your oven to 400°F (200°C). This ensures that your Cheesy Cauliflower Baked Shells will cook evenly once they’re ready to bake. While the oven warms up, gather and prepare your ingredients to streamline the cooking process.
Step 2: Cook the Cauliflower Mixture
In a medium saucepan, heat 2 tablespoons of extra-virgin olive oil over medium heat. Add the chopped cauliflower, minced garlic, and sliced shallots, seasoning with a pinch of coarse salt. Cook for about 10 minutes, stirring occasionally, until the cauliflower is tender and the shallots are translucent, creating a fragrant base for your sauce.
Step 3: Create the Sauce Base
Sprinkle 2 tablespoons of all-purpose flour over the softened vegetable mixture, stirring well to coat. Gradually pour in 2 cups of skim milk while continuously stirring to avoid clumps. Bring the mixture to a boil, then reduce the heat and let it simmer for 15 minutes until it thickens and the flavors meld beautifully.
Step 4: Blend the Sauce
Remove the saucepan from heat and let it cool for 5 minutes to prevent steam buildup. Carefully transfer the mixture to a blender, adding a pinch of freshly grated nutmeg and half of the pecorino cheese. Blend until smooth and creamy—this will be the luscious sauce enveloping your baked shells.
Step 5: Prepare the Pasta
In a large pot, boil salted water and cook the medium multigrain pasta shells for about 5 minutes until slightly tender but still firm to the bite. Drain the shells, returning them to the pot while they’re still warm, so they can absorb the delicious flavors of the sauce.
Step 6: Combine Ingredients
To the cooked pasta, add the chopped sliced smoked ham and fresh broccoli florets. Pour in the creamy cauliflower sauce from the blender, stirring gently to ensure each shell is fully coated with the rich, cheesy mixture. This step brings together all the comforting elements of the Cheesy Cauliflower Baked Shells.
Step 7: Transfer to Baking Dish
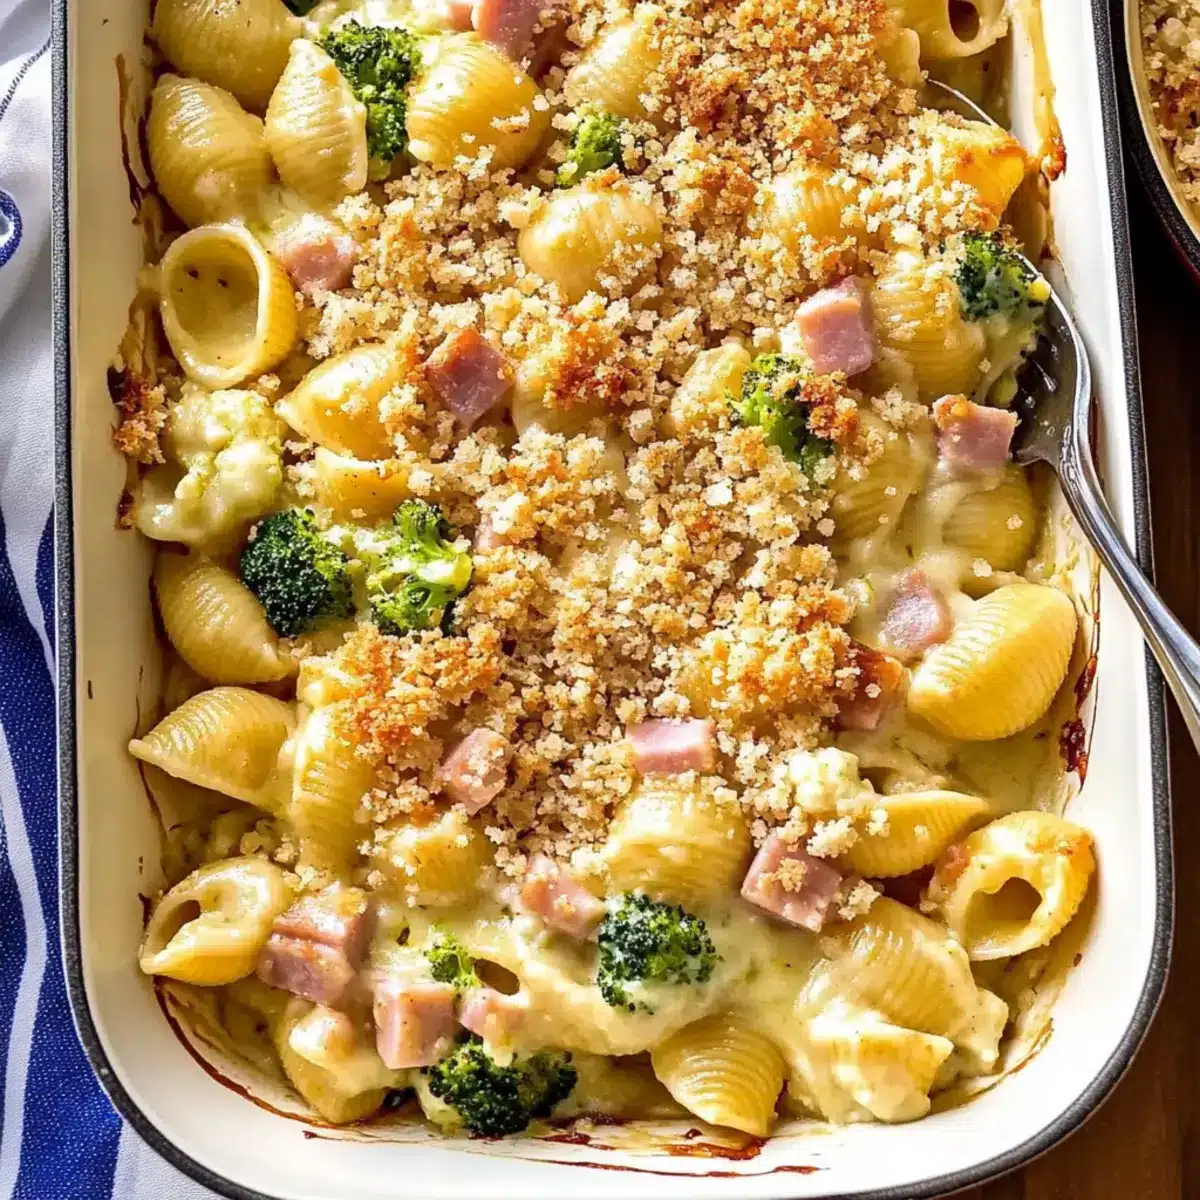
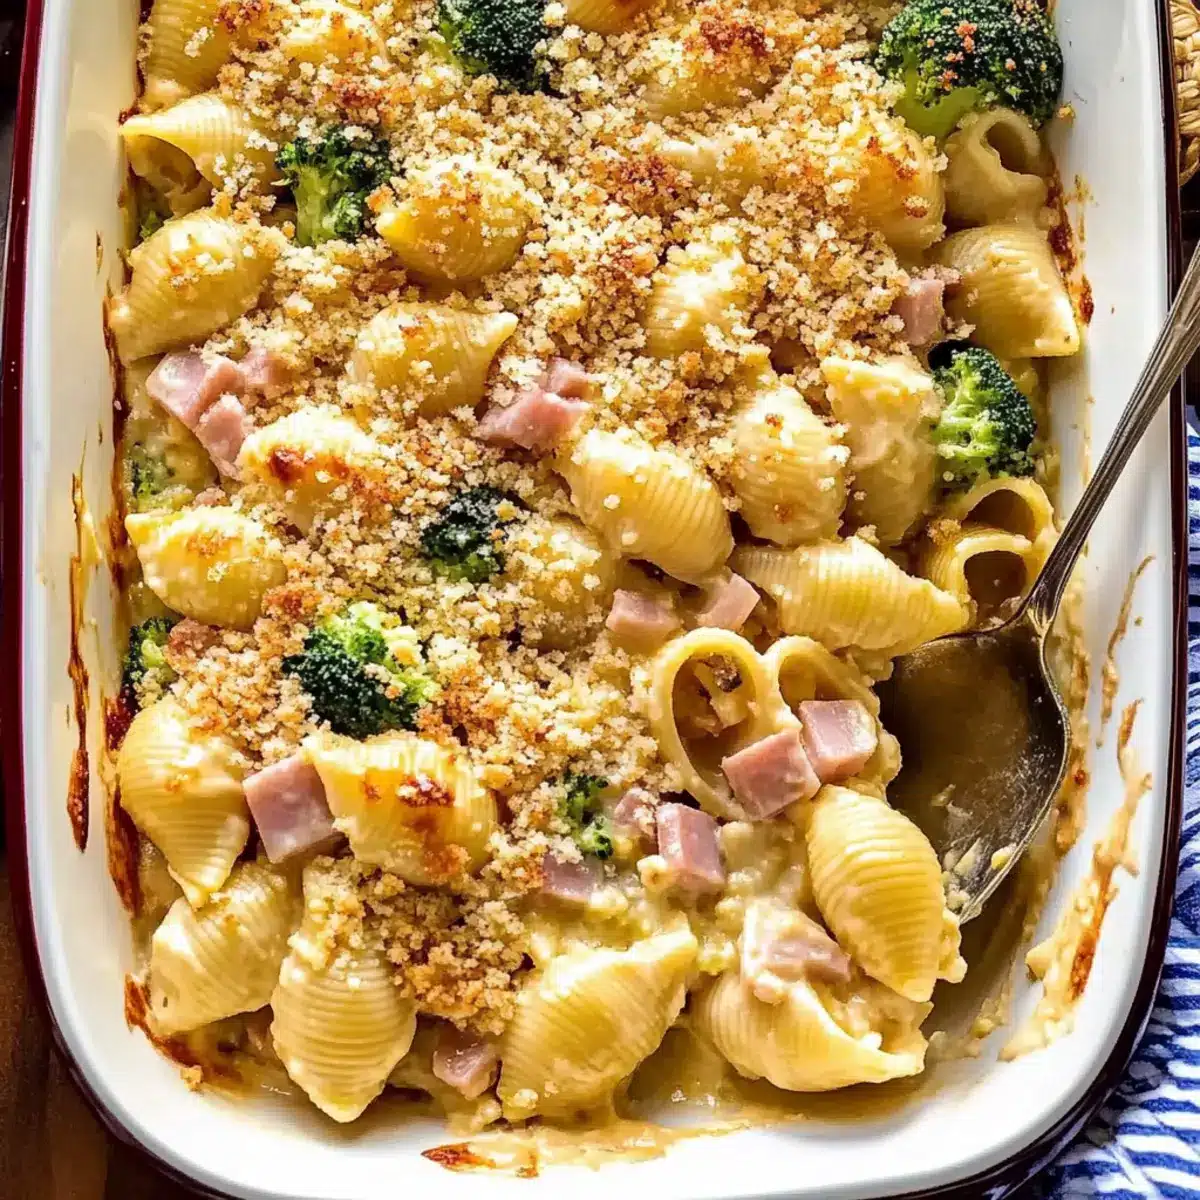
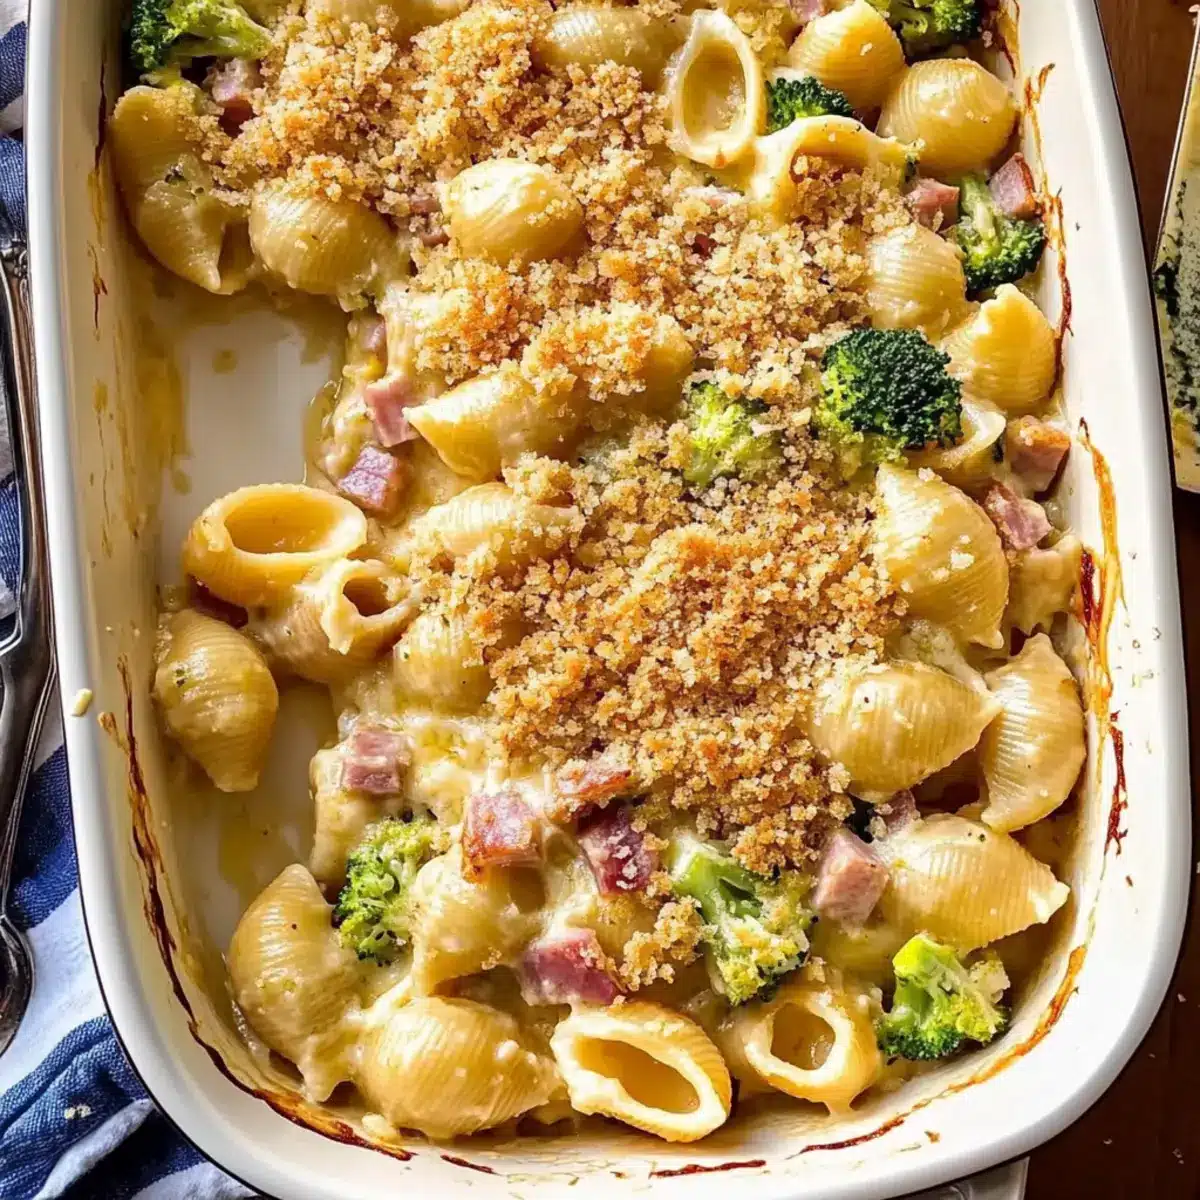
Carefully spoon the mixture into a greased baking dish, spreading it evenly. Then, sprinkle the remaining pecorino cheese over the top, which will create a delightful crust as it bakes. Ensure that the dish is well-filled to maximize that cheesy goodness in every bite.
Step 8: Bake the Dish
Place the baking dish in the preheated oven and bake for 30 minutes. You should see the cheese bubbling and the edges slight golden, which indicates that your Cheesy Cauliflower Baked Shells are cooked through and ready for the final touch.
Step 9: Broil for a Golden Finish
For an extra crispy topping, switch your oven to broil and place the dish under the broiler for 1-2 minutes. Keep a close eye on it to avoid burning—you’re looking for a beautiful golden-brown crust that enhances the dish’s overall texture.
Step 10: Let it Rest
Once broiled, remove the dish from the oven and allow it to rest for about 5 minutes. This resting period helps it set, making serving easier. During this time, prepare any additional toppings, such as toasted breadcrumbs if desired.
Step 11: Serve and Enjoy
Finally, top your Cheesy Cauliflower Baked Shells with toasted whole-wheat panko breadcrumbs for added crunch. Spoon out generous portions and serve warm—this comforting dish pairs beautifully with a light salad or crusty garlic bread for a satisfying family meal.
Expert Tips for Cheesy Cauliflower Baked Shells
-
Cool Before Blending: Allow the sauce to cool slightly before blending to prevent steam buildup, ensuring a smooth consistency without splatters.
-
Mind the Broiler: Stay close while broiling; the high heat can burn the tops quickly. Just a minute or two makes all the difference in achieving that perfect golden crust.
-
Thickening Consistency: Be cautious when adding all-purpose flour to the cauliflower mixture. Sprinkle it evenly to avoid clumping, ensuring a creamy texture in your cheesy cauliflower baked shells.
-
Make-Ahead Friendly: Prepare the dish a day in advance and store it in the fridge. Just bake before serving for an effortless family meal.
-
Personalize Your Recipe: Don’t hesitate to switch out ingredients like pecorino cheese or add more veggies. This flexibility makes the cheesy cauliflower baked shells customizable for every family member’s taste.
Cheesy Cauliflower Baked Shells Variations
Feel free to get creative with this recipe and tailor it to your taste preferences!
- Dairy-Free: Substitute dairy milk with almond or oat milk, and replace pecorino cheese with nutritional yeast or dairy-free cheese for a creamy finish.
- Gluten-Free: Opt for gluten-free pasta shells and breadcrumbs to ensure everyone can enjoy this dish without any worries.
- Veggie-Packed: Add more greens, such as chopped kale or spinach, for an extra boost of nutrients and color. These vibrant greens will meld beautifully with the creamy sauce.
- Meat Lover’s: Incorporate cooked chicken or crispy bacon instead of ham for a heartier variation that adds another layer of flavor.
- Heat Factor: For a kick, sprinkle in red pepper flakes or a dash of smoked paprika—this adds a delightful warmth that’ll awaken your palate.
- Herb Infusion: Fresh herbs like thyme or rosemary can elevate the dish’s flavor profile and add freshness. Toss in finely chopped herbs just before baking.
- Crispy Top: Mix grated cheese with breadcrumbs on top before baking to elevate the crunch factor—and give it a delicious cheesy crust!
- Subtle Sweetness: Consider adding caramelized onions with your garlic for a touch of sweetness that perfectly complements the savory elements of the dish.
Feel inspired? If you’re enjoying this creamy meal, you might also love a side of Baked Parmesan Zucchini or a helping of Stuffed Baked Mussels to round out your family dinner!
Make Ahead Options
These Cheesy Cauliflower Baked Shells are perfect for meal prep enthusiasts! You can prepare the cauliflower sauce and cook the pasta shells up to 24 hours in advance, storing them separately in airtight containers in the refrigerator. When you’re ready to serve, simply combine the cooked shells with the sauce, chopped ham, and broccoli, then transfer to a baking dish. Bake for about 30 minutes until bubbling, and broil for that golden finish. To maintain quality, be sure to cool the sauce completely before refrigerating, which helps prevent condensation. Enjoy the convenience of having a delicious, comforting meal ready with minimal effort!
What to Serve with Cheesy Cauliflower Baked Shells
Embrace the comfort of a well-rounded meal by pairing it with delightful sides that elevate the experience.
- Arugula Salad: Fresh arugula dressed in a tangy lemon vinaigrette balances the richness of the baked shells, adding bright notes.
- Garlic Bread: Crunchy, buttery garlic bread complements the creamy texture, creating a comforting duo that your family will adore.
- Roasted Vegetables: A medley of seasonal roasted veggies adds color and nutrients, making your meal an enticing feast for the eyes and palate.
- Light White Wine: A chilled glass of crisp Sauvignon Blanc enhances the dish’s flavors, creating perfect harmony between food and drink.
- Steamed Green Beans: Lightly steamed green beans introduce a satisfying crunch, giving a nod to freshness alongside the cheesy goodness.
- Classic Coleslaw: A creamy coleslaw adds a delightful contrast, with its crunch and dressing bringing a refreshing twist to each bite.
- Chilled Lemon Sorbet: For dessert, a light lemon sorbet cleanses the palate and refreshes after the comforting richness of the baked shells.
- Slice of Lemon Cake: Indulge in a slice of lemon cake that adds a sweet and zesty finish, rounding off the meal with a comforting treat.
How to Store and Freeze Cheesy Cauliflower Baked Shells
Fridge: Store leftover cheesy cauliflower baked shells in an airtight container for up to 3 days. Reheat in the microwave or oven until warmed through.
Freezer: For long-term storage, freeze the assembled dish before baking. Wrap tightly in plastic wrap, followed by aluminum foil; it will last for up to 3 months.
Thawing: When ready to enjoy, thaw the frozen shells in the fridge overnight before baking. This ensures even cooking and keeps your dish delicious.
Reheating: Reheat leftovers in the oven at 350°F (175°C) for about 20 minutes or until heated through. This helps maintain the creamy texture and crispy topping.
Cheesy Cauliflower Baked Shells Recipe FAQs
How do I choose ripe cauliflower for the sauce?
Absolutely! When selecting cauliflower, look for heads that are firm, compact, and white with no dark spots or blemishes. Leaves should be green and fresh. Choose smaller heads for a more tender taste.
What is the best way to store leftover baked shells?
Store any leftover Cheesy Cauliflower Baked Shells in an airtight container in the refrigerator for up to 3 days. To reheat, place them in a preheated oven at 350°F (175°C) for about 20 minutes, or until heated through.
Can I freeze Cheesy Cauliflower Baked Shells?
Yes! For long-term storage, freeze the assembled dish before baking. Wrap it tightly in plastic wrap, then in aluminum foil, and it will last for up to 3 months. When ready to bake, thaw it in the fridge overnight and then follow the baking instructions.
What should I do if the sauce is too thick?
If your cauliflower sauce turns out too thick, simply add a bit of milk, a tablespoon at a time, while stirring continuously. This will help you reach your desired creamy consistency. Remember, blending the sauce well also factors into its texture.
Are there any dietary considerations for this dish?
This recipe is quite adaptable! For gluten-free adjustments, you can easily substitute the pasta and panko with gluten-free varieties. Additionally, if you or anyone at your table has dairy allergies, consider using non-dairy milk and cheese alternatives to maintain the creaminess without the dairy.
Can I make this dish vegetarian or vegan?
Yes! Simply omit the smoked ham and substitute the pecorino cheese with a vegan cheese alternative. You can also increase the number of vegetables, such as adding leafy greens like spinach or kale for extra nutrition and flavor.
Cheesy Cauliflower Baked Shells: Comfort Food Reinvented
Ingredients
Equipment
Method
- Preheat your oven to 400°F (200°C).
- Heat 2 tablespoons of extra-virgin olive oil in a medium saucepan over medium heat. Add the chopped cauliflower, minced garlic, and sliced shallots, seasoning with a pinch of coarse salt. Cook for about 10 minutes until the cauliflower is tender and the shallots are translucent.
- Sprinkle 2 tablespoons of all-purpose flour over the mixture, stirring well to coat. Gradually pour in 2 cups of skim milk while continuously stirring. Bring to a boil, then reduce heat and simmer for 15 minutes until thickened.
- Let the saucepan cool for 5 minutes, then transfer the mixture to a blender with a pinch of freshly grated nutmeg and half of the pecorino cheese. Blend until smooth.
- Boil salted water in a large pot and cook the medium multigrain pasta shells for about 5 minutes until slightly tender. Drain and return to the pot.
- Add the sliced smoked ham and fresh broccoli to the cooked pasta. Pour in the creamy cauliflower sauce from the blender, stirring gently to coat each shell.
- Transfer the mixture to a greased baking dish, spreading evenly. Sprinkle remaining pecorino cheese on top.
- Bake in the preheated oven for 30 minutes until the cheese is bubbling and edges are golden.
- For a crispy topping, broil for 1-2 minutes, keeping an eye on it to avoid burning.
- Let it rest for about 5 minutes before serving. Prepare additional toppings if desired.
- Top with toasted whole-wheat panko breadcrumbs before serving. Enjoy warm.
Leave a Reply