
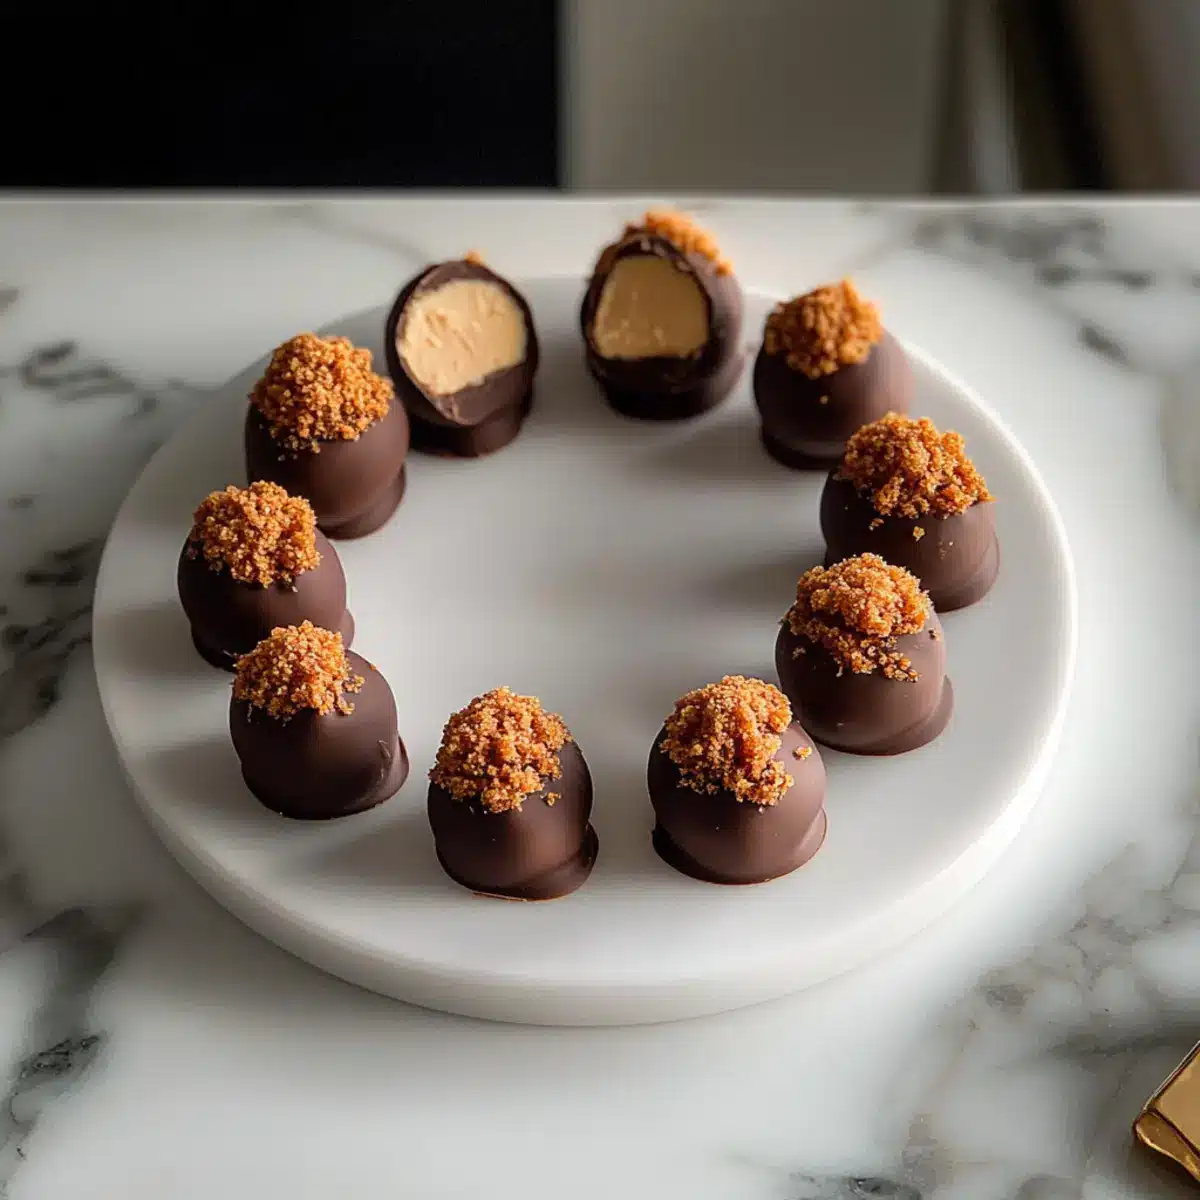
Have you ever felt the excitement of discovering a sweet surprise hiding in your kitchen? That’s exactly how I felt when I whipped up these no-bake Biscoff Cookie Butter Truffles! Combining the rich creaminess of cookie butter with crushed Biscoff cookies creates a dessert that’s not only simple to make but also incredibly indulgent. These truffles are perfect for any occasion—whether you’re looking for a quick treat to share at a gathering or a thoughtful homemade gift. Plus, with the option to make them dairy-free, everyone can enjoy this delightful bite-sized delight. Ready to elevate your dessert game with a treat you didn’t know you needed (but totally do)? Let’s dive into this easy recipe!
Why Are Biscoff Cookie Butter Truffles So Irresistible?
Decadent Flavor: The rich, spiced sweetness of Biscoff cookie butter and cookies creates a flavor profile that is truly indulgent.
No-Bake Ease: With no oven required, this recipe is perfect for busy cooks looking for quick and satisfying dessert options.
Versatile Variations: Feel free to experiment with different cookie butters or coatings, making these truffles your own every time! For similar dessert inspiration, check out my delicious Peanut Butter Cookies or the indulgent Biscoff Blondies Decadent.
Crowd-Pleaser: Whether it’s a gathering, gift, or cozy night in, these truffles impress every time!
Dairy-Free Option: Easily adapt this recipe to cater to vegan diets, ensuring everyone can indulge in these treats.
Biscoff Cookie Butter Truffles Ingredients
For the Truffle Mixture
- Biscoff Cookies – These provide the delicious base flavor; you can substitute them with similar spiced cookies if desired.
- Biscoff Cookie Butter – Essential for richness and flavor; while other cookie butters can work, Biscoff gives that unique taste we crave.
- Cream Cheese – Adds a creamy texture and helps bind the mixture; opt for dairy-free cream cheese for a vegan twist.
For the Coating
- Chocolate Chips – Choose from dark, milk, or dairy-free chocolate depending on your preference; for extra smoothness, add a touch of coconut oil.
Optional Toppings
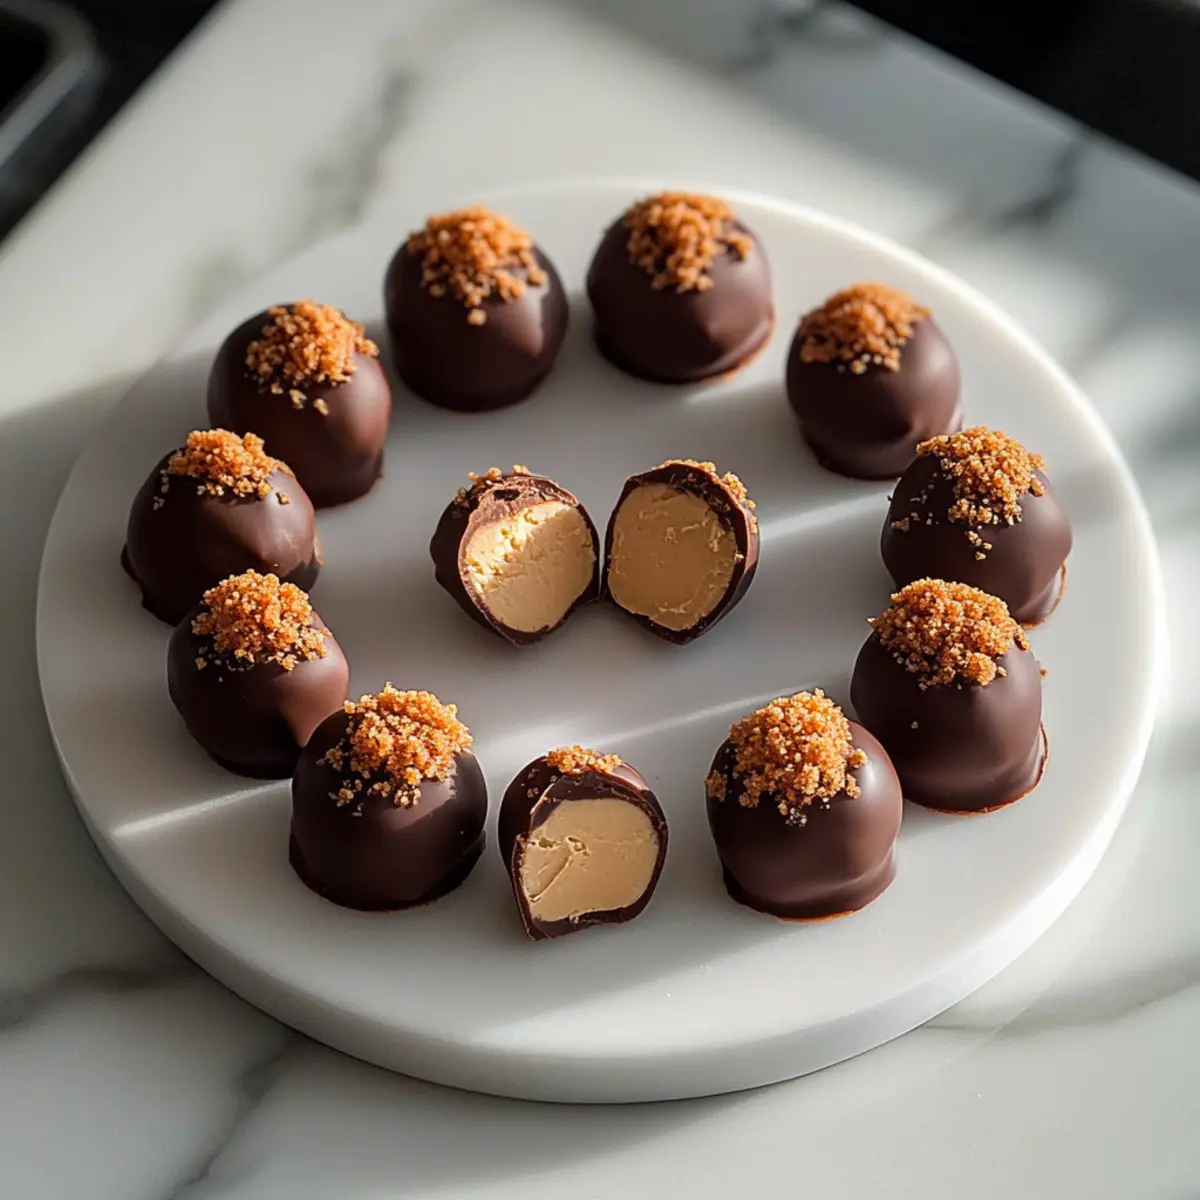
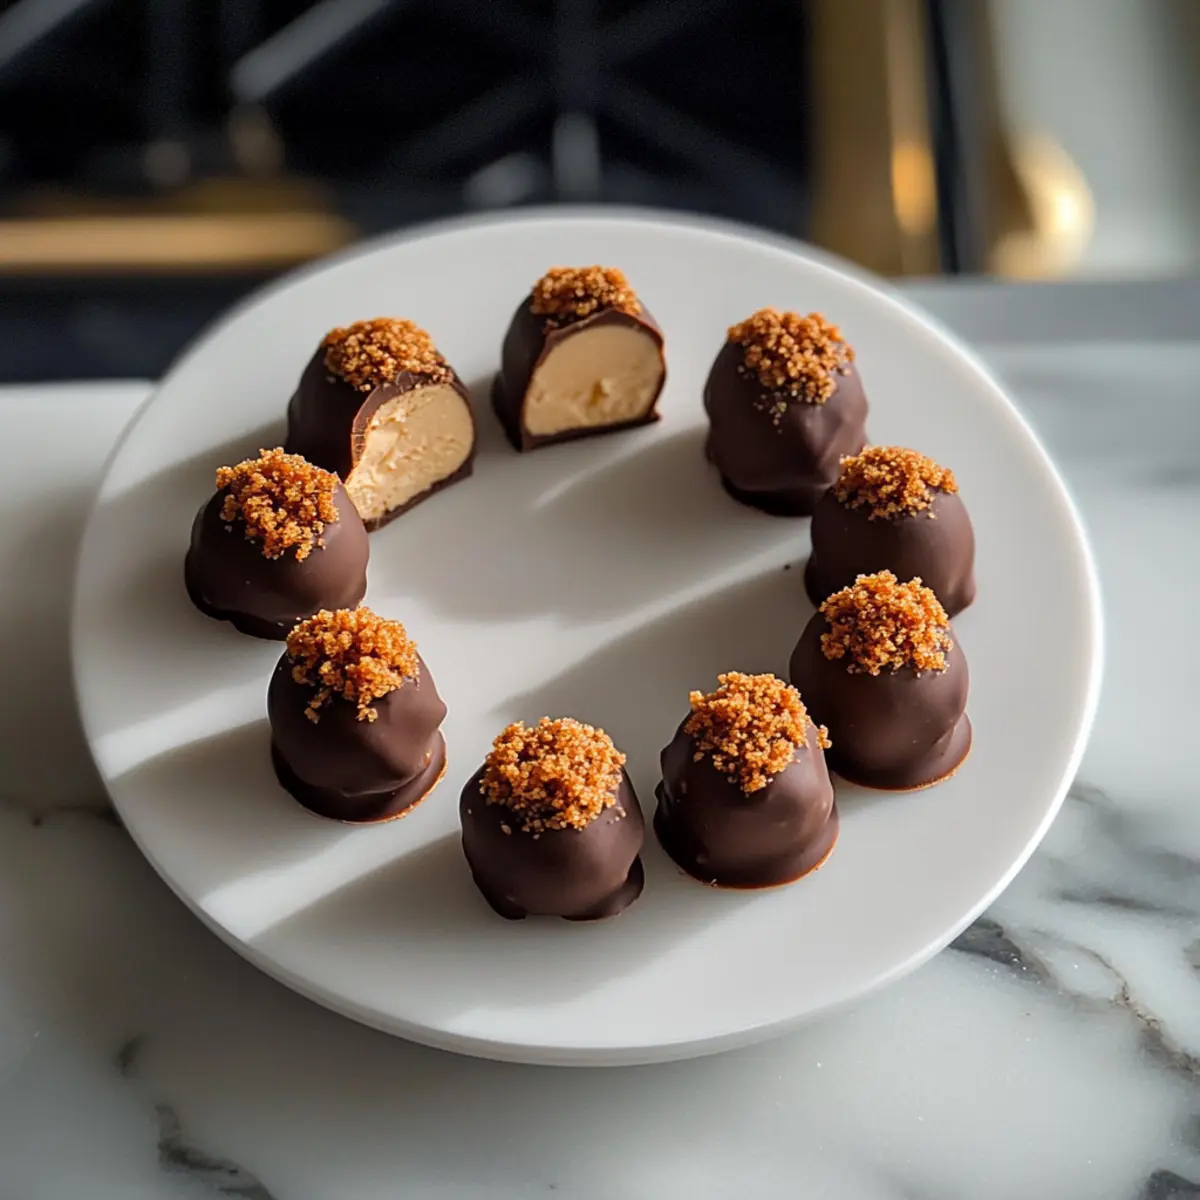
- Crushed Biscoff Cookies – Sprinkle on top for added crunch and flavor before the chocolate sets; they tie back to the original cookie taste!
- Sea Salt – A pinch on top creates a delightful contrast; this simple addition elevates the indulgence of these Biscoff Cookie Butter Truffles.
Step‑by‑Step Instructions for Biscoff Cookie Butter Truffles: The No-Bake Treat You Didn’t Know You Needed (But Totally Do)
Step 1: Prepare the Cookies
Begin by crushing the Biscoff cookies into fine crumbs. You can use a food processor for a quick method or place the cookies in a zip-top bag and crush them with a rolling pin. Aim for a texture resembling sand, ensuring there are no large chunks left. This crumb will be the delightful base of your Biscoff Cookie Butter Truffles.
Step 2: Make the Truffle Mixture
In a medium mixing bowl, combine 8 ounces of softened cream cheese with a generous 1 cup of Biscoff cookie butter. Use a hand mixer or a spoon to blend until smooth and creamy. Once combined, gently fold in the crushed Biscoff cookies until everything is well incorporated, forming a thick and decadent dough that’s rich in flavor.
Step 3: Form the Truffles
Using a tablespoon or a small cookie scoop, portion out the truffle mixture and roll it into balls, roughly 1 inch in diameter. You should end up with about 20 to 24 truffles. Place each truffle onto a parchment-lined baking sheet, making sure they have enough space in between to remain separate as they chill.
Step 4: Chill
Transfer the baking sheet with the truffles into the freezer and chill for 20 to 30 minutes. This step is crucial, as it allows the truffles to firm up for easier handling later. You’ll know they’re ready when they feel solid to the touch, making it easy to coat them in chocolate without them losing shape.
Step 5: Melt Chocolate
While the truffles chill, prepare a chocolate dipping station. In a microwave-safe bowl, combine 1 cup of chocolate chips with a splash of coconut oil for smoothness. Heat in the microwave for 30 seconds at a time, stirring in between to avoid scorching. The chocolate should be fully melted and glossy when ready for coating.
Step 6: Coat the Truffles
Once the truffles are firm, dip each one into the melted chocolate, ensuring they are fully coated. Gently shake off any excess chocolate and return the coated truffles to the parchment-lined baking sheet. This step makes the Biscoff Cookie Butter Truffles look even more indulgent and appealing, preparing them for the final touch.
Step 7: Finish and Chill
If desired, sprinkle a pinch of crushed Biscoff cookies or a little sea salt on top of each truffle before the chocolate sets. This adds an extra layer of flavor and texture to your Biscoff Cookie Butter Truffles. Place the baking sheet back in the fridge for about 15 to 20 minutes to let the chocolate harden completely.
How to Store and Freeze Biscoff Cookie Butter Truffles
Fridge: Keep your truffles in an airtight container in the fridge for up to 1 week. This ensures they stay fresh and maintain their rich flavor.
Freezer: For longer storage, freeze the truffles in a single layer on a baking sheet until solid, then transfer them to a freezer-safe bag or container. They can be stored for up to 3 months.
Thawing: To enjoy later, simply remove the truffles from the freezer and let them thaw in the refrigerator for a few hours before serving. This allows them to maintain their creamy texture.
Reheating: There’s no need to reheat these no-bake treats! Just enjoy them chilled for the best flavor and texture.
Make Ahead Options
These Biscoff Cookie Butter Truffles are a fantastic choice for meal prep enthusiasts! You can prepare the truffle mixture and form the balls up to 24 hours in advance. Simply refrigerate them in an airtight container to maintain their luscious texture. When you’re ready to indulge, melt the chocolate and coat the chilled truffles—this process will take just a few minutes. If you want to impress guests, consider sprinkling on crushed Biscoff cookies or sea salt right after coating. By prepping ahead, you’ll have this indulgent no-bake treat ready to go with minimal effort, making your busy weeknights a little sweeter!
Biscoff Cookie Butter Truffles: Customization Ideas
Unleash your creativity in the kitchen with these scrumptious no-bake truffles that are just waiting for your special touch!
-
Nut-Free: Swap out the cookie butter with sunflower seed butter for an allergy-friendly alternative without sacrificing flavor.
-
Vegan Delight: Use dairy-free cream cheese and coconut oil with dairy-free chocolate to create a delicious vegan version everyone can enjoy.
-
Spicy Kick: Add a pinch of cayenne pepper to the truffle mixture for a surprising hint of heat that contrasts beautifully with the sweet Biscoff flavor.
-
Flavor Twist: Try replacing the Biscoff cookies with crushed ginger snaps for a zesty and aromatic twist that will leave everyone guessing!
-
Chocolate Variation: Instead of chocolate, roll the truffles in crushed Biscoff cookies or cocoa powder for a delightful, different appearance.
-
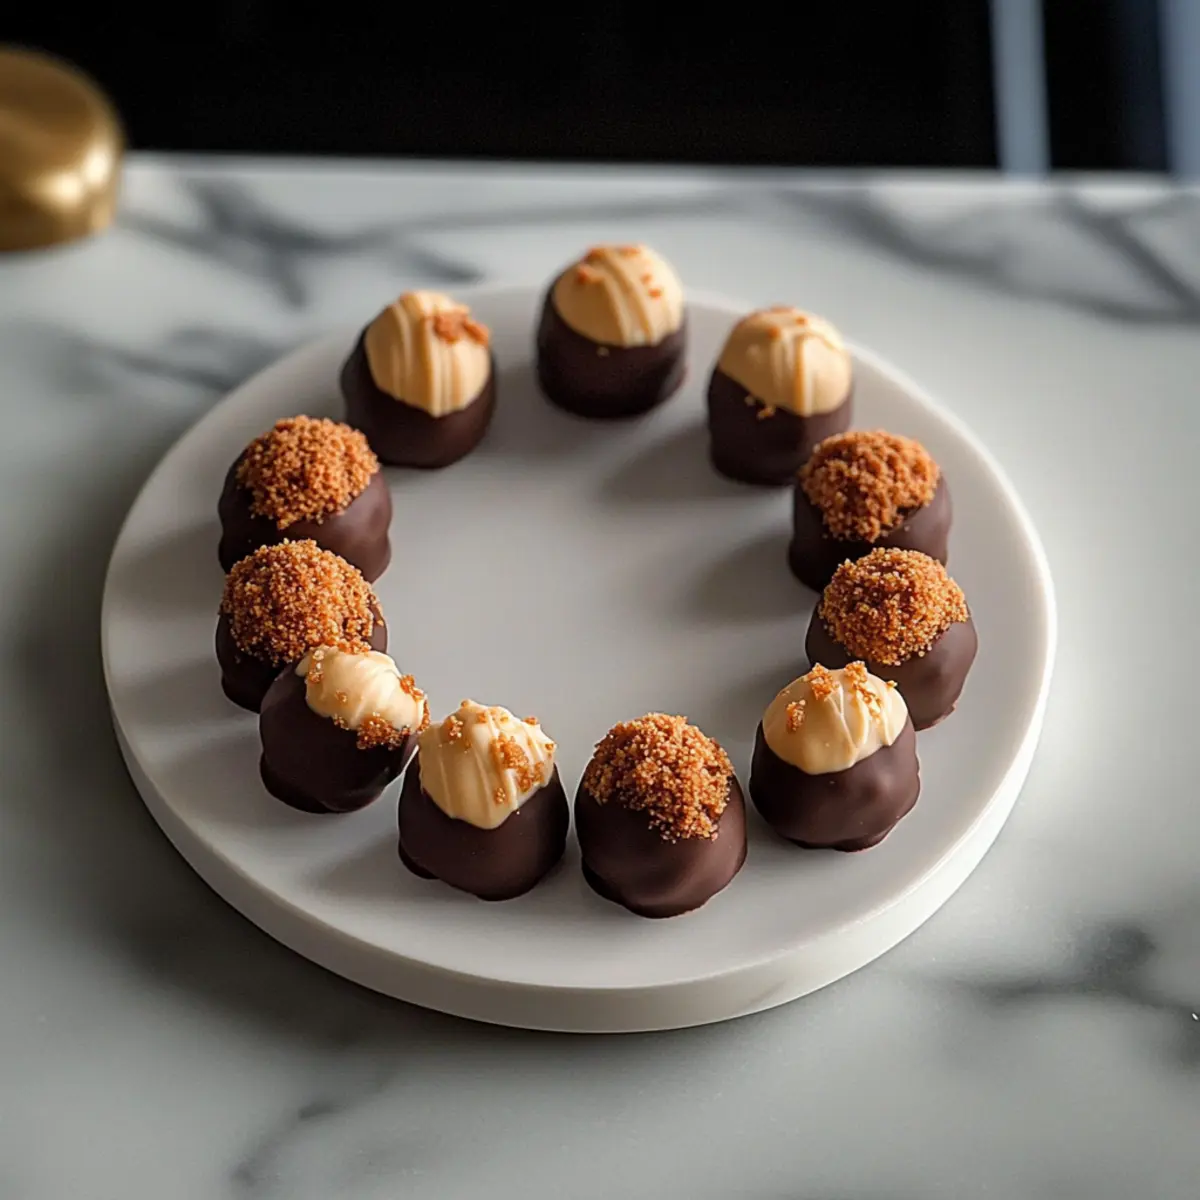
Dipped in White Chocolate: For a sweeter touch, dip your truffles in melted white chocolate and sprinkle with graham cracker crumbs for extra crunch.
-
Coconut Coating: Roll your truffles in shredded coconut for a tropical flair, adding a chewy texture that pairs well with the creamy interior.
-
Zesty Citrus: Mix in a teaspoon of orange or lemon zest to the truffle mixture for a fresh burst of flavor that elevates this indulgence.
Each of these variations can easily transform your Biscoff truffles into a new experience! If you’re hungry for more delightful treats, don’t miss my tasty Peanut Butter Banana or try your hand at the luscious Peanut Butter Energy balls too!
Expert Tips for Biscoff Cookie Butter Truffles
Melt Chocolate Slowly: Avoid burnt chocolate by melting in short increments and stirring frequently. This ensures smooth, glossy coating for your Biscoff Cookie Butter Truffles.
Chill for Best Results: Firm the truffles in the freezer for 20-30 minutes; this makes coating easier and helps them hold their shape when dipped.
Keep Consistency: If the truffle mixture is too sticky, add a bit more crushed cookies. Conversely, if it’s too crumbly, incorporate a bit more cookie butter or cream cheese.
Experiment with Coatings: Try rolling truffles in cocoa powder or powdered sugar instead of chocolate for a different presentation that still highlights your Biscoff flavors.
Use Quality Ingredients: For the best flavor, opt for high-quality cream cheese and chocolate. This elevates the overall taste and indulgence of your truffles.
What to Serve with Biscoff Cookie Butter Truffles?
Looking to create a delightful spread that complements the creamy richness of these indulgent truffles?
-
Coffee or Espresso: The bold flavors of coffee balance the sweetness, making every bite of truffle even more enjoyable. A cozy afternoon treat, indeed!
-
Vanilla Ice Cream: A scoop of creamy vanilla ice cream adds a delightful contrast to the rich flavors, creating a comforting dessert duo.
-
Chocolate-Dipped Strawberries: The fresh, tart strawberries offer a bright, fruity note that harmonizes beautifully with the sweet truffles.
-
Cheese Platter: A mix of creamy brie and sharp cheddar stands up to the lusciousness of the truffles, enhancing the overall flavor experience. Gather your favorites for an impressive spread!
-
Nut Milk: Almond or oat milk provide a light, refreshing drink that naturally complements the indulgent nature of the truffles. Perfect for a dairy-free option!
-
Sparkling Water with Citrus: A chilled sparkling water infused with slices of lemon or lime adds a refreshing zing, cleaning the palate between sweet treats.
-
Dark Chocolate Covered Pretzels: The salty crunch of pretzels dipped in dark chocolate pairs perfectly with the sweet creaminess of the truffles, offering balanced flavors and textures.
-
Chocolate Martini: Elevate your dessert experience with a decadent chocolate martini that echoes the rich flavors of the truffles while providing a festive touch.
Biscoff Cookie Butter Truffles Recipe FAQs
What should I look for when selecting Biscoff cookies?
Absolutely! When choosing Biscoff cookies, aim for ones that are fresh and free of any dark spots. Look for a package that feels intact and has not been opened, ensuring the cookies are crispy and delightful for your truffles.
How should I store leftover Biscoff Cookie Butter Truffles?
Very simple! You can keep your Biscoff Cookie Butter Truffles in an airtight container in the fridge for up to 1 week. This will help maintain their soft texture and rich flavor. If you think you won’t finish them in that time, store them in the freezer instead.
Can I freeze Biscoff Cookie Butter Truffles?
Yes, indeed! To freeze your truffles, first lay them out in a single layer on a baking sheet and place them in the freezer until they’re solid. Then, transfer them to a freezer-safe bag or container. They can be stored in the freezer for up to 3 months. When you’re ready to enjoy some, simply thaw them in the refrigerator for several hours before serving.
What if my truffle mixture is too sticky?
No worries! If your truffle mixture feels too sticky to roll, you can add a bit more crushed Biscoff cookies—this will help absorb some of that extra moisture. Alternatively, chill the mixture in the fridge for about 15 minutes to make it easier to handle.
Are there any dietary considerations for Biscoff Cookie Butter Truffles?
Absolutely! If you’re catering to specific dietary needs, you can easily make these truffles dairy-free by using dairy-free cream cheese and chocolate. Just check the labels to ensure all ingredients are suitable. Also, be aware if anyone has allergies to nuts or gluten if you decide to swap any ingredients.
Can I customize the coating for my truffles?
Yes, indeed! If you’re feeling adventurous, try rolling your Biscoff Cookie Butter Truffles in cocoa powder, powdered sugar, or even crushed nuts instead of chocolate. This way, you’ll have a unique twist on the classic flavor that still keeps the essence of Biscoff!
Biscoff Cookie Butter Truffles: Your Must-Try No-Bake Delight
Ingredients
Equipment
Method
- Begin by crushing the Biscoff cookies into fine crumbs.
- In a medium mixing bowl, combine the cream cheese with Biscoff cookie butter.
- Gently fold in the crushed Biscoff cookies until well incorporated.
- Using a tablespoon, portion out and roll the mixture into balls.
- Transfer the truffles to a parchment-lined baking sheet.
- Chill the baking sheet with the truffles in the freezer for 20-30 minutes.
- Melt the chocolate chips with a splash of coconut oil in the microwave.
- Once firm, dip each truffle into the melted chocolate.
- Sprinkle optional toppings on the truffles before the chocolate sets.
- Chill the truffles again for 15-20 minutes until the chocolate hardens.
Leave a Reply