
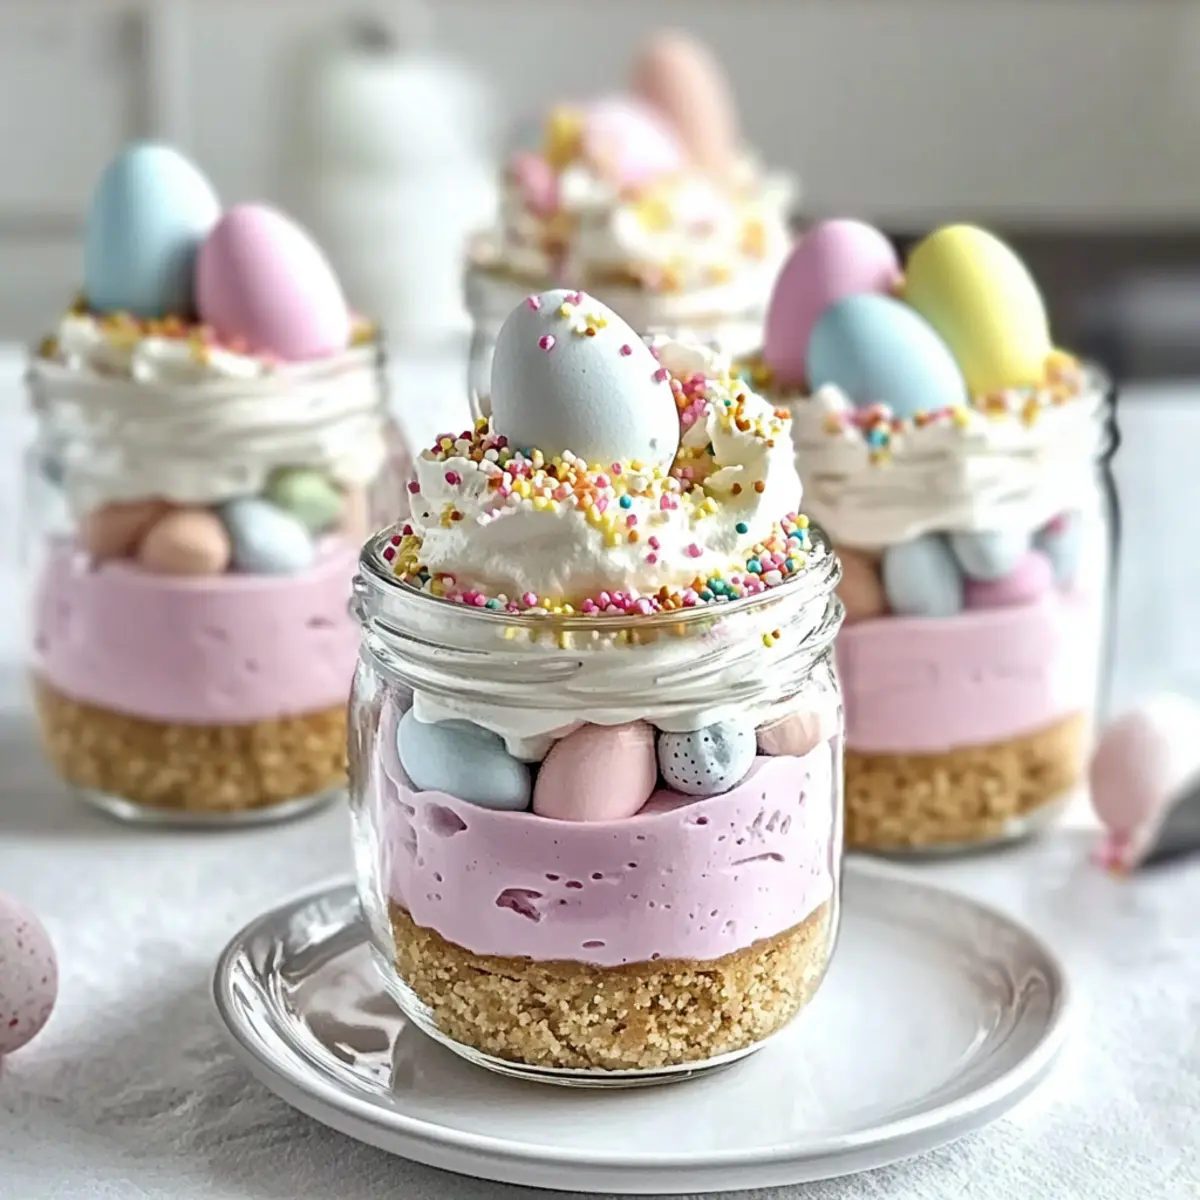
Spring is finally here, and with it comes the perfect excuse to gather friends and family for some festive fun! What better way to celebrate than with these delightful Easter Egg Cheesecake Jars? This no-bake dessert combines creamy layers of pastel cheesecake with a buttery graham cracker crust, making it an easy yet impressive treat that will have everyone raving. The beauty of these jars lies not only in their eye-catching presentation but also in how customizable they are—you can add your favorite flavors or toppings to suit every palate. Plus, since they can be prepped in advance, you’ll have more time to enjoy the festivities and bask in the joy of spring gatherings. Ready to dive into a sweet and cheerful culinary adventure? Let’s get started on creating these adorable delights!
Why You’ll Love These Cheesecake Jars
Ease of Preparation: No baking needed! These Easter Egg Cheesecake Jars come together effortlessly, allowing even novice cooks to impress their guests.
Customizable Delight: Use your favorite flavors—experiment with fillings or toppings like lemon zest or chocolate for a twist!
Festive Appeal: With their bright pastel colors and charming presentation, these jars will be the star of your spring gatherings.
Make-Ahead Convenience: Prepare them a day in advance! Chill overnight to save time and enhance the creamy texture.
Family Tradition: These jars are perfect for creating memories and exciting family traditions, just like Bacon Egg Cheese or Delicious Easter Pineapple Rum Cake.
Enjoy turning a simple dessert into a celebration with these scrumptious Easter Egg Cheesecake Jars!
Easter Egg Cheesecake Jars Ingredients
• Perfect for your spring celebration!
For the Crust
- Graham Cracker Crumbs – Provides a crunchy structure and can be substituted with crushed Oreos or shortbread cookies.
- Granulated Sugar – Enhances the sweetness of the crust; try using coconut sugar for a unique flavor!
- Unsalted Butter – Binds the crust together; margarine is an effective substitute.
For the Cheesecake Filling
- Cream Cheese – The creamy base for the filling; consider using Neufchâtel cheese for a lighter option.
- Powdered Sugar – Sweetens the mixture while keeping it smooth; reduce the amount for a less sweet cheesecake.
- Vanilla Extract – Adds depth to the flavor; almond extract can provide a delightful twist.
- Heavy Cream – Whipped to stiff peaks for a fluffy filling; for a dairy-free option, use coconut cream instead.
- Pink Gel Food Coloring or Freeze-Dried Strawberry Powder (optional) – Used for coloring; feel free to substitute with other natural colorings or omit entirely.
For the Toppings
- Whipped Cream – Adds a light and airy touch to finish; can be omitted for a lighter option.
- Pastel Candy Eggs – Decorative element that enhances visual appeal; swap them for chocolate eggs or your favorite candies if desired.
- Rainbow or Pastel Sprinkles – For a festive look that brings joy to your presentation!
These irresistibly cute Easter Egg Cheesecake Jars are not only a treat for the taste buds but also a feast for the eyes!
Step‑by‑Step Instructions for Easter Egg Cheesecake Jars
Step 1: Prepare the Crust
In a mixing bowl, combine graham cracker crumbs, sugar, and melted butter. Stir until the mixture resembles damp sand. Using small jars, spoon the crust mixture into the bottom and firmly press down with a spoon or your fingers, ensuring an even layer. This forms the base for your delightful Easter Egg Cheesecake Jars.
Step 2: Make the Cheesecake Filling
In a large bowl, beat the softened cream cheese with an electric mixer until smooth and fluffy, about 2-3 minutes. Scrape down the sides of the bowl as needed. Gradually add in powdered sugar and vanilla extract, continuing to beat until the filling is light and airy, creating a perfect blend to fill your jars.
Step 3: Whip the Cream
In a separate bowl, whip the heavy cream using a hand mixer or stand mixer until stiff peaks form, which typically takes about 3-4 minutes. Carefully fold half of the whipped cream into the cheesecake mixture until well combined. Repeat this process with the remaining whipped cream, ensuring the mixture stays light and fluffy, ideal for your Easter Egg Cheesecake Jars.
Step 4: Color the Filling
To add a festive touch, divide the cheesecake mixture into two separate bowls. In one bowl, add pink gel food coloring or freeze-dried strawberry powder, mixing well until you achieve your desired pastel shade. This color will bring joy and vibrancy to your Easter Egg Cheesecake Jars, setting the stage for a delightful presentation.
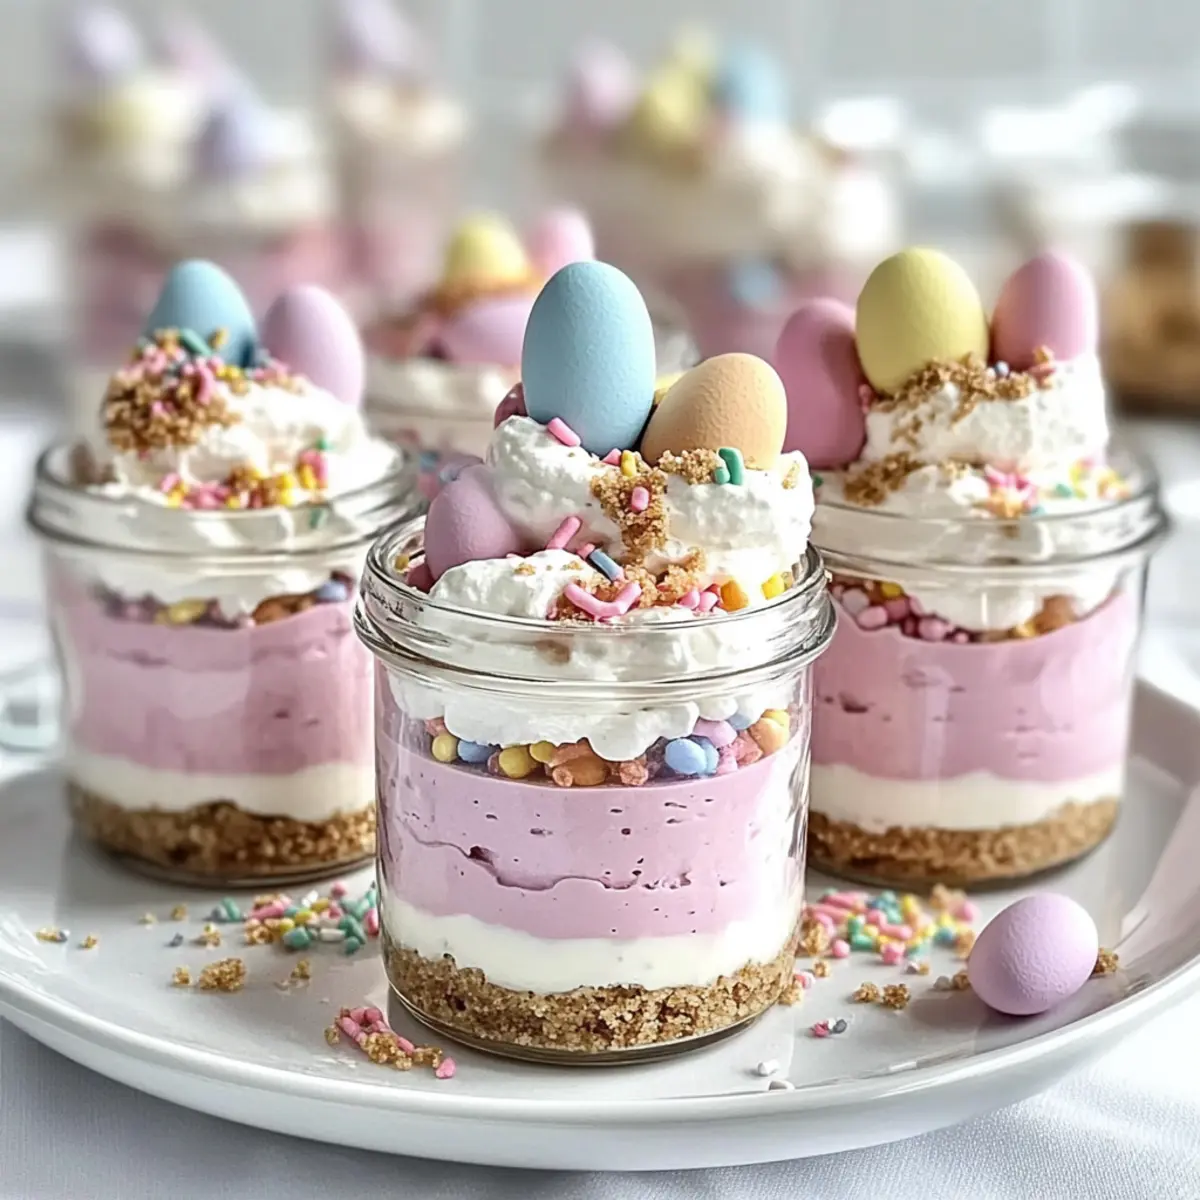
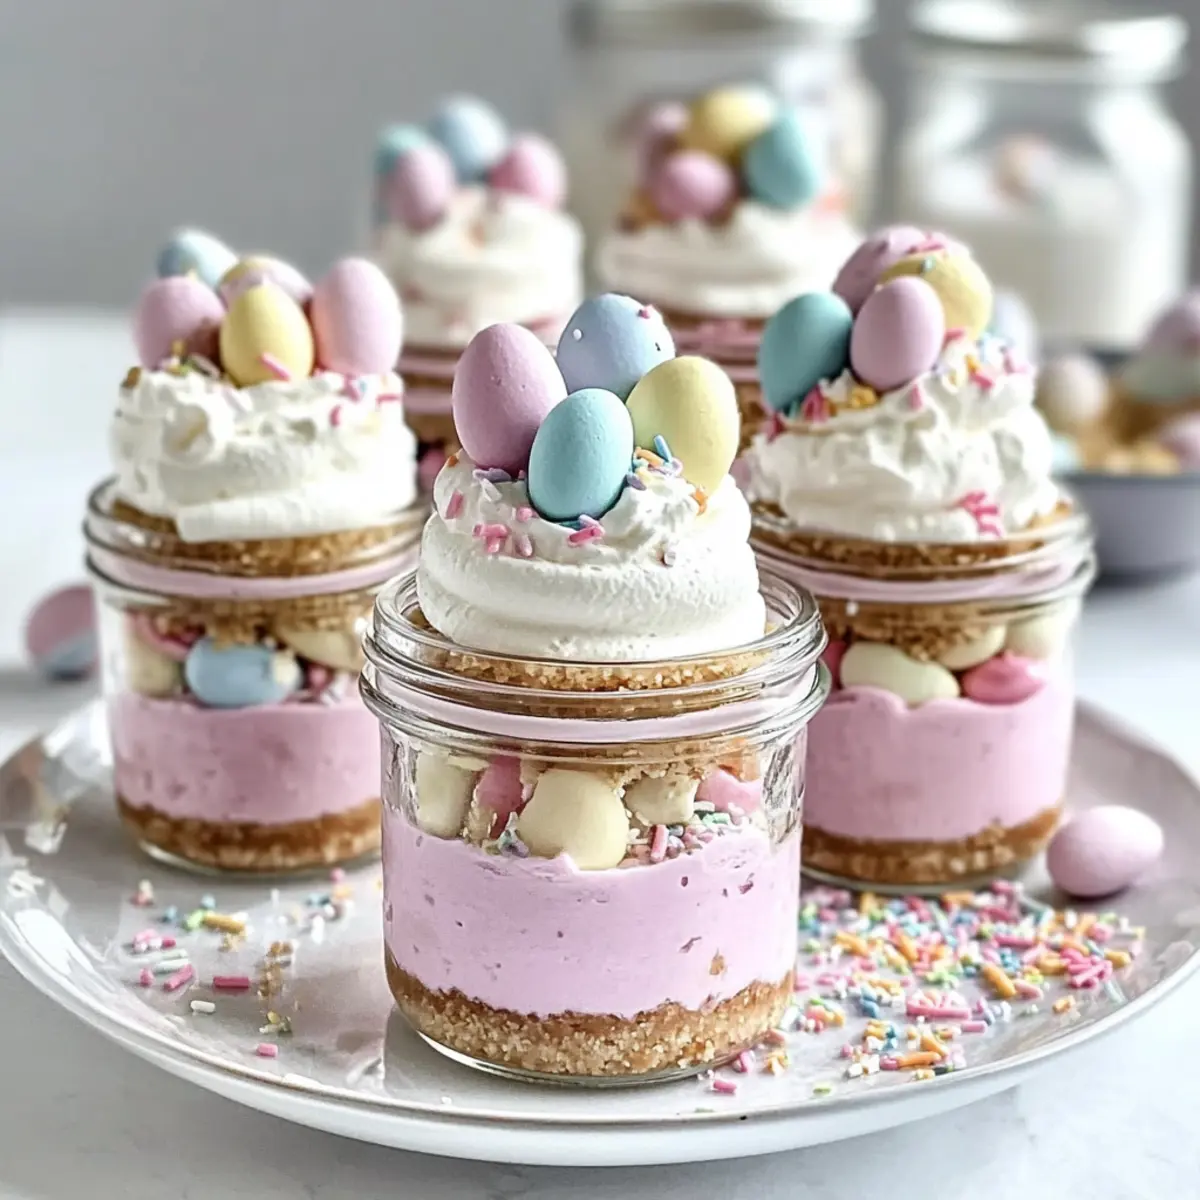
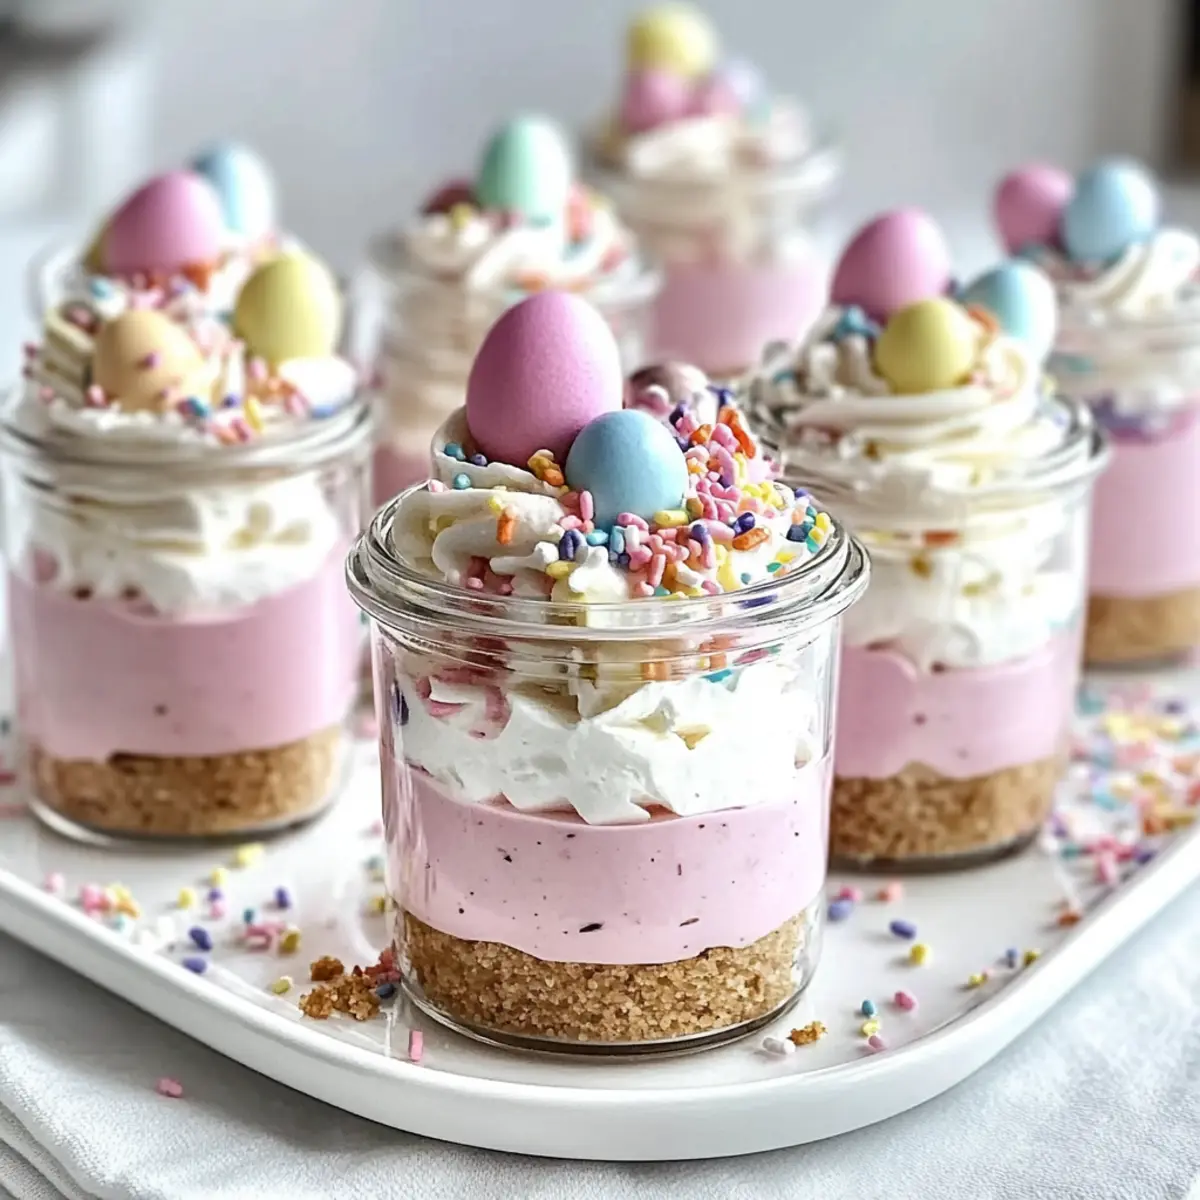
Step 5: Layer the Jars
Using a spoon or a piping bag for precision, layer the pink cheesecake filling over the crust in each jar first, smoothing it down with the back of the spoon. Then, gently add the white cheesecake layer on top, piping around the edges for a polished finish. These layers create a beautiful contrast within your delectable Easter Egg Cheesecake Jars.
Step 6: Finish and Top
Once layered, pipe a generous amount of whipped cream on top of each jar for a delightful finish. Before serving, decorate with pastel candy eggs and colorful sprinkles to elevate the playful presentation of your Easter Egg Cheesecake Jars, ensuring they look as lovely as they taste.
Step 7: Chill
Place the jars in the refrigerator for at least 2 hours to allow the cheesecake filling to set and firm up, ensuring a delightful texture upon serving. This chilling time will enhance the layers, making your Easter Egg Cheesecake Jars even more enjoyable when it’s time to celebrate and indulge with family and friends.
How to Store and Freeze Easter Egg Cheesecake Jars
-
Fridge: Store your Easter Egg Cheesecake Jars covered in the refrigerator for up to 2 days. This keeps them fresh and preserves the creamy texture, allowing you to enjoy them at your leisure.
-
Freezer: If you need to keep them longer, these jars can be frozen for up to 2 months. Make sure they are wrapped tightly in plastic wrap and then placed in an airtight container to prevent freezer burn.
-
Thawing: When ready to enjoy, transfer the jars from the freezer to the fridge and allow them to thaw overnight. This gentle thawing maintains the delightful taste and texture of your cheesecake jars.
-
Reheating: These no-bake delights are best served cold, so avoid reheating. Instead, simply remove the jars from the fridge or freezer ahead of serving for a refreshing treat!
What to Serve with Easter Egg Cheesecake Jars?
Springtime gatherings call for the perfect sweet complements to your delightful dessert!
- Fresh Berries: A bright mix of strawberries, blueberries, and raspberries adds refreshing tartness and a burst of color. They’re like little jewels on your table!
- Chocolate Mousse: This silky, rich mousse offers a luxurious contrast to the light, creamy texture of the cheesecake jars. Indulge your guests with this delightful pairing!
- Mint-Infused Iced Tea: Refreshingly crisp, this herbal drink enhances all flavors while providing a delightful palette cleanser. The mint brings an extra breath of spring to your meal.
- Vanilla Bean Ice Cream: The creamy sweetness of vanilla ice cream served alongside enhances the cheesecake jars’ flavors, creating a dreamy dessert experience!
- Mini Fruit Tarts: Light and flaky with creamy filling, these fruity tarts elevate your dessert table and keep the delightful theme of spring alive.
- Lemonade Spritzers: Bright and bubbly, these spritzers offer a zesty twist, balancing sweetness while keeping the spring vibe flowing. Perfect for warm celebrations!
- Easter-themed Cookie Platter: Add an assortment of decorated sugar cookies for a fun visual appeal, and provide more sweet bites for your guests to enjoy!
- Whipped Cream Dip: Pair freshly cut fruits with a light whipped cream dip for dipping, creating a fun, interactive dessert experience that pairs beautifully with the jars!
Expert Tips for Easter Egg Cheesecake Jars
-
Use Quality Ingredients: Select high-quality cream cheese and fresh heavy cream for the best flavor; this makes a noticeable difference in your Easter Egg Cheesecake Jars.
-
Perfect Creaminess: Ensure the cream cheese is softened to room temperature before mixing to achieve a smooth and fluffy filling, avoiding lumps.
-
Vibrant Colors: For more brilliant pastels, gently mix in food coloring, but start with a few drops; you can always add more if needed.
-
Layering Techniques: Use a piping bag for layering; it allows for cleaner, more precise layers, improving the overall presentation of your Easter Egg Cheesecake Jars.
-
Chill Properly: Allow the jars to chill for at least 2 hours to ensure the filling sets perfectly; this enhances both texture and flavor.
-
Topping Alternatives: Feel free to personalize toppings with fresh fruits or crushed cookies; this customization makes your Easter Egg Cheesecake Jars even more delightful!
Make Ahead Options
These Easter Egg Cheesecake Jars are perfect for meal prep enthusiasts! You can prepare the graham cracker crust and cheesecake filling up to 24 hours in advance. To maintain quality, refrigerate the jars tightly covered to prevent drying out. Layer the crust in the jars first, followed by the cheesecake filling, and seal them until ready to serve. Just before your gathering, pipe whipped cream on top and add pastel candy eggs and sprinkles for a cheerful finish. This way, you’ll impress your guests with delicious, ready-to-enjoy Easter Egg Cheesecake Jars, all while saving valuable time for yourself!
Easter Egg Cheesecake Jars Variations
Feel free to make these delightful jars your own by trying out some of these fun twists!
-
Dairy-Free: Substitute cream cheese with cashew cream or dairy-free cream cheese for a vegan-friendly option. Enjoy creamy indulgence without the dairy!
-
Flavor Explosion: Incorporate a hint of lemon zest or lime zest into the cheesecake filling for a refreshing tart twist. This brightens the dessert and offers a delightful contrast!
-
Chocolate Lovers: Replace some of the graham cracker crumbs with crushed chocolate cookies or add cocoa powder to the filling for a chocolatey taste. Perfect for those who can’t resist chocolate!
-
Fruity Delight: Fold in crushed fresh strawberries or blueberries into the cheesecake mixture before layering. This adds natural sweetness and bursts of flavor with every spoonful.
-
Nutty Crunch: Top off the jars with toasted nuts or nut crumbs for added texture and a lovely crunch. Try pecans or walnuts for a cozy, nutty flavor.
-
Spicy Kick: Add a pinch of cinnamon or nutmeg to the filling for a warm spiced flavor that adds depth, reminiscent of holiday treats. This unexpected twist will surely surprise your guests!
-
Caramel Drizzle: Drizzle homemade or store-bought caramel sauce over the whipped cream topping for an indulgent finish. It’s a sweet addition that elevates the dessert to another level!
These variations make it easy to suit any crowd, from those who love traditional flavors to those seeking a unique dessert experience! If you’re looking for tasty ideas for spring desserts, check out the Christmas Cheesecake Cranberry or the delightful Strawberry Cheesecake Protein Balls. Enjoy your sweet creations!
Easter Egg Cheesecake Jars Recipe FAQs
How do I select the best cream cheese for my cheesecake jars?
Absolutely! Look for high-quality, full-fat cream cheese for a rich flavor. Ensure it’s at room temperature to easily blend into a smooth filling. Avoid low-fat versions as they may not provide the same creamy texture.
How should I store my Easter Egg Cheesecake Jars?
You can store your jars covered in the refrigerator for up to 2 days. This keeps them fresh and maintains that lovely creamy texture. If you’re planning on enjoying them later, wrap them tightly and freeze for up to 2 months.
Can I freeze Easter Egg Cheesecake Jars?
Very! To freeze, ensure each jar is tightly wrapped in plastic wrap and then placed in an airtight container. This helps prevent freezer burn. Thaw them overnight in the fridge when you’re ready to indulge!
What can I do if my cheesecake filling isn’t thickening?
No worries! If your filling isn’t thickening, ensure the heavy cream is whipped to stiff peaks before folding into the cream cheese mixture. If it’s too runny, you can whip in a bit of gelatin or cornstarch mixed with cold water to help stabilize the filling.
Are there any dietary considerations for Easter Egg Cheesecake Jars?
Certainly! If you’re accommodating dietary restrictions, use dairy-free cream cheese and coconut cream for the filling. For those with allergies, always check that ingredients are allergen-free. The pastel candy eggs can be swapped for allergy-friendly chocolates if needed.
Can I customize the flavor of my cheesecake jars?
Absolutely! Experiment with flavorings such as almond or lemon extracts. You can also incorporate fruit purees like strawberry or blueberry into the filling or as a layer for an exciting twist. The more, the merrier!
Easter Egg Cheesecake Jars: Sweet No-Bake Spring Delight
Ingredients
Equipment
Method
- In a mixing bowl, combine graham cracker crumbs, sugar, and melted butter. Stir until the mixture resembles damp sand. Spoon the crust mixture into small jars and firmly press it down.
- In a large bowl, beat the softened cream cheese with an electric mixer until smooth and fluffy, about 2-3 minutes. Gradually add in powdered sugar and vanilla extract, beating until light and airy.
- In a separate bowl, whip the heavy cream until stiff peaks form, about 3-4 minutes. Fold half of the whipped cream into the cheesecake mixture, then repeat with the remaining whipped cream.
- Divide the cheesecake mixture into two bowls. Add pink gel food coloring to one bowl and mix well until you achieve your desired pastel shade.
- Layer the pink cheesecake filling over the crust in each jar first, followed by the white cheesecake layer on top.
- Pipe a generous amount of whipped cream on top of each jar and decorate with pastel candy eggs and colorful sprinkles before serving.
- Chill the jars in the refrigerator for at least 2 hours to allow the cheesecake filling to set.
Leave a Reply