
As I stood in my backyard, the tantalizing aroma of grilled meat wafted through the air, transporting me straight to sunny California. The star of the show was my Best Grilled Santa Maria Tri-Tip, a dish that marries simplicity with rich flavors and perfect for those who crave a satisfying homemade meal. The beautiful crust that forms on the outside locks in the juicy, tender goodness, making it a worthy centerpiece for any barbecue gathering. With minimal prep time and no fussing over complicated techniques, this tri-tip is not only a crowd-pleaser but also the ultimate comfort food. Are you ready to impress your family and friends with a dish that captures the essence of summer grilling? Grab your apron, and let’s get started on this savory adventure!
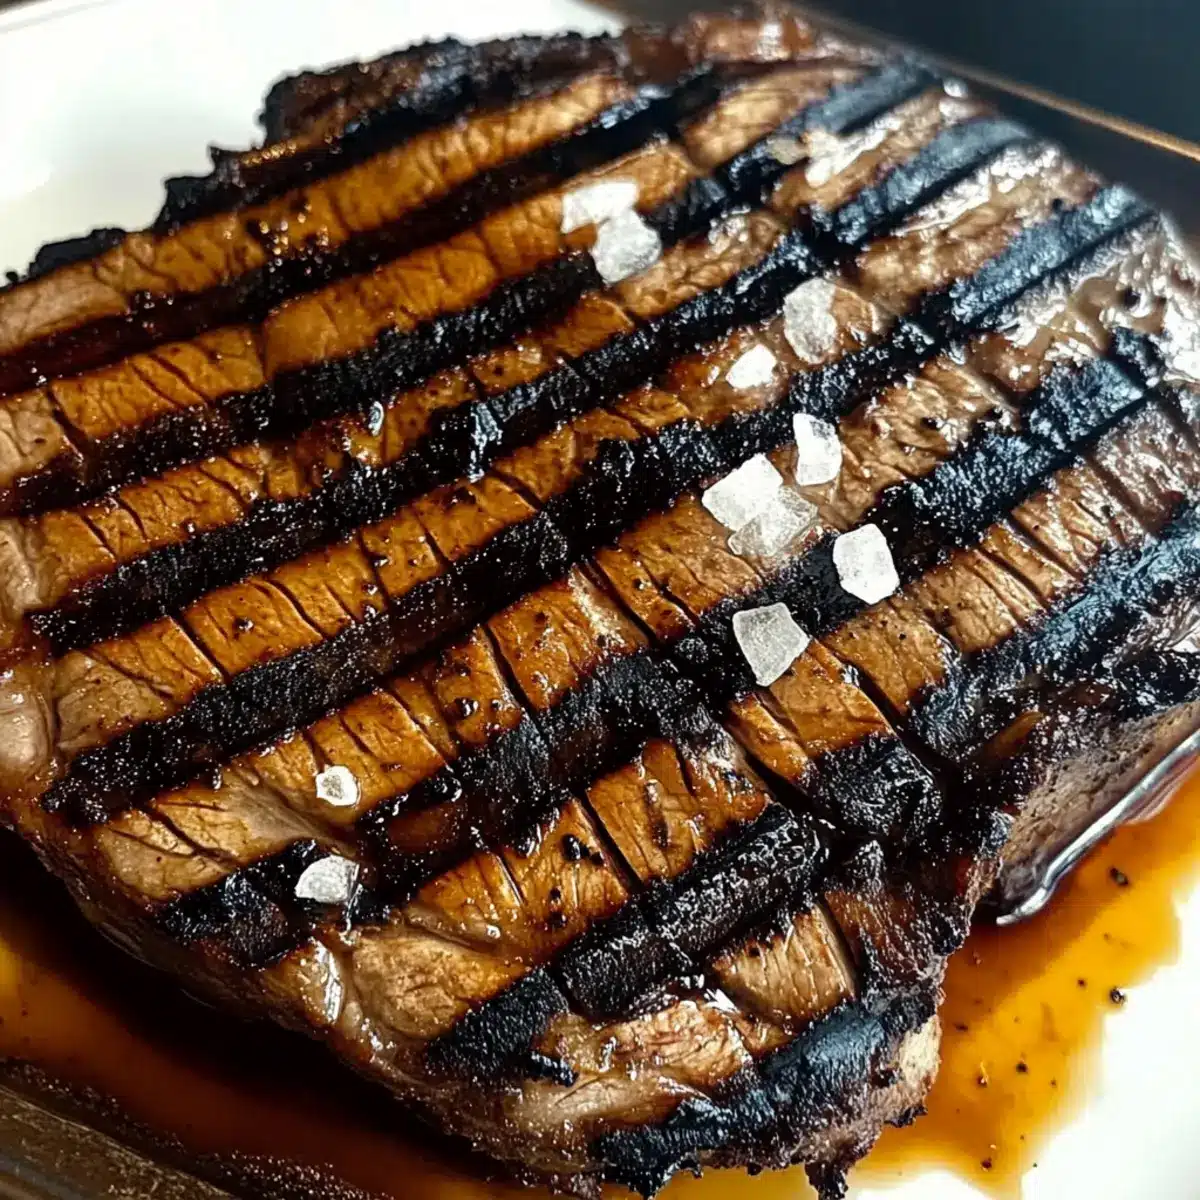
Why is Santa Maria Tri-Tip special?
Bold, Flavorful Dish: The Best Grilled Santa Maria Tri-Tip brings an explosion of flavor, thanks to a delightful blend of spices and a juicy texture.
Crispy Crust: Searing the meat creates a crispy exterior that perfectly contrasts with its tender inside, ensuring a satisfying bite every time.
Simplicity With Elegance: You don’t need to be a seasoned chef; this recipe simplifies the grilling process, making gourmet quality achievable for everyone.
Perfect for Gatherings: With its incredible taste and visually appealing presentation, this tri-tip easily becomes the star of your outdoor barbecues or dinner parties.
Endless Pairing Options: Serve it alongside grilled vegetables or a fresh salad for a well-rounded meal, or experiment with marinades to customize your flavors. Dive into this flavorful experience!
Grilled Santa Maria Tri-Tip Ingredients
Get ready to gather your essentials for the ultimate grilling experience!
For the Tri-Tip
• Tri-Tip Steak – The star of the dish providing rich flavor; can substitute with flank steak for a similar texture.
• Olive Oil – Aids in seasoning adherence and adds moisture; can also use avocado oil if preferred.
For the Spice Rub
• Salt – Enhances flavor and helps with the crust formation; opt for kosher salt for a better texture.
• Black Pepper – Adds depth and a bit of heat; freshly ground is recommended for maximum flavor.
• Garlic Powder – Infuses a savory aroma; substitute with fresh minced garlic if desired.
• Onion Powder – Provides a hint of sweetness; can be swapped with finely chopped onions if you prefer.
Optional Marinade Ingredients
• Soy Sauce or Worcestershire Sauce – Adds a delightful umami flavor to elevate your grilled Santa Maria tri-tip.
Step‑by‑Step Instructions for Best Grilled Santa Maria Tri-Tip
Step 1: Prepare the Seasoning
In a medium bowl, combine kosher salt, freshly ground black pepper, garlic powder, and onion powder. Mix these spices thoroughly; the goal is to create a flavorful rub that will enhance the tri-tip. This blend will add depth and richness to your grilled Santa Maria tri-tip, so ensure it’s evenly mixed before moving on to the next step.
Step 2: Season the Tri-Tip
Drizzle olive oil over the tri-tip steak, coating it evenly to help the spice rub adhere. Once the steak is coated, generously apply the seasoning mixture all over the tri-tip, using your hands to rub it in well. This process ensures every bite is packed with flavor, giving your grilled Santa Maria tri-tip its distinctive, savory profile.
Step 3: Preheat the Grill
Prepare your grill for cooking by preheating it to medium-high heat, aiming for a temperature of around 400°F. Ensure the grates are clean and lightly oiled to prevent sticking. A well-heated grill is essential for achieving that perfect caramelized crust on your tri-tip, setting the stage for an ideal grilling experience.
Step 4: Sear the Meat
Once the grill is hot, place the seasoned tri-tip directly on the grates. Sear each side for 4-5 minutes, or until a beautiful crust forms. Keep an eye on it, looking for that rich browning that signals it’s time to flip. This step is crucial for locking in juices and flavor, giving your Santa Maria tri-tip its signature taste.
Step 5: Check Temperature
After searing, use a reliable meat thermometer to check the internal temperature of the tri-tip. Aim for 135°F for medium-rare or 145°F for medium. Insert the thermometer into the thickest part of the meat, ensuring accurate readings. This step will help you avoid overcooking and ensure that your grilled Santa Maria tri-tip remains juicy and tender.
Step 6: Rest the Meat
Once your tri-tip reaches the desired temperature, remove it from the grill and let it rest on a cutting board. Cover it loosely with aluminum foil and allow it to rest for 10-15 minutes. Resting is essential as it allows the juices to redistribute throughout the meat, yielding a more flavorful, tender bite that everyone will love.
Step 7: Slice and Serve
After resting, slice the tri-tip against the grain into ½-inch thick pieces. This important technique reduces chewiness and enhances tenderness. Arrange the slices on a platter, showcasing your beautifully grilled Santa Maria tri-tip. Serve with your favorite sides, and enjoy the amazing flavors with family and friends!
Make Ahead Options
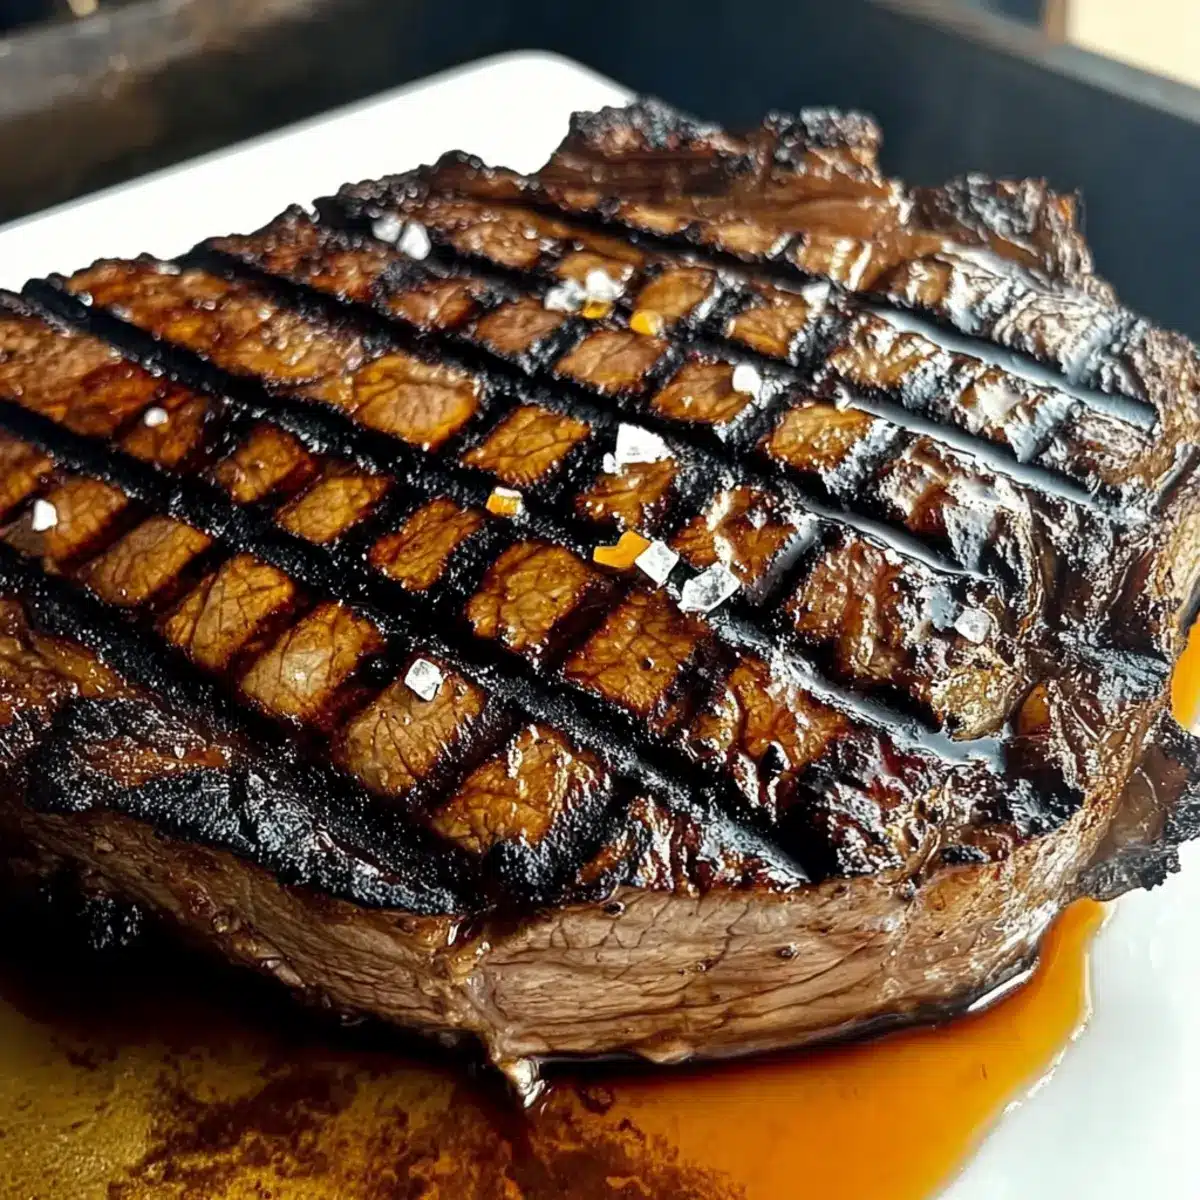
For busy home cooks, the Best Grilled Santa Maria Tri-Tip is a fantastic meal prep option that can save you time during the week. You can season the tri-tip with the spice rub and refrigerate it up to 24 hours in advance, allowing the flavors to infuse deeply. If you prefer, the entire tri-tip can be marinated in an optional soy or Worcestershire marinade up to 3 days prior to grilling for even richer flavor. To maintain quality, ensure the meat is well-wrapped in plastic wrap or an airtight container to prevent drying out. When you’re ready to grill, simply preheat your grill and proceed with the cooking instructions—resulting in a delicious, perfectly cooked Santa Maria tri-tip with minimal last-minute effort!
Storage Tips for Grilled Santa Maria Tri-Tip
Fridge: Store leftover grilled Santa Maria tri-tip in an airtight container for up to 3 days to maintain its juicy flavor and tenderness.
Freezer: For extended storage, slice the tri-tip and freeze in airtight bags for up to 2 months. Remember to label them with the date for easy tracking.
Thawing: When ready to enjoy, thaw the tri-tip overnight in the refrigerator to preserve its texture and moisture.
Reheating: Reheat gently in the oven at 300°F or in a skillet over low heat, adding a splash of beef broth to keep it moist.
Expert Tips for Grilled Santa Maria Tri-Tip
• Use a Meat Thermometer: Always check with a meat thermometer to prevent overcooking; aim for 135°F for medium-rare.
• Resting is Key: Allow your tri-tip to rest for 10-15 minutes after grilling. This helps juices redistribute, enhancing flavor and tenderness.
• Grill Preparation: Clean and lightly oil your grill grates before cooking. This prevents sticking and ensures a beautiful crust on your grilled Santa Maria tri-tip.
• Consistent Seasoning: Make sure to rub the seasoning evenly over the tri-tip for maximum flavor in every bite. Don’t skip any corners!
• Slice Against the Grain: For the most tender results, always slice against the grain into ½-inch thick pieces. This technique makes a significant difference in mouthfeel!
What to Serve with Best Grilled Santa Maria Tri-Tip
The perfect sides can elevate your grilled masterpiece, transforming family dinners into unforgettable feasts.
-
Creamy Coleslaw: The crunch and creaminess provide a delightful contrast to the savory tri-tip, refreshing your palate with each bite.
-
Grilled Corn on the Cob: A sweet and smoky companion that ties beautifully with the barbecue flavors, adding a touch of summertime bliss.
-
Savory Baked Beans: Rich, sweet, and smoky, these beans will complement the tri-tip’s flavors, bringing warmth to your table.
-
Roasted Garlic Mashed Potatoes: Their creamy, buttery texture contrasts perfectly with the crispy crust of the tri-tip, creating harmony on your plate.
The beautiful mix of flavors and textures from these sides will turn your meal into a celebration of taste! Pair them with your favorite chilled drink to keep the good times rolling.
Grilled Santa Maria Tri-Tip Variations
Feel free to tailor this delightful recipe to your taste with these fun and flavorful twists!
- Marinade Magic: Marinade the tri-tip in a mix of red wine, herbs, and spices for an enhanced flavor profile. Let it soak for a few hours to really deepen those flavors!
- Flavorful Heat: Add cayenne pepper or crushed red pepper flakes to the seasoning for a spicy kick. Adjust the amount according to your heat preference for a personalized touch!
- BBQ Sauce Boost: Brush on your favorite barbecue sauce during the last few minutes of grilling for a tangy glaze. This adds a sweet and smoky element that everyone will love.
- Fresh Herb Twist: Incorporate fresh chopped herbs like rosemary or thyme into the seasoning mix for an aromatic touch. Their bright fragrances elevate the dish while keeping it light and fresh!
- Citrus Zing: Squeeze some fresh lemon or lime juice over the finished tri-tip for a zesty brightness. The citrus complements the beef beautifully, adding a refreshing dimension.
- Smoky Twist: Use smoked salt instead of regular salt for a subtle smokiness, enhancing the grilled flavor. Just a sprinkle can transform your tri-tip into a smoky sensation!
- Sweet & Savory: Add a tablespoon of brown sugar to your rub for a hint of sweetness that caramelizes on the grill. It pairs beautifully with savory flavors and gives an impressive crust!
- Serve with Style: Pair the tri-tip with grilled peaches or pineapples for a sweet contrast to the savory meat. This fruity accompaniment brightens the meal and adds a delicious twist!
Explore these variations to customize your grilled Santa Maria tri-tip into your very own signature dish, and don’t hesitate to try it with some grilled vegetables or a fresh salad for a complete meal experience!
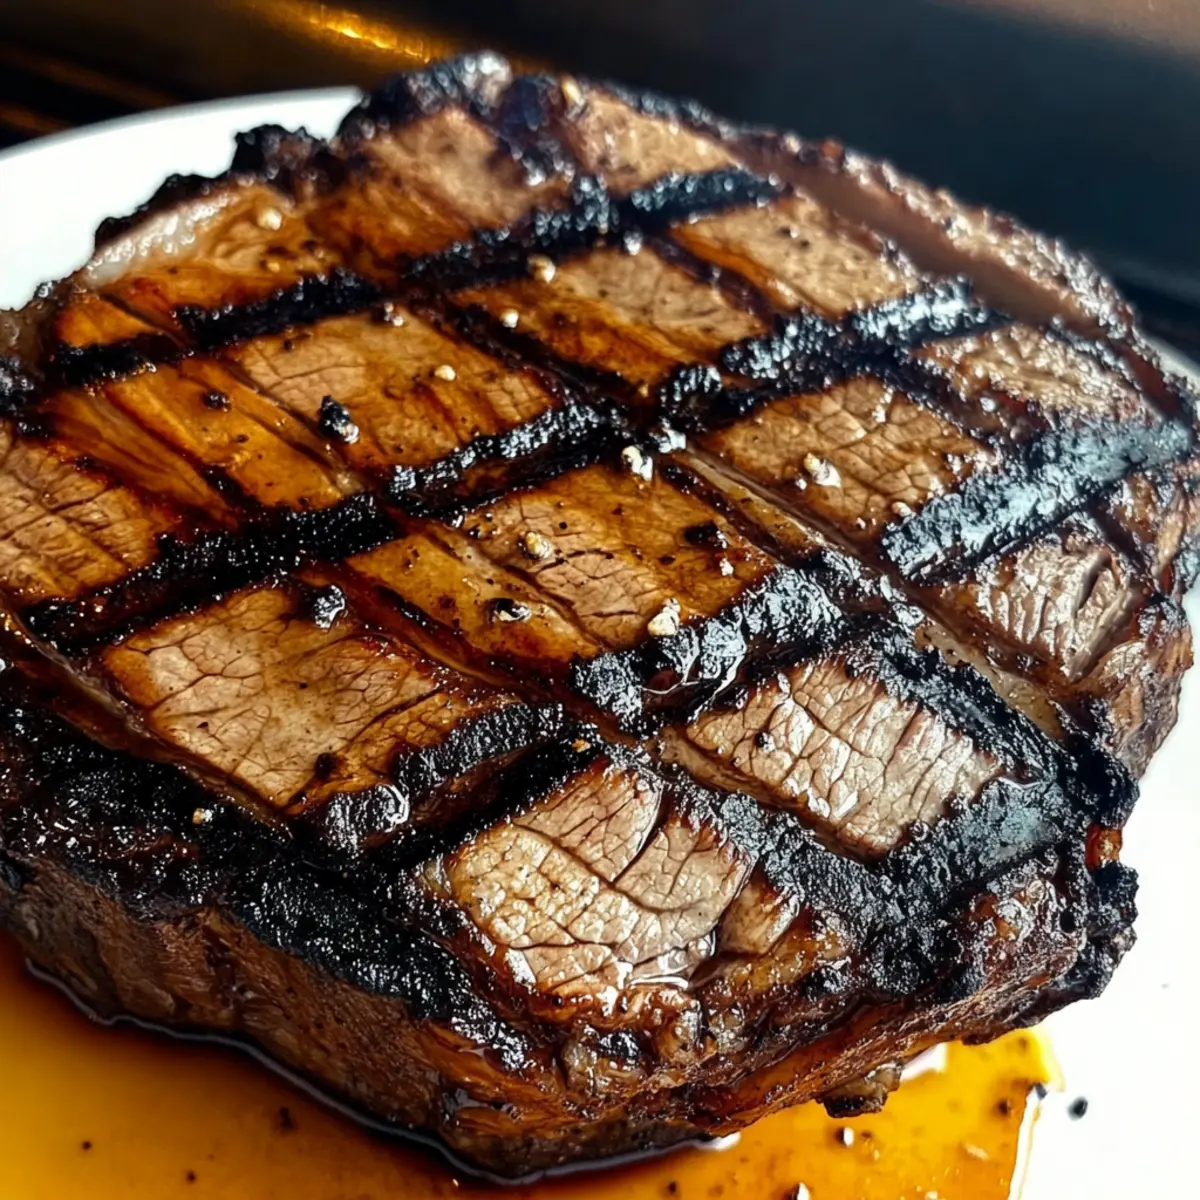
Grilled Santa Maria Tri-Tip Recipe FAQs
What is the best way to select a tri-tip steak?
Absolutely! Look for a tri-tip with a good marbling of fat, which ensures richer flavor and tenderness. The meat should be bright red, with no dark spots or discoloration. If you’re unsure, ask your butcher for assistance—they can guide you toward the freshest cut available.
How should I store leftover grilled Santa Maria tri-tip?
You can store leftover grilled Santa Maria tri-tip in an airtight container in the refrigerator for up to 3 days. Make sure it cools to room temperature before sealing to avoid condensation. This method helps maintain its juicy flavor and tenderness, so you can enjoy it the next day!
Can I freeze grilled tri-tip, and how should I do it?
Certainly! To freeze your grilled tri-tip, let it cool completely, then slice it against the grain. Place the slices in airtight freezer bags, removing as much air as possible, and label them with the date. You can freeze them for up to 2 months. To thaw, simply place the bag in the refrigerator overnight.
What should I do if my tri-tip turns out tough?
Very! If your tri-tip is tough, it may have been overcooked or sliced incorrectly. Always check the internal temperature with a meat thermometer, aiming for 135°F for medium-rare. When slicing, always cut against the grain, which will help reduce chewiness. If it still seems tough, consider using a marinade next time for added tenderness!
Can I marinate the tri-tip? What are some good options?
Absolutely! Marinating your tri-tip enhances its flavor and can make it more tender. A simple mixture of olive oil, soy sauce, garlic, and herbs works beautifully. Marinate for at least 2 hours, or overnight for deeper flavor. Just be sure to remove excess marinade before grilling to avoid flare-ups.
Are there any dietary restrictions I should consider with this recipe?
Definitely! This grilled Santa Maria tri-tip is naturally gluten-free, but be cautious with any marinades that may contain gluten. For those with specific allergies, always check the ingredient labels of pre-made spices or sauces, especially for potential allergens like soy. It’s best to create your own blends to control what goes into your meal.
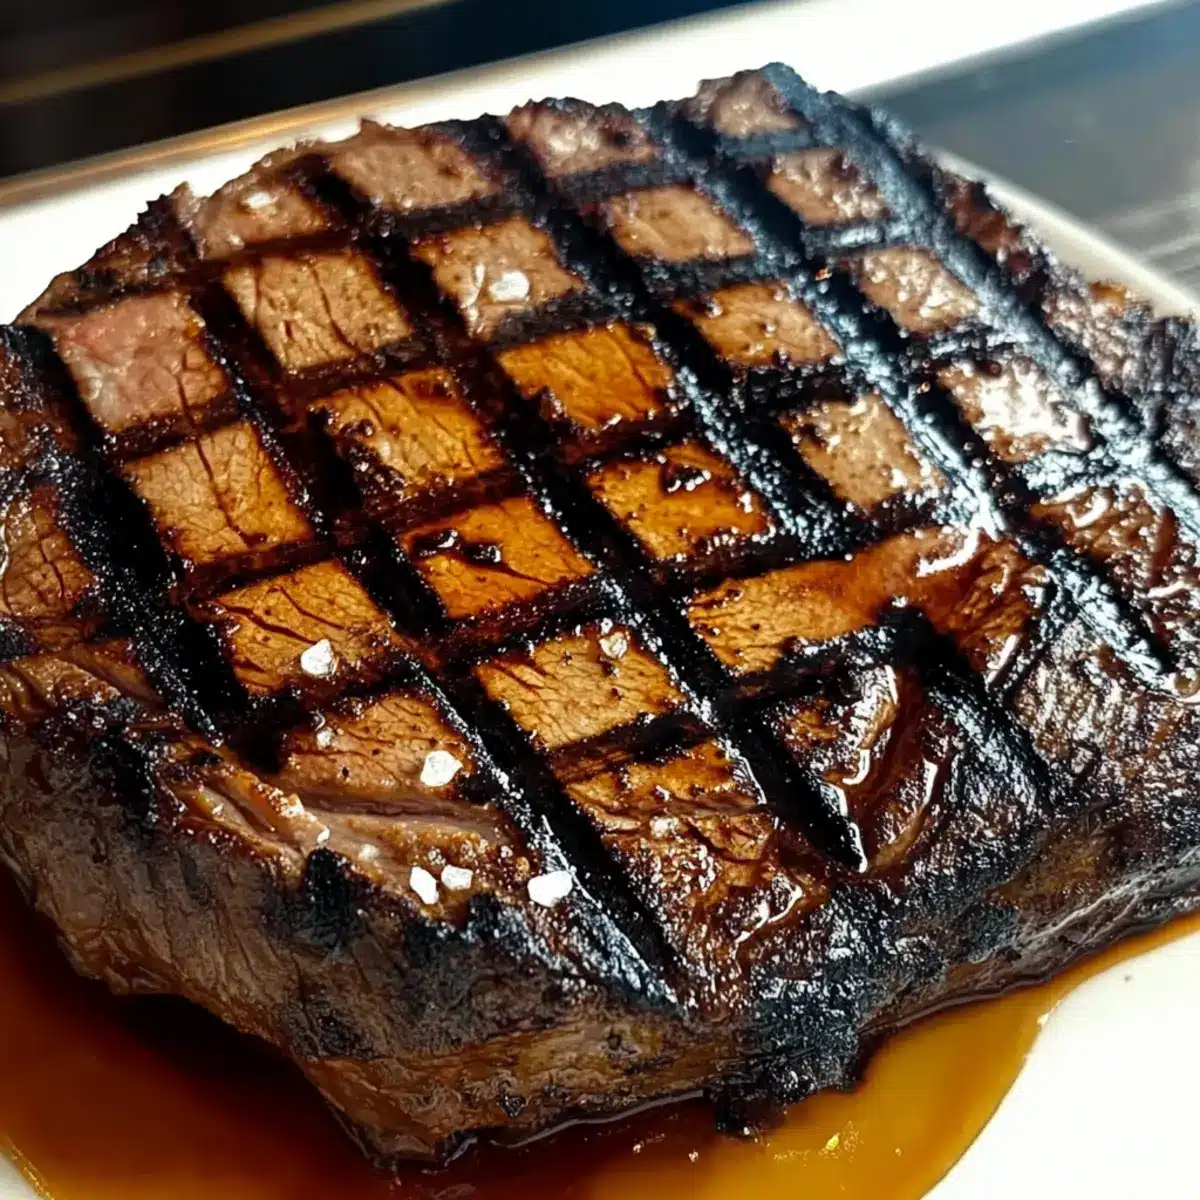
Grilled Santa Maria Tri-Tip: Juicy Flavor in Every Bite
Ingredients
Equipment
Method
- In a medium bowl, combine kosher salt, freshly ground black pepper, garlic powder, and onion powder. Mix thoroughly to create a flavorful rub.
- Drizzle olive oil over the tri-tip, coating it evenly. Generously apply the seasoning mixture all over the tri-tip.
- Preheat the grill to medium-high heat, aiming for approximately 400°F. Ensure the grates are clean and lightly oiled.
- Sear each side of the tri-tip for 4-5 minutes until a crust forms.
- Check the internal temperature aiming for 135°F for medium-rare or 145°F for medium.
- Remove from grill and let it rest for 10-15 minutes, covered loosely with foil.
- Slice against the grain into ½-inch thick pieces and serve.
Leave a Reply