
As I stood in my kitchen surrounded by a sea of colorful ingredients, I couldn’t help but feel the excitement of summer celebrations approaching. These Red White and Blue Cheesecake Bars are perfect for any gathering—think Memorial Day, Fourth of July, or just a sunny picnic with friends. Not only are they visually stunning with their vibrant swirls, but they’re also unbelievably easy to whip up, making them a go-to dessert for both novice and experienced bakers. Plus, with a luscious cream cheese filling sitting atop a chocolatey Oreo crust, they’re bound to be a crowd favorite. Ready to create something impressive that will elevate your next get-together? Let’s dive into the delicious details!
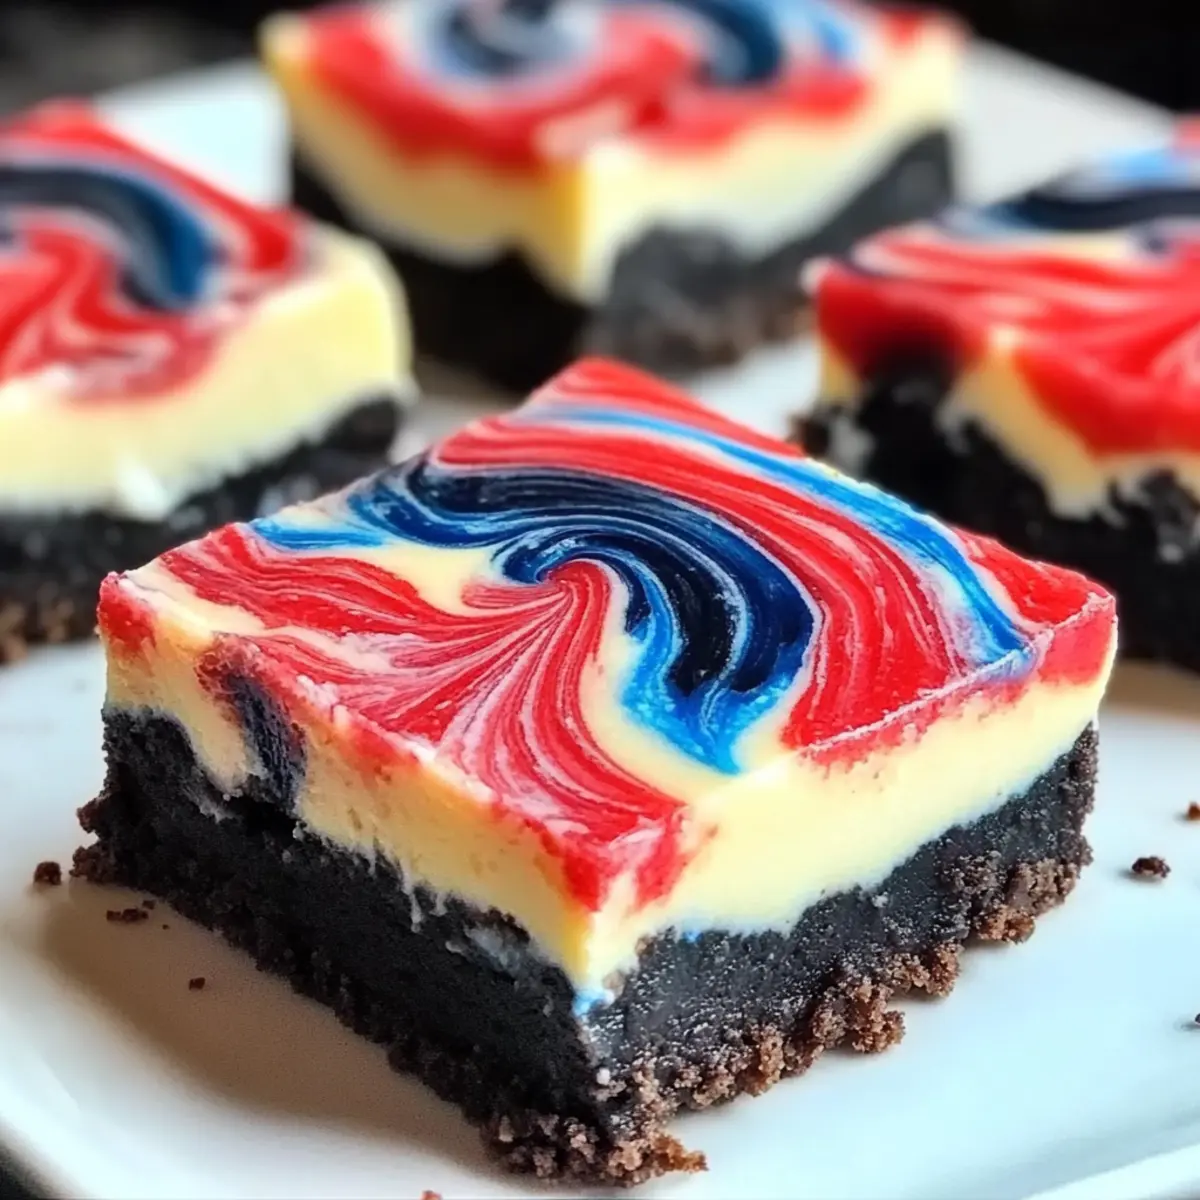
What makes these cheesecake bars special?
Vibrant Colors: The stunning red and blue swirls not only make a gorgeous presentation but also capture the festive spirit of your gatherings.
Easy to Make: With just a few simple steps, even beginner bakers can master these beloved bars, making them accessible to everyone!
Crowd-Pleasing Flavor: The rich cream cheese filling paired with a chocolatey Oreo crust creates a luxurious taste that’s sure to impress your guests.
Versatile Desert: Perfect for any occasion, from Memorial Day to a summer picnic, you can even experiment with different colors and toppings for various celebrations.
Storage Friendly: Make them ahead of time! These cheesecake bars can be stored in the fridge or even frozen, ensuring they’re ready whenever you need a sweet treat.
Add a delightful twist to your dessert table with these delectable Red White and Blue Cheesecake Bars!
Red White and Blue Cheesecake Bars Ingredients
• Perfect for vibrant summer gatherings!
For the Crust
- Oreo Cookies – The crunchy base adds a delightful chocolate flavor; feel free to substitute gluten-free Oreos for a gluten-free version.
- Butter (4 tablespoons) – This helps bind the crust together; margarine can work well if you prefer a dairy-free option.
For the Cheesecake Filling
- Cream Cheese (24 ounces) – The star of the filling providing creamy richness; low-fat cream cheese can lighten it up if desired.
- Granulated Sugar (1.5 cups) – Adds the necessary sweetness; you can swap in a sugar alternative to cut calories.
- Sour Cream (¼ cup) – Brings in a smooth, tangy element; Greek yogurt serves as a lower-calorie substitute.
- Vanilla Extract (2 teaspoons) – Enhances the overall flavor profile; almond extract can be a lovely alternative if you’re looking for a twist.
- Eggs (3) – Essential for structure and creaminess; egg substitutes work if you need a vegan option.
For Coloring
- Red Gel Food Coloring – Offers a vibrant hue; customize colors to fit various celebrations as needed.
- Blue Gel Food Coloring – Perfect for that festive flair; mix and match colors for creative occasions.
With these scrumptious Red White and Blue Cheesecake Bars ingredients, you’re one step closer to baking a beauty!
Step‑by‑Step Instructions for Red White and Blue Cheesecake Bars
Step 1: Preheat and Prep
Begin by preheating your oven to 325°F (163°C). While the oven warms up, line a 9×13 inch baking pan with foil, allowing some overhang for easy removal later. This prep step is crucial to ensure that your Red White and Blue Cheesecake Bars cook evenly and release smoothly from the pan.
Step 2: Create a Water Bath
Next, create a double boiler effect by placing a baking sheet filled with water on the bottom rack of your oven. This moist environment helps to gently cook the cheesecake, preventing cracks and ensuring a beautiful texture in your delicious Red White and Blue Cheesecake Bars.
Step 3: Make the Crust
In a mixing bowl, crush the Oreo cookies into fine crumbs and combine them with melted butter until fully mixed. Transfer this mixture into the prepared pan, pressing it firmly into an even layer across the bottom. This chocolatey crust will serve as a delightful base for your creamy cheesecake filling!
Step 4: Divide and Color the Filling
In three separate bowls, blend together the cream cheese, sugar, sour cream, and vanilla extract until smooth. Afterward, divide this silky cheesecake mixture into three portions, tinting one portion red and another blue with gel food coloring. This step brings that festive spirit to your Red White and Blue Cheesecake Bars!
Step 5: Layer the Batter
Now it’s time to build your colorful layers! Using a spoon, alternately drop dollops of red and blue cheesecake batter over the crust. Once you have filled the pan with layers of color, take a knife and gently swirl through the batter to create a beautiful marbled effect, being careful not to overmix.
Step 6: Bake the Bars
Place your prepared cheesecake into the preheated oven and bake for 45-50 minutes. The edges should appear set while the center has a slight wobble. This signifies that your Red White and Blue Cheesecake Bars are perfectly cooked and ready for cooling!
Step 7: Cool and Chill
After baking, remove the cheesecake bars from the oven and allow them to cool at room temperature for about 1 hour. Then, refrigerate them for at least 4-6 hours, or until completely chilled. Chilling is key for achieving the perfect slice of these vibrant cheesecake bars!
Step 8: Serve with Style
Finally, when you’re ready to serve, carefully lift the bars out of the pan using the foil overhang. Cut into squares with a serrated knife for clean edges, and feel free to adorn your Red White and Blue Cheesecake Bars with whipped cream or colorful sprinkles for that extra festive touch!
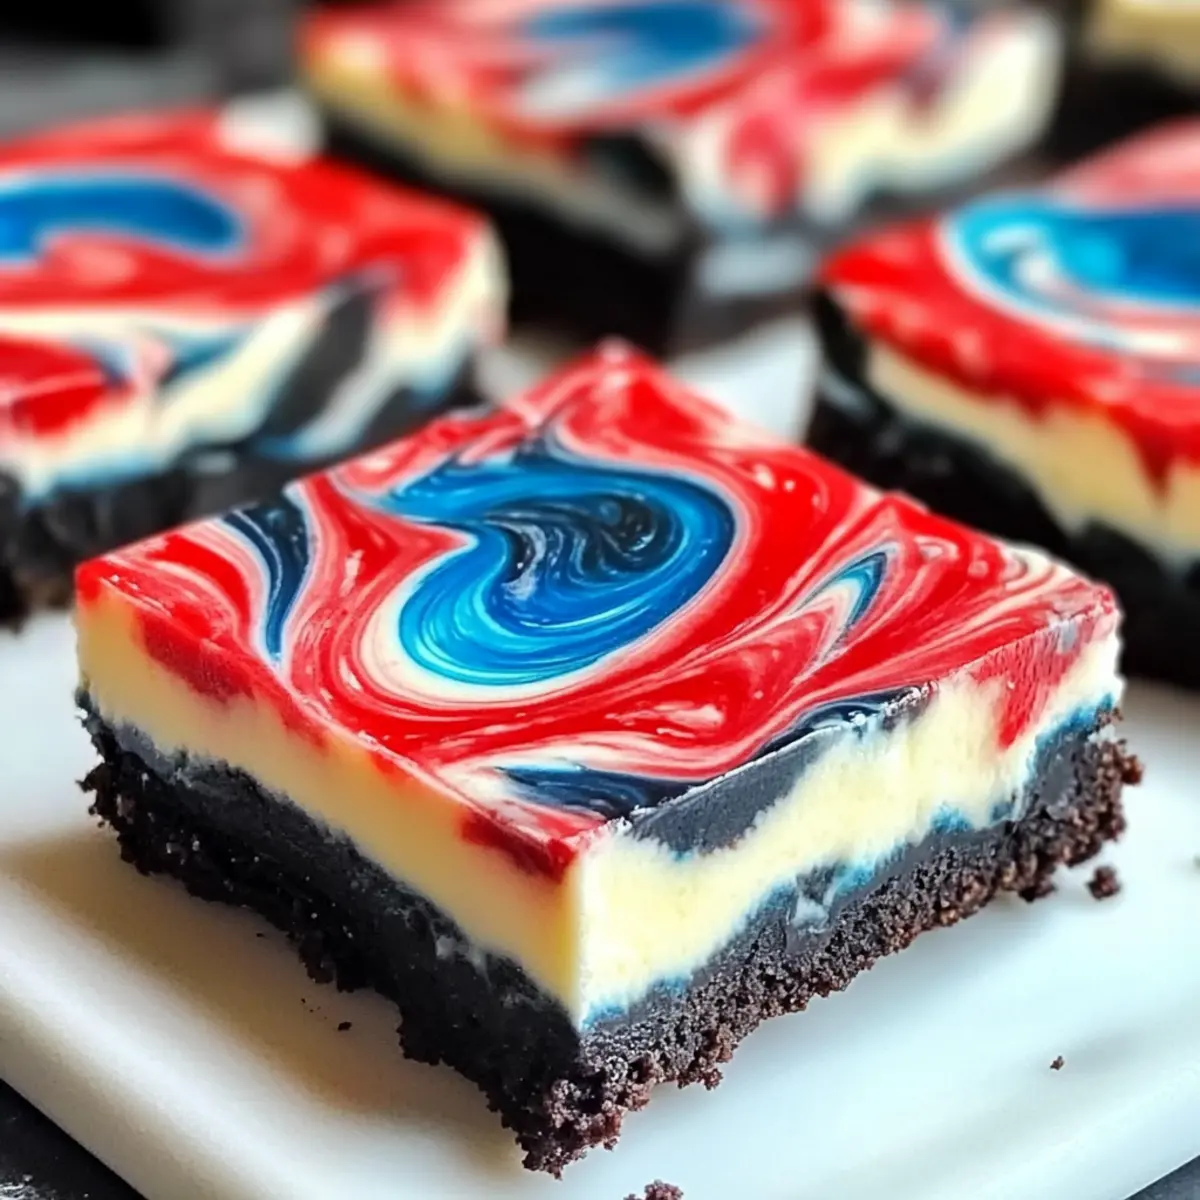
Red White and Blue Cheesecake Bars Variations
Feel free to add your personal touch to these delightful cheesecake bars for a unique twist every time you serve!
-
Gluten-Free Crust: Use crushed gluten-free cookies instead of Oreos to cater to gluten-sensitive guests. They’ll never know the difference with that rich flavor!
-
Low-Fat Option: Swap full-fat cream cheese for low-fat versions for a lighter treat. You can still enjoy the indulgent taste while trimming down on calories.
-
Fruity Toppings: Top with fresh strawberries or blueberries to enhance flavor and presentation. A burst of fresh fruit beautifully complements the creamy filling and adds a refreshing element.
-
Vegan-Friendly: Replace the cream cheese with a vegan cream cheese alternative and use flax eggs as an egg substitute. You won’t sacrifice taste but will cater to vegan friends!
-
Swap the Extracts: For a fun flavor twist, substitute vanilla extract with almond or lemon extract. This small change can elevate the flavor profile of your cheesecake bars.
-
Seasonal Colors: Customize your gel food colors for different holidays! Use green and red for Christmas or pastel colors for Easter, allowing your cheesecake bars to shine at any festive gathering.
-
Chocolate Swirls: Add a rich twist by mixing in some melted dark chocolate or a chocolate syrup swirl into your batter. The chocolate adds a depth of flavor that chocolate lovers will appreciate.
-
Nutty Crust: Experiment with a combination of crushed nut cookies or add finely chopped nuts to your crust for an extra crunch. This won’t just enhance the texture but also bring a delightful nutty flavor.
Dive into these variations and make your Red White and Blue Cheesecake Bars even more special for your upcoming celebrations! Enjoy exploring the many delightful options!
Expert Tips for Red White and Blue Cheesecake Bars
-
Room Temperature Ingredients: Make sure all your cream cheese and eggs are at room temperature. This helps prevent lumps for a smooth and creamy filling.
-
Don’t Overmix: When coloring your cheesecake batter, be gentle! Overmixing can lead to muddy colors. Just a few swirls will create beautiful red and blue layers.
-
Chill Time is Key: Allow your cheesecake bars to chill for at least 4-6 hours in the fridge. This not only enhances the flavor but also assists with achieving clean, perfect slices.
-
Serrated Knife Advantage: Use a serrated knife when cutting the bars. It helps you get clean edges without squishing the creamy filling. Clean the knife between cuts for the best results!
-
Fun Variations: Don’t hesitate to experiment! Different gel food colors or fruit toppings can tailor these bars to any celebration, making each batch unique.
With these handy tips, your Red White and Blue Cheesecake Bars will be a stunning highlight at any gathering!
What to Serve with Red White and Blue Cheesecake Bars
The perfect way to elevate your festive gatherings is by pairing these delightful bars with complementary flavors and textures!
- Fresh Berries: A medley of strawberries and blueberries adds a burst of freshness and vibrant color, echoing the cheesecake’s swirls.
- Whipped Cream: A light dollop of whipped cream enhances that creamy texture while balancing the sweetness of the bars.
- Chocolate Drizzle: A rich chocolate sauce drizzled over each bar introduces an indulgent contrast that will satisfy chocolate lovers.
- Mint Leaves: Fresh mint sprigs bring a refreshing, aromatic note, creating a lively contrast to the sweet cheesecake.
- Lemonade or Iced Tea: A chilled glass of homemade lemonade or iced tea offers a refreshing beverage option that complements the flavors perfectly.
- Shortbread Cookies: These buttery cookies have a delightful crunch, making for a perfect snack alongside the creamy cheesecake bars.
Transform your dessert table into a celebratory feast with these delightful pairings for your Red White and Blue Cheesecake Bars!
How to Store and Freeze Red White and Blue Cheesecake Bars
Fridge: Keep your cheesecake bars in an airtight container for up to 5 days. This keeps them fresh and ready for indulging anytime!
Freezer: For longer storage, you can freeze these bars for up to 3 months. Wrap tightly in plastic wrap and then in aluminum foil to prevent freezer burn.
Thawing: When ready to enjoy, transfer the frozen bars to the fridge to thaw overnight before serving. This ensures the texture remains creamy and delicious.
Serving: Always serve chilled, and consider adding a dollop of whipped cream or a sprinkle of festive toppings after taking them from the fridge for that perfect finishing touch!
Make Ahead Options
These scrumptious Red White and Blue Cheesecake Bars are perfect for meal prep, allowing you to enjoy a stress-free celebration! You can prepare the crust and cheesecake filling up to 24 hours in advance. Simply make the crust, press it into the pan, and store it in the refrigerator. For the filling, you can mix the cream cheese, sugar, sour cream, and vanilla, then divide and color it the day before—just be sure to cover it tightly in the fridge to maintain freshness. When you’re ready to bake, layer the colored filling over the crust, swirl, and bake as directed. This way, your vibrant dessert will still be just as delicious and festive!
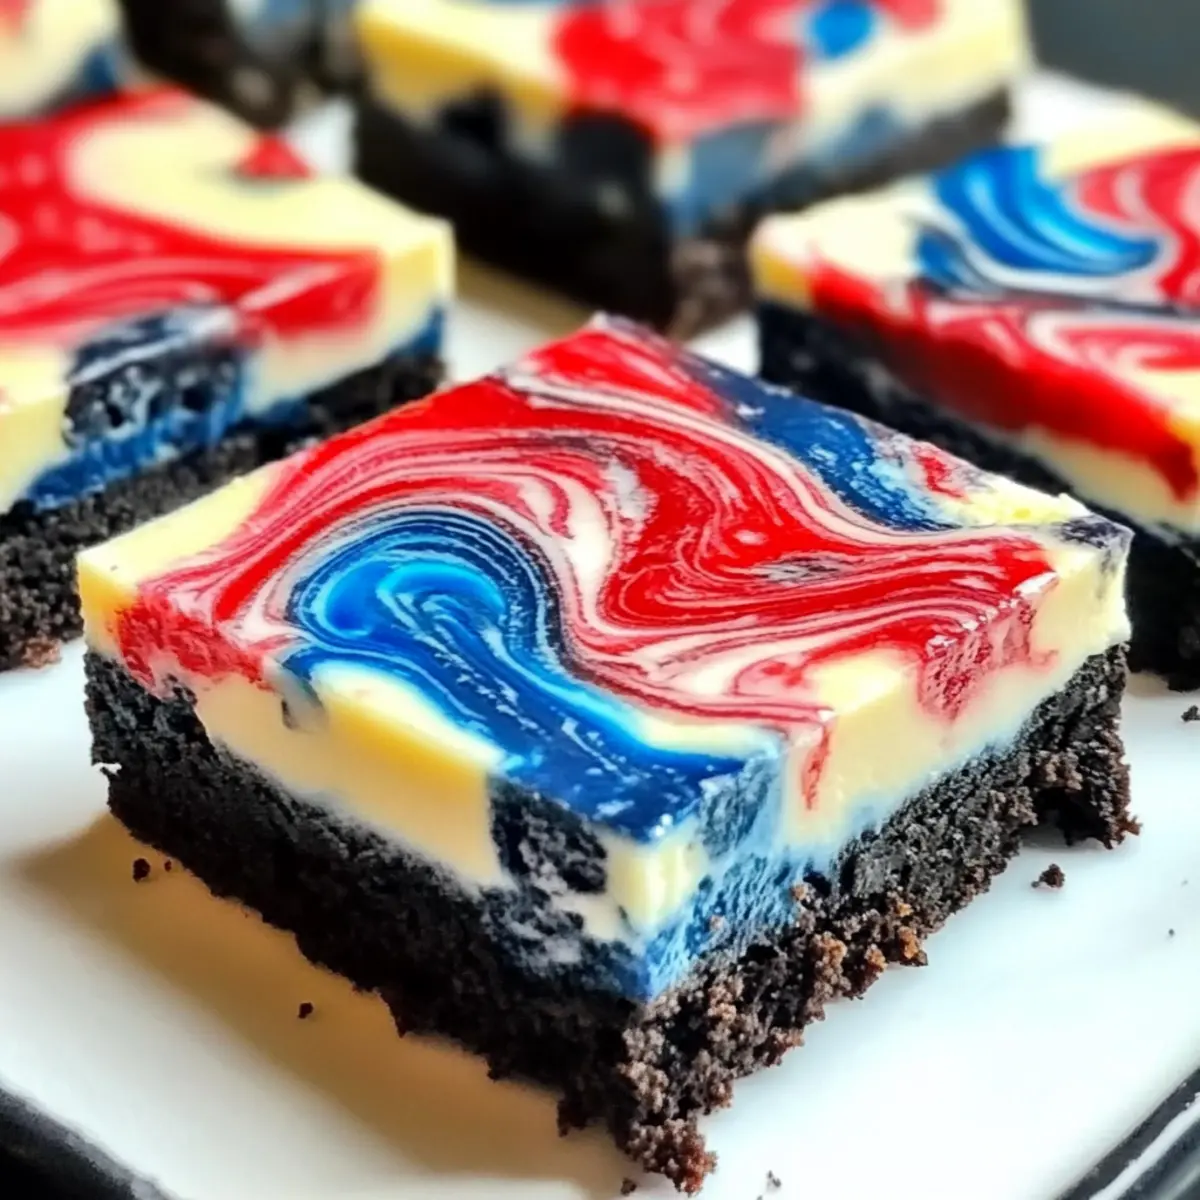
Red White and Blue Cheesecake Bars Recipe FAQs
How can I tell if my cream cheese is at the right ripeness for the cheesecake?
Absolutely! The cream cheese should be soft and spreadable, ideally at room temperature. If it’s too cold, it can lead to lumps in your filling. If needed, cut it into small cubes and let it sit on the counter for about 15-20 minutes to warm up.
How should I store my Red White and Blue Cheesecake Bars?
For sure! Store your cheesecake bars in an airtight container in the refrigerator for up to 5 days. This keeps them fresh and delicious. If you’re preparing ahead for an event, you can also freeze them!
Can I freeze these cheesecake bars, and if so, how?
Absolutely! To freeze your Red White and Blue Cheesecake Bars, wrap them tightly in plastic wrap, ensuring no air pockets are left, then cover them in aluminum foil. This will help prevent freezer burn, and they can be frozen for up to 3 months. When ready to eat, transfer them to the fridge to thaw overnight for the best texture.
What should I do if my cheesecake bars crack while baking?
Very! If cracks form during baking, it could mean the oven was too hot or they were overcooked. Make sure to bake at the correct temperature and avoid opening the oven door frequently. If cracks do happen, don’t worry! You can always cover them with whipped cream or sprinkles before serving.
Can I adjust the ingredients to be more allergy-friendly or cater to dietary preferences?
Definitely! You can make this recipe gluten-free by using gluten-free Oreo cookies. For a lighter version, opt for low-fat cream cheese and Greek yogurt instead of sour cream. If you’re looking for vegan alternatives, use plant-based cream cheese and egg substitutes. It’s all about adjusting to what works for you!
Is there a way to customize the color scheme for different occasions?
Absolutely! You can easily change the colors of your cheesecake bars based on the holiday or celebration. Use different gel food colorings, such as green and red for Christmas, or pastel shades for Easter. Just remember to keep those colors vibrant and fun, similar to the festive spirit of your gatherings!
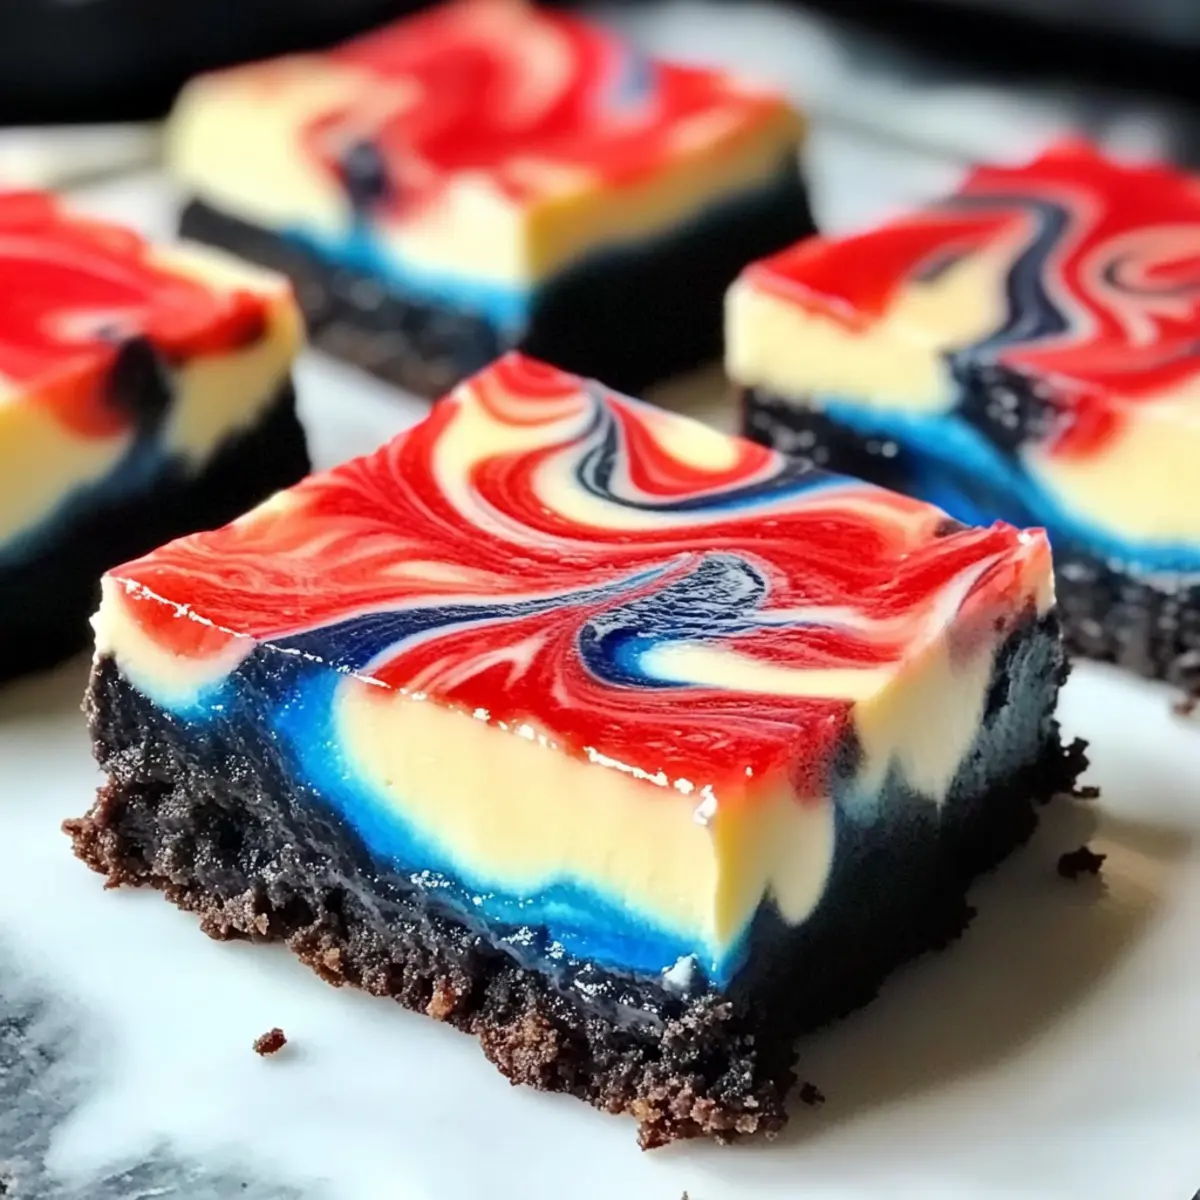
Red White and Blue Cheesecake Bars That Wow Every Celebration
Ingredients
Equipment
Method
- Preheat your oven to 325°F (163°C) and line a 9x13 inch baking pan with foil.
- Create a water bath by placing a baking sheet filled with water in the oven.
- Crush Oreo cookies and mix with melted butter; press into the prepared pan.
- Blend cream cheese, sugar, sour cream, and vanilla extract until smooth; divide into three bowls and tint one red and one blue.
- Drop dollops of red and blue batter over the crust, then swirl with a knife.
- Bake for 45-50 minutes until edges are set and center has a slight wobble.
- Cool for 1 hour, then refrigerate for at least 4-6 hours before serving.
- Use the foil overhang to lift bars out; cut into squares with a serrated knife.
Leave a Reply