
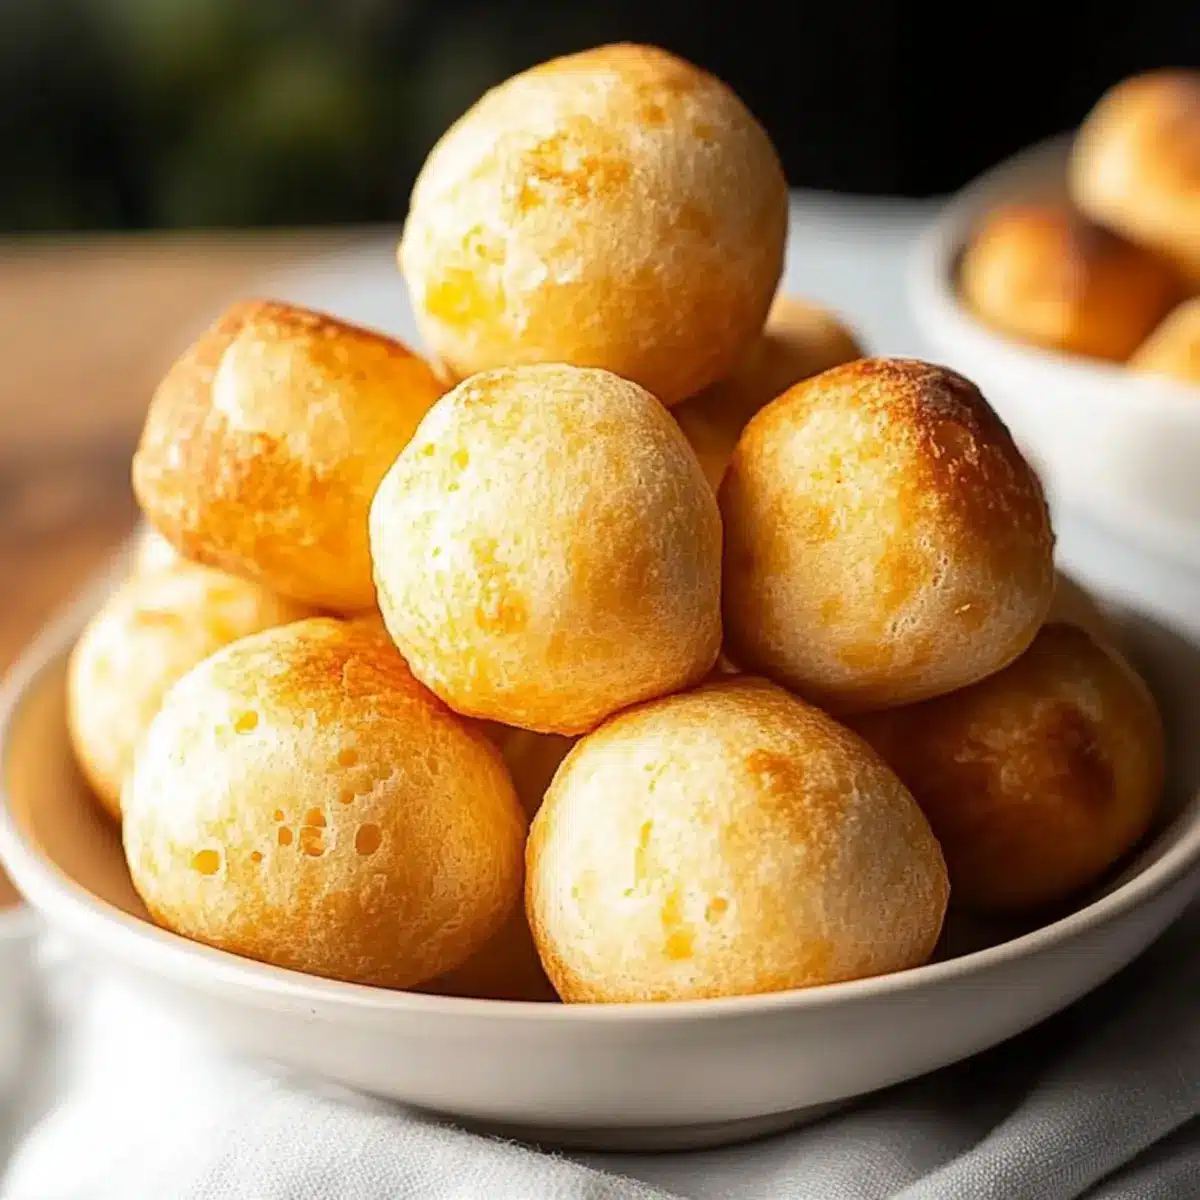
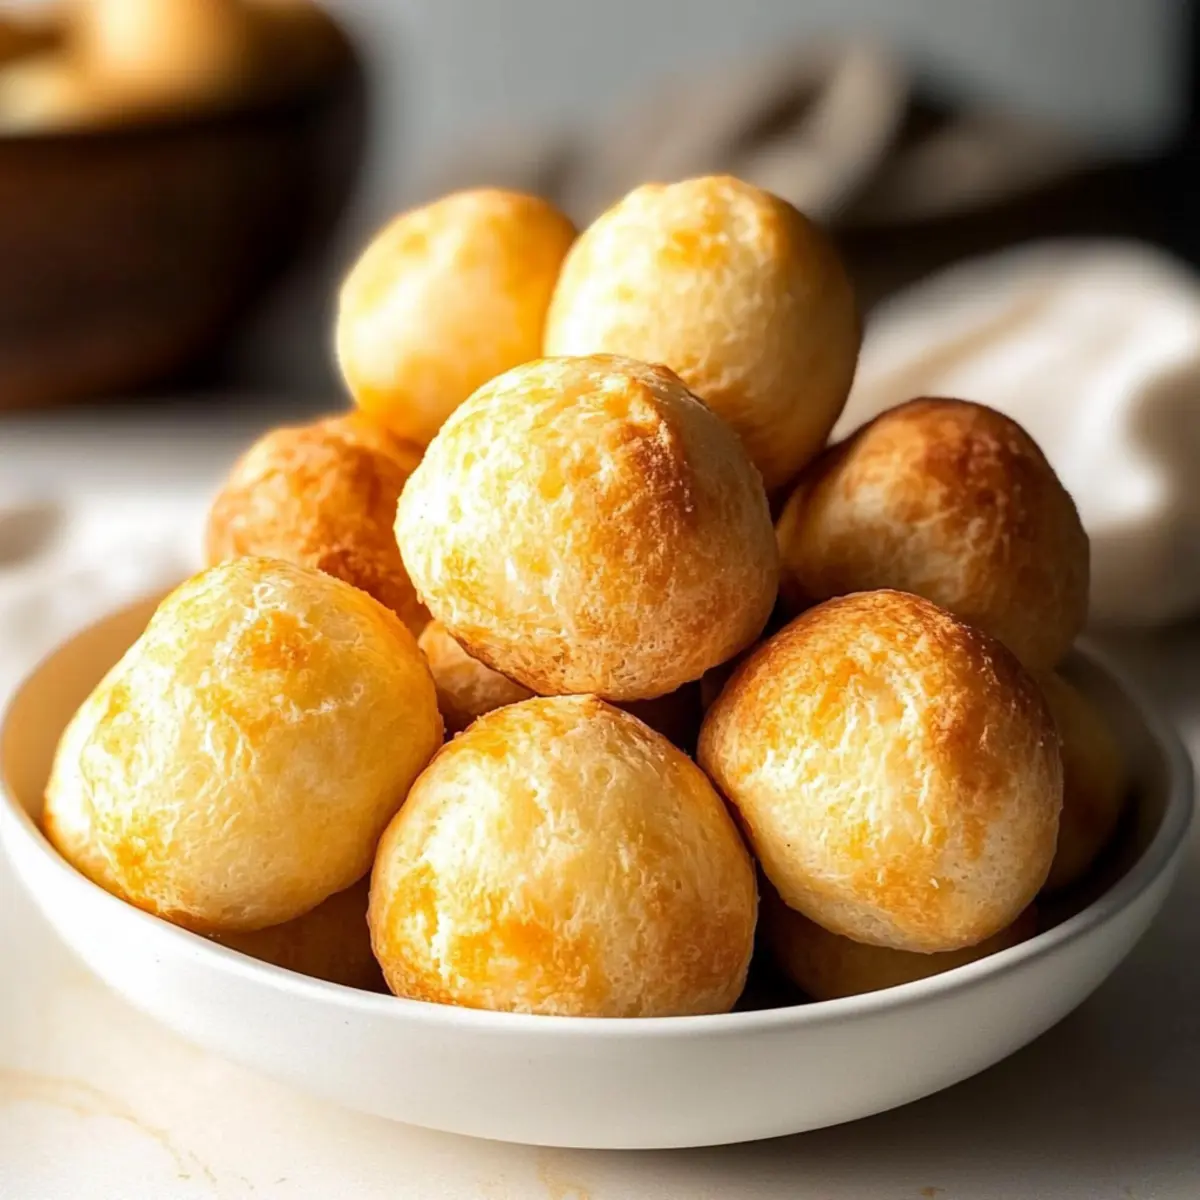
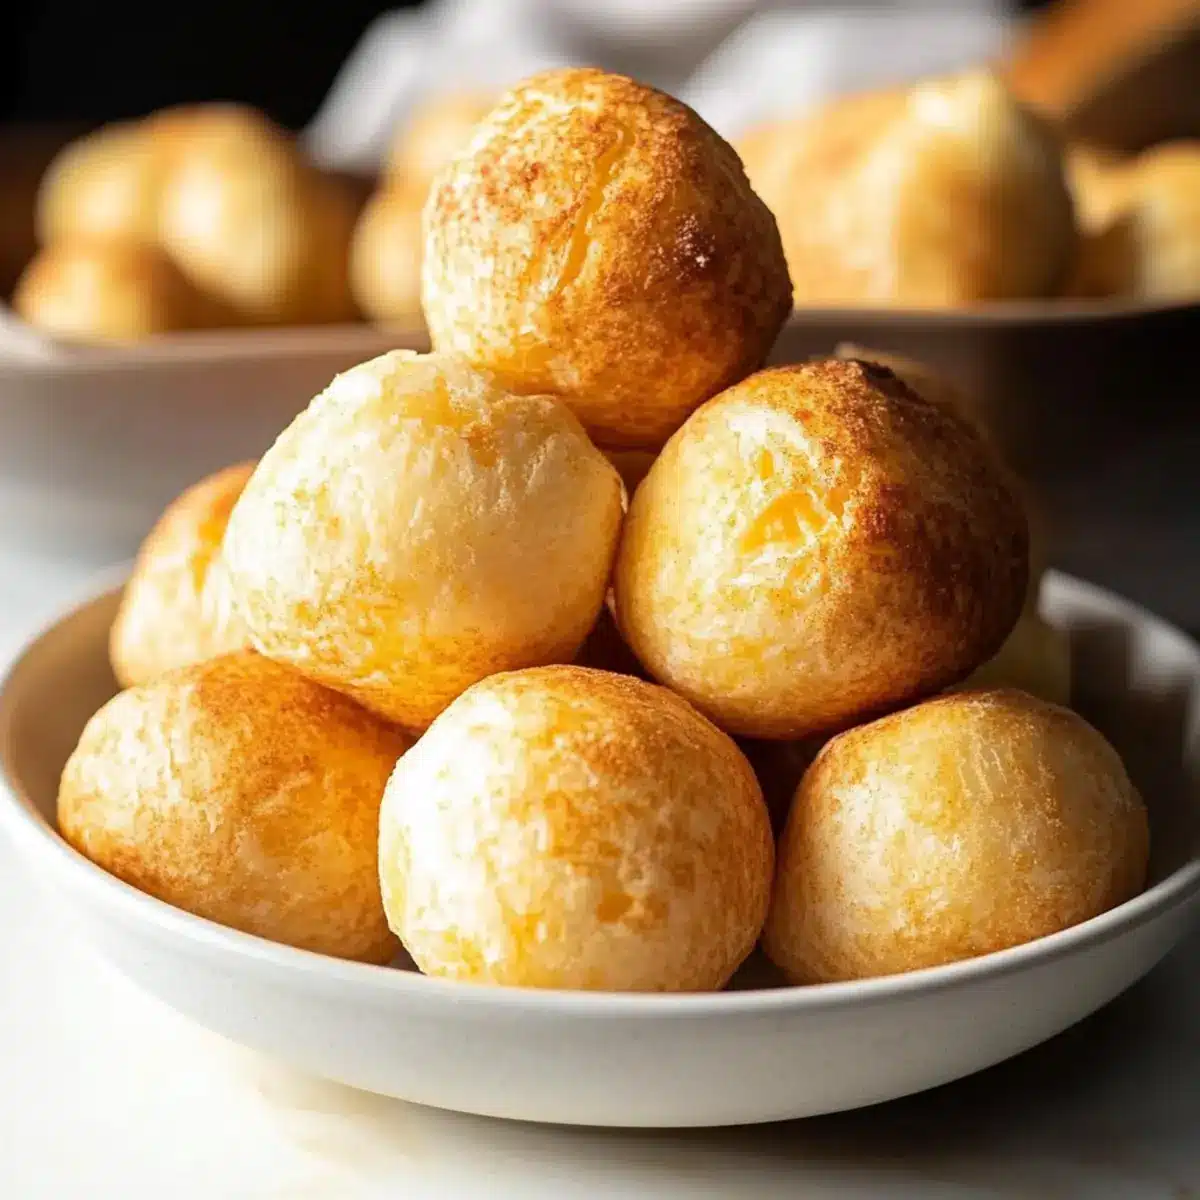
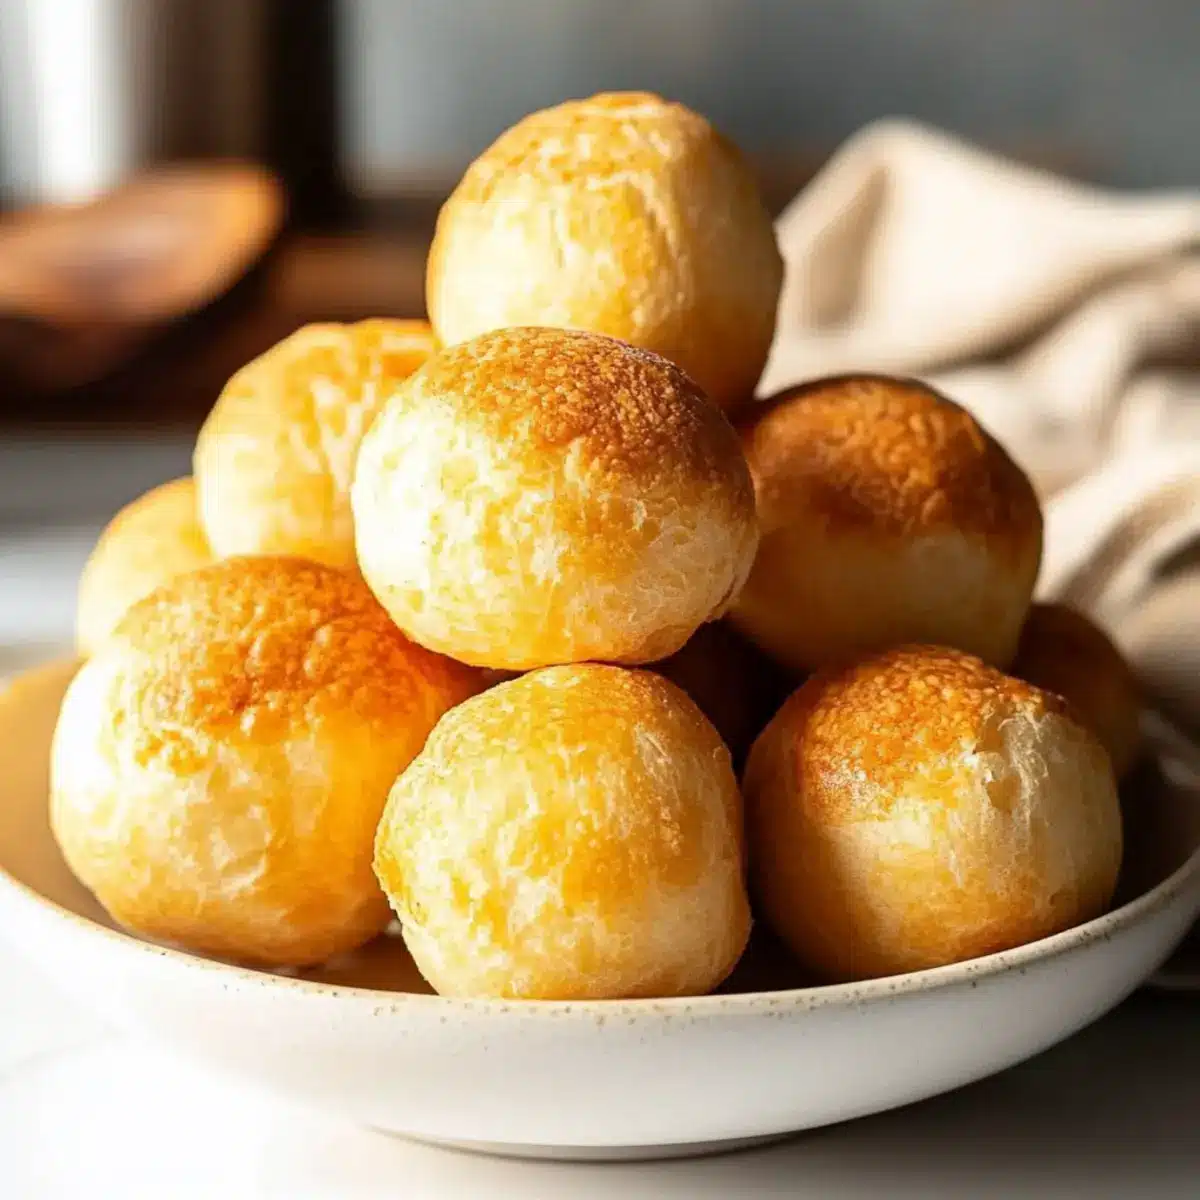
As I strolled through a bustling Brazilian market, the tantalizing aroma of fresh Pão de Queijo wafted through the air, enticing me to discover this beloved street food. These delightful cheese puffs are a wonderful gluten-free, low-carb snack that anyone can whip up at home. Within just 30 minutes, you’ll be savoring light, fluffy bites, crisp on the outside yet wonderfully chewy inside. Perfect for parties or as a simple midday treat, this Pão de Queijo recipe is not only quick to prepare but also a versatile canvas for your favorite cheese combinations. Are you ready to take your taste buds on a savory adventure?
Why Is Pão de Queijo a Must-Try?
Crispy, Chewy Perfection: Enjoy the delightful contrast between a crispy exterior and a warm, chewy center that’s bursting with cheesy goodness.
Quick and Easy: With just a blender and 30 minutes, these puffs come together effortlessly, making them perfect for busy weekdays or last-minute gatherings.
Gluten-Free and Low-Carb: Ideal for those following a gluten-free or low-carb lifestyle, you can indulge without the guilt. For more delicious gluten-free ideas, check out my Cornbread Casserole Cozy.
Crowd-Pleasing Snack: Their irresistible flavor and unique texture mean they’ll be a hit with family and friends at any party or gathering. Serve them alongside savory dips or fruity jams for added flair.
Versatile Ingredient Options: Customize your Pão de Queijo by experimenting with different cheeses or adding herbs for extra flavor—that way, it suits every palate!
Pão de Queijo Ingredients
For the Batter
• Tapioca Flour – Provides structure and chewiness; can substitute with cassava flour, although the texture may vary.
• Whole Milk – Adds moisture and richness; substitute with almond milk for a dairy-free option.
• Large Eggs – Binds the ingredients and adds richness; no substitution recommended.
• Vegetable Oil (or Avocado/Light Olive Oil) – Provides moisture and aids in texture; substitute with melted butter for added flavor.
For the Cheese Mixture
• Shredded Sharp Cheddar Cheese – Adds robust flavor and texture; you can use any strong-flavored cheese for variations.
• Shredded Mozzarella Cheese – Contributes stretch and mild flavor; substitute with provolone or fontina for a different taste.
For Seasoning
• Salt – Enhances flavor; adjust to taste.
• Garlic Powder – Adds savory depth; optional but can be skipped for a more neutral flavor.
This Pão de Queijo recipe offers a perfect balance of crispy exterior and cheesy interior that will undoubtedly become a favorite in your snacking repertoire!
Step‑by‑Step Instructions for Pao de Queijo Recipe (Brazilian Cheese Bread)
Step 1: Preheat and Prepare
Begin by preheating your oven to 400°F (200°C). While the oven warms up, grab your mini muffin pans and lightly coat them with non-stick spray or a touch of oil to ensure the Pão de Queijo pops out effortlessly once baked.
Step 2: Blend the Ingredients
In a high-speed blender, combine the tapioca flour, whole milk, large eggs, vegetable oil, shredded sharp cheddar cheese, shredded mozzarella cheese, salt, and garlic powder. Blend on high until the mixture is smooth and frothy, typically around 30 seconds—this will make for a delightful light batter perfect for our Brazilian cheese bread.
Step 3: Portion the Batter
Carefully pour the luscious batter into the prepared mini muffin pans, filling each well about three-quarters full. This will allow the Pão de Queijo to rise and develop its desirable puffiness while baking. Ensure they are evenly distributed for uniform cooking.
Step 4: Bake to Perfection
Slide the muffin pans into the preheated oven and bake for 19-20 minutes. Keep the oven door closed during this time to allow proper rising; you’ll know they’re ready when the tops are golden brown and puffed up. Avoid peeking until the time is up to achieve the perfect texture.
Step 5: Cool Slightly Before Serving
Once baked, remove the Pão de Queijo from the oven and let them cool in the pans for 5 minutes. This brief cooling will help them firm up slightly. Afterward, gently remove them from the pans and allow them to cool a bit more on a wire rack for even texture—then they’re ready to enjoy!
Step 6: Store or Serve
Serve your delicious Pão de Queijo warm, perhaps paired with a savory dip or sweet jam. If you have leftovers, store them in an airtight container at room temperature for up to 4 days, or freeze for longer enjoyment. Reheat frozen puffs at 350°F (175°C) for about 5 minutes to revive their delightful texture.
Make Ahead Options
These Pão de Queijo are fantastic for meal prep enthusiasts! You can prepare the batter up to 24 hours in advance by blending the ingredients and storing it in an airtight container in the refrigerator. This way, you shave off time during busy weekdays or spontaneous gatherings. When you’re ready to bake, simply portion the chilled batter into mini muffin pans and bake as instructed. If you prefer, you can also bake the puffs ahead of time and store them in an airtight container at room temperature for up to 4 days or freeze for up to 3 months. Reheat frozen Pão de Queijo at 350°F for about 5 minutes to revive their crispy texture, ensuring they remain just as delightful as when freshly made!
Pão de Queijo Recipe Variations
Feel free to infuse your Pão de Queijo with unique flavors and ingredients—let your culinary creativity run wild!
-
Dairy-Free: Substitute whole milk with almond milk and use dairy-free cheese to enjoy a plant-based version.
-
Herb-Infused: Add fresh herbs like chives or parsley for a fragrant twist that brightens up each bite.
-
Spicy Kick: Mix in some crushed red pepper flakes or diced jalapeños to add a delightful heat for spice lovers.
-
Cheese Variations: Experiment with cheeses like gouda, feta, or pepper jack for distinct flavors; each choice offers a unique depth of taste.
-
Texture Twist: For an interesting crunch, consider folding in some crispy bacon bits or finely chopped nuts before baking.
-
Sweet Option: Turn these savory puffs into a sweet treat by adding a tablespoon of honey and using a mild cheese for a delightful dessert-style bite.
-
Loaded Pão de Queijo: Stuff them with fillings like seasoned ground meat or sautéed spinach to make them heartier and satisfying.
-
Mini Sliders: Use the batter as a base for mini sliders by baking them into bigger shapes, then adding fillings like chicken or roasted veggies.
If you’re looking for more cheesy inspiration try out my delicious Cheesy Ham Cheese or get adventurous with a classic Bacon Cream Cheese treat!
What to Serve with Easy Pão de Queijo?
Indulge in a world of flavor as you create a delightful meal around these warm, cheesy puffs that will enchant every palate.
-
Savory Dips: Pair with garlic aioli or creamy avocado dip to complement the cheesy goodness and add a rich, decadent touch.
-
Fresh Salad: A vibrant arugula salad tossed with cherry tomatoes, a lemon vinaigrette, and toasted walnuts brings a refreshing crunch and balances the warm puffs.
-
Fruity Jam: Serve with sweet guava or mango jam for a contrast of flavors; the sweetness elevates each bite and adds a tropical flair.
-
Charcuterie Board: Elevate your gathering with a charcuterie spread featuring cured meats, olives, and assorted cheeses alongside your Pão de Queijo for a delightful appetizer experience.
-
Refreshing Drink: Pair with a chilled sparkling water infused with lime or a Brazilian lemonade to cleanse the palate and enhance the flavors of the cheesy puffs.
-
Dessert: Conclude with a light coconut mousse or chocolate flan. The creamy textures create a satisfying finish to your flavorful meal, leaving everyone content.
How to Store and Freeze Pão de Queijo
Room Temperature: Store cooled Pão de Queijo in an airtight container at room temperature for up to 4 days to maintain their freshness and texture.
Freezer: For longer storage, freeze completely cooled cheese puffs in a single layer on a baking sheet before transferring them to an airtight freezer-safe bag; they can last up to 3 months.
Reheating: To enjoy your frozen Pão de Queijo, preheat your oven to 350°F (175°C) and bake for about 5 minutes until warmed through, restoring their delightful texture.
Batch Tips: Consider making a double batch! These gluten-free snacks are perfect for parties or as quick bites, making them a versatile addition to your culinary repertoire.
Expert Tips for Pão de Queijo
• Blend Smoothly: Use a high-speed blender to ensure a smooth batter, which is crucial for achieving the perfect texture in your Pão de Queijo.
• Watch the Oven: Avoid overbaking! Keep an eye on the cheese puffs; they should be golden but not too browned to retain their chewy center.
• Re-blend the Batter: If you have leftover batter, remember to re-blend it before refilling the muffin pans. This helps maintain that light, airy consistency essential for cheese puffs.
• Freezing for Later: Allow your Pão de Queijo to cool completely before freezing in an airtight bag. Properly stored, they can last for up to 3 months, ready to be enjoyed whenever you desire.
• Cheese Variations: Get creative with your cheese! Try using gouda or feta for unique flavors, taking your Pão de Queijo recipe to the next level.
Pão de Queijo Recipe FAQs
What is the best way to select ripe cheese for Pão de Queijo?
Absolutely! For the best results, use freshly shredded cheese rather than pre-packaged, as it often contains anti-caking agents that can affect the texture. Look for a strong-flavored cheese, such as sharp cheddar or a good quality mozzarella. Visually, the cheese should be free from dark spots or mold; fresh cheese is typically smooth and creamy.
How should I store my leftover Pão de Queijo?
Very good question! After they cool, store your Pão de Queijo in an airtight container at room temperature for up to 4 days. To keep them fresh longer, consider freezing them, which allows you to enjoy these delightful snacks for up to 3 months!
Can I freeze Pão de Queijo, and how do I do it?
Yes, you can! To freeze, let the Pão de Queijo cool completely on a wire rack to prevent condensation. Then, place them in a single layer on a baking sheet. Once frozen solid, transfer them into an airtight freezer-safe bag. This way, they won’t stick together, and you can take out only what you need.
What should I do if my Pão de Queijo don’t puff up as expected?
Don’t worry; it happens! If your Pão de Queijo doesn’t puff as much as expected, it could be due to not blending the batter thoroughly or pulling them out of the oven too soon. Ensure you blend until smooth and frothy, and avoid peeking while they bake. If they are overly dense, try reducing the baking time slightly to keep them from overcooking.
Are Pão de Queijo safe for people with lactose intolerance or dairy allergies?
Great question! Traditional Pão de Queijo contains cheese and milk, but you can make them dairy-free by substituting whole milk with almond milk and using dairy-free cheese. Just be sure to check the ingredient labels, as some alternatives may contain allergens. Always consult with a healthcare provider for specific dietary concerns.
Cheesy Pão de Queijo Recipe: Your New Favorite Snack!
Ingredients
Equipment
Method
- Preheat your oven to 400°F (200°C) and lightly coat mini muffin pans with non-stick spray.
- Blend the tapioca flour, whole milk, eggs, vegetable oil, cheddar cheese, mozzarella cheese, salt, and garlic powder in a high-speed blender until smooth.
- Pour the batter into the prepared mini muffin pans, filling them about three-quarters full.
- Bake for 19-20 minutes until the tops are golden brown and puffed.
- Let the Pão de Queijo cool in the pans for 5 minutes before transferring to a wire rack.
- Serve warm or store in an airtight container.
Leave a Reply