
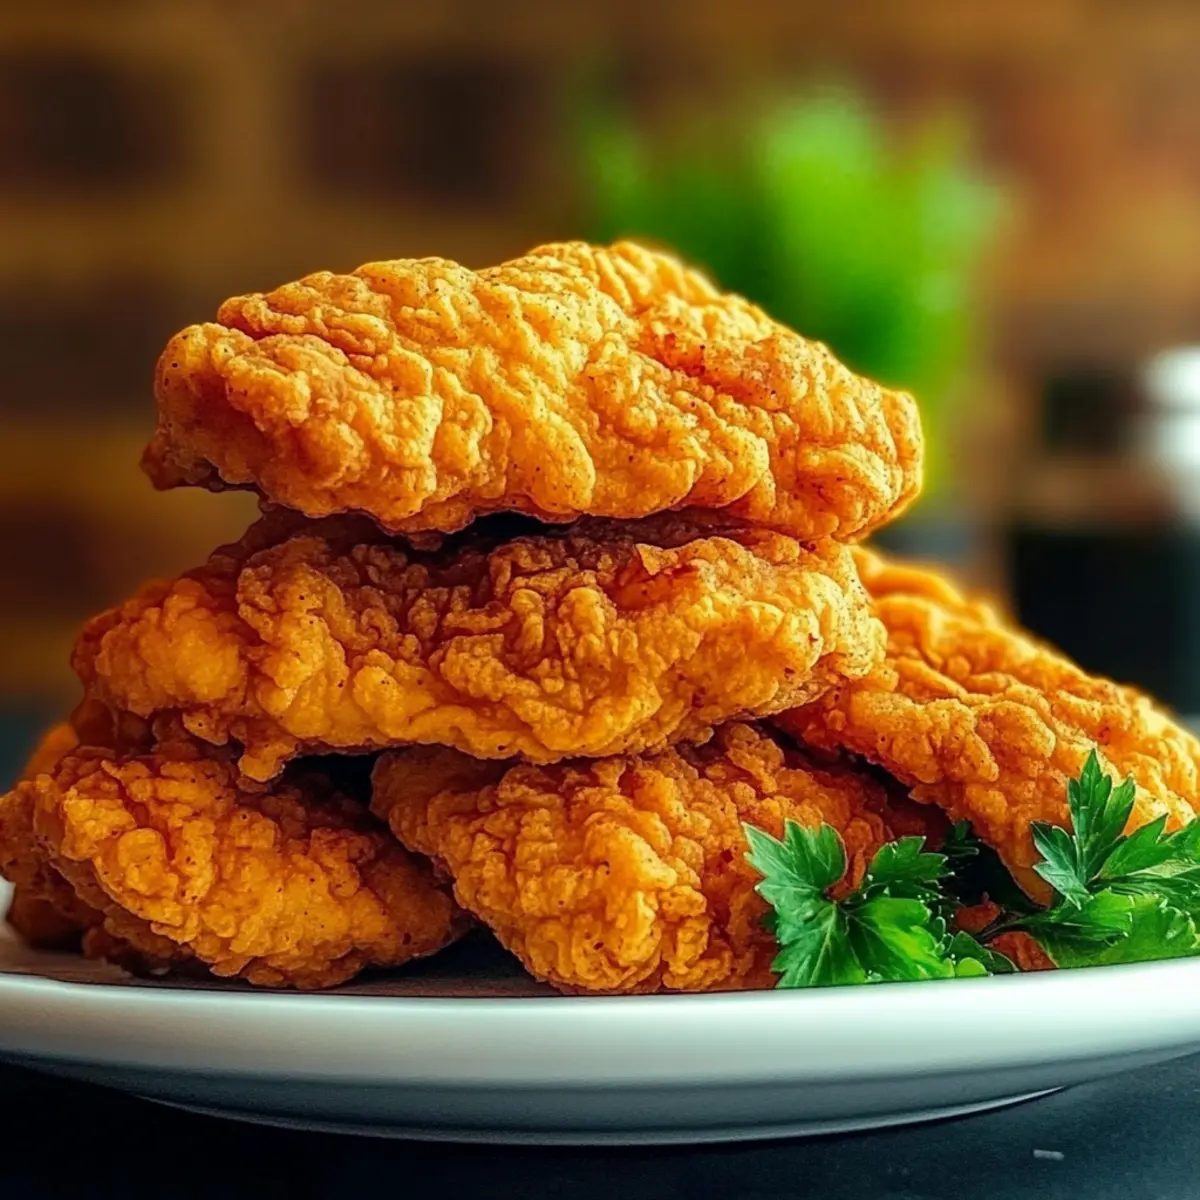
As I bit into that first piece of crispy buttermilk fried chicken, the sound of the crunch echoed in the kitchen, a melody of comfort food perfection. This is not just any fried chicken; it’s a glorious creation soaked in a tangy buttermilk marinade that ensures each bite is juicy and tender. The best part? You can whip it up with ease, making it a fantastic option for weeknight dinners or weekend gatherings. Plus, it’s freezer-friendly, meaning that when you have a craving for homemade goodness, it’s ready at your fingertips. So, are you ready to embark on a delightful culinary adventure and learn how to make this iconic dish? Let’s dive in!

Why is buttermilk perfect for fried chicken?
Tenderness: The secret to ultimate tenderness lies in the buttermilk marinade, which infuses moisture and rich flavor into the chicken.
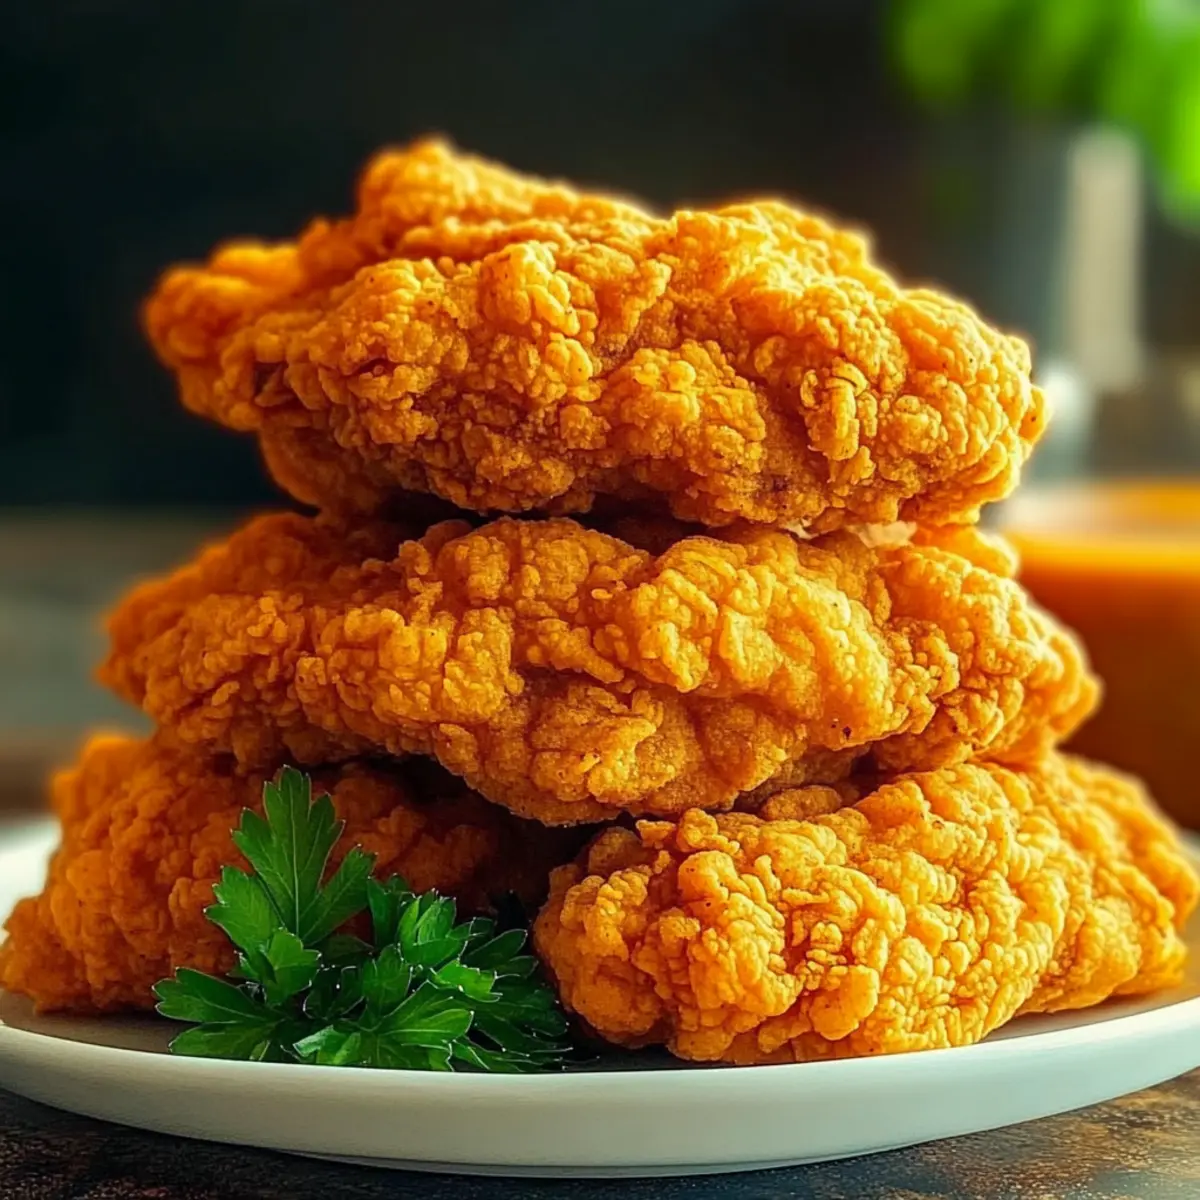
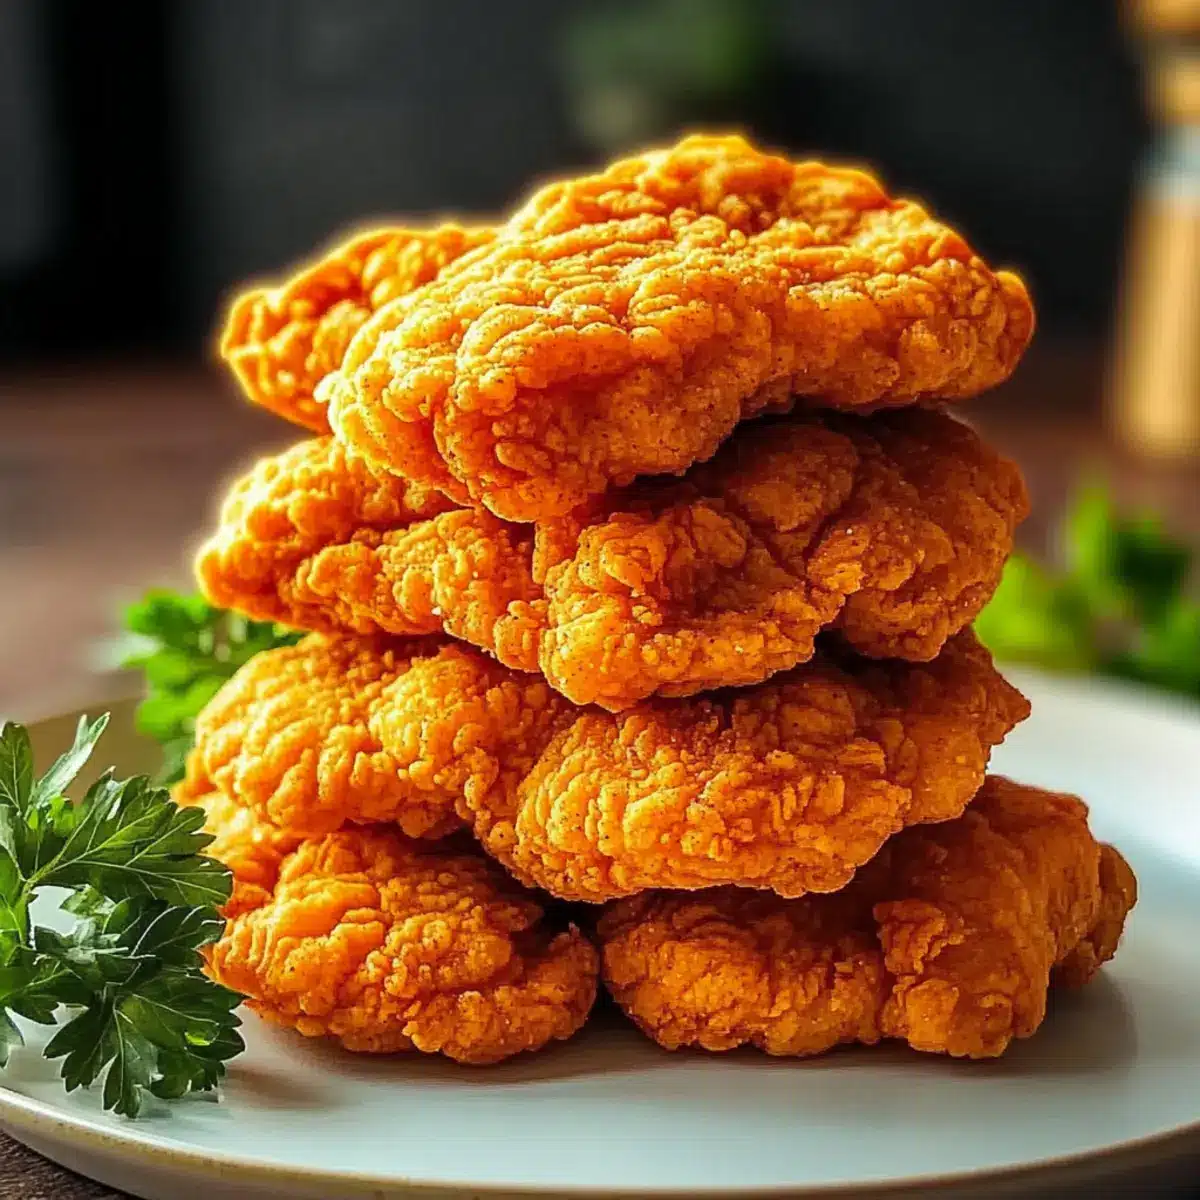
Crispy Perfection: The double-dipping technique guarantees a mouthwatering, shatteringly crispy crust that will impress everyone at your table.
Simplicity: With just a few simple ingredients, this recipe makes homemade fried chicken accessible for novice cooks and pros alike.
Make-Ahead Friendly: Prep ahead of time by breading the chicken and storing it in the fridge, so you can enjoy deliciousness on a busy weeknight. You just can’t go wrong with comfort food classics like this! If you enjoy fried chicken, be sure to check out my Loaded Chicken Club sandwich for another great dish!
Crispy Buttermilk Fried Chicken Ingredients
For the Marinade
• Buttermilk – Tenderizes chicken due to its acidity; it’s essential for creating that classic flavor you crave.
For the Chicken
• Chicken Pieces – Bone-in pieces are best for juiciness; you can use boneless if you prefer a quicker cook time.
For the Coating
• All-Purpose Flour – This is what makes the crispy coating; feel free to swap for gluten-free flour to accommodate dietary needs.
• Salt & Pepper – Always adjust to your taste; these basics amplify all the flavors in the crispy buttermilk fried chicken.
For Frying
• Oil (for frying) – Use a high smoke point oil like vegetable or peanut oil to achieve that deep-fried goodness with perfect crispiness.
Step‑by‑Step Instructions for Crispy Buttermilk Fried Chicken
Step 1: Marinate the Chicken
Begin your journey to crispy buttermilk fried chicken by soaking your chicken pieces in a bowl of buttermilk. Ensure all chicken parts are submerged, as the tangy marinade works to tenderize the meat beautifully. Cover and refrigerate for at least 1 hour, but for best results, let the chicken marinate for 24 hours to allow the flavors to deepen.
Step 2: Prepare the Coating
While the chicken marinates, prepare the coating by combining all-purpose flour, salt, and pepper in a large mixing bowl. Whisk together until evenly blended, creating a seasoned flour that will form a delicious crust. This step is crucial for your crispy buttermilk fried chicken, as it enhances flavor and texture for that perfect crunch.
Step 3: Bread the Chicken
Once the chicken is marinated, remove each piece, allowing excess buttermilk to drip off before breading. Dip the chicken first into the seasoned flour mixture, coating it thoroughly, and shake off any excess. Then, return the chicken to the buttermilk for a second dip, followed by another coating of flour. This double-dipping technique is key to achieving an irresistibly crispy finish.
Step 4: Rest the Battered Chicken
After breading, place the chicken pieces on a wire rack and let them rest for 10-15 minutes. This resting phase allows the coating to adhere better to the chicken, which is essential for creating a sturdy, crunchy crust during frying. While waiting, you can prepare your frying setup for the next step.
Step 5: Fry the Chicken
In a deep skillet or heavy pot, heat vegetable or peanut oil to 340°F (170°C). Carefully add the chicken pieces in batches, making sure not to overcrowd the pan, which can lower oil temperature. Fry for about 12-15 minutes or until the chicken is golden brown and an inserted thermometer reads 165°F (74°C). The sizzling sound and enticing aroma will signal that you’re on the right track!
Step 6: Drain and Crisp
Once cooked, remove the crispy buttermilk fried chicken from the oil and place them on a clean wire rack. Avoid using paper towels, as this can trap moisture and make your chicken less crispy. Let the chicken rest here for a few minutes, allowing excess oil to drip off while keeping that delightful crunch intact. Serve hot and enjoy!
Expert Tips for Crispy Buttermilk Fried Chicken
-
Marination Matters: Allowing the chicken to soak in buttermilk for at least 24 hours ensures maximum tenderness and enhances flavor in your crispy buttermilk fried chicken.
-
Double-Dip for Crunch: Don’t skip the double-dipping technique when breading; this creates that signature crunch and resilience, making your chicken irresistible.
-
Watch the Temperature: Use an oil thermometer to keep the frying temperature at 340°F. If the oil is too hot or too cold, your chicken may become unevenly cooked or greasy.
-
Crowding is a No-No: Fry the chicken in batches to avoid overcrowding the pan, which lowers the oil temperature and causes soggy coating.
-
Rest for Success: Let your breaded chicken rest before frying; this helps the coating stick better and contributes to extra crispiness when cooked.
-
Make-Ahead Tip: If you’re prepping in advance, bread your chicken up to 6 hours ahead and refrigerate it uncovered for the best texture when you’re ready to fry.
Storage Tips for Crispy Buttermilk Fried Chicken
Fridge: Store cooled, fried chicken in an airtight container in the fridge for up to 3 days to maintain its flavor and moisture.
Freezer: For longer storage, freeze the chicken in a single layer before transferring to freezer bags. Enjoy within 2 months for optimal taste.
Reheating: To re-crisp, place the chicken on a baking sheet and warm in a 375°F oven for about 15 minutes, ensuring it’s heated through while restoring that delightful crunch.
Make-Ahead: If you’re preparing a batch in advance, you can bread chicken up to 6 hours prior and keep it in the fridge uncovered for the best results in your crispy buttermilk fried chicken.
Crispy Buttermilk Fried Chicken Variations
Feel free to put your own twist on this classic recipe and elevate your fried chicken experience with a bit of creativity!
-
Spicy Kick: Add cayenne pepper or hot sauce to the buttermilk marinade for a zesty flair that ignites your taste buds! This twist is perfect for heat lovers.
-
Herb Infusion: Mix dried herbs like thyme or oregano into your flour for a fragrant crust that adds depth to each bite. Fresh herbs can also add a delightful brightness.
-
Gluten-Free Crunch: Substitute all-purpose flour with gluten-free flour or a blend of almond and coconut flour to cater to dietary needs, ensuring everyone can enjoy the crunch.
-
Cheesy Flavor Boost: Incorporate grated Parmesan or cheddar cheese into your flour mixture for a cheesy twist that enhances the richness and umami of your fried chicken.
-
Honey Buttermilk Dip: Drizzle a mixture of honey and your leftover buttermilk over the fried chicken before serving for a sweet finish that balances the savory.
-
Crispy Skin: For added crunchiness, try sprinkling crushed cornflakes or panko breadcrumbs into your flour mixture. This will create extra texture and delight in every bite!
-
Smoky Seasoning: Introduce smoked paprika or chipotle powder to your flour for a smoky flavor that’ll transport you straight to Southern BBQ vibes.
-
Asian Inspired: Marinate the chicken in buttermilk mixed with soy sauce and ginger for a fusion take that results in a tender, savory delight reminiscent of Asian fried chicken.
If you’re seeking comforting dishes, don’t miss out on the delectable flavors in my Herb Chicken Mashed recipe or the mouthwatering Peruvian Chicken Aji. Each offers its own unique taste experience that you’ll surely enjoy!
What to Serve with Crispy Buttermilk Fried Chicken
When it’s time to create a comforting meal, pairing the crunchy, juicy delight of fried chicken with the right sides can elevate your dining experience.
-
Creamy Coleslaw: A tangy, refreshing coleslaw adds a crisp texture and balances the richness of the chicken, making each bite a delight.
-
Fluffy Cornbread: Soft, slightly sweet cornbread is perfect for soaking up juices and gives a lovely contrast with its crumbly texture alongside the crispy chicken.
-
Garlic Mashed Potatoes: Rich and buttery, these velvety potatoes provide a comforting scoop that harmonizes well with the flavorful fried chicken.
-
Southern-Style Green Beans: Sautéed with bacon for extra flavor, green beans add a healthy dose of greens that perfectly complement your Chicken.
A warm bowl of these greens offers a vibrant pop of color and a delightful crunch!
-
Sweet Potato Fries: The natural sweetness and crispiness of these fries create an irresistible contrast, enhancing the overall comfort of your meal.
-
Apple Pie: For dessert, a slice of warm apple pie adds the perfect finish, with its sweet and spiced apples paired just right with a scoop of vanilla ice cream.
This iconic combo of flavors and textures ensures that your crispy buttermilk fried chicken shines at the center of a deliciously memorable meal.
Make Ahead Options
These Crispy Buttermilk Fried Chicken pieces are perfect for busy weeknights and meal prep! You can marinate the chicken in buttermilk up to 24 hours in advance, ensuring great flavor and tenderness. Additionally, after breading the chicken, let it rest and refrigerate uncovered for up to 6 hours; this step helps keep the coating crispy when fried. When you’re ready to serve, simply heat oil to 340°F and fry the chicken in batches until golden brown and cooked through (about 12-15 minutes). This make-ahead strategy saves you time and ensures that your fried chicken is just as delicious and satisfying as when made fresh!
Crispy Buttermilk Fried Chicken Recipe FAQs
What type of buttermilk should I use?
Absolutely! Use regular buttermilk for the best results. It’s rich in acidity, which is crucial for tenderizing the chicken. If you’re out of buttermilk, you can make a quick substitute by mixing 1 cup of milk with 1 tablespoon of vinegar or lemon juice—let it sit for 5-10 minutes to thicken.
How do I store leftover fried chicken?
To keep your crispy buttermilk fried chicken flavorful and moist, store it in an airtight container in the fridge for up to 3 days. Make sure it cools completely before sealing it to prevent moisture buildup.
Can I freeze my fried chicken?
Very! To freeze your crispy buttermilk fried chicken, place the cooled pieces in a single layer on a baking sheet. Freeze for about 1-2 hours until solid, then transfer to freezer bags. This method prevents the pieces from sticking together, and you can store them for up to 2 months. When ready to enjoy, reheat in a 375°F oven for about 15-20 minutes until crisp.
What should I do if my chicken coating falls off while frying?
If you find the coating not sticking, don’t worry! Make sure you’re letting the breaded chicken rest for 10-15 minutes before frying. This step helps the coating adhere better. Additionally, check that the oil is at the right temperature (340°F) before you add the chicken to avoid it becoming greasy. If problems persist, a second dip in the buttermilk before refrying can help reattach the coating.
Are there any dietary considerations?
Of course! This recipe primarily uses chicken, but if you have gluten sensitivities, you can substitute all-purpose flour with a gluten-free blend. If you’re considering allergens, ensure your oil is free from any cross-contamination, especially if frying for individuals with food allergies. Always feel free to put your own twist using skinless chicken pieces for a lighter option.
Can I use boneless chicken for this recipe?
Yes! You can absolutely use boneless chicken pieces, but keep in mind that they may not be quite as juicy as bone-in options. If you choose boneless, reduce the cooking time slightly, around 8-10 minutes, and ensure the internal temperature reaches 165°F for safety.
Irresistibly Crispy Buttermilk Fried Chicken at Home
Ingredients
Equipment
Method
- Marinate the chicken in buttermilk for at least 1 hour, preferably 24 hours.
- Prepare the coating by mixing flour, salt, and pepper in a bowl.
- Bread the chicken using a double-dipping technique for maximum crispiness.
- Let the battered chicken rest on a wire rack for 10-15 minutes.
- Fry the chicken in heated oil at 340°F for 12-15 minutes until golden brown.
- Drain the chicken on a wire rack and serve hot.
Leave a Reply