
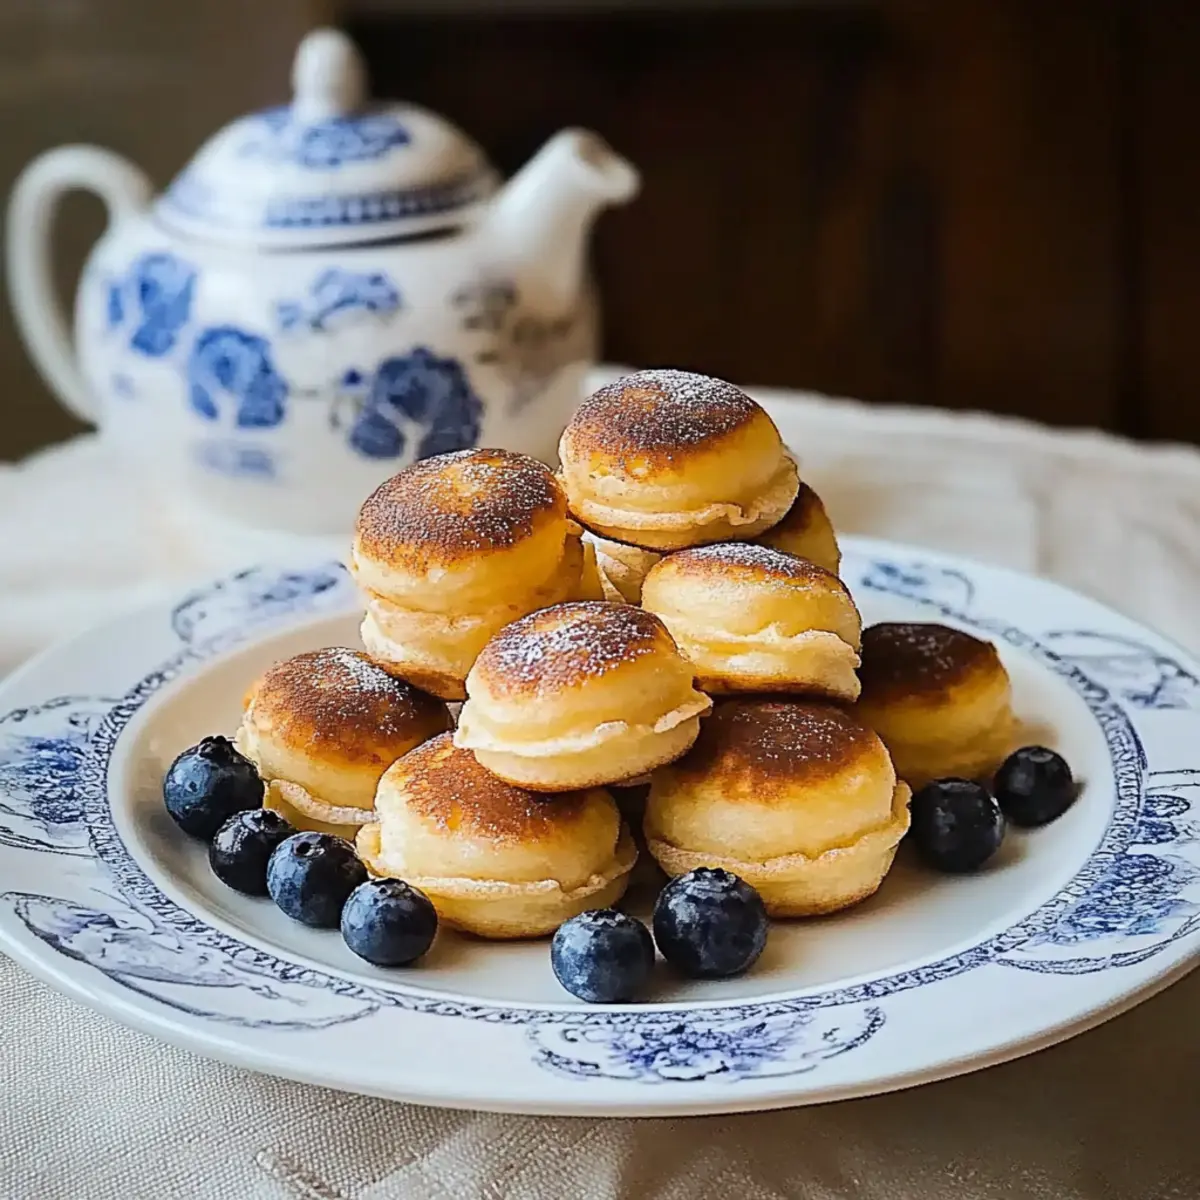
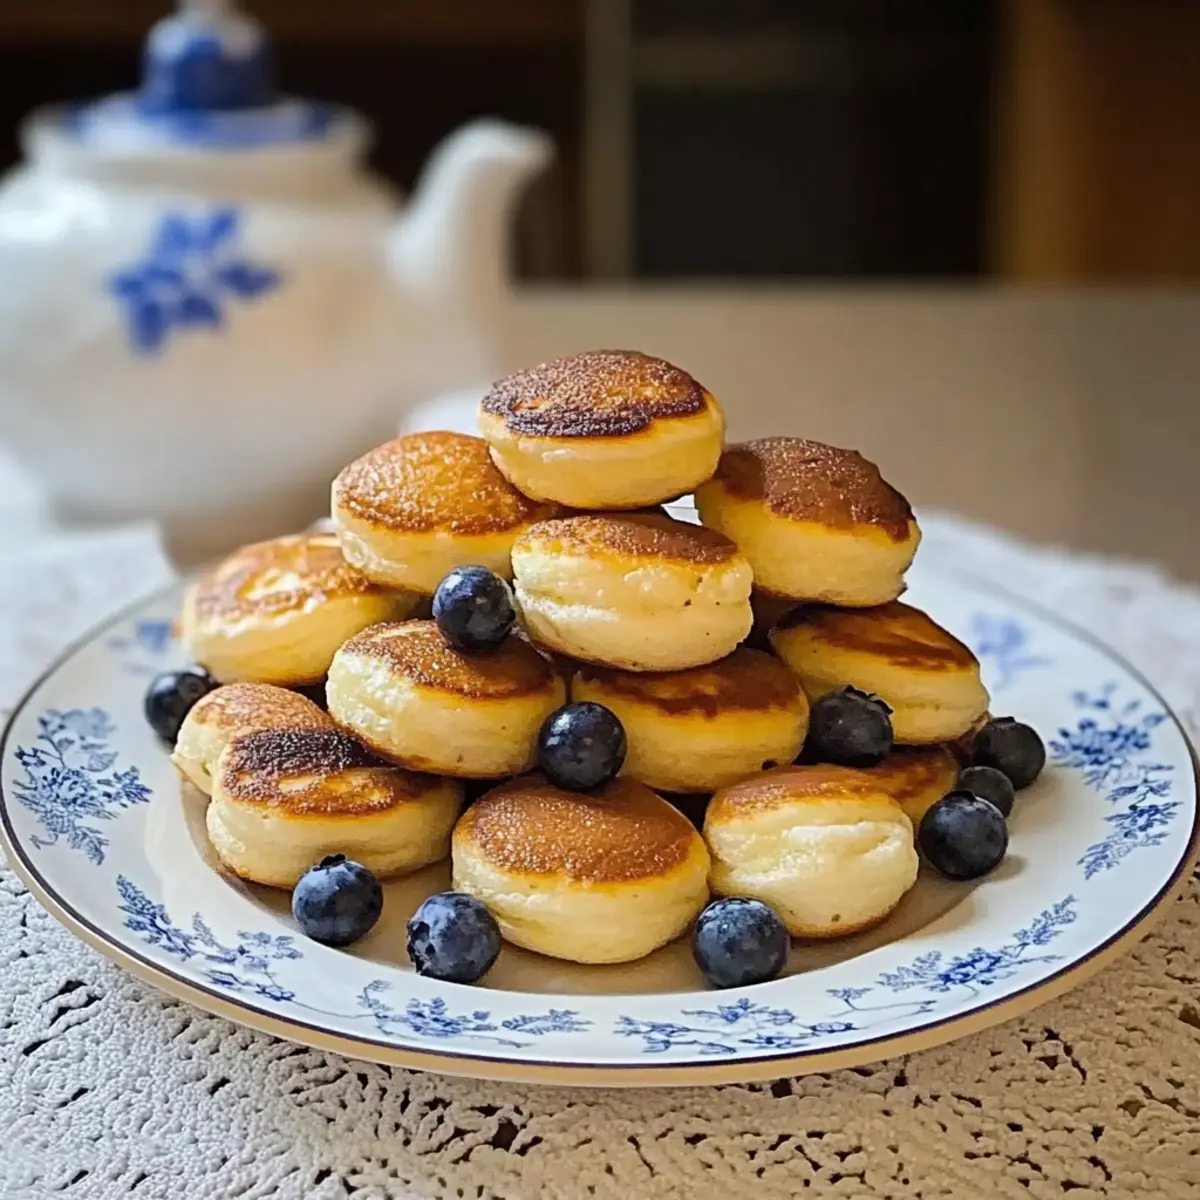
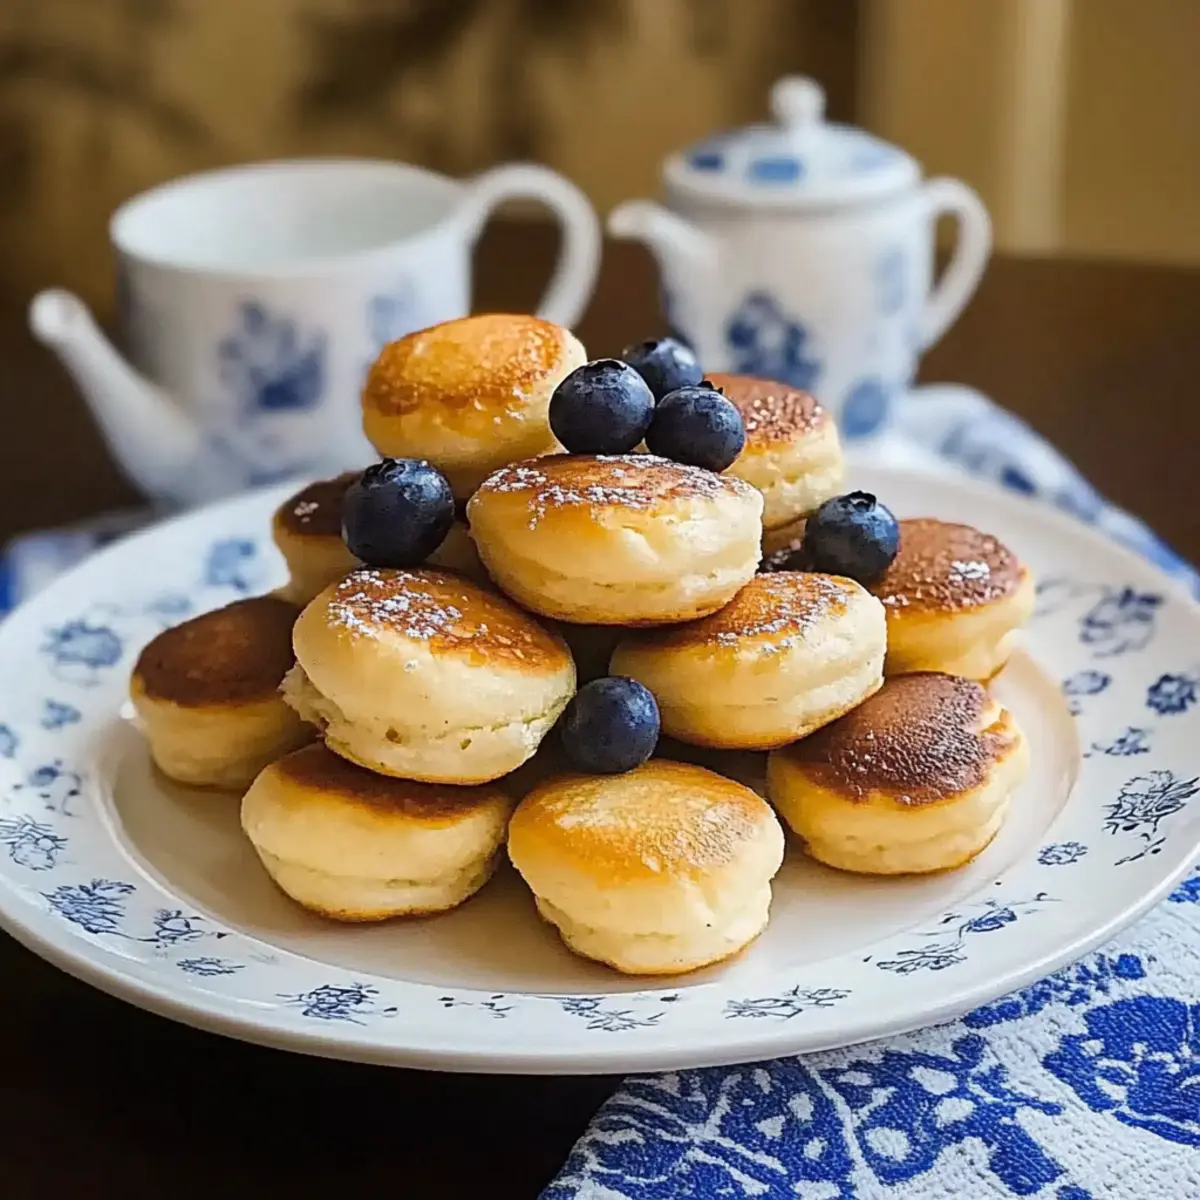
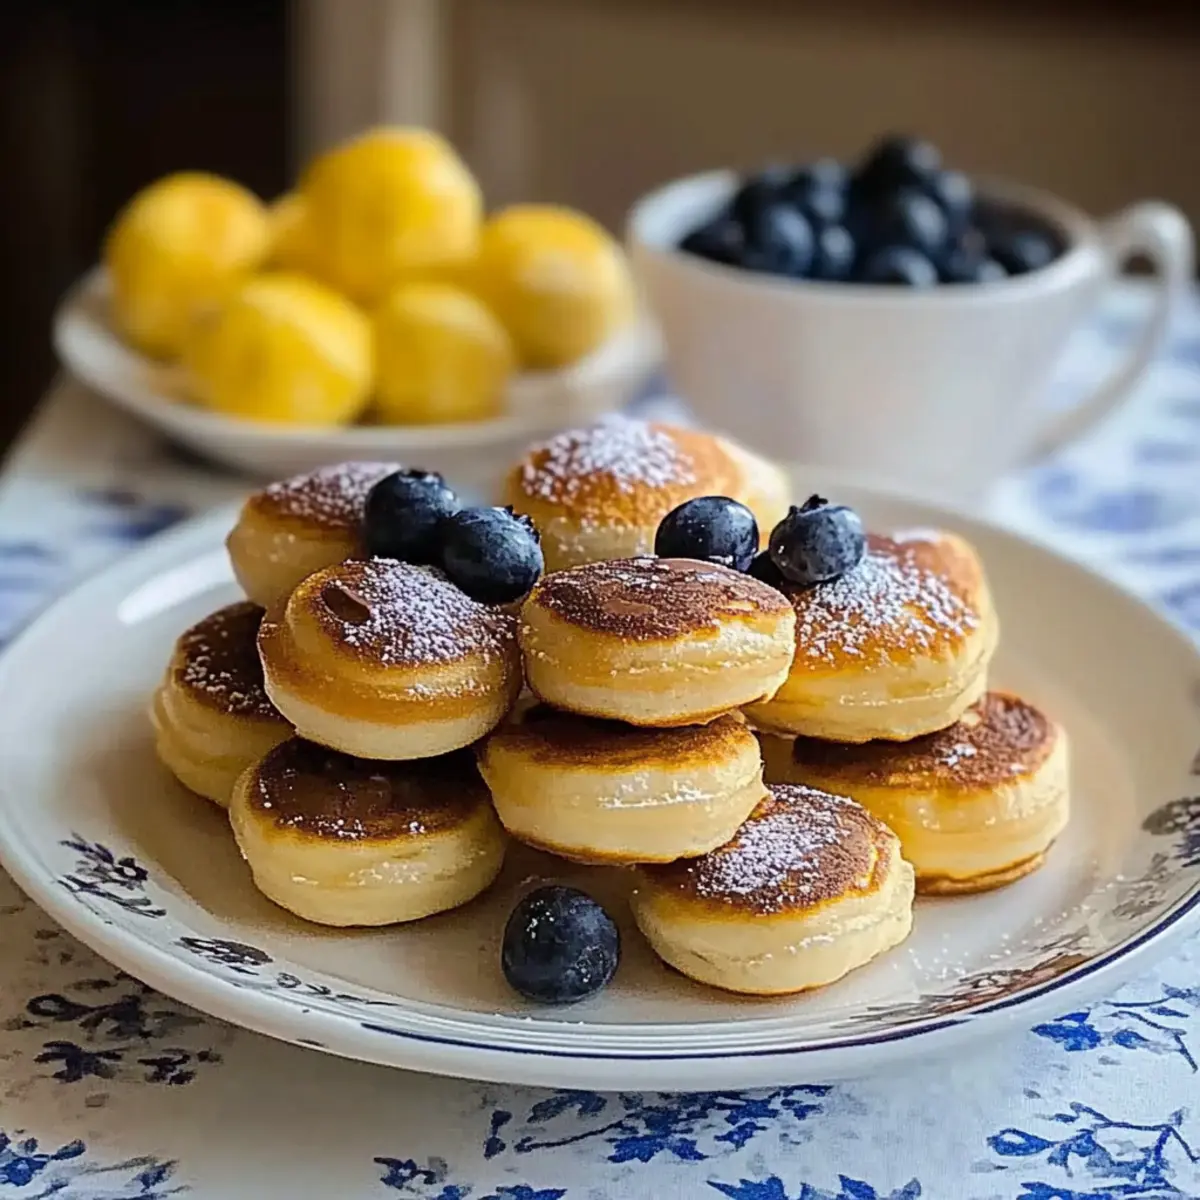
The smell of freshly baked pancakes filled the air as I pulled these golden-brown wonders from the oven. Enter Pancake Poppers: your new morning obsession! These bite-sized delights are not only light and fluffy but also incredibly customizable to fit any craving. Whether you’re in the mood for sweet chocolate chips, zesty blueberries, or even savory bacon bits, these poppers provide a quick and easy breakfast option that fits seamlessly into your busy mornings. With just 20-30 minutes from prep to plate, you can whip up a batch to savor throughout the week or serve them warm for a cozy weekend brunch. How will you customize your pancake poppers? Let’s dive into making magic in the kitchen!
Why try pancake poppers?
Fun and Customizable: Each bite of these pancake poppers can be tailored to suit your taste—add chocolate chips, fresh fruit, or even crispy bacon!
Quick Preparation: With just 20-30 minutes from start to finish, these treats are perfect for busy mornings or planned ahead for the week.
Crowd-Pleaser: Whether it’s breakfast or a snack, everyone from kids to adults will love these fluffy bites.
Perfect for Meal Prep: Make a big batch, store them in the fridge or freezer, and simply reheat for a hassle-free breakfast any day!
Why not explore more delicious ideas with options like Breakfast Lasagna Pancake or keep things savory with your favorite mix-ins?
Pancake Poppers Ingredients
Bite-sized pancake perfection awaits!
For the Batter
- Milk – Moisture and structure; can substitute with any non-dairy milk or yogurt for a different flavor profile.
- Vinegar – Creates buttermilk when combined with milk, enriching the flavor; substitute with lemon juice if needed.
- Oil – Source of fat for moisture; use melted butter for a richer flavor or any neutral vegetable oil.
- Egg – Acts as a binder, adding structure; can replace with flaxseed meal or applesauce for a vegan option.
- All-Purpose Flour – Provides structure for the pancake poppers; gluten-free flour blends can work as well.
- Granulated Sugar – Adds sweetness; can reduce for savory versions or substitute with honey or maple syrup.
- Baking Powder & Baking Soda – Key leavening agents that ensure fluffiness; check expiry for effectiveness.
- Salt – Enhances the overall flavor; adjust to taste.
For Greasing
- Cooking Spray or Butter – Essential for greasing muffin tins and preventing sticking.
Optional Mix-Ins
- Mini Chocolate Chips – Perfect for a sweet touch; alternatively, use any fruit for a fresh flavor.
- Blueberries – Add bursty freshness; customize to fit your taste preferences.
- Banana Slices – For a delightful twist; they lend moisture and sweetness.
- Bacon Bits – A savory option for a hearty breakfast popper; mix for a unique flavor delight!
- Nut Butter Dollops – Swirl in for a rich, creamy finish; your homemade pancake poppers will shine with this addition.
Enjoy crafting these delectable pancake poppers—where each bite is bursting with possibilities!
Step‑by‑Step Instructions for Pancake Poppers
Step 1: Preheat and Prepare
Preheat your oven to 375°F (190°C) and generously grease your mini muffin tins using cooking spray or softened butter. This step is crucial for ensuring your pancake poppers release effortlessly after baking. As the oven heats, gather all your ingredients, making sure everything is ready to go for a smooth cooking process.
Step 2: Create Buttermilk
In a medium-sized bowl, whisk together 1 cup of milk and 1 tablespoon of vinegar. Let this mixture sit for about 5 minutes until it thickens slightly, mimicking buttermilk. The tanginess of this makes the pancake poppers extra fluffy and flavorful. Stir occasionally as it rests, allowing the flavors to meld beautifully.
Step 3: Combine Wet Ingredients
Add 2 tablespoons of oil and 1 egg to the thickened milk mixture. Whisk until well combined, ensuring there are no visible lumps from the egg. This step adds moisture and richness to your pancake poppers, creating a perfect batter. Make sure your mixture is smooth and creamy before moving on to the dry ingredients.
Step 4: Mix Dry Ingredients
In another bowl, combine 1 cup of all-purpose flour, 2 tablespoons of sugar, 1 teaspoon of baking powder, 1/2 teaspoon of baking soda, and a pinch of salt. Mix these dry ingredients thoroughly to ensure even distribution of the leavening agents, crucial for that light and fluffy texture we seek in pancake poppers. Use a whisk to incorporate air, which helps the poppers rise beautifully.
Step 5: Combine Wet and Dry Mixtures
Carefully pour the wet mixture into the bowl with the dry ingredients. Use a spatula or wooden spoon to stir gently until just combined, being careful not to overmix the batter. Small lumps are okay; this prevents the pancake poppers from becoming tough. You want a thick yet pourable batter that’s ready for customization.
Step 6: Fill the Muffin Tins
Spoon about 1 tablespoon of the pancake batter into each greased mini muffin cup, filling them about three-quarters full. If desired, fold in your choice of mix-ins, such as chocolate chips or berries, and gently press them into the batter. This is where you can get creative with your pancake poppers and personalize them to your taste!
Step 7: Bake to Perfection
Place the filled muffin tins in the preheated oven and bake for 8-12 minutes. Keep an eye on them; they should puff up lightly and the tops will turn golden brown. You’ll know they’re done when a toothpick inserted into the center comes out clean. The aroma will fill your kitchen, making it hard to wait!
Step 8: Cool and Serve
Once baked, pull the muffin tins from the oven and let them cool for a few minutes. Use a silicone spatula to carefully remove the pancake poppers from the tins. Allow them to cool slightly on a wire rack, then serve warm with your favorite toppings like syrup, fresh fruit, or whipped cream, creating a delightful breakfast treat!
What to Serve with Pancake Poppers
Warm, fluffy pancake poppers are not just a treat on their own; they become a delightful part of a well-rounded breakfast spread.
-
Fresh Fruit Salad: A mixture of seasonal fruits adds color and natural sweetness, balancing the richness of the pancake poppers.
-
Yogurt Parfait: Creamy yogurt layered with granola and fresh berries creates a refreshing contrast, perfect for a satisfying breakfast.
-
Maple Syrup Drizzle: A classic pairing, the sweet and rich syrup enhances the flavor of the poppers, making each bite irresistible.
-
Crispy Bacon: The salty and savory crunch of bacon adds depth, perfectly complementing the light sweetness of the pancake poppers.
-
Whipped Cream: This light and airy topping brings a touch of indulgence; a scoop will elevate your pancake experience to dessert-like perfection.
-
Ice Cream: For a playful twist, serve warm pancake poppers with a scoop of vanilla ice cream for a delightful sweet treat any time of day.
Whether serving for breakfast or an afternoon snack, these pairings will take your pancake poppers to new heights of flavor and enjoyment!
Pancake Poppers: Flavorful Options
Let your creativity shine by customizing these pancake poppers to match your cravings and dietary needs!
- Fruit Flavor Boost: Add fresh raspberries, diced peaches, or mashed bananas to infuse your poppers with vibrant sweetness. The fruity burst will elevate each bite!
- Savory Twist: Try mixing in cooked bacon bits, cheddar cheese, or sautéed spinach for a heartier breakfast option. These savory poppers are perfect for those who prefer a less sweet start to the day.
- Gluten-Free: Swap all-purpose flour with a gluten-free blend to cater to dietary restrictions without sacrificing taste. Your gluten-free friends will appreciate the gesture!
- No Sugar Added: Omit granulated sugar entirely, and instead, sweeten with mashed bananas or unsweetened applesauce. This natural sweetness will keep your breakfast wholesome and delicious.
- Nutty Addition: Mix in almond or peanut butter into the batter for a rich, nutty flavor. It adds protein and pairs perfectly with chocolate chips or fruit.
- Maple Infusion: Replace sugar with pure maple syrup for a lovely, caramelized flavor in your batter; it’s perfect for a cozy morning that tastes like fall!
- Chocolate Lovers: Fold in mini chocolate chips and top off with chocolate sauce after baking for an even more indulgent experience! This is sure to delight kids and adults alike.
- Breakfast Lasagna Twist: Incorporate a layer of pancake batter and custard mix to create a unique pancake popper experience inspired by an Ultimate Breakfast Lasagna Pancake. Delicious and perfect for sharing!
Each variation offers a chance to make these pancake poppers uniquely yours. Enjoy experimenting in the kitchen and find your favorite combination!
Storage Tips for Pancake Poppers
Fridge: Store pancake poppers in an airtight container for up to 4 days. This keeps them fresh and fluffy for a quick breakfast or snack throughout the week.
Freezer: For longer storage, freeze the pancake poppers on a baking sheet until solid, then transfer to a zip-top bag. They can last up to 2 months in the freezer without losing quality.
Reheating: To reheat, simply microwave for 15-30 seconds or warm them in a toaster oven for a few minutes. This will restore their delightful texture, making your pancake poppers just as tasty as when they were freshly baked!
Serving Suggestions: Enjoy your warmed pancake poppers plain or with your favorite toppings like syrup or fresh fruit for an added touch.
Make Ahead Options
These Pancake Poppers are perfect for busy home cooks looking to save time! You can prepare the batter up to 24 hours in advance by mixing the wet and dry ingredients separately and storing them in the refrigerator. Combine them just before baking for fresh, fluffy poppers. Additionally, you can portion out the batter into the greased mini muffin tins and refrigerate them, ready to pop in the oven whenever you’re ready to serve. To maintain quality, cover the tins with plastic wrap to prevent drying out. When you’re set to enjoy your pancake poppers, simply bake them straight from the fridge; no need to thaw! Enjoy effortless, delicious mornings with minimal effort.
Expert Tips for Pancake Poppers
• Perfectly Fluffy: Mix just until combined—lumps are okay! Overmixing can lead to tough pancake poppers instead of light and airy bites.
• Ideal Baking Time: Keep an eye on your poppers; ovens can vary in temperature. Bake until they’re golden and a toothpick comes out clean for the best results with these delightful pancake poppers.
• Storage Made Easy: After cooling, store in an airtight container in the fridge for up to 4 days. Reheat gently for a quick breakfast that maintains its soft texture!
• Custom Mix-Ins: Don’t hold back on creativity! Experiment with fruits, chocolates, or even savory options like cheese and bacon for tantalizing pancake poppers that everyone will love.
• Serving Ideas: Serve warm alongside syrup, whipped cream, or fresh fruit. Each add-on enhances flavor, making every bite a blissful experience!
Pancake Poppers Recipe FAQs
What is the best kind of milk to use for pancake poppers?
Absolutely! You can use regular cow’s milk, or for a different flavor profile, try almond, oat, or soy milk. Each will give your pancake poppers a unique taste and texture!
How long can I store pancake poppers in the fridge?
Store your pancake poppers in an airtight container in the fridge for up to 4 days. This way, you’ll always have a delightful snack or breakfast option at your fingertips!
Can I freeze pancake poppers? How do I do it?
Yes, you can freeze pancake poppers! After baking and allowing them to cool, spread them in a single layer on a baking sheet. Freeze for about 1-2 hours until solid. Once frozen, transfer them to a zip-top bag, making sure to remove as much air as possible before sealing. They can last up to 3 months. When you’re ready to enjoy them, simply reheat in the microwave for 15-30 seconds or pop them into a toaster oven until warm.
Why are my pancake poppers flat or dense?
The most common culprit for flat or dense pancake poppers is overmixing the batter. Make sure to mix just until combined, as lumps are okay! Additionally, check the freshness of your baking powder and baking soda; using expired leavening agents will affect the rise and fluffiness.
Can I customize the mix-ins for my pancake poppers?
Very! Get creative with your mix-ins. You can add mini chocolate chips, fresh berries, diced bananas, or even savory options like cooked bacon bits or shredded cheese. Just remember to fold them into the batter gently, and enjoy experimenting with different flavors!
Are pancake poppers suitable for kids or those with allergies?
Absolutely! These pancake poppers are versatile and can be made allergy-friendly. Use non-dairy milk for lactose intolerance, and substitute flaxseed meal or applesauce for those avoiding eggs. Gluten-free flour can be used for those with gluten sensitivities. Always check the mix-ins for potential allergens, especially when serving to kids!
Irresistible Pancake Poppers: Bite-Sized Breakfast Bliss
Ingredients
Equipment
Method
- Preheat your oven to 375°F (190°C) and generously grease your mini muffin tins using cooking spray or softened butter.
- In a medium bowl, whisk together 1 cup of milk and 1 tablespoon of vinegar. Let it sit for 5 minutes until it thickens.
- Add 2 tablespoons of oil and 1 egg to the thickened milk mixture. Whisk until well combined.
- In another bowl, mix together 1 cup of all-purpose flour, 2 tablespoons of sugar, 1 teaspoon of baking powder, 1/2 teaspoon of baking soda, and a pinch of salt.
- Pour the wet mixture into the dry ingredients and stir gently until just combined.
- Spoon about 1 tablespoon of the batter into each greased mini muffin cup, filling them three-quarters full. Fold in any desired mix-ins.
- Bake for 8-12 minutes until puffed and golden brown. A toothpick inserted should come out clean.
- Let cool for a few minutes before carefully removing the pancake poppers from the tins and serve warm.
Leave a Reply