
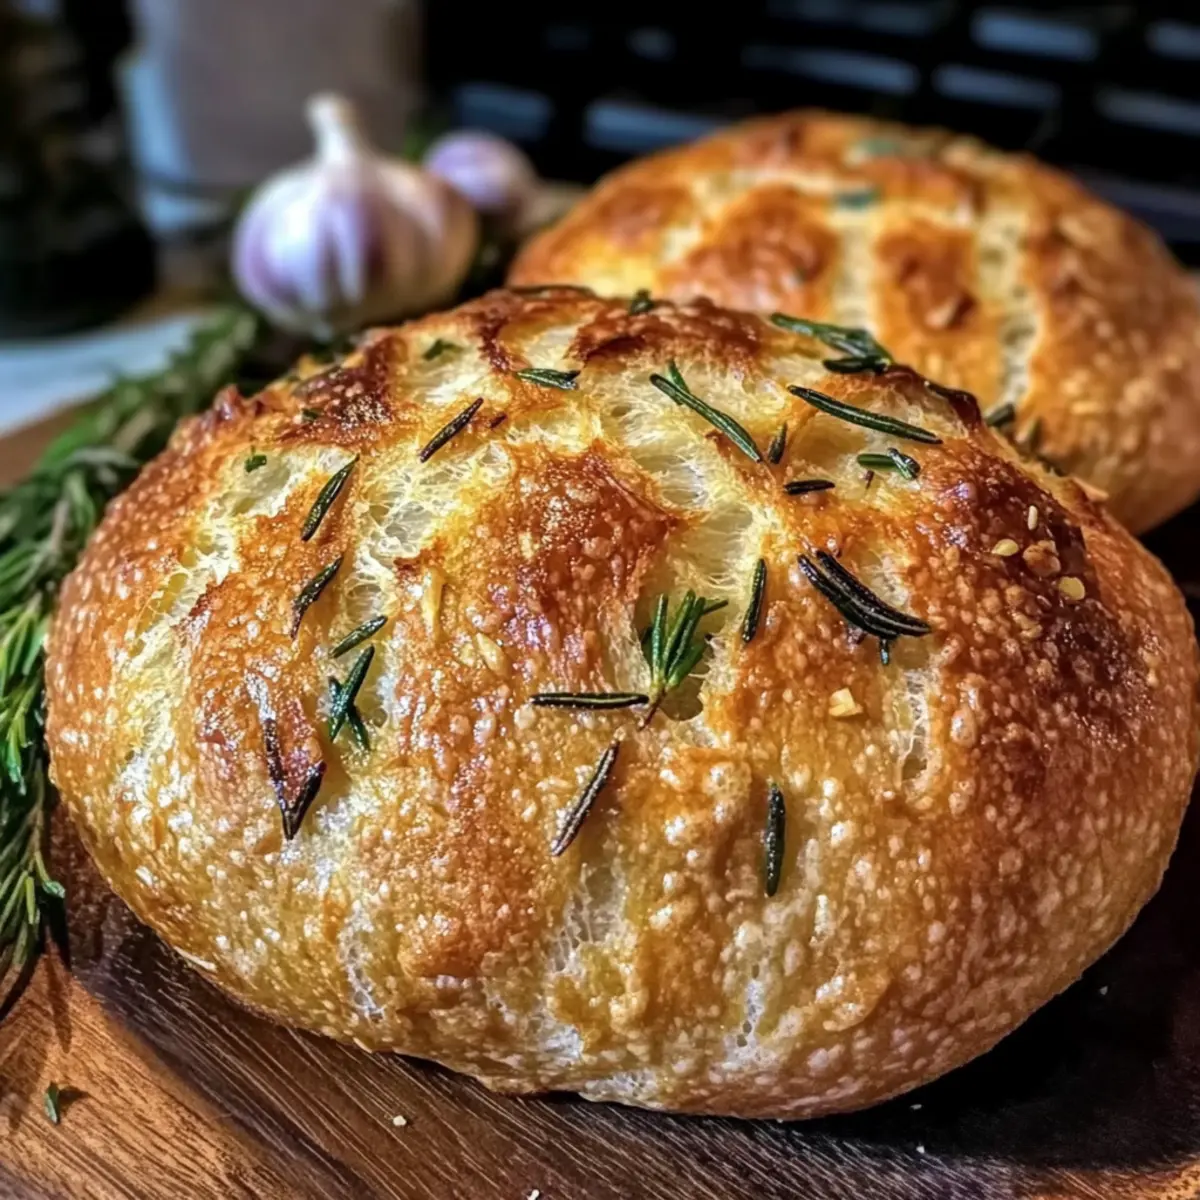
As I stood in my kitchen, the sweet and savory fragrance of garlic mingled with earthy rosemary, taking me straight to my favorite little bakery. There’s something magical about making your own bread, and this Homemade Garlic Rosemary Bread Recipe delivers that enchantment in a surprisingly simple way. With its perfectly crispy crust and fluffy interior, it’s not only a delightful addition to family dinners but also a showstopper at brunches. Plus, it requires minimal ingredients and no fancy mixers—just your hands and a little love. Let’s embark on a baking adventure that elevates your meals and fills your home with warmth—are you ready to make your kitchen the heart of your home?
Why Is Homemade Garlic Rosemary Bread Special?
Aromatically Inviting: The warm, inviting scents of garlic and rosemary wafting through your kitchen create an atmosphere that’s irresistibly cozy.
Ease of Preparation: This recipe requires minimal ingredients and no fancy equipment, making it accessible for everyone, from novice cooks to seasoned chefs.
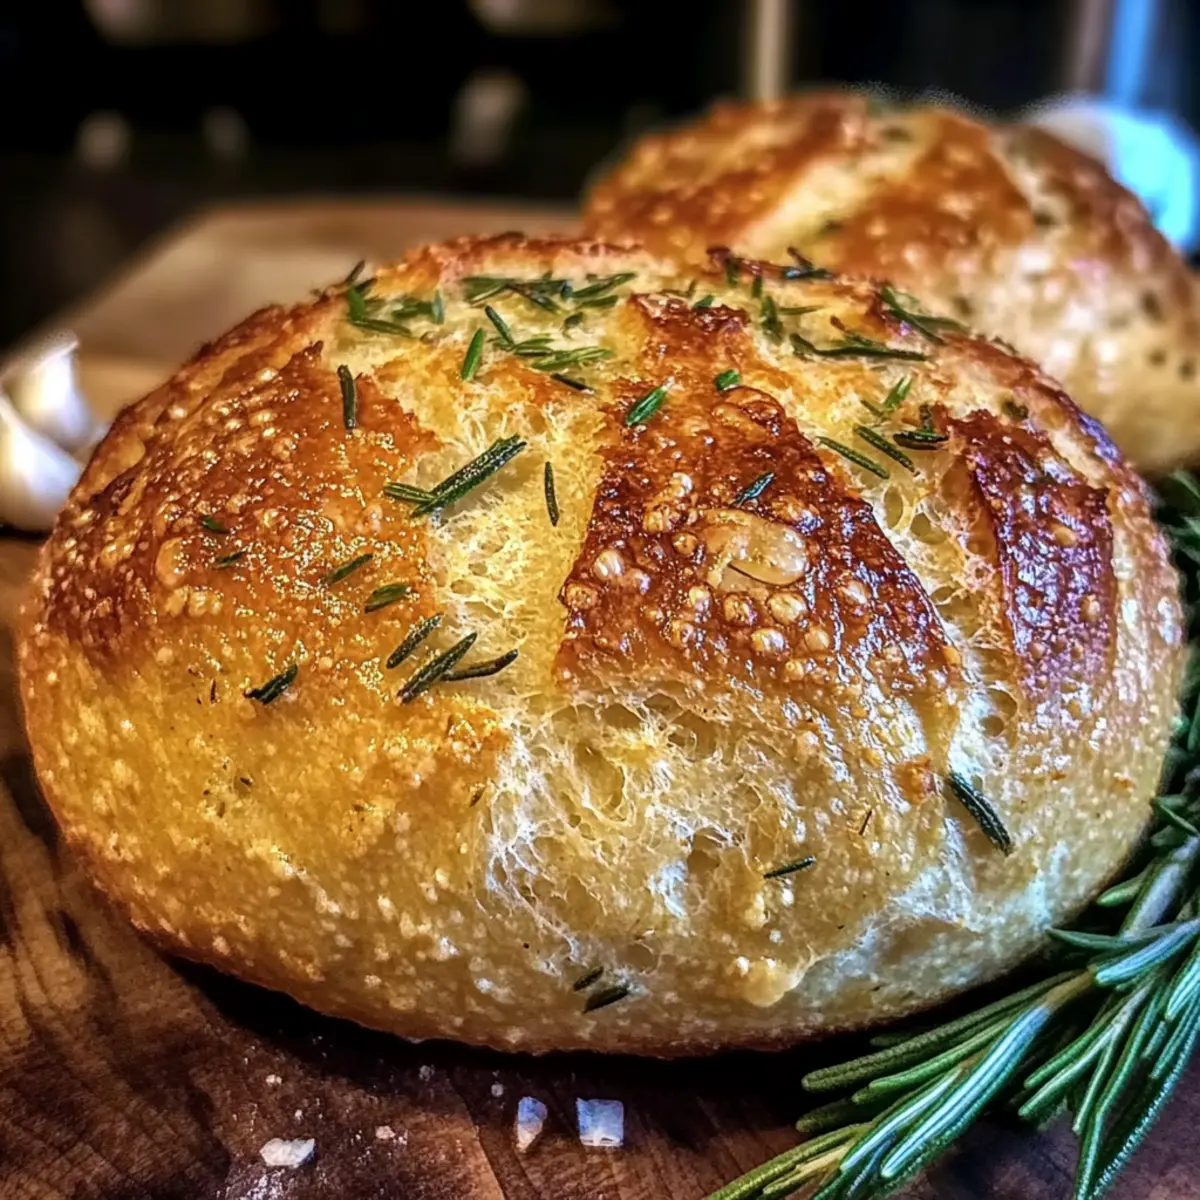
Crisp, Fluffy Perfection: Each bite offers a satisfying crunch paired with a soft, fluffy interior—a delightful textural contrast that elevates any meal.
Versatile Pairing: Whether served with soups or as a sandwich base, this bread complements a variety of dishes, enhancing your dining experience.
Uniquely Yours: Personalize it by introducing cheese, roasted garlic, or Mediterranean ingredients for an exciting twist. For more ideas, check out this Hot Honey Garlic recipe or explore the comforting flavors in my Cornbread Casserole Cozy.
Homemade Garlic Rosemary Bread Ingredients
For the Dough
- All-Purpose Flour – Provides structure and a lovely texture; feel free to swap with bread flour for a chewier bite.
- Warm Water – Activates yeast, crucial for dough rising; ensure it’s around 110°F to keep your yeast happy.
- Yeast – Essential for leavening the bread; always check expiration for the best results.
- Salt – Enhances flavor and helps control yeast activity, keeping the dough in check.
For the Flavor
- Fresh Garlic – Adds savory richness; consider using dried garlic for a quicker blend, using half the amount.
- Fresh Rosemary – Infuses a beautiful earthy fragrance; dried rosemary can be substituted in half the quantity if fresh is unavailable.
- Olive Oil – Contributes to flavor and tenderness; you can use melted butter for a different but delightful taste.
This Homemade Garlic Rosemary Bread Recipe is all about simple ingredients that come together for an unforgettable experience!
Step‑by‑Step Instructions for Homemade Garlic Rosemary Bread Recipe – Perfectly Crispy & Fluffy
Step 1: Mix the Dough
In a large mixing bowl, combine 1 cup of warm water (around 110°F) with 2 teaspoons of active dry yeast. Let it sit for about 5–10 minutes until it becomes foamy. Slowly stir in 3 cups of all-purpose flour, 1 teaspoon of salt, 2 minced cloves of fresh garlic, 2 tablespoons of chopped fresh rosemary, and 2 tablespoons of olive oil, mixing until a rough dough forms.
Step 2: Knead the Dough
Transfer the dough onto a lightly floured surface and knead for about 8–10 minutes until it’s smooth and elastic. If you prefer, you can use a stand mixer with a dough hook, kneading at medium speed for approximately 5–7 minutes. This Homemade Garlic Rosemary Bread dough should be soft but slightly tacky to the touch.
Step 3: First Rise
Shape the kneaded dough into a ball, placing it in a greased bowl. Cover with a clean kitchen towel or plastic wrap, and let it rise in a warm area for about 1 hour or until it has doubled in size. You’ll know it’s ready when the dough feels puffy and has visibly expanded, filling the bowl.
Step 4: Shape the Dough
Once the dough has risen, gently punch it down to release air, then place it on a lightly floured surface. Shape it into a loaf by folding the edges towards the center and rolling it tightly. Ensure it’s uniform in shape for even baking in your Homemade Garlic Rosemary Bread recipe.
Step 5: Second Rise
Place the shaped loaf onto a parchment-lined baking sheet. Cover it loosely with a kitchen towel and let it rise again for about 30 minutes. The dough should puff up slightly and feel airy, indicating it’s ready for baking.
Step 6: Preheat & Bake
Preheat your oven to 425°F. To enhance the crust’s crispiness, place a shallow oven-safe dish filled with water on the bottom rack. Once heated, bake the bread for approximately 25–30 minutes, or until it turns golden brown. The crust should sound hollow when tapped, indicating doneness.
Step 7: Cool
After baking, remove the Homemade Garlic Rosemary Bread from the oven and transfer it to a wire rack. Let it cool completely for at least 15 minutes before slicing. This step is crucial to avoid a gummy texture, ensuring every bite of your delicious bread is light and airy.
What to Serve with Homemade Garlic Rosemary Bread
The perfect meal isn’t complete without delightful companions that elevate each bite.
- Creamy Tomato Soup: A classic pairing that balances the bread’s crispy texture with a rich, velvety smoothness.
- Caesar Salad: Crisp romaine and tangy dressing complement the bread’s flavors, creating a refreshing contrast.
- Herbed Olive Oil Dip: For those who love a flavor kick, this dipping option enhances the aromatic notes of the rosemary.
- Roasted Vegetables: These sweet, caramelized nuggets offer a hearty, colorful side that brings out the best in your bread.
- Garlic Butter Shrimp: Sautéed shrimp in garlic butter combine seamlessly, merging tastes and encouraging extra dipping.
- Cheesy Scalloped Potatoes: Rich, creamy potatoes serve as an indulgent match, making every meal feel like a special occasion.
- Chilled White Wine: A crisp, dry white wine accentuates the herbal scent of your bread while offering a refreshing sip.
- Lemon Tart: For dessert, this zesty option provides a bright contrast, leaving a lovely finish after savoring the warm bread.
Expert Tips for Homemade Garlic Rosemary Bread
-
Perfect Water Temperature: Ensure your warm water is around 110°F; too hot will kill the yeast, while too cold won’t activate it.
-
Accurate Measurements: Use a kitchen scale for precise flour measurements to ensure the right dough consistency; too much flour can lead to dense bread.
-
Kneading Technique: Knead the dough until it’s smooth and elastic—a sign that the gluten has developed, creating the fluffy texture in your Homemade Garlic Rosemary Bread.
-
Rise Time: Allow enough time for both rises; rushing this step can result in bread that doesn’t rise properly or has a heavy texture.
-
Check Doneness: Tap the bottom of the loaf; it should sound hollow when fully baked. If using a thermometer, look for an internal temperature of 200°F.
-
Cooling Is Key: Let the bread cool completely before slicing to prevent a gummy interior, ensuring you enjoy that delightful fluffy texture.
Storage Tips for Homemade Garlic Rosemary Bread
- Room Temperature: Wrap the bread in a clean kitchen towel and store it at room temperature for up to 2 days. This keeps the crust crispy while retaining the fluffy interior.
- Fridge: While refrigeration can extend shelf life, it may lead to a firmer texture. If you must, store in an airtight container for up to 5 days.
- Freezer: For longer storage, slice the bread and freeze in a freezer-safe bag for up to 3 months. Toast individual slices directly from the freezer as needed for a quick, warm treat.
- Reheating: To refresh the bread, simply bake slices in a preheated oven at 350°F for 5–10 minutes. This will bring back that delicious, crispy texture reminiscent of fresh-baked Homemade Garlic Rosemary Bread.
Make Ahead Options
These Homemade Garlic Rosemary Bread rolls are perfect for meal prep enthusiasts! You can mix and knead the dough up to 24 hours in advance; just cover it tightly and refrigerate to prevent over-proofing. When you’re ready to bake, simply take the dough out and let it come to room temperature for about 30 minutes before shaping it into a loaf. You can also shape the bread and let it rise for its final time, then cover it and refrigerate for up to 3 days. When you’re ready to enjoy this delicious garlic rosemary bread, simply preheat your oven, bake it directly from the fridge, and you’ll have warm, crispy goodness with minimal effort—just as delightful as freshly made!
Homemade Garlic Rosemary Bread Variations
Feel free to unleash your creativity in the kitchen with these delightful twists on the classic recipe!
-
Cheesy Delight: Add shredded parmesan or cheddar cheese to the dough for a rich, cheesy flavor. The beautiful melty goodness will take your bread experience to a whole new level.
-
Roasted Garlic: Swap out fresh garlic for roasted garlic to infuse a sweeter, mellow flavor. The roasting process brings out its natural sweetness, giving your bread a unique twist.
-
Mediterranean Flair: Incorporate chopped olives or sun-dried tomatoes for a robust Mediterranean touch. This variation adds bursts of flavor that perfectly complement the garlic and rosemary.
-
Herb Infusion: Mix in a variety of fresh herbs, such as thyme or parsley, for an aromatic herb bread. Each bite will be a fragrant adventure, elevating your dining experience.
-
Spicy Kick: Add a pinch of red pepper flakes to the dough for a subtle heat. It’s an unexpected surprise that can beautifully balance the flavors, especially when served with buttery spreads.
-
Nutty Texture: Fold in some toasted walnuts or pine nuts to bring a delightful crunch and earthy flavor. These nuts will not only add texture but also a healthy twist to your bread.
-
Gluten-Free Option: Substitute all-purpose flour with a gluten-free blend to cater to dietary needs. Ensure the blend contains xanthan gum for proper texture that mirrors the original recipe.
-
Sweet Twist: Experiment by adding a tablespoon of honey or sugar to the dough for a hint of sweetness. This creates a lovely contrast against the savory garlic and rosemary, pleasantly surprising your taste buds.
These variations can help you tailor your Homemade Garlic Rosemary Bread to any occasion! And if you enjoy flavorful twists, don’t forget to explore my Roasted Garlic White recipe or treat yourself to some Orzo Lemon Garlic pasta for a complete meal experience. Happy baking!
Homemade Garlic Rosemary Bread Recipe FAQs
What type of flour is best for this recipe?
I recommend using all-purpose flour for a tender crumb, but if you’re looking for a chewier texture, you can substitute half or all of it with bread flour.
How should I store leftover Homemade Garlic Rosemary Bread?
Wrap the bread in a clean kitchen towel and keep it at room temperature for up to 2 days. For longer storage, slice it and place it in a freezer-safe bag; it will keep for up to 3 months. Just toast the slices as needed for delicious warm bread!
Can I freeze the dough before baking?
Absolutely! After the first rise, you can shape the dough into a loaf, wrap it tightly in plastic wrap and then aluminum foil. It can be frozen for up to 3 months. When you’re ready to bake, let it thaw in the fridge overnight, then proceed with the second rise before baking.
What can I do if my dough isn’t rising?
If your dough isn’t rising, it could be due to the yeast being inactive. Make sure you’re using fresh yeast and that your warm water is about 110°F to activate it. If the dough still doesn’t rise, you can try moving it to a warmer spot in your kitchen, or even placing it in an oven that’s turned off with the light on for added warmth.
Is this Homemade Garlic Rosemary Bread safe for my dog?
While the ingredients in this bread are generally safe for dogs, it’s important to keep in mind that garlic can be harmful in larger amounts. It’s best to avoid giving them bread with garlic. Always consult with your veterinarian for personalized advice regarding your pet’s diet!
How can I tell when my Homemade Garlic Rosemary Bread is done baking?
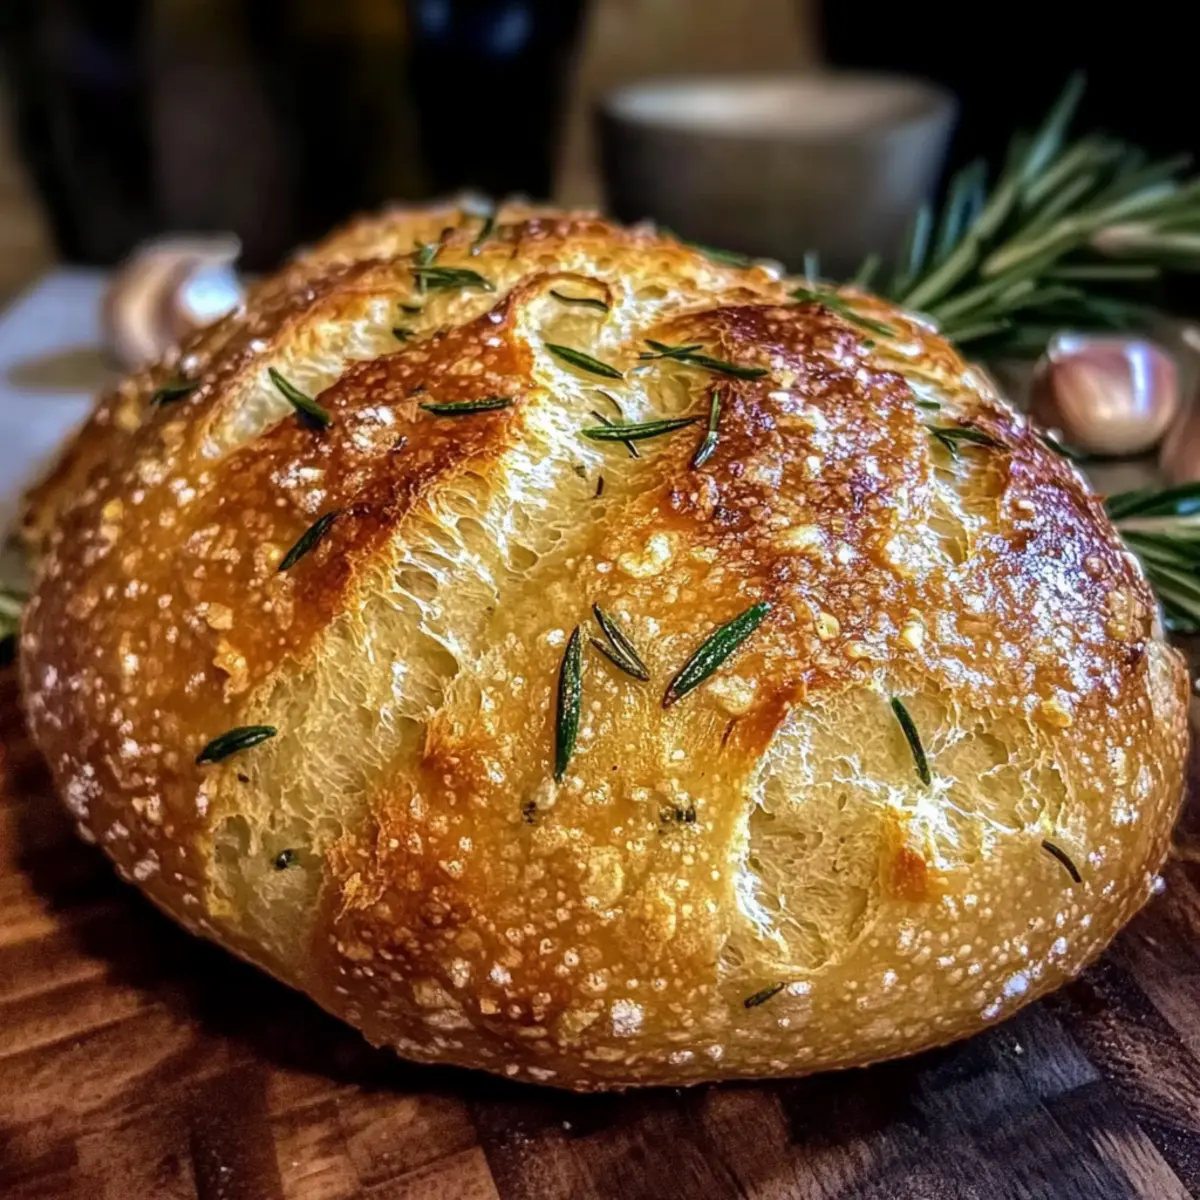
The bread is done when it has a beautiful golden-brown crust and sounds hollow when tapped on the bottom. For an extra measure, you can use a thermometer; it should register at 200°F internally.

Homemade Garlic Rosemary Bread Recipe – Crispy and Fluffy Delight
Ingredients
Equipment
Method
- In a large mixing bowl, combine 1 cup of warm water with 2 teaspoons of active dry yeast. Let it sit for about 5–10 minutes until foamy.
- Slowly stir in 3 cups of all-purpose flour, 1 teaspoon of salt, 2 minced cloves of fresh garlic, 2 tablespoons of chopped fresh rosemary, and 2 tablespoons of olive oil until a rough dough forms.
- Transfer the dough onto a lightly floured surface and knead for about 8–10 minutes until smooth and elastic.
- Shape the kneaded dough into a ball and place it in a greased bowl. Cover and let it rise in a warm area for about 1 hour.
- Gently punch down the risen dough to release air, then shape it into a loaf.
- Place the shaped loaf onto a parchment-lined baking sheet, cover loosely, and let it rise again for about 30 minutes.
- Preheat your oven to 425°F. Bake the bread for approximately 25–30 minutes, or until golden brown and sounds hollow when tapped.
- Let the bread cool completely on a wire rack for at least 15 minutes before slicing.
Leave a Reply