
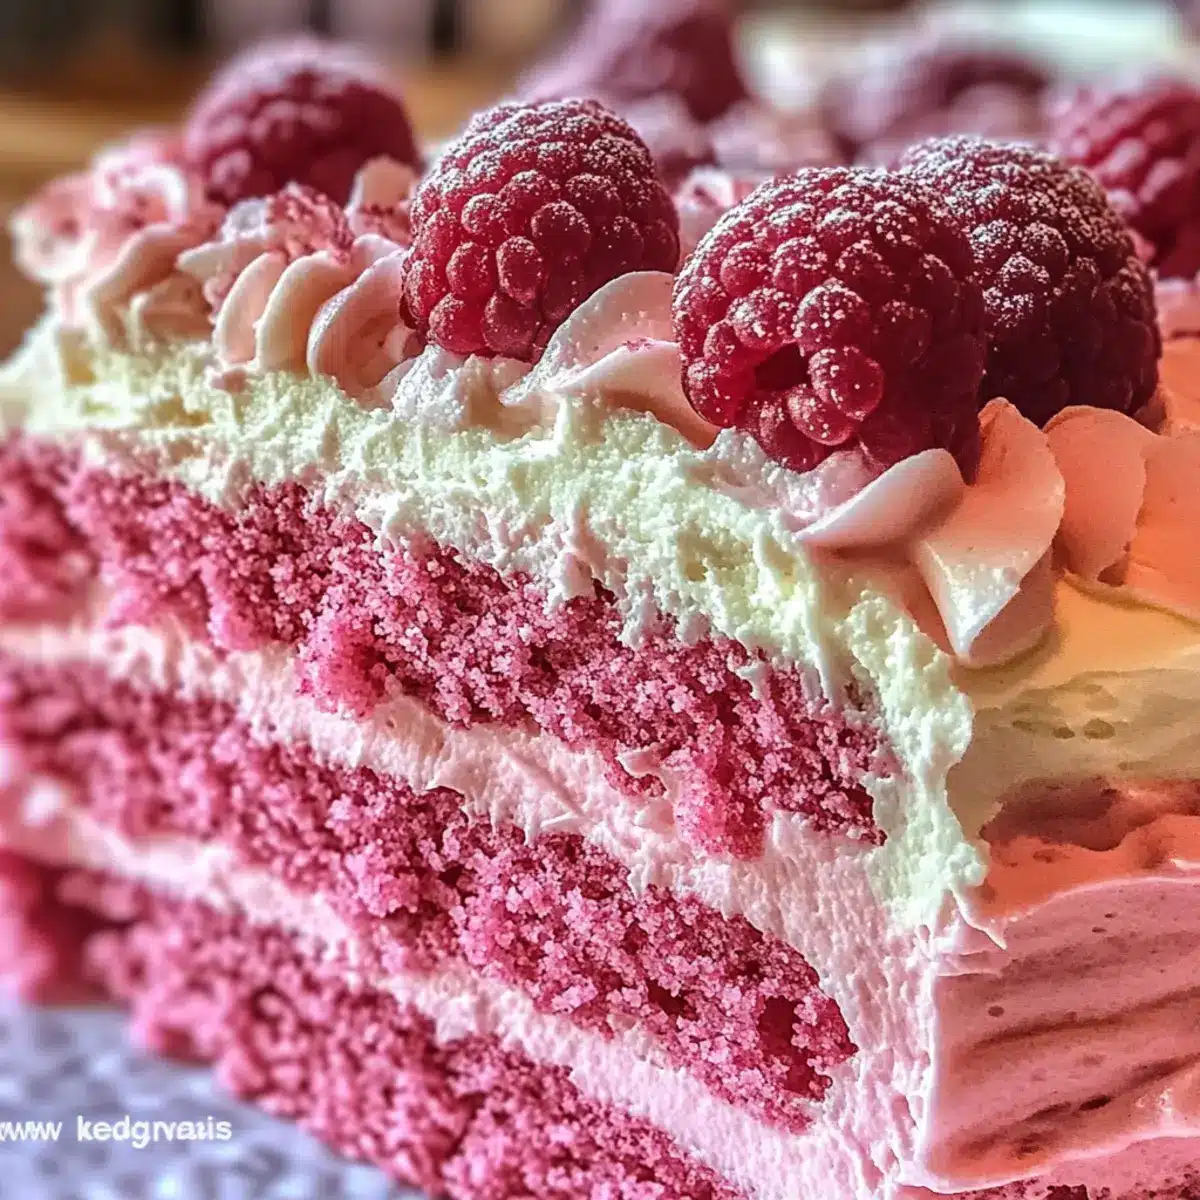
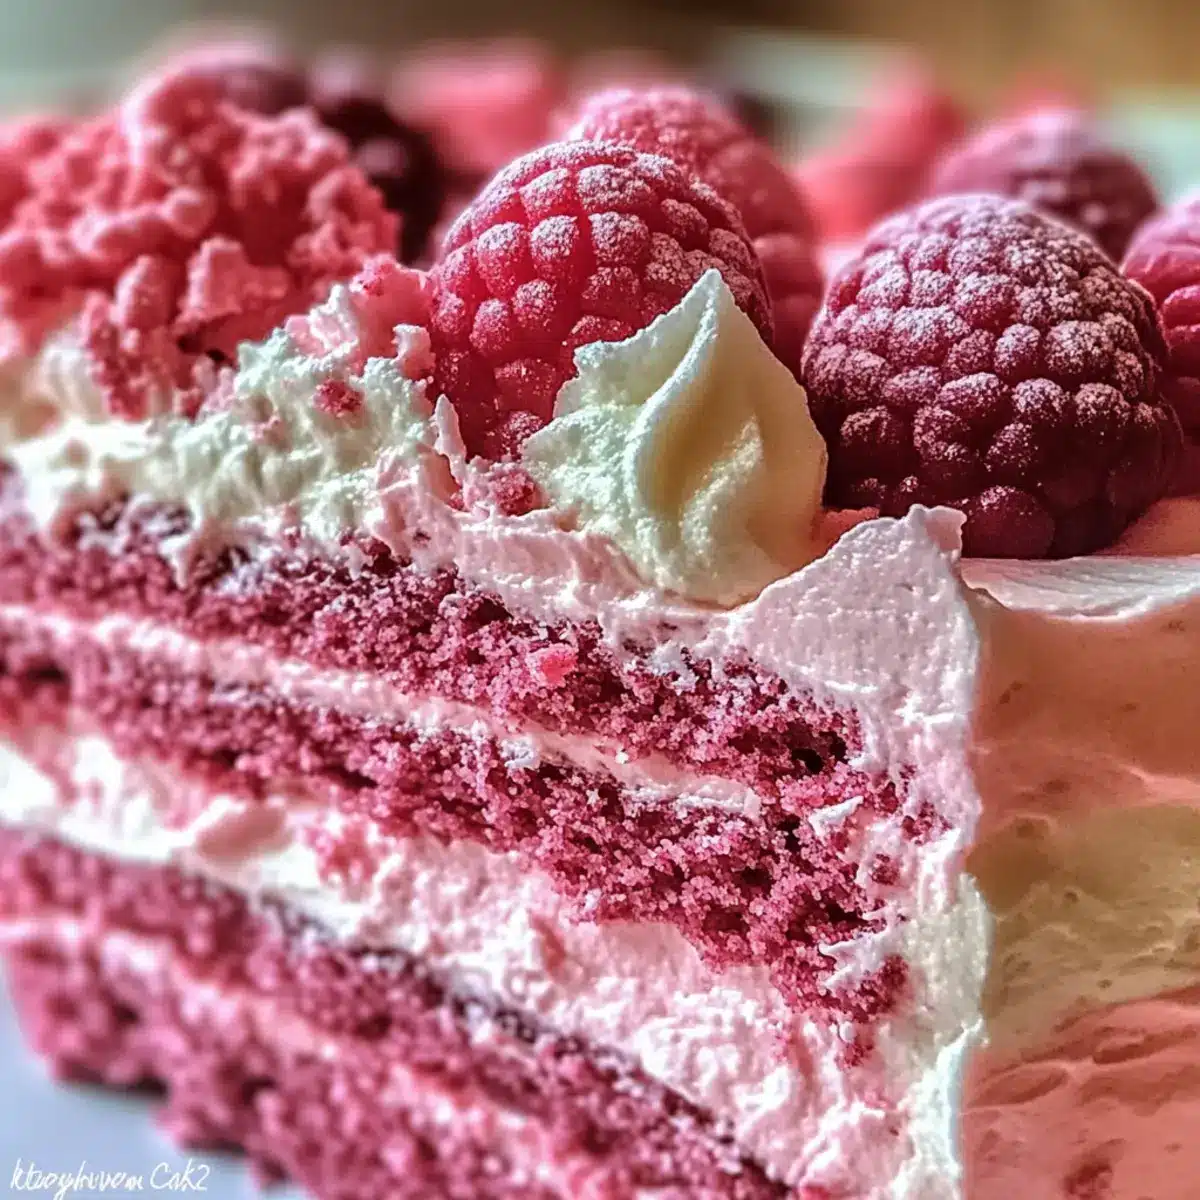
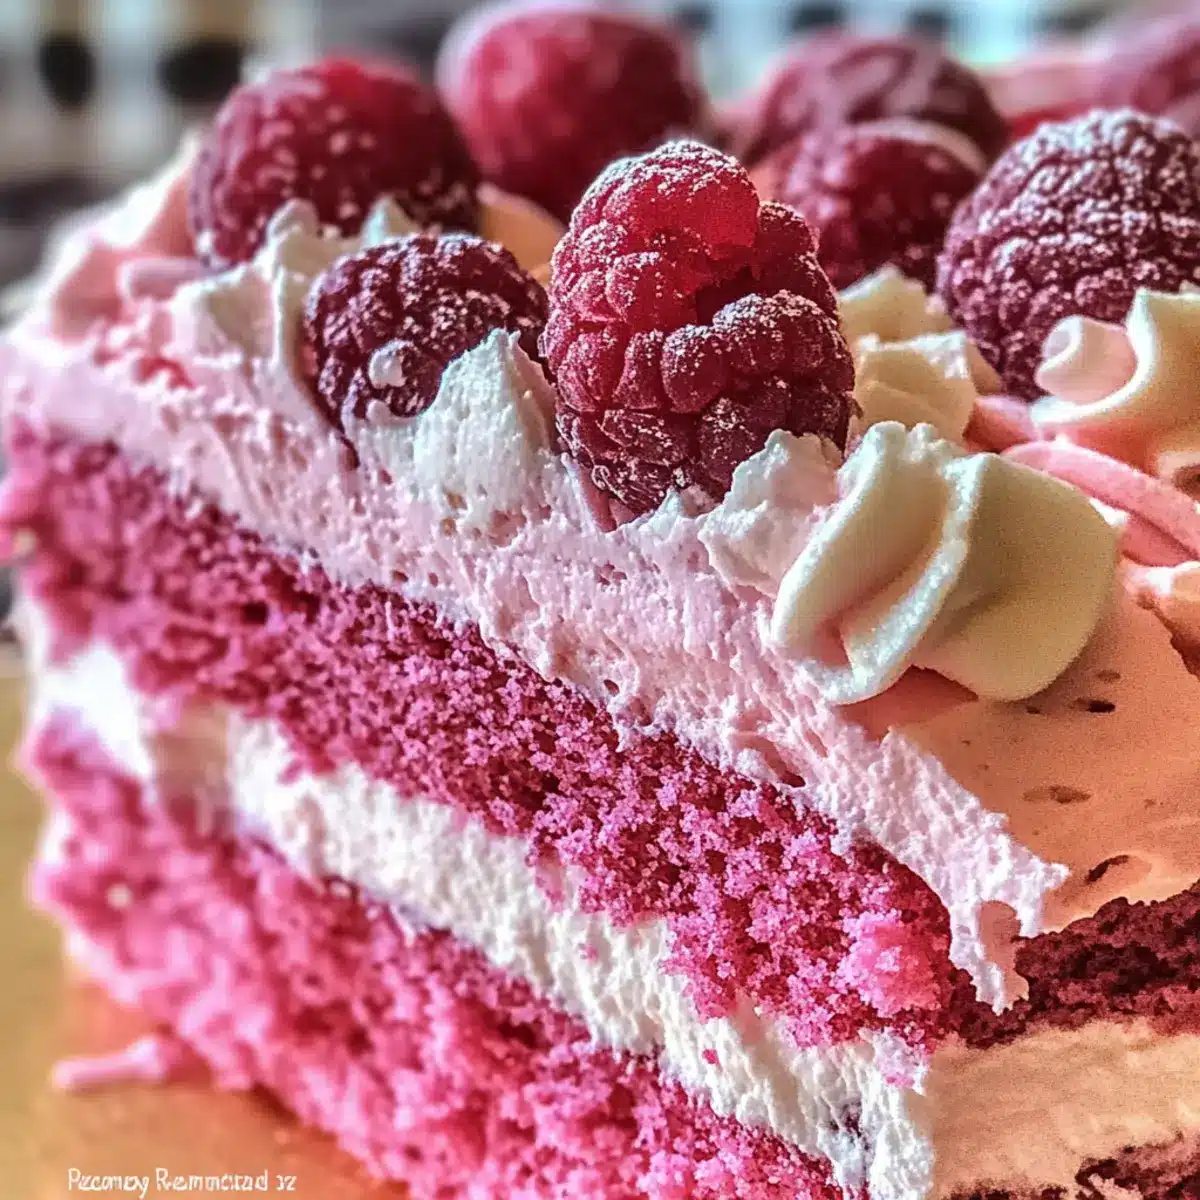
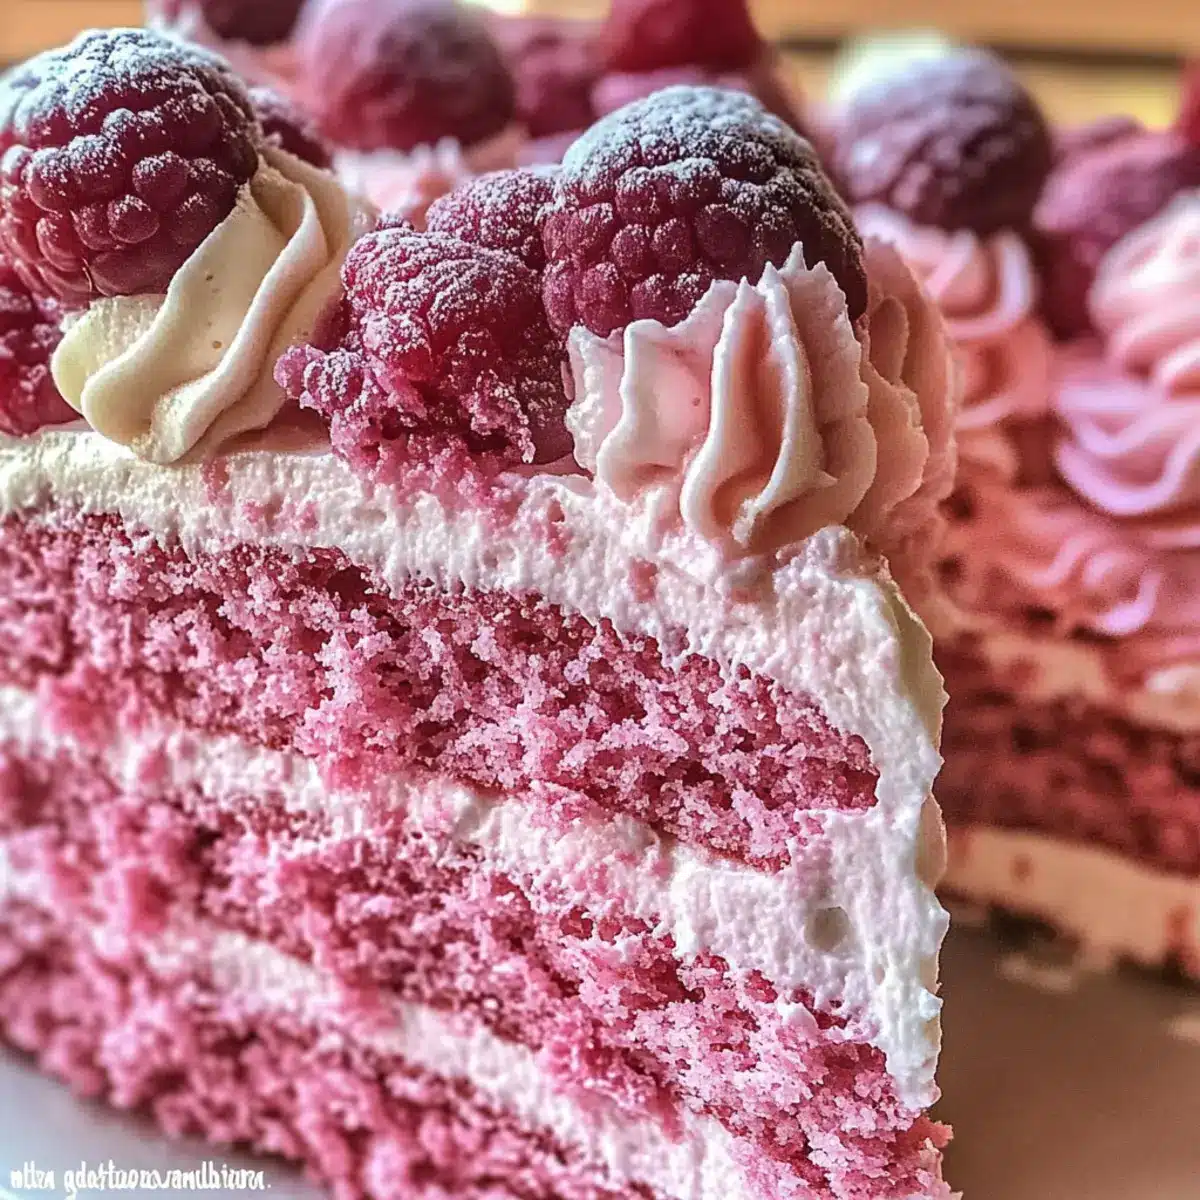
As I popped the cakes out of the oven, a wave of excitement washed over me—there’s nothing quite like the sight of a perfectly baked Pink Velvet Dream Cake. This stunning dessert not only captivates the eye with its vibrant hue but also boasts a moist, fluffy texture that will make every bite feel like a celebration. Whether you’re hosting a birthday party or simply indulging on a cozy weekend, this cake is a fantastic choice for both special occasions and everyday delights. Plus, it comes together quickly, ensuring you won’t spend hours in the kitchen. Are you ready to whip up this delightful dream? Let’s dive into the recipe and make some magic happen!
Why Is This Cake a Showstopper?
Visual Appeal: The Pink Velvet Dream Cake isn’t just delicious; it’s an eye-catching centerpiece for any gathering with its mesmerizing pink color.
Delightful Flavor: With a lovely balance of cocoa and cream cheese frosting, every slice is an explosion of rich flavor.
Easy to Make: The straightforward steps and readily available ingredients make baking this cake a breeze, perfect for both novice and seasoned bakers alike.
Versatile Treat: Consider transforming leftovers into delicious cake pops or a charming trifle—there’s something for everyone! If you’re a fan of unique desserts, don’t miss checking out the magnificent Butterbeer Cream Cake that’s just as delightful.
Memorable for Any Occasion: Whether it’s a birthday bash or just a weekend treat, this cake brings happiness to the table and turns ordinary moments into extraordinary memories.
Pink Velvet Dream Cake Ingredients
Get ready to create a masterpiece with these key ingredients!
For the Cake
- All-Purpose Flour – Provides structure to the cake; consider a gluten-free blend for a different option.
- Granulated Sugar – Adds sweetness and moisture; coconut sugar can be a less refined substitute.
- Baking Soda – Acts as a leavening agent for perfect rising.
- Salt – Enhances flavor and balances sweetness beautifully.
- Cocoa Powder – Gives a subtle chocolate flavor; try Dutch-process cocoa for a twist.
- Vegetable Oil – Keeps the cake moist; substitute with melted butter for extra flavor.
- Buttermilk – Provides acidity that activates baking soda for a lighter cake; use milk mixed with vinegar for a substitute.
- Eggs – Bind the ingredients and help the cake rise; flax eggs can be used for a vegan option.
- Red Food Coloring – Gives the cake its signature pink color; different brands offer varying shades.
- White Vinegar – Enhances the baking soda reaction, contributing to a lighter texture.
- Vanilla Extract – Adds depth; almond extract can be used for a different flavor note.
For the Frosting
- Cream Cheese Frosting – Adds creaminess and tang; swap for buttercream if you prefer a sweeter finish.
Step‑by‑Step Instructions for Pink Velvet Dream Cake
Step 1: Preheat and Prepare
Begin by preheating your oven to 350°F (175°C). While the oven is heating, take two 9-inch round cake pans and generously grease them with butter or non-stick spray, followed by a light dusting of flour. This preparation ensures that your Pink Velvet Dream Cake releases effortlessly after it’s baked, giving you a beautiful presentation.
Step 2: Sift the Dry Ingredients
In a medium mixing bowl, sift together all-purpose flour, granulated sugar, baking soda, salt, and cocoa powder. This step not only combines the ingredients but also aerates the flour, which contributes to the light and fluffy texture of the cake. Set this dry mixture aside while you move on to the wet ingredients.
Step 3: Mix the Wet Ingredients
In a large mixing bowl, whisk together the vegetable oil, buttermilk, eggs, red food coloring, white vinegar, and vanilla extract until the mixture is smooth and cohesive. Aim for a vibrant pink color and a velvety consistency. This blend of wet ingredients is crucial for the rich flavor profile of your Pink Velvet Dream Cake.
Step 4: Combine Wet and Dry Mixtures
Gradually add the dry mixture to the bowl of wet ingredients, stirring gently with a spatula or wooden spoon. Mix until the batter is smooth and free of lumps; this should take about 2-3 minutes. Be careful not to overmix, as this could affect the cake’s fluffy texture. Now, you’re ready to bake!
Step 5: Bake the Cake Layers
Divide the batter evenly between the prepared cake pans. Place them in the preheated oven and bake for 25-30 minutes, or until a toothpick inserted into the center comes out clean. Keep an eye on the cakes during the last few minutes to ensure they don’t overbake, which could lead to a drier texture.
Step 6: Cool the Cake Layers
After baking, remove the pans from the oven and let them cool in the pans for about 10 minutes. This resting period allows the cakes to set slightly, making them easier to remove. Carefully transfer the cake layers to a wire rack to cool completely, giving you the perfect base for your frosting.
Step 7: Frost the Cake
Once the cake layers are completely cool, place one layer on a serving plate. Generously frost the top with cream cheese frosting, allowing it to spread smoothly. Place the second layer on top and cover the entire cake with frosting, including the sides. This delightful coating not only enhances the appearance but also enriches the flavor of your Pink Velvet Dream Cake.
How to Store and Freeze Pink Velvet Dream Cake
Fridge: Store leftover Pink Velvet Dream Cake in an airtight container for up to 5 days. This keeps it moist and fresh, ready for enjoyable slices at any time.
Freezer: For longer storage, wrap individual slices tightly in plastic wrap and then place them in a freezer-safe bag. The cake can last up to 3 months in the freezer while maintaining its flavor.
Reheating: To enjoy frozen slices, thaw them in the fridge overnight or let them sit at room temperature for a few hours. Reheat in the microwave for 10-15 seconds, just until warm.
Layer Tips: If you have multiple layers, consider freezing them before frosting. Wrap each layer individually and add frosting after thawing for a freshly made taste.
Make Ahead Options
These Pink Velvet Dream Cakes are perfect for meal prep, making your baking experience smoother on busy days! You can bake the cake layers up to 3 days in advance; simply allow them to cool completely, then wrap them tightly in plastic wrap and refrigerate. The cream cheese frosting can also be made up to 2 days ahead—store it in an airtight container in the fridge to keep it fresh and creamy. When you’re ready to serve, let the cake layers come to room temperature, frost them, and enjoy a stunning, homemade dessert that’s just as delicious as if made that day!
What to Serve with Pink Velvet Dream Cake?
Elevate your dessert experience with delightful accompaniments that enhance the joy of each slice.
-
Fresh Berries: The tartness of strawberries or raspberries pairs beautifully with the sweetness of the cake, providing a refreshing contrast. Plus, their vibrant colors complement the cake’s visual appeal perfectly!
-
Ice Cream: A scoop of creamy vanilla or strawberry ice cream adds a delightful creaminess that balances the cake’s richness. It’s a classic combination that satisfies every sweet tooth.
-
Whipped Cream: Light and airy whipped cream adds a fluffy texture and can be sweetened or flavored to your liking. Drizzle some over each slice for a luxurious finish.
-
Chocolate Ganache: Rich chocolate ganache served on the side creates a decadent pairing with the cake’s subtle cocoa flavor. Drizzle it artistically for an extra touch of elegance.
-
Lemon Curd: Tangy lemon curd offers a zesty contrast that cuts through the sweetness of the cake, making each bite feel refreshing. It’s a charming way to brighten the dessert table!
-
Coffee or Tea: A warm cup of coffee or fragrant tea provides a comforting beverage that complements the cake’s sweetness beautifully. It’s the perfect way to wind down after a delightful meal.
-
Sweet Wine or Champagne: Treat yourself to a glass of sweet wine or a bubbly glass of champagne for a festive touch. These drinks enhance the celebratory feel of indulging in your Pink Velvet Dream Cake.
-
Fruit Compote: A homemade fruit compote made with summer fruits or a berry medley creates a delightful sauce to drizzle over. Its natural sweetness highlights the cake beautifully.
-
Caramel Sauce: A drizzle of warm caramel sauce adds a luscious element, enveloping the cake in a sweet, gooey embrace. It’s a sinful yet satisfying pairing that no one can resist!
Expert Tips for Pink Velvet Dream Cake
- Measure Accurately: Ensure precise measurements to achieve the perfect texture—too much flour may lead to a dense cake.
- Use Room Temperature Ingredients: Make sure your buttermilk and eggs are at room temperature for a smoother batter and better rise.
- Don’t Overmix: Mix the wet and dry ingredients just until combined to keep your Pink Velvet Dream Cake light and fluffy.
- Check for Doneness: Insert a toothpick in the center toward the end of baking; it should come out clean or with a few crumbs.
- Cool Completely: Allow the cakes to cool entirely before frosting to prevent melting and sliding of the icing.
Pink Velvet Dream Cake Variations
Feel free to play with this recipe and make it your own; the possibilities are as delightful as the cake itself!
- Gluten-Free: Use a gluten-free flour blend in place of all-purpose flour for a cake everyone can enjoy.
- Chocolate Twist: Add an extra tablespoon of cocoa powder to deepen the chocolate flavor and creat a rich chocolate velvet version.
- Berry Delight: Fold in fresh raspberries or strawberries into the batter for a fruity surprise and a lovely color contrast.
- Vegan Version: Substitute eggs with flax eggs and use plant-based milk instead of buttermilk for a vegan-friendly cake.
Transforming this cake for breakfast? Think of Pink Velvet Pancakes! Just use the same recipe, cook as pancakes, and serve with cream cheese syrup. It’s breakfast bliss!
- Cupcake Conversion: Pour the batter into cupcake liners instead of cake pans for perfectly portioned treats, topped with a swirl of cream cheese frosting.
- Layered Trifle: Crumble leftover cake layers, alternating with layers of frosting and fresh berries in a clear dish for an eye-catching trifle.
If you’re in the mood for more delightful recipes, check out the luscious Chocolate Custard Cake or a festive slice of Christmas Cheesecake Cranberry. Each one offers a unique twist that will surely impress your loved ones!
Pink Velvet Dream Cake Recipe FAQs
How do I select ripe ingredients for the Pink Velvet Dream Cake?
Absolutely! For the best results, ensure your buttermilk is fresh and not close to its expiration date for optimal flavor and texture. Eggs should be at room temperature to ensure they mix well and help achieve that fluffy texture. When choosing red food coloring, opt for gel-based versions as they typically provide better color without altering the batter’s consistency.
What is the best way to store leftover Pink Velvet Dream Cake?
To keep your Pink Velvet Dream Cake fresh, store it in an airtight container in the refrigerator for up to 5 days. Make sure to cover the cake well to prevent it from drying out. If you’ve already cut into it, you can also place a piece of plastic wrap over the exposed sections to maintain moisture.
Can I freeze Pink Velvet Dream Cake for later enjoyment?
Very! Freezing the Pink Velvet Dream Cake is a fantastic way to enjoy it later. First, let the cake layers cool completely. Wrap each layer tightly in plastic wrap and then place them in a freezer-safe bag. This method helps preserve the cake’s moisture and flavor for up to 3 months. When you’re ready to enjoy, thaw the layers in the fridge overnight before frosting them, or let them sit at room temperature for a couple of hours.
What should I do if my cake layers dome while baking?
No worries! If you notice your cake layers rising irregularly, gently press them down with your hands as soon as you take them out of the oven. This technique helps flatten the top for even stacking. If doming occurs frequently, consider lowering your oven temperature by 25°F (about 15°C) and extending the baking time slightly for flatter layers.
Are there any dietary considerations I should be aware of when making this cake?
The Pink Velvet Dream Cake includes common allergens such as eggs and dairy. For those with dietary restrictions, you can easily swap out certain ingredients: use flax eggs (1 tablespoon ground flaxseed mixed with 2.5 tablespoons water per egg) for a vegan alternative and utilize non-dairy milk in place of buttermilk, mixed with vinegar or lemon juice. Always ensure to check labels if you’re using substitutes to avoid allergens.
How can I prevent my Pink Velvet Dream Cake from becoming dry?
To ensure a moist Pink Velvet Dream Cake, avoid overbaking by closely monitoring the cake during the last few minutes. A toothpick inserted in the center should come out clean but not dry. Also, consider incorporating a simple sugar syrup brushed over the layers while they cool to add extra moisture. Lastly, ensure your storage is airtight after baking to keep that lovely freshness.
Pink Velvet Dream Cake: A Slice of Sweet Happiness
Ingredients
Equipment
Method
- Preheat your oven to 350°F (175°C) and prepare two 9-inch round cake pans by greasing and dusting with flour.
- In a medium mixing bowl, sift together flour, sugar, baking soda, salt, and cocoa powder.
- In a large mixing bowl, whisk together vegetable oil, buttermilk, eggs, red food coloring, vinegar, and vanilla extract.
- Gradually add the dry mixture to the wet ingredients, mixing until the batter is smooth and free of lumps.
- Divide the batter evenly between the prepared pans and bake for 25-30 minutes or until a toothpick comes out clean.
- Allow the cakes to cool in the pans for 10 minutes before transferring to a wire rack to cool completely.
- Generously frost the top of one cake layer with cream cheese frosting, place the second layer on top, and frost the entire cake.
Leave a Reply