
“You won’t believe what you can create from the scraps you usually toss out. In a world where sustainability is key, this No-Waste Homemade Vegetable Broth transforms leftover vegetable bits into a nutrient-dense, flavor-packed base that will elevate your soups, risottos, and stews. Not only is this nourishing broth incredibly easy to make, but it’s also a fantastic way to reduce waste in your kitchen while saving money. With just a few ingredients you likely have on hand, you’ll be sipping on pure comfort in no time. Curious about how those peels and stems can bring depth to your dishes? Let’s dive into this simple yet impactful recipe!”
Why Make Homemade Vegetable Broth?
Transformative: This recipe turns your kitchen scraps into a rich, flavorful broth, illustrating the beauty of no-waste cooking.
Nutrient-Dense: Packed with vitamins and minerals, it supports a healthy lifestyle while reducing your carbon footprint.
Versatile: Use as a base for soups, risottos, and stews or enjoy it as a warm drink on chilly days.
Quick and Easy: With minimal prep time, this broth simmers beautifully while you go about your day.
Sustainable: By utilizing leftover scraps, you are not only saving money but also contributing to a greener planet.
Convenient Storage: Freeze your broth in ice cube trays for easy portions, ensuring you always have homemade goodness on hand. For additional cozy ideas, try out our Vegetable Soup Cozy or a delightful Brothy Carrot Butter.
Homemade Vegetable Broth Ingredients
• Note: Creating your own homemade vegetable broth is one of the simplest ways to elevate your cooking while practicing no-waste principles.
For the Broth
- Vegetable Scraps – Essential for creating a depth of flavor; try to use organic scraps to avoid harmful chemicals.
- Water – Helps extract all the nutrients and flavor from your scraps; filtered water is best for a clean taste.
- Bay Leaves – Adds a lovely aromatic profile to your broth; thyme can be a great substitute if you don’t have bay leaves on hand.
- Dried Oregano – Enhances the savory notes; feel free to swap in herbs de Provence or basil for a different spin.
- Fresh Ground Pepper – Offers a hint of warmth and depth; whole peppercorns can provide an even more robust flavor experience.
Make the most of your kitchen scraps with this wholesome homemade vegetable broth, and savor the nourishing goodness it brings to every dish!
Step‑by‑Step Instructions for No-Waste Homemade Vegetable Broth
Step 1: Gather Vegetable Scraps
Begin by collecting enough vegetable scraps to fill 1-2 gallon freezer bags over a few weeks. Carrot peels, onion skins, and celery tops work beautifully, but avoid bitter scraps like asparagus. Ensure your scraps are organic to minimize pesticide exposure and impart the best flavors to your homemade vegetable broth.
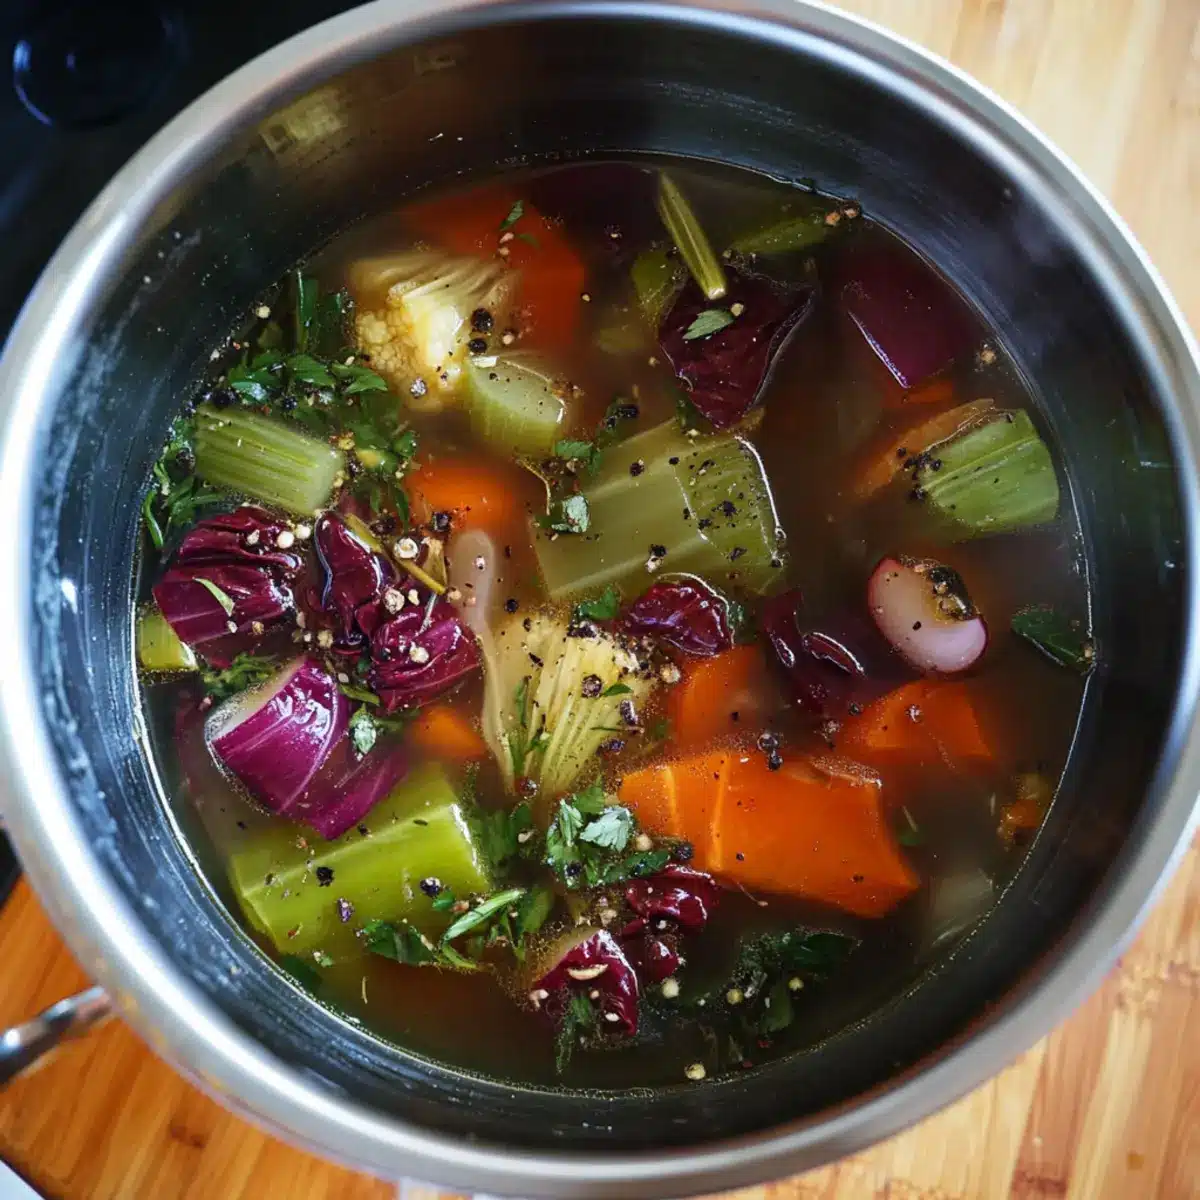
Step 2: Prepare the Pot
Remove the vegetable scraps from the freezer and place them into a large stainless steel pot. This sturdy pot will help maintain even heat during simmering. Take a moment to visually check the scraps for freshness and quality, ensuring they are ready to impart their flavors into the broth.
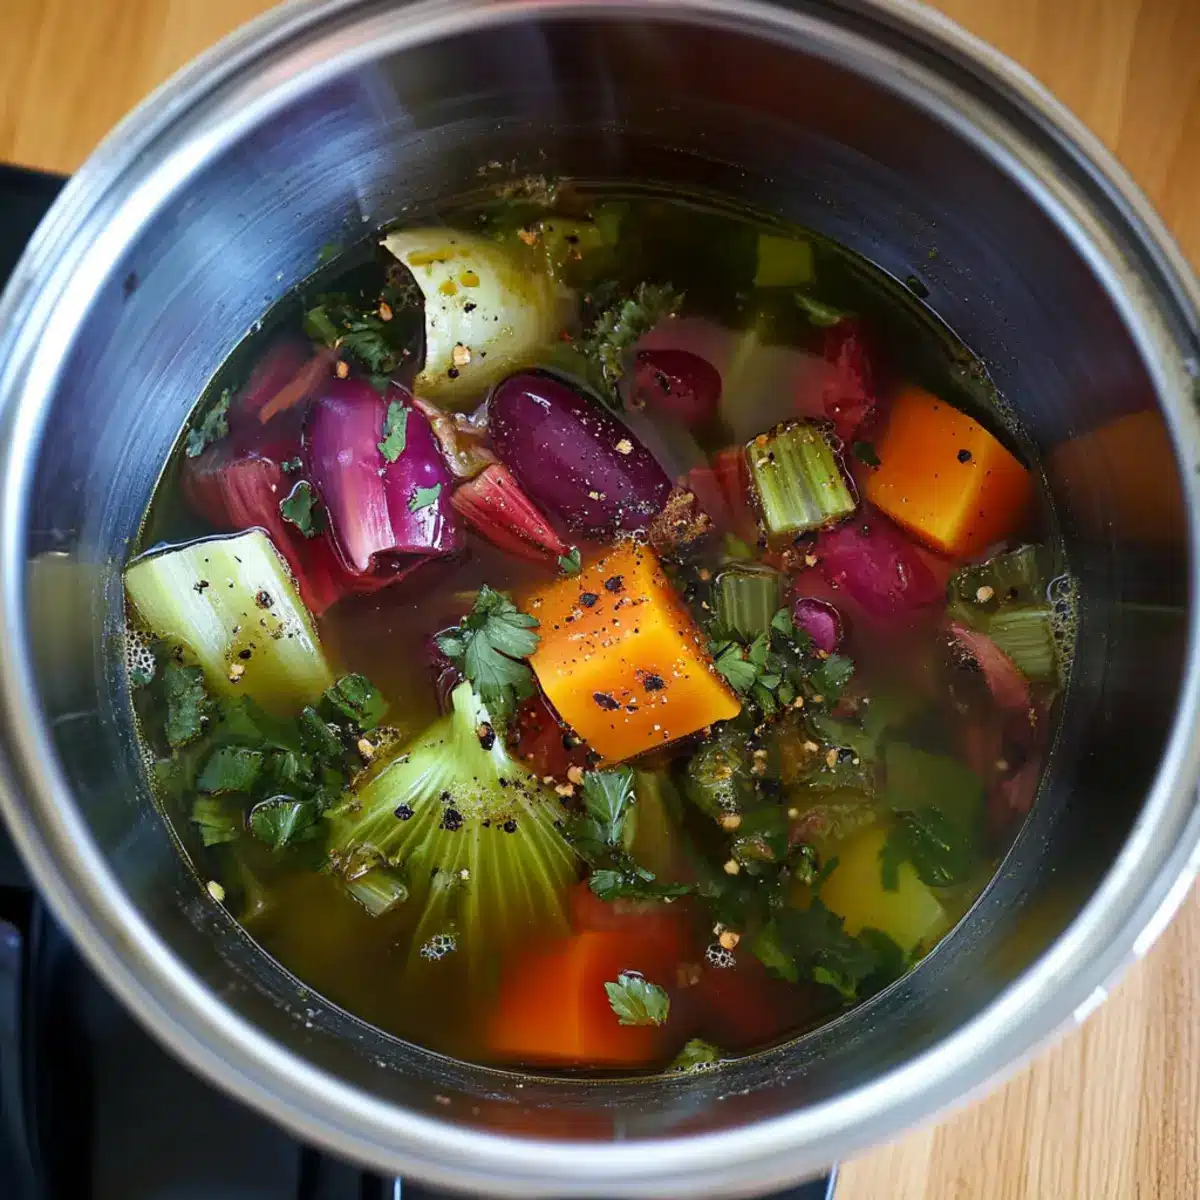
Step 3: Add Water
Fill the pot with approximately 4 gallons of filtered water, covering the vegetable scraps completely. The water serves as the essential base for extracting flavors and nutrients, so choosing filtered water is key for a clean and vibrant broth. Ensure the pot is not overfilled to prevent boiling over during cooking.
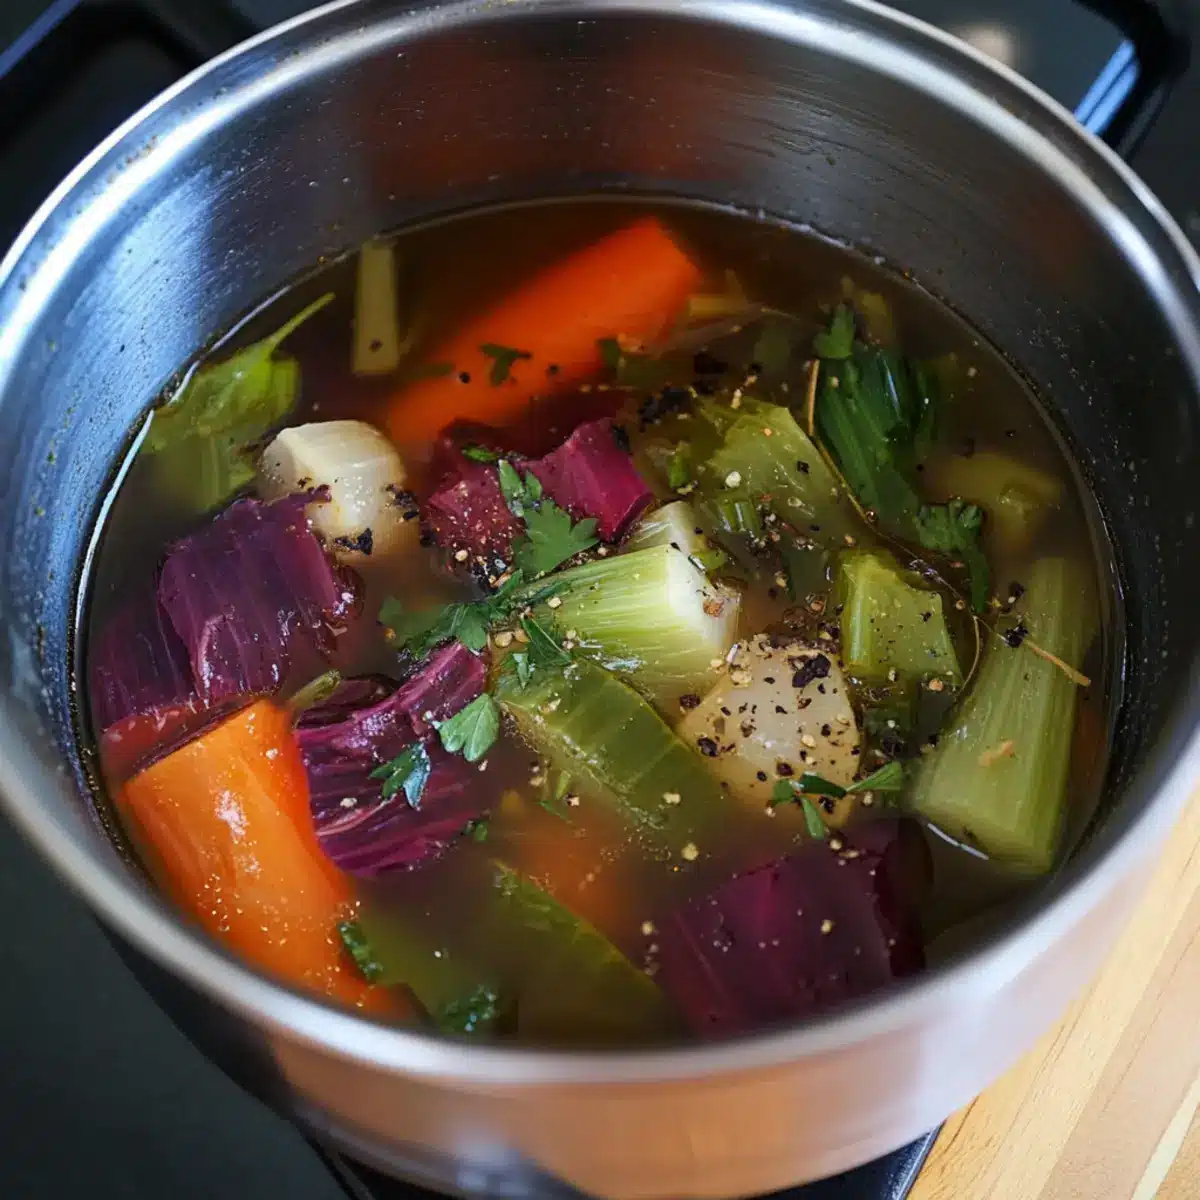
Step 4: Season the Broth
Add 2-3 bay leaves, a handful of dried oregano, and several cracks of fresh ground pepper into the pot. These aromatic additions will create a beautifully savory profile for your broth. Stir everything gently to combine the ingredients, ensuring the seasonings are distributed evenly among the vegetable scraps.
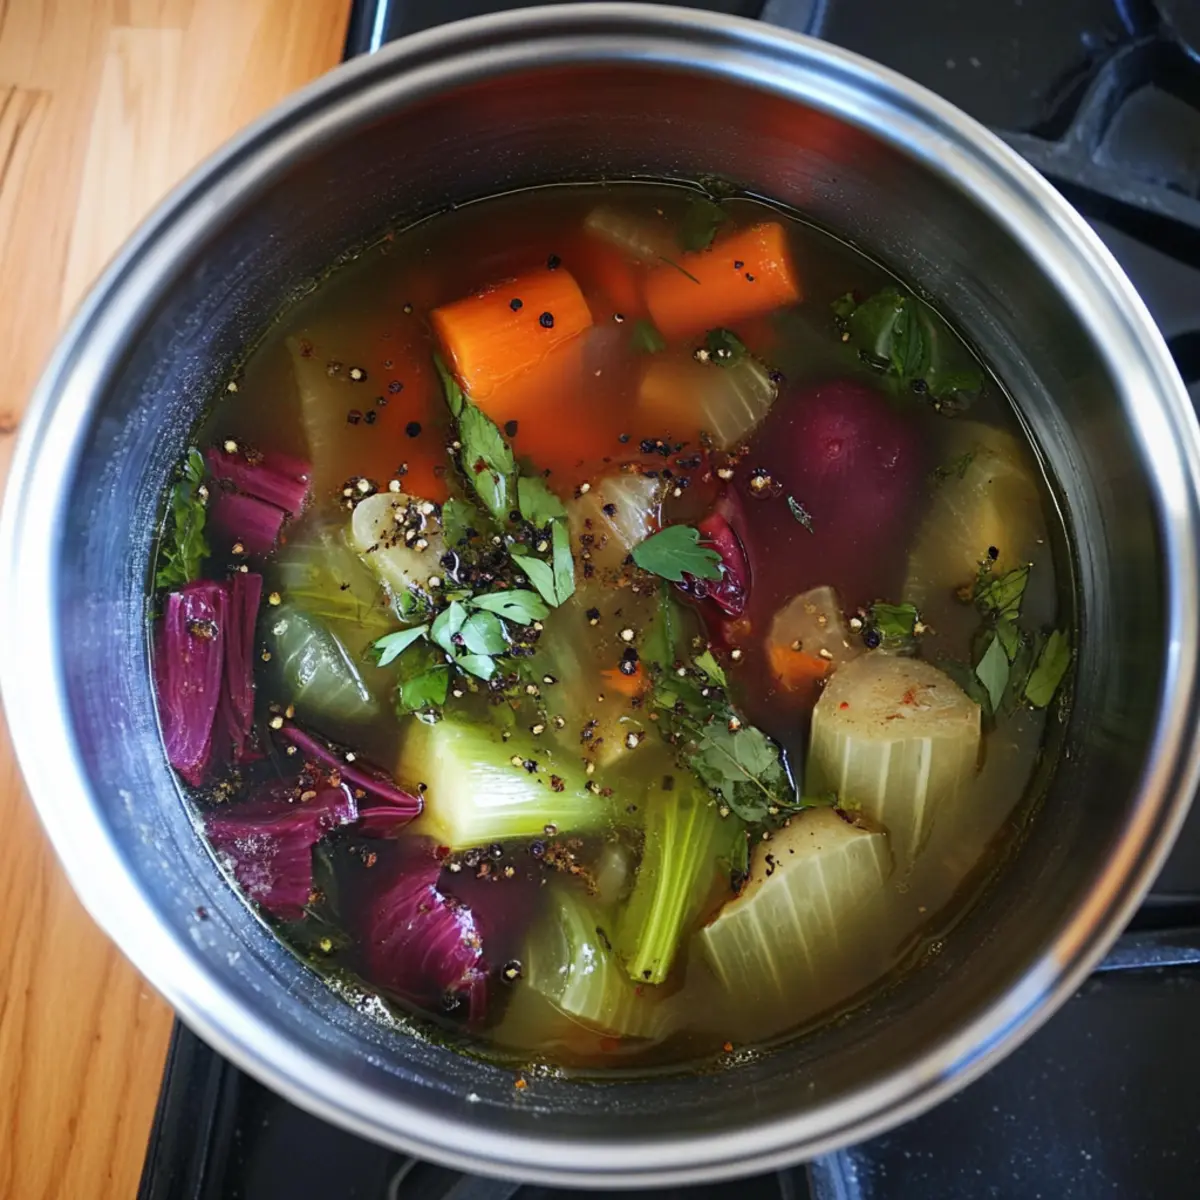
Step 5: Bring to a Boil
Heat the pot over medium-high heat until the mixture comes to a vigorous boil, which should take about 10-15 minutes. Once you see a rolling boil, reduce the heat to low. This transition is crucial for developing the deep flavors found in your homemade vegetable broth over time.
Step 6: Simmer for Flavor
Cover the pot and let the broth simmer gently for 2-4 hours. The longer you simmer, the richer the flavor becomes, so aim for full immersion in taste. You’ll know it’s ready when the broth has turned a deep amber color and the aroma fills your kitchen, coaxing your family to gather around.
Step 7: Cool Down the Broth
After simmering, allow the broth to cool for a couple of hours, leaving the lid on to retain warmth. This step also ensures safety when handling hot liquids. As the broth cools, the flavors meld together beautifully, creating a comforting base for future meals.
Step 8: Strain the Broth
Once cooled, place a large bowl under a fine mesh strainer and carefully pour the broth through it, discarding the vegetable scraps. This step will give you a clear and aromatic broth, ready for cooking. Take a moment to appreciate the vibrant color before storing your precious homemade vegetable broth.
Step 9: Store Your Broth
Transfer the strained broth into sanitized glass jars, sealing them tightly. It can be stored in the refrigerator for up to 3 days or frozen in ice cube trays for up to 3 months. Freezing in portions allows for easy access whenever you’re ready to infuse meals with your nourishing homemade vegetable broth magic.
Make Ahead Options
These No-Waste Homemade Vegetable Broth preparations are perfect for meal prep enthusiasts looking to save time during busy weeknights! You can collect your vegetable scraps and store them in the freezer for up to 3 months before making your broth. When ready to cook, simply thaw the scraps in the refrigerator overnight, then follow the same simmering process for delicious results. Additionally, the strained broth can be refrigerated for up to 3 days or frozen in ice cube trays, ensuring you always have portions ready to elevate your dishes. By preparing ahead of time, you maintain quality and enjoy homemade flavor without the last-minute rush!
What to Serve with No-Waste Homemade Vegetable Broth
Imagine the warm embrace of aromas wafting through your kitchen as you build a delightful meal anchored by this nourishing broth.
-
Creamy Risotto: The rich flavor of risotto made with this broth creates a luxurious texture that is simply irresistible. Each spoonful becomes a creamy delight, blending beautifully with the savory undertones of the broth.
-
Savory Vegetable Soup: A hearty vegetable soup packed with seasonal ingredients leverages the broth’s depth, making a comforting, soul-warming dish perfect for chilly evenings.
-
Crusty Bread: A loaf of freshly baked, crusty bread is perfect for soaking up the savory warmth of the broth, turning each bite into a delightful experience.
-
Herbed Quinoa Salad: This fluffy salad prepared with your homemade broth adds fragrant flavor, complementing the freshness of herbs and crunchy vegetables with nutritious flair.
-
Simple Green Salad: Bright greens tossed with a light vinaigrette offer a refreshing contrast to the richness of the broth, adding texture and a burst of freshness to your meal.
-
Green Beans Almondine: Sautéing green beans in a bit of broth adds flavor while toasting almonds brings a delightful crunch, creating a well-rounded side dish.
-
Roasted Root Vegetables: Following up with lightly roasted vegetables, seasoned with herbs, adds a sweet and savory element, accentuating the homemade broth’s flavor profile.
-
A Glass of White Wine: A crisp, chilled glass of white wine pairs beautifully, enhancing the lively notes of brightness found in the broth’s depth and flavor.
-
Warm Apple Crisp: To finish your meal on a sweet note, a warm apple crisp adds a cozy ending that complements the savory warmth of your vegetable broth. The tartness of apples nestled in cinnamon brings comfort to your heart.
How to Store and Freeze Homemade Vegetable Broth
Fridge: Store your homemade vegetable broth in sanitized, airtight containers for up to 3 days. This way, you can enjoy its fresh flavors in your favorite dishes right away.
Freezer: To extend the life of your broth, freeze it in ice cube trays for easy portioning. Once frozen, transfer the cubes to a resealable plastic bag for up to 3 months of delicious convenience.
Reheating: When ready to use, simply thaw the broth cubes in the fridge overnight, or reheat directly in a saucepan over medium heat until hot. Enjoy the comforting taste of homemade vegetable broth in every sip!
Homemade Vegetable Broth Variations
Feel free to explore these delightful twists that will elevate your homemade vegetable broth to new levels of flavor and nourishment!
-
Herb Swap: Replace dried oregano with fresh thyme or parsley for a garden-fresh taste. This brings a vibrant aroma to your broth that feels like a walk in the herb garden.
-
Miso Magic: Stir in a spoonful of miso paste after straining for an instant umami boost. It creates a rich, savory depth that enhances the nutrient profile of your broth beautifully.
-
Zesty Infusion: Add slices of ginger or lemon for a bright, tangy note. This twist adds a refreshing flair perfect for warm days or when you’re feeling under the weather.
-
Spicy Kick: Toss in a few red pepper flakes or slices of jalapeño to spice things up. This will give your broth a warm zing that can awaken your taste buds in any dish.
-
Coconut Cream: For a creamy texture, mix in a spoonful of coconut cream just before serving. This variation is perfect for a richer feel, providing both flavor and comfort.
-
Italian Kick: Incorporate sun-dried tomatoes and basil for a Mediterranean twist. This combination can transform your broth into a flavorful base for a comforting risotto or pasta dish.
-
Smoky Flavor: Add a bit of smoked paprika or a few pieces of smoked vegetables for a deeper, more robust flavor profile. This will infuse your broth with a warming, smoky essence perfect for autumn.
-
Nutritional Boost: Toss in some kale or spinach during the last hour of simmering to enhance the nutritional value of your broth. These leafy greens not only enrich your broth but also add vibrant color and flavor!
For additional comfort foods that complement your new broth creations, consider checking out this Homemade Garlic Rosemary bread or indulge in some delicious Homemade Chocolate Milk as a sweet treat on the side.
Expert Tips for Homemade Vegetable Broth
-
Scrap Selection: Avoid using scraps from bitter vegetables like asparagus or artichokes, as they can negatively impact the taste of your homemade vegetable broth.
-
Quality Matters: Always choose organic vegetable scraps to minimize pesticide residue, ensuring a clean and flavorful broth.
-
Patience is Key: Longer simmering times—aim for 4 hours—extract deeper flavors, so don’t rush this step; your broth deserves time to develop richness.
-
Proper Storage: Ensure your containers are sanitized before storing the broth to prevent spoilage; vacuum sealing can extend shelf life even more.
-
Flexible Seasoning: Feel free to substitute dried oregano with other herbs, like thyme or basil, to customize the flavor profile of your homemade vegetable broth.
No-Waste Homemade Vegetable Broth Recipe FAQs
What vegetable scraps can I use for the broth?
Absolutely! You can use a variety of vegetable scraps like carrot peels, onion skins, celery tops, and mushroom stems. Just be cautious to avoid using scraps from bitter vegetables like asparagus or artichokes, as they can adversely affect the flavor of your broth.
How should I store my homemade vegetable broth?
To keep your broth fresh, store it in sanitized, airtight containers in the refrigerator for up to 3 days. If you want to keep it longer, freezing is an excellent option! Pour the broth into ice cube trays for easy portioning, and once frozen, transfer the cubes into resealable plastic bags for up to 3 months.
Can I freeze homemade vegetable broth?
Of course! Freezing is a fantastic way to extend the life of your broth. After you’ve strained your broth, allow it to cool completely before transferring it to ice cube trays. Once frozen, remove the cubes and store them in a freezer bag or airtight container—for easy access whenever you need a dose of homemade goodness!
What are some common problems when making broth?
One common issue is bitterness, often caused by using scraps from vegetables like artichokes or asparagus. If you find your broth turns out too strong or sharp, consider adding a splash of lemon juice to brighten the flavor. Always make sure to taste as you go and adjust the seasoning accordingly for a well-balanced broth.
Is this vegetable broth suitable for my pets?
While homemade vegetable broth can be nourishing, double-check the ingredients! Onions and garlic, commonly used in broth, can be harmful to pets. If you want to create a version for your furry friends, stick to safe vegetables like carrots, sweet potatoes, and green beans, and avoid any seasoning.
How long can I simmer my vegetable broth for?
You can simmer your broth for anywhere between 2 to 4 hours, but if you’re in the mood for deeper flavor, aim for the full 4 hours. The longer simmering time allows the flavors to meld beautifully, resulting in a richly aromatic broth. Just make sure to keep an eye on the pot and add more water if it gets too low!
Nourishing Homemade Vegetable Broth for a Flavorful Life
Ingredients
Equipment
Method
- Gather enough vegetable scraps to fill 1-2 gallon freezer bags over a few weeks, avoiding bitter scraps like asparagus.
- Remove vegetable scraps from the freezer and place them into a large stainless steel pot.
- Fill the pot with approximately 4 gallons of filtered water, ensuring the scraps are completely covered.
- Add 2-3 bay leaves, a handful of dried oregano, and several cracks of fresh ground pepper, stirring gently.
- Heat the pot over medium-high heat until it comes to a vigorous boil, which takes about 10-15 minutes.
- Reduce the heat to low and let the broth simmer for 2-4 hours.
- Allow the broth to cool for a couple of hours, keeping the lid on to retain warmth.
- Pour the broth through a fine mesh strainer into a large bowl, discarding the vegetable scraps.
- Transfer the strained broth into sanitized glass jars, sealing them tightly.
Leave a Reply