
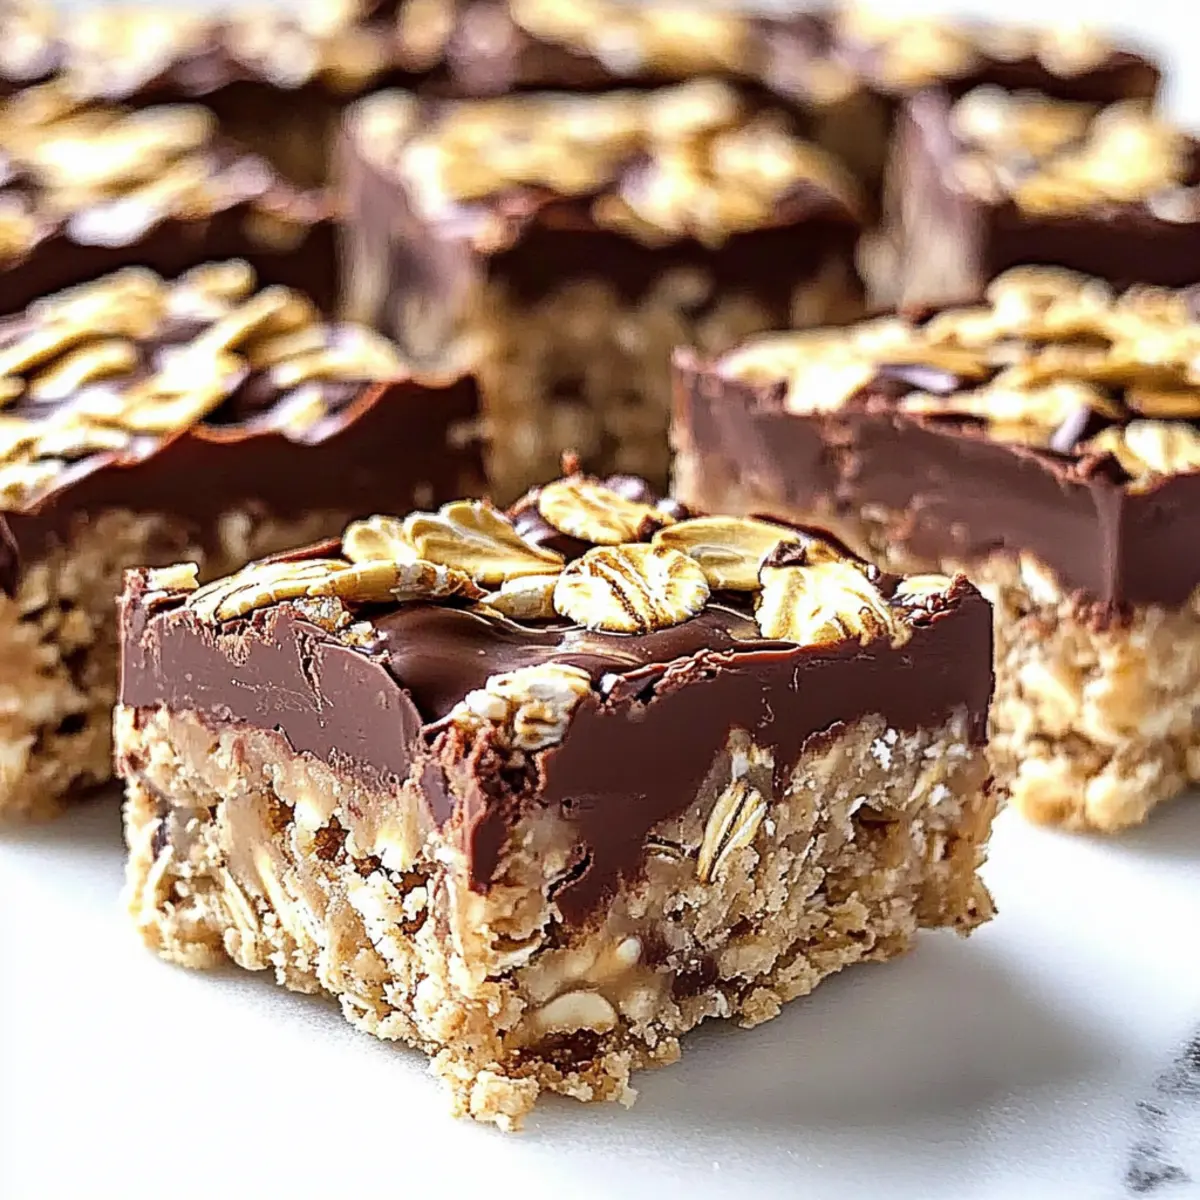
In a moment of kitchen inspiration, I realized that cravings for something sweet don’t have to mean spending hours slaving over a hot stove. That’s when I discovered these No Bake Chocolate Peanut Butter Oatmeal Bars. They are nothing short of glorious with their chewy oats, creamy chocolate, and rich peanut butter filling. Even better, they take just 15 minutes of hands-on time, making them the ultimate in convenience dessert recipes. These bars are a delightful way to satisfy your sweet tooth without the fuss—perfect for busy days or spontaneous snacking. Whether you’re entertaining friends or just indulging yourself, I promise they’ll be gone before you know it. Ready to whip up a batch? Let’s dive into the recipe and uncover the joy of no-baking!
Why opt for no-bake bars?
Convenience: These No Bake Chocolate Oatmeal Bars come together in just 15 minutes! There’s no fuss with ovens, which means less time in the kitchen and more time enjoying your treat.
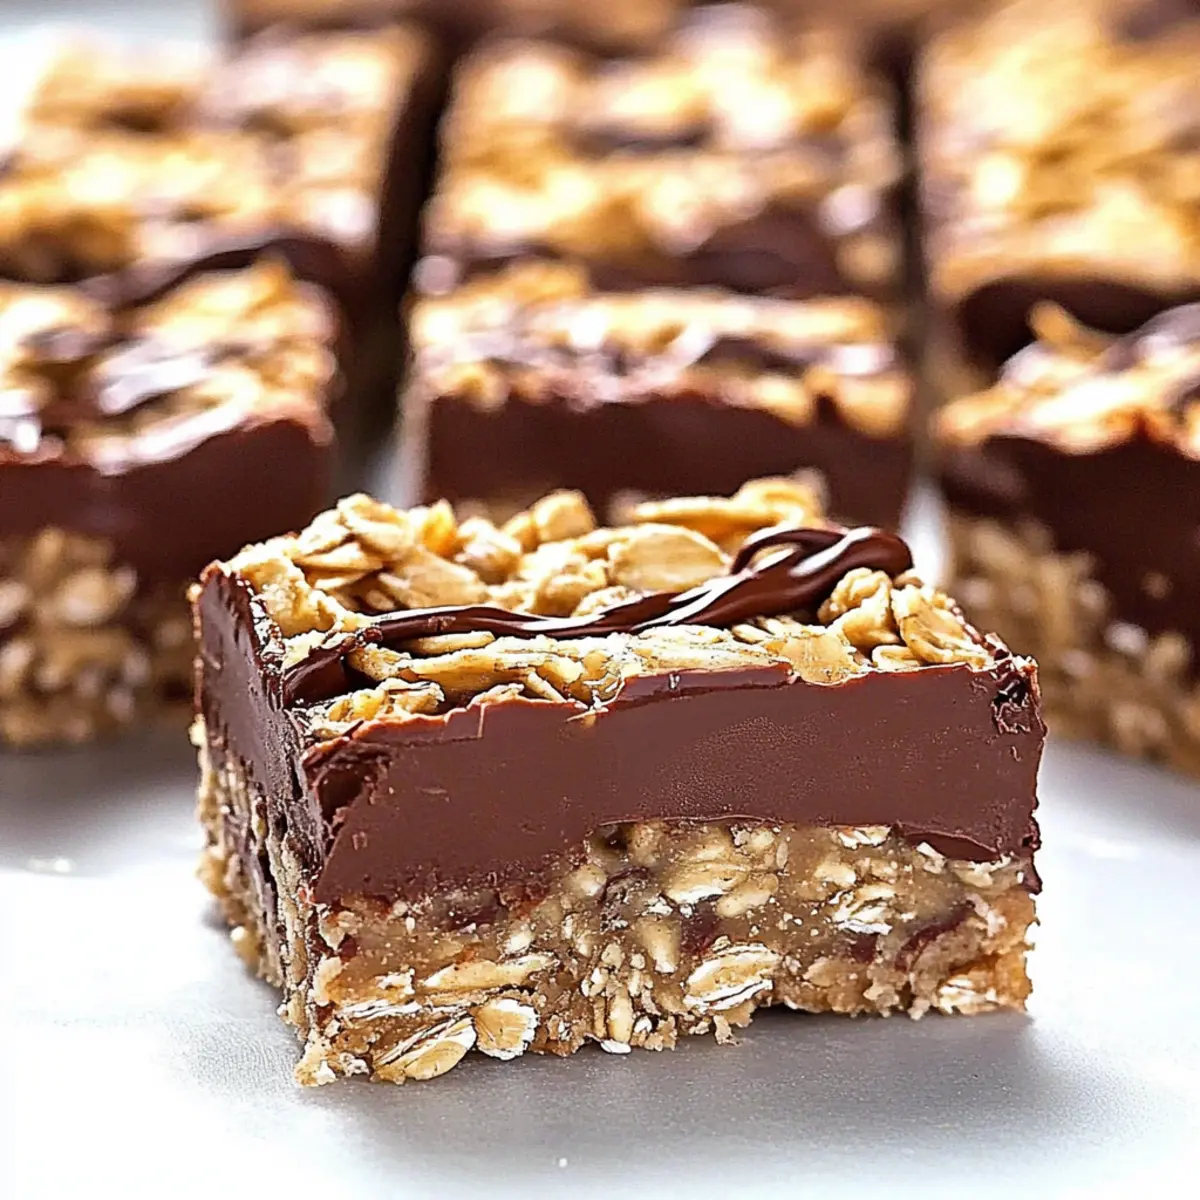
Irresistible Texture: The combination of chewy oats and creamy peanut butter creates a beautifully satisfying bite that’s just as fun to make as it is to eat.
Flavor Explosion: Each bar is rich with chocolatey goodness and a delightful nutty undertone from peanut butter, offering a sweet indulgence that’s hard to resist.
Versatile Variations: Feel free to customize! Toss in your favorite nuts or dried fruits, or even add a sprinkle of sea salt for that perfect sweet-and-salty combo. Check out my recipes for Peanut Butter Chocolate or Salmon Sushi Bake for more easy treats!
Crowd-Pleaser: Perfect for parties, snacks, or lunchboxes, these bars are a hit with both kids and adults. With flavors that appeal to everyone, they’re sure to disappear quickly!
No Bake Chocolate Oatmeal Bars Ingredients
For the Base
• Butter – Provides richness and helps bind the ingredients; substitute with coconut oil for a dairy-free option.
• Brown Sugar – Adds sweetness and contributes to a chewy texture; both light and dark brown sugar work well.
• Vanilla Extract – Enhances the flavor complexity; always opt for pure vanilla extract for the best taste.
• Rolled Oats – Essential for structure and chewiness; quick oats can be used for a softer texture, but beware of the alter to chewiness.
For the Filling
• Chocolate Chips – Provides a melty, sweet chocolate layer; feel free to use dark chocolate or milk chocolate based on your preference.
• Peanut Butter – Adds a delicious creamy texture and nutty flavor; substitutes can include almond butter or sun butter for those with peanut allergies.
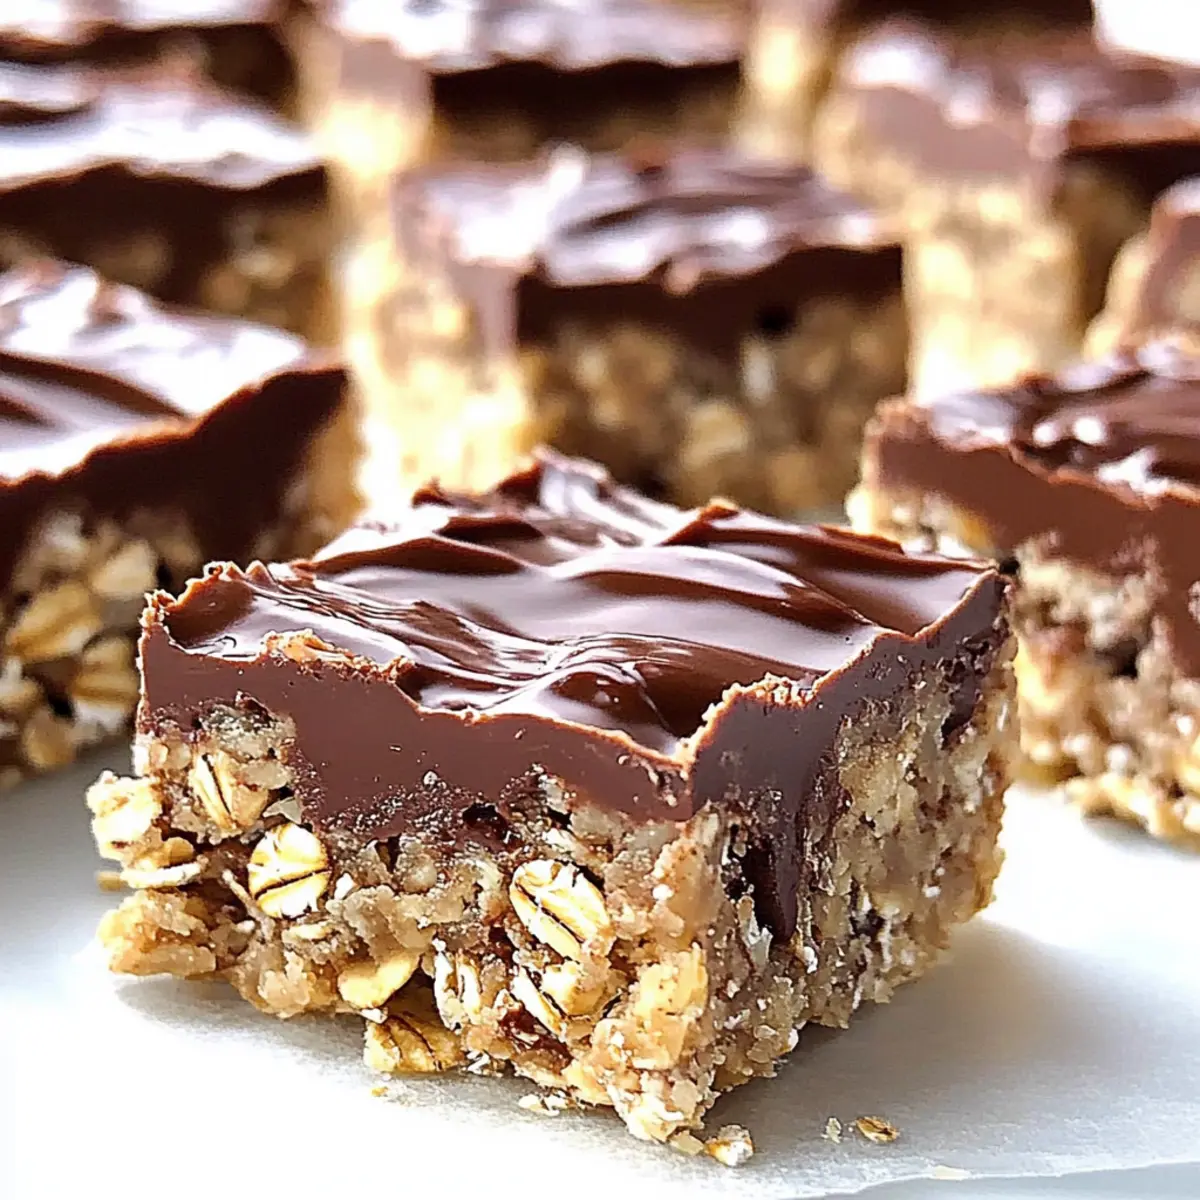
These No Bake Chocolate Oatmeal Bars are a delightful way to enjoy sweet cravings without turning on the oven—a quick and delicious treat!
Step‑by‑Step Instructions for No Bake Chocolate Oatmeal Bars
Step 1: Prepare the Baking Dish
Start by lining an 8-inch or 9-inch square baking dish with parchment paper. Allow the parchment to hang over the edges, as this will make it easier to lift the bars out later. Set the prepared dish aside so you can focus on the delicious filling for your No Bake Chocolate Oatmeal Bars.
Step 2: Melt the Base Ingredients
In a large saucepan, melt ½ cup of butter and ¾ cup of brown sugar over medium heat. Stir the mixture regularly for about 3–5 minutes until the sugar is fully dissolved and the mixture is smooth and slightly bubbling. Once combined, remove from heat and stir in 1 teaspoon of vanilla extract, enhancing the flavor of your base.
Step 3: Mix in the Oats
Add 2 cups of rolled oats to the melted butter mixture in the saucepan. Cook on low heat for an additional 3–4 minutes, stirring frequently until the oats are well-coated and the mixture is warm. Look for a slightly sticky consistency that will form the chewy base of your No Bake Chocolate Oatmeal Bars.
Step 4: Form the Base Layer
Pour half of the oat mixture into the lined baking dish and press it down evenly using a spatula or your hands. Aim for a compact, even layer that will form a sturdy crust for your bars. Be sure to press firmly so the mixture holds together well after chilling.
Step 5: Create the Chocolate Filling
In a microwave-safe bowl, combine 1 cup of chocolate chips and ½ cup of peanut butter. Microwave them together in 30-second intervals, stirring in between, until melted and smooth—this should take about 1–2 minutes in total. The melted mixture will be glossy and should blend seamlessly into a creamy filling.
Step 6: Spread the Chocolate Mixture
Carefully spread the chocolate and peanut butter mixture over the oat crust in the baking dish, ensuring it covers the base evenly. Leave about ¼ cup of the chocolate mixture aside for drizzling later. Smooth the surface with a spatula to achieve an even layer that looks irresistible.
Step 7: Add the Top Layer
Take the remaining oat mixture and crumble it over the chocolate filling, pressing it down gently to create the top layer of your No Bake Chocolate Oatmeal Bars. Ensure it’s evenly distributed, with no bare spots visible, as this will lock in the delicious flavors from the filling underneath.
Step 8: Drizzle the Topping
Retrieve the reserved chocolate mixture and drizzle it over the top of the oat layer. Use a spoon or piping bag to create fun patterns or stripes, adding an appealing finish to your bars. This step not only enhances the visual appeal but also adds an extra layer of chocolatey goodness.
Step 9: Chill and Set
Cover the baking dish with plastic wrap or foil and refrigerate for 2–3 hours or preferably overnight. This will allow the No Bake Chocolate Oatmeal Bars to firm up nicely. Check for a solid consistency before removing from the fridge, as they need to cool completely to hold their shape when cut.
Step 10: Slice and Serve
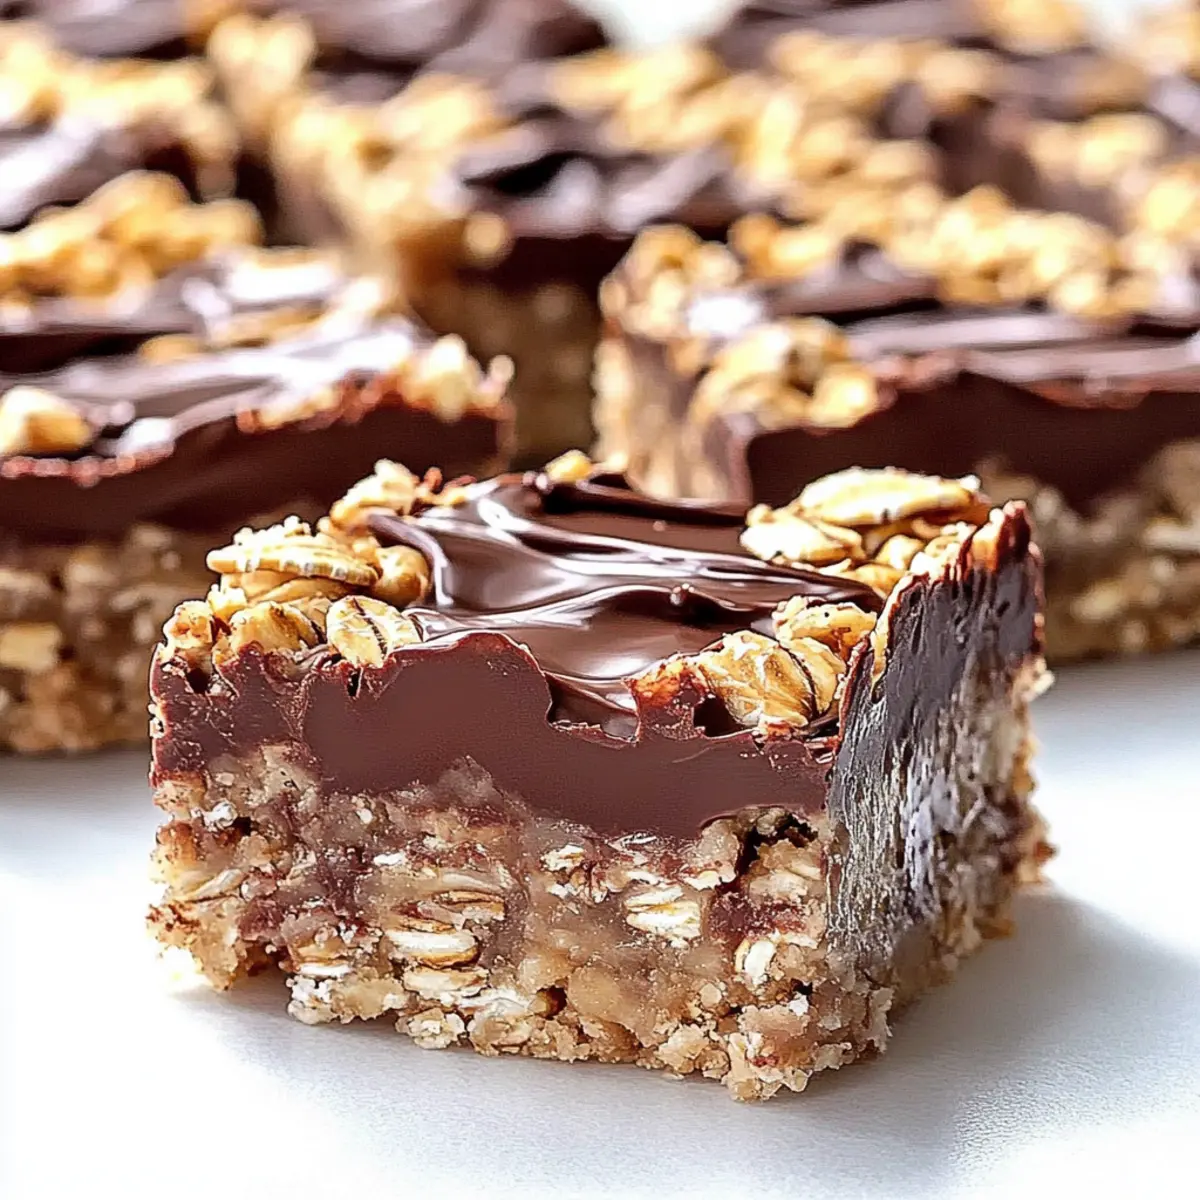
Once set, lift the bars out of the dish using the overhanging parchment. Place them on a cutting board and slice them into bars or squares as desired. Serve your delicious No Bake Chocolate Oatmeal Bars at room temperature, and watch them disappear quickly—everyone will love this easy, sweet treat!
Make Ahead Options
These No Bake Chocolate Oatmeal Bars are fantastic for meal prep enthusiasts! You can prepare the oat base and the chocolate filling up to 24 hours in advance, ensuring that your snack cravings are easily satisfied. Simply follow the initial steps of melting the butter and sugar, mixing in the oats, and preparing the chocolate mixture, then layer them in the baking dish as instructed. To maintain quality, refrigerate the layers tightly covered until you’re ready to drizzle and finish the bars. When it’s time to enjoy, just chill them for an additional hour if needed, and then slice into bars. You’ll have delicious treats ready to go without any fuss!
No Bake Chocolate Oatmeal Bars Variations
Feel free to elevate these delightful bars with your own personal touch for an even more scrumptious experience!
-
Coconut Flakes: Mix in unsweetened coconut flakes for a tropical flavor that pairs beautifully with chocolate and peanut butter. It’s like bringing a little island vibe to your kitchen!
-
Nuts Galore: Fold in your favorite chopped nuts—like almonds or hazelnuts—for added crunch. Not only do they enhance texture, but they also infuse a nutty richness that’s simply irresistible.
-
Dried Fruit: Add a handful of dried fruits such as cranberries or raisins for a sweet, chewy twist. They offer a burst of flavor that complements the chocolate and oats perfectly.
-
Extra Chocolate: Swap out a portion of the oats for chocolate oats to double down on the chocolatey goodness. It’s a fun twist that serious chocoholics will absolutely love!
-
Caramel Drizzle: Drizzle warm caramel sauce over the top for a gooey, decadent finish. This takes the bars to a whole new level of indulgence, creating a sweet surprise in every bite.
-
Sea Salt Sprinkle: Sprinkle a pinch of flaky sea salt on top right before chilling. This adds a delightful contrast to the sweetness, making each bite more complex and satisfying.
-
Spicy Kick: For those who dare, add a pinch of cayenne pepper or chili powder to the chocolate mixture. The heat will create a surprising yet delightful contrast with the sweetness!
-
Nut Butter Swap: Substitute peanut butter with almond butter or sun butter for a change in flavor. Each alternative brings its own unique taste while still offering that creamy texture.
Feel inspired by these variations to keep your No Bake Chocolate Oatmeal Bars fresh and exciting! And if you’re looking for more delicious dessert ideas, check out my recipes for Oatmeal Crumble Bars and Sokolatina Chocolate Custard!
What to Serve with No Bake Chocolate Oatmeal Bars
Imagine indulging your sweet tooth with these delightful bars while enjoying some warm, comforting sides and drinks that will elevate your experience to the next level.
-
Creamy Vanilla Ice Cream: A scoop of rich vanilla ice cream creates a delightful contrast to the chewy bars, adding a cool creaminess that’s simply irresistible.
-
Fresh Berries: Juicy strawberries or raspberries provide a refreshing tartness that balances the sweetness of the bars, making each bite a flavor celebration.
-
Nutty Granola: Crunchy granola sprinkled on top adds an extra layer of texture and a hint of nutty flavor, perfectly complementing the bars’ chewy oats.
-
Chocolate Dipped Fruit: Pair with slices of banana or strawberries dipped in chocolate for a sweet treat combo that’s perfect for sharing.
-
Milk or Nut Milk: A glass of cold milk, dairy or plant-based, enhances the experience, providing a velvety richness that pairs beautifully with the chocolate and peanut butter.
-
Coffee or Espresso: The bold flavors of coffee contrast wonderfully with the sweetness of the bars, transforming your dessert into a sophisticated treat.
-
Whipped Cream: A dollop of fluffy whipped cream adds a touch of elegance and provides a luscious topping that complements the rich chocolate flavor.
-
Peanut Butter Drizzle: Serve with a drizzle of warm peanut butter on top to ramp up the decadent flavor and enhance that delightful nutty goodness.
-
Chic Hot Chocolate: A cup of creamy hot chocolate can turn your sweet afternoon into a cozy gathering. Adjust the sweetness according to your preference for a perfect match!
Expert Tips for No Bake Chocolate Oatmeal Bars
-
Temperature Control: Keep your butter and sugar mixture over medium heat without boiling for too long; this prevents the bars from becoming dry and crumbly.
-
Chilling Time: For the best texture in your No Bake Chocolate Oatmeal Bars, let them chill overnight. This ensures they hold their shape and firm up perfectly.
-
Sticky Mixture: Make sure your oat mixture is sticky yet moldable; if it’s too dry, your bars may fall apart. Add a tiny bit of melted butter if needed.
-
Even Distribution: Press the layers evenly to avoid any air pockets in your bars. This will help them maintain a consistent texture and flavor throughout.
-
Creative Variations: Don’t hesitate to experiment with different add-ins! Nuts, dried fruits, or a sprinkle of sea salt can elevate your No Bake Chocolate Oatmeal Bars to the next level.
How to Store and Freeze No Bake Chocolate Oatmeal Bars
Fridge: Store your No Bake Chocolate Oatmeal Bars in an airtight container in the refrigerator for up to one week, ensuring they stay fresh and delicious.
Freezer: For longer storage, freeze the bars in an airtight container or freezer bag for up to three months. Make sure to separate layers with parchment paper to prevent sticking.
Thawing: When ready to enjoy, simply remove the bars from the freezer and allow them to thaw completely at room temperature for about 30 minutes before serving.
Reheating: If you prefer a warm treat, you can microwave individual bars for about 10-15 seconds; just keep an eye on them to avoid melting too much.
No Bake Chocolate Oatmeal Bars Recipe FAQs
How do I choose the right bananas for this recipe?
Absolutely! For this recipe, ripe bananas that are slightly soft with a few brown spots are ideal as they provide the best sweetness and mashed consistency. Avoid bananas that are overly bruised or too firm, as they won’t blend well into the mixture.
How should I store No Bake Chocolate Oatmeal Bars?
Very easy! Store the No Bake Chocolate Oatmeal Bars in an airtight container in the refrigerator for up to one week. Make sure they are completely cooled and set to maintain their delicious texture. If you want to keep them longer, see the next question!
Can I freeze No Bake Chocolate Oatmeal Bars?
Certainly! To freeze, place the bars in an airtight container or a freezer bag, separating layers with parchment paper to prevent sticking. They can be stored in the freezer for up to three months. When you’re ready to enjoy a bar, simply remove it from the freezer and let it thaw at room temperature for about 30 minutes.
What can I do if my bars are too crumbly?
No worries! If you find your bars are too crumbly, it may be because the oat mixture didn’t have enough moisture. To fix this, you can melt a little extra butter and drizzle it into the mixture, stirring until the right consistency is achieved. Alternatively, try pressing the mixture down more firmly in the pan before chilling, ensuring it’s compact for better cohesion.
Are these bars safe for kids with peanut allergies?
Absolutely! If you’re making these bars for children with peanut allergies, simply replace the peanut butter with a nut-free alternative such as almond butter or sun butter. Always check labels for allergens to ensure safety, especially in chocolate chips, which can sometimes contain traces of nuts.
Can I use instant oats instead of rolled oats?
Yes! You can use instant oats as a substitute for rolled oats in this recipe. Keep in mind that instant oats will create a softer texture, so your No Bake Chocolate Oatmeal Bars may be less chewy than if you used rolled oats. Just remember to adjust the mixing time to avoid overcooking.
No Bake Chocolate Oatmeal Bars for Quick Sweet Cravings
Ingredients
Equipment
Method
- Line an 8-inch or 9-inch square baking dish with parchment paper, allowing it to hang over the edges.
- Melt the butter and brown sugar in a large saucepan over medium heat, stirring for 3–5 minutes until dissolved.
- Stir in the vanilla extract into the melted mixture.
- Add rolled oats to the melted butter mixture and cook on low heat for 3–4 minutes, stirring until well-coated.
- Pour half of the oat mixture into the lined baking dish and press down evenly to form the base.
- In a microwave-safe bowl, combine chocolate chips and peanut butter; microwave in 30-second intervals until melted.
- Spread the chocolate and peanut butter mixture over the oat crust evenly, reserving ¼ cup for drizzling.
- Crumble the remaining oat mixture over the chocolate filling, pressing down gently to create the top layer.
- Drizzle the reserved chocolate mixture over the top layer, creating patterns.
- Cover and refrigerate for 2–3 hours or overnight until set.
- Lift the bars out of the dish using the parchment paper and slice into bars or squares.
Leave a Reply