
“Mom, can I have a snack?” The question always catches me off guard, especially in that afternoon lull when the last thing I want is to deal with the drive-thru temptation. Enter the Banana Peanut Butter Power Muffins, a delicious solution to those frantic snack requests! These high-protein treats are not just kid-friendly; they provide a nutritious punch that satisfies and fuels busy little bodies. Made with wholesome ingredients like Greek yogurt and cottage cheese, these muffins are moist, naturally sweetened, and perfect for breakfast on the go, lunchboxes, or after-school munchies. The best part? They freeze beautifully, making them a convenient option for those hectic mornings. Curious about how to whip up these delightful muffins while keeping your kids happy and nourished? Let’s dive in!
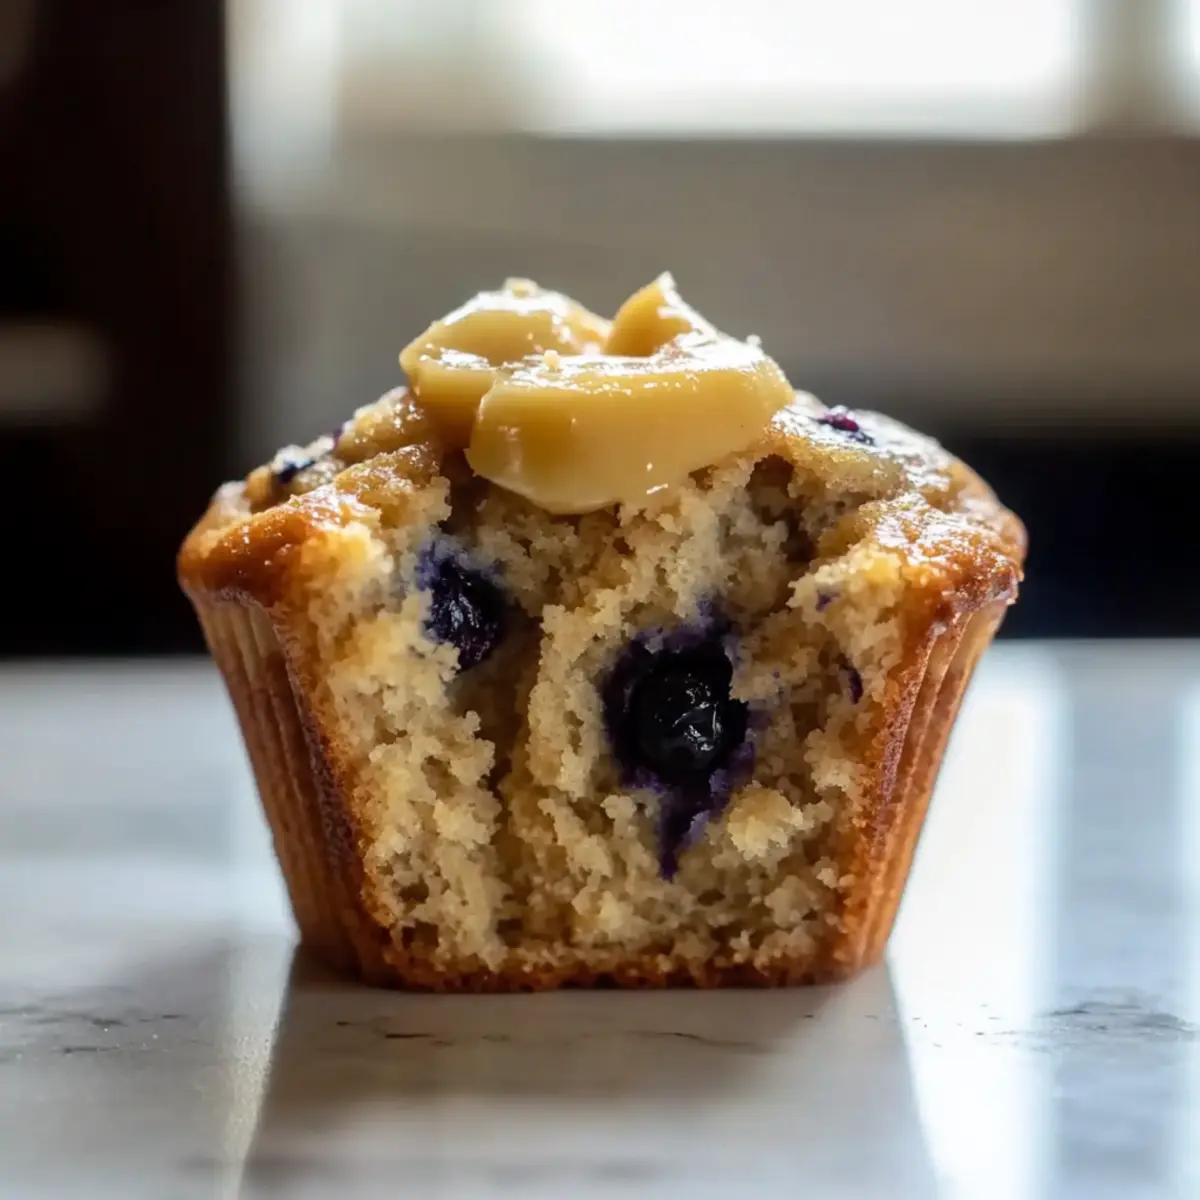
Why Are These Muffins a Must-Try?
Convenient for busy parents, these Banana Peanut Butter Power Muffins are quick to whip up and make a perfect grab-and-go snack. High-Protein goodness comes from Greek yogurt and cottage cheese, offering a nutritious boost without any fuss. Kid-Approved Flavor means your little ones will love them, making it easy to satisfy those snack time cravings. Versatile and Creative—feel free to mix in various fruits or spices for a fun twist! Plus, they freeze wonderfully, ensuring you always have a healthy treat on hand, just like our Peanut Butter Energy balls or Peanut Butter Banana wraps.
Banana Peanut Butter Power Muffin Ingredients
• Get ready to bake these delicious muffins with wholesome ingredients that your kids will love!
For the Muffin Batter
- Banana – Adds natural sweetness and moisture; substitute with applesauce for a lighter option.
- Peanut Butter – Provides richness and healthy fats; almond butter can be used but may slightly change the taste.
- Greek Yogurt – Boosts protein and moisture; any plain yogurt works as a lower-fat alternative.
- Eggs – Binds the ingredients together and adds extra protein; use flax eggs for a vegan version.
- Cottage Cheese – Increases protein content; you can replace it with ricotta cheese for a comparable texture.
- Oats – Offers fiber and structure; gluten-free oats make this recipe suitable for gluten-free diets.
- Cocoa Powder – Adds a delightful chocolate flavor; swap for carob powder if you want a caffeine-free treat.
For the Optional Add-Ins
- Blueberries – Perfectly sweeten and flavor the muffins; feel free to use frozen blueberries if fresh are unavailable.
- Pumpkin Puree – Provides moisture and a subtle taste; substitute with mashed sweet potatoes if preferred.
- Carrots – Contributes fiber and sweetness; zucchini is a great alternative for a different veggie kick.
These Banana Peanut Butter Power Muffins are a delightful blend of flavors and nutrients, turning snack time into a healthy, guilt-free pleasure. Happy baking!
Step‑by‑Step Instructions for Banana Peanut Butter Power Muffins
Step 1: Preheat the Oven
Begin by preheating your oven to 350°F (175°C). While the oven is heating, grab a muffin tin and line it with paper liners to prevent sticking and make cleanup easy. This ensures your Banana Peanut Butter Power Muffins will bake evenly and rise beautifully.
Step 2: Combine Wet Ingredients
In a large mixing bowl, mash ripe bananas until smooth, then mix in peanut butter, Greek yogurt, eggs, and cottage cheese. Use a whisk or electric mixer to blend until you achieve a creamy consistency. This step is essential for incorporating moisture into the batter, making your muffins irresistibly fluffy.
Step 3: Add Dry Ingredients
Next, gently fold in the oats and cocoa powder to the wet mixture. Ensure the dry ingredients are evenly distributed without overmixing; a few lumps are perfectly fine! This crucial step adds structure and flavor to your Banana Peanut Butter Power Muffins, resulting in a delightful texture.
Step 4: Incorporate Optional Add-ins
If you’re using add-ins like blueberries, pumpkin puree, or carrots, carefully stir them into the batter now. This is where you can get creative! Mix until just combined, ensuring even distribution without overworking the batter, retaining that light, fluffy characteristic.
Step 5: Fill Muffin Cups
Spoon the muffin batter into the prepared muffin cups, filling each about 3/4 full. This gives the muffins room to rise without overflowing, ensuring perfectly shaped Banana Peanut Butter Power Muffins.
Step 6: Bake the Muffins
Place the muffin tin in the preheated oven and bake for 15–20 minutes. Keep an eye on them— when golden brown and a toothpick inserted into the center comes out clean, they’re ready!
Step 7: Cool and Serve
Once baked, let the muffins cool in the tin for about 5 minutes, then transfer them to a wire rack to cool completely. This cooling process prevents them from becoming soggy and ensures the perfect texture for your homemade Banana Peanut Butter Power Muffins.
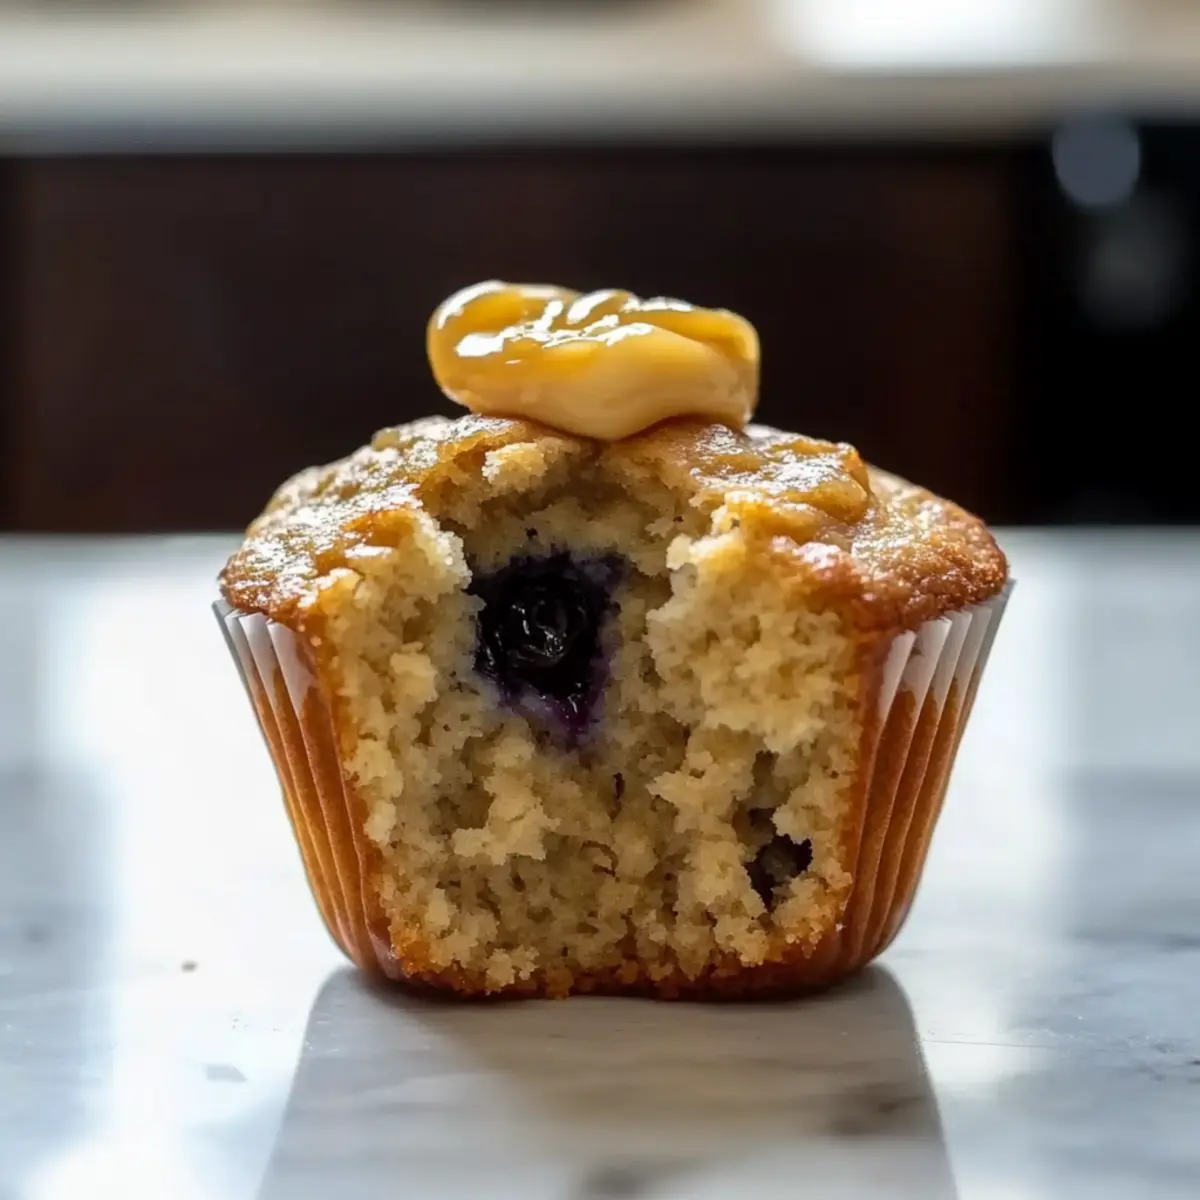
What to Serve with Banana Peanut Butter Power Muffins
These delightful muffins pave the way for a wholesome meal, brimming with energy and flavor.
-
Creamy Yogurt Dip: A smooth yogurt dip complements the muffins, adding a refreshing tang that balances their sweetness and boosting protein intake.
-
Fresh Fruit Salad: A colorful medley of seasonal fruits rounds out the meal, providing hydration and a bright, juicy contrast to the muffins.
-
Nutty Granola: Crunchy granola offers a delightful texture and nutty flavor, perfect for sprinkling atop yogurt or enjoying on its own alongside the muffins.
-
Vegetable Sticks: Crisp, colorful veggie sticks add a crunchy element, packing in freshness and nutrients that balance the muffins’ softness.
-
Milk or Almond Milk: A glass of cold milk makes for an ideal pairing, enhancing the muffins’ flavors and keeping snack time classic and comforting.
-
Chocolate-Covered Strawberries: For a sweet finish, serve these elegant treats. Their rich chocolatey flavor ties beautifully with the peanut butter.
-
Smoothie: Blend up a quick, fruity smoothie to sip alongside. Its creamy texture and fruity flavors make for a nutritious, energizing drink.
-
Fruit-Infused Water: Keep things refreshing with infused water, like cucumber and mint, to cleanse the palate and add a spa-like feel to snack time.
Banana Peanut Butter Power Muffins Variations
Feel free to customize these delicious muffins to suit your family’s taste buds and dietary needs!
-
Dairy-Free: Substitute Greek yogurt and cottage cheese with almond or coconut yogurt for a dairy-free option. Your muffins will still be gloriously moist and satisfying!
-
Nut-Free: Swap peanut butter for sunflower butter to create a nut-free treat that’s safe for school lunches. Kids won’t even notice the difference!
-
Extra Fruity: Toss in chopped apples or pears instead of bananas for a delightful flavor twist! Adding a mix of fruits can keep snack time exciting and delicious.
-
Savory Spin: Experiment by adding finely grated zucchini instead of carrots for a savory muffin that still packs a nutritious punch. These are perfect for those who love a different take on muffins!
-
Spiced Up: Add in some cinnamon or pumpkin pie spice for a warm flavor kick that brings a cozy feel—perfect for those chilly mornings!
-
Chocolate Lover’s Delight: Fold in some dark chocolate chips for an indulgent treat. Just like our Peanut Butter Chocolate muffins, your kids will be begging for more!
-
Protein Boost: Mix in a scoop of protein powder to amp up the protein content. This makes for an even more satisfying snack or breakfast.
Each variation adds a unique twist to the Banana Peanut Butter Power Muffins while keeping them nutritious and family-friendly!
Make Ahead Options
These Banana Peanut Butter Power Muffins are ideal for meal prep enthusiasts looking to save time during busy mornings! You can prepare the batter up to 24 hours in advance by mixing all the wet and dry ingredients, storing it in the refrigerator, and covering it tightly. This not only helps the flavors meld beautifully but also makes for a quicker baking process when you’re ready to enjoy. Additionally, the muffins can be baked and then cooled completely before being frozen for up to three months. To maintain their fluffy texture, store the muffins in an airtight container or freezer bag. When you’re ready to enjoy, simply reheat in the microwave for a delicious snack that’s just as delightful as when they were freshly baked!
How to Store and Freeze Banana Peanut Butter Power Muffins
Fridge: Store your muffins in an airtight container for up to 1 week. This keeps them moist and ready for quick snacking any time.
Freezer: Place muffins in a freezer-safe bag or container, separating layers with parchment paper, to freeze for up to 3 months. Thaw overnight in the fridge for easy morning access.
Reheating: For warm muffins, pop them in the microwave for about 15-20 seconds or warm in the oven at 350°F (175°C) for a few minutes.
Room Temperature: If snacking on the same day, you can leave muffins out at room temperature for up to 2 days in a covered container for that fresh-baked taste.
Expert Tips for Banana Peanut Butter Power Muffins
-
Avoid Overmixing: Gently combine the ingredients; a few lumps are okay. Overmixing can lead to tough muffins, ruining the light texture you’re aiming for.
-
Use Ripe Bananas: Choose very ripe bananas for the best natural sweetness and flavor in your Banana Peanut Butter Power Muffins. The more spots, the better!
-
Check for Doneness: Insert a toothpick into the center; it should come out clean. If it’s still gooey, give the muffins a few extra minutes in the oven to ensure perfect baking.
-
Creative Add-ins: Feel free to mix in things like chocolate chips or nuts, but be mindful not to exceed the original batter amount to maintain the muffins’ structure.
-
Proper Storage: Store your muffins in an airtight container in the fridge for up to a week, or freeze them for busy mornings. Just reheat and enjoy!
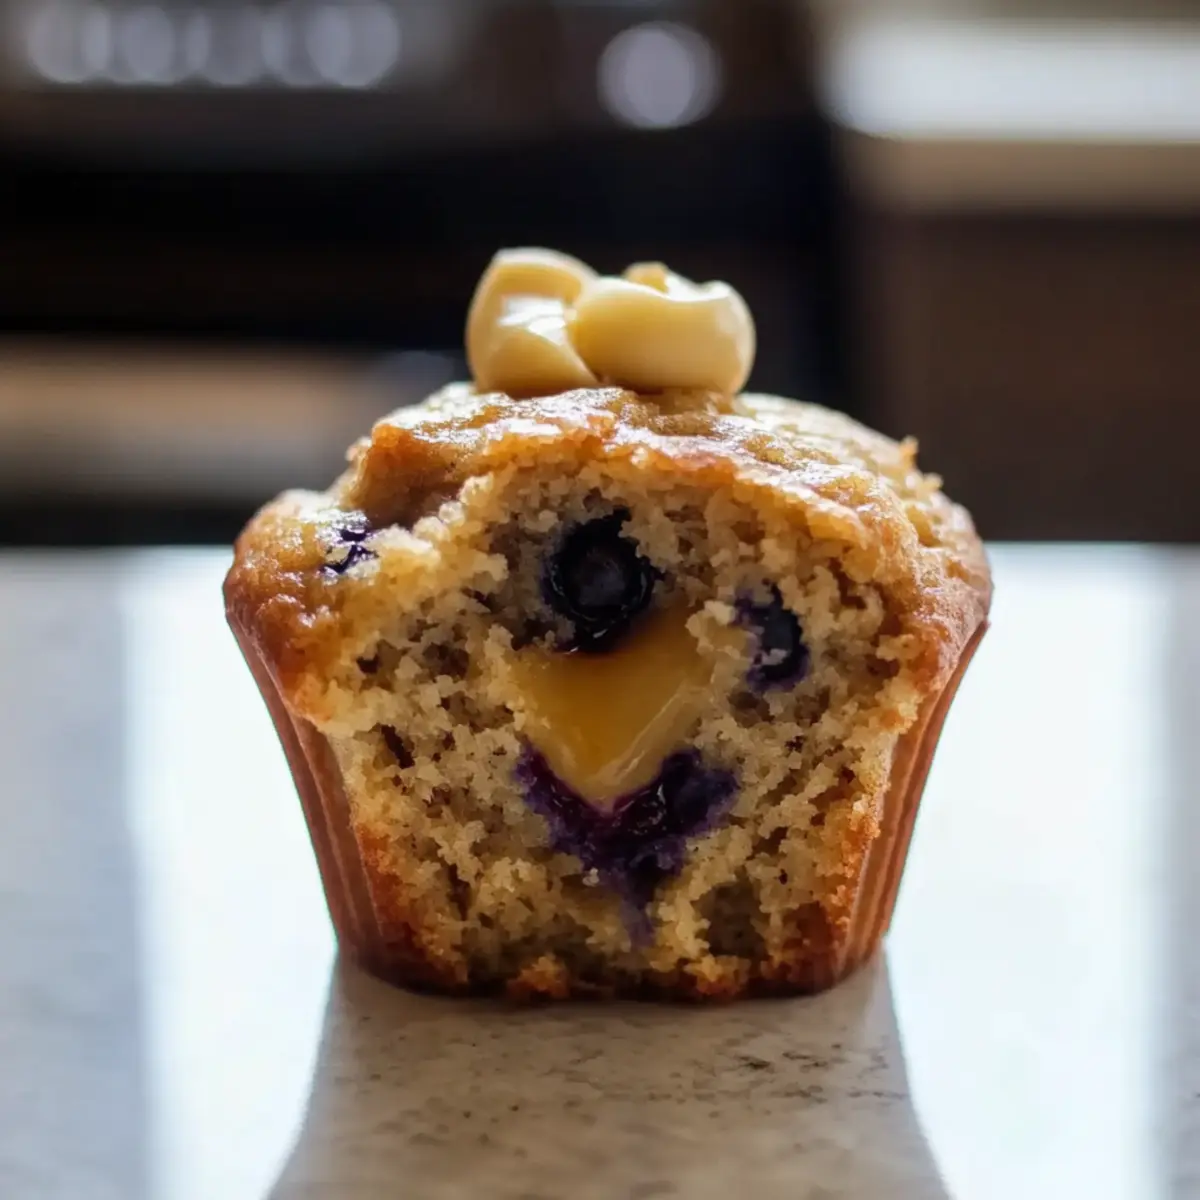
Banana Peanut Butter Power Muffins Recipe FAQs
What type of bananas should I use for the muffins?
Absolutely! For the best natural sweetness and moisture, choose very ripe bananas with plenty of dark spots. They’re softer and sweeter, making them perfect for your Banana Peanut Butter Power Muffins. If you don’t have ripe bananas, you can use applesauce for a lighter flavor alternative.
How should I store the muffins after baking?
The best way to store your muffins is in an airtight container in the fridge for up to 1 week. This keeps them nice and moist, ready to grab whenever those snack cravings hit!
Can I freeze the Banana Peanut Butter Power Muffins?
Very much so! To freeze, place your muffins in a freezer-safe bag or container, separating layers with parchment paper to prevent sticking. They can last up to 3 months in the freezer. Thaw them overnight in the fridge for a quick snack or breakfast on the go!
What if my muffins are too dry?
If your muffins turn out too dry, it may be due to overmixing the batter or baking them for too long. For future batches, remember to gently combine the ingredients, leaving a few lumps for better moisture retention. Also, use very ripe bananas, as they provide natural sweetness and moisture.
Are these muffins suitable for kids with allergies?
Yes! You can tailor the Banana Peanut Butter Power Muffins to accommodate allergies. For a nut-free version, simply use sunflower seed butter instead of peanut butter. You can also use flax eggs in place of regular eggs for a vegan alternative. Just be mindful of any additional add-ins like nuts or specific fruits.
How do I know when the muffins are done baking?
For perfect muffins, insert a toothpick into the center of one; it should come out clean or with just a few moist crumbs. If the toothpick is covered in batter, give them a few more minutes in the oven. They’ll turn golden brown when perfectly baked!
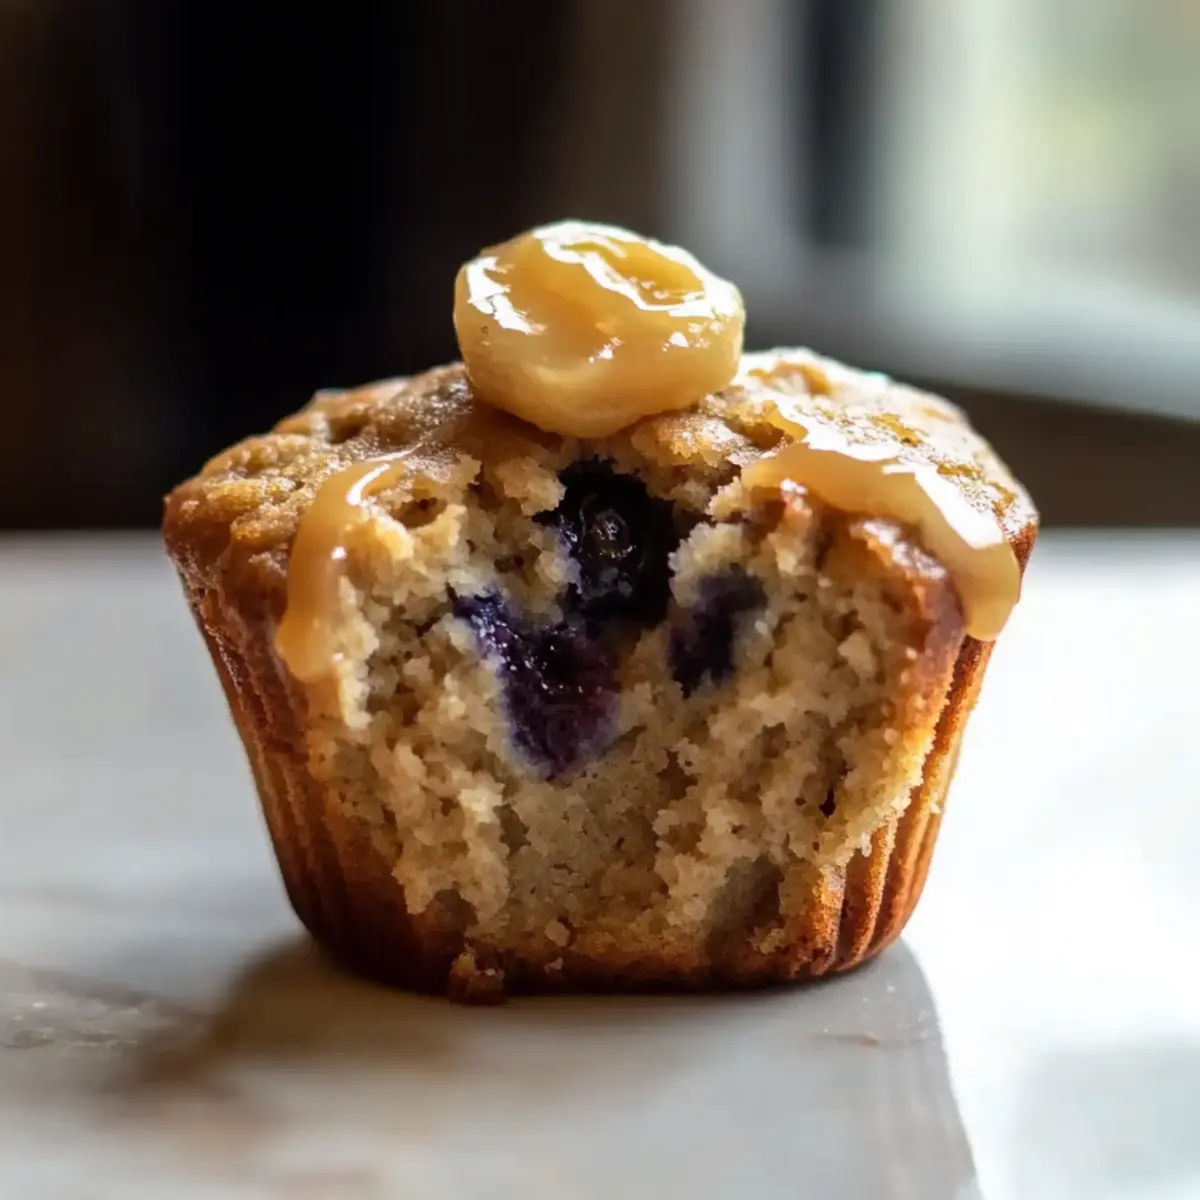
Delicious Banana Peanut Butter Power Muffins for Kids
Ingredients
Equipment
Method
- Preheat your oven to 350°F (175°C) and line a muffin tin with paper liners.
- In a large mixing bowl, mash ripe bananas and mix in peanut butter, Greek yogurt, eggs, and cottage cheese.
- Gently fold in the oats and cocoa powder to the wet mixture.
- Incorporate optional add-ins like blueberries, pumpkin puree, or carrots, stirring carefully.
- Spoon the batter into muffin cups, filling each about 3/4 full.
- Bake for 15–20 minutes until golden brown and a toothpick comes out clean.
- Let cool for about 5 minutes in the tin before transferring to a wire rack.
Leave a Reply