
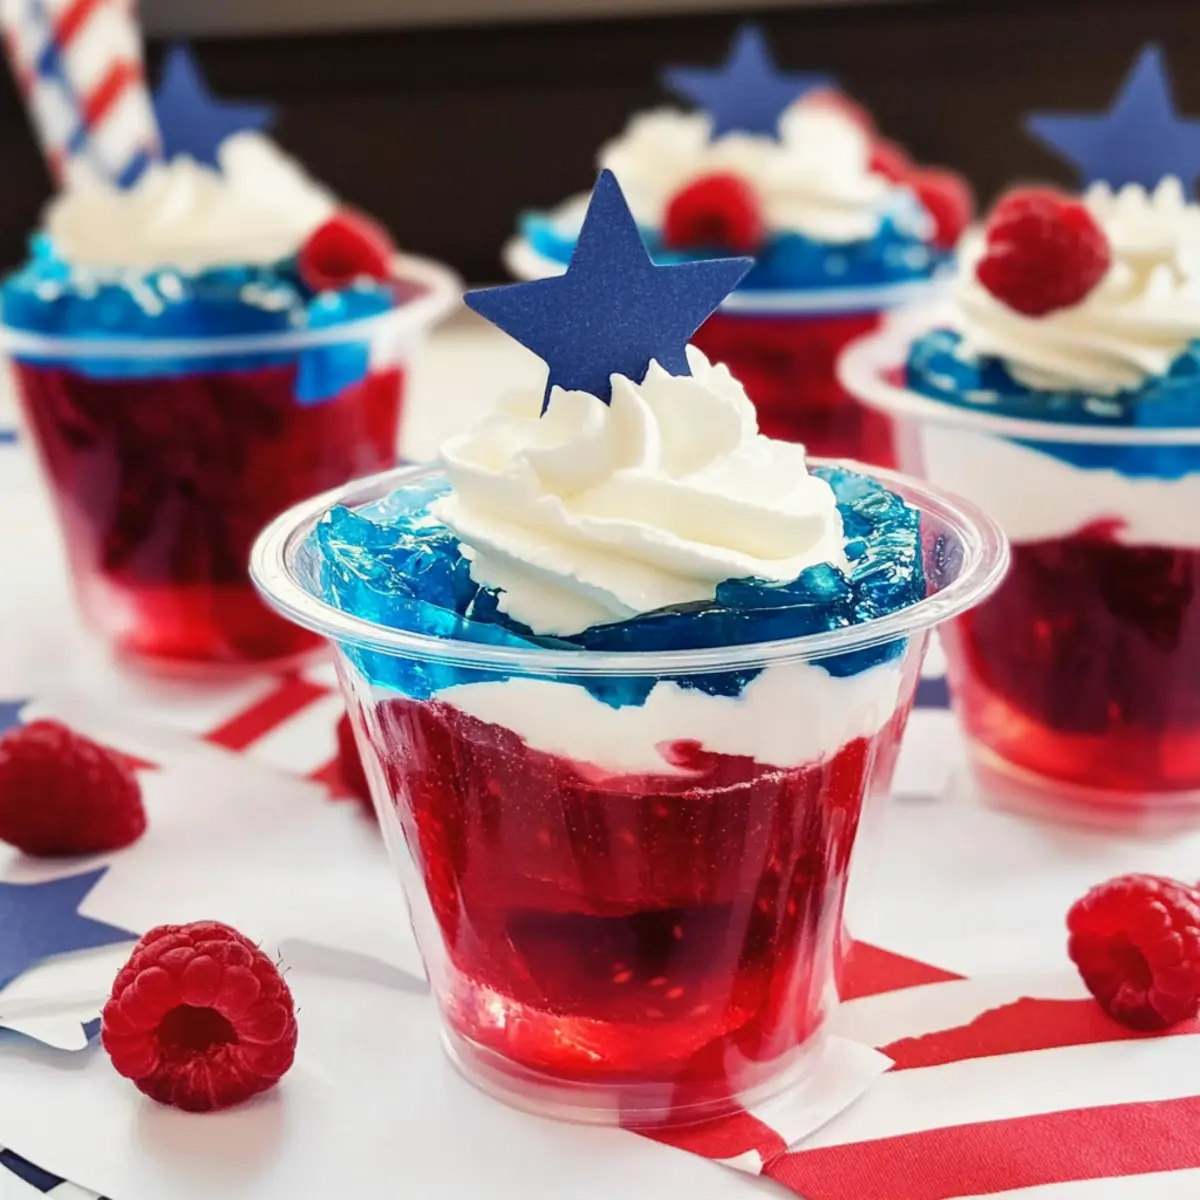
Every summer gathering deserves a vibrant showstopper, and these Easy Red, White, and Blue Jello Cups do just the trick! You can whip them up in no time—perfect for anyone craving a quick and easy dessert that shines with patriotic spirit. Layered with zesty fruity Jell-O and a creamy Cool Whip center, they’re a delightful no-bake treat that will have everyone reaching for seconds. Not only do these cups add a splash of color to your table, but their deliciously contrasting textures make them a memorable hit. So, whether it’s a 4th of July celebration or a casual BBQ, why not bring a little fun into your dessert game with these crowd-pleasers? Can you hear the cheers for your new favorite summer treat?
Why Are Jello Cups So Fun?
Colorful, Festive Appeal: These Easy Red, White, and Blue Jello Cups bring a burst of color and joy to any gathering, making them a perfect festive dessert for summer celebrations.
No-Bake Convenience: No ovens or complicated techniques required! Just mix, layer, and chill for a treat that’s stress-free and quick to prepare.
Crowd-Pleasing Flavor: With sweet and tangy Jello layers balanced by creamy Cool Whip, each bite delivers delightful contrasts that appeal to both kids and adults alike.
Versatile Variations: Get creative! Change the flavors or add fresh fruit to tailor these cups to your special occasions, just like you can with Christmas Cheesecake Mousse or Blueberry Lemon Cheesecake options!
Perfect for Gatherings: Ideal for BBQs, picnics, or 4th of July parties, they’ll shine on any dessert table and have everyone reaching for more.
Red, White and Blue Jello Cups Ingredients
For the Blue Layer
• Berry Blue Jello – Provides a vibrant blue layer; sweet and fruity flavor. Substitution: Use other blue fruit-flavored gelatin if unavailable.
For the Red Layer
• Raspberry Jello – Adds a bright red layer; tart and sweet contrast to the blue. Substitution: Cherry Jello can be used for a red layer.
For the Creamy Filling
• Cool Whip – Offers a creamy texture that balances the fruitiness; serves as a filling between layers. Substitution: Homemade whipped cream can be used.
This collection of ingredients makes it so easy to create these delightful Red, White and Blue Jello Cups!
Step‑by‑Step Instructions for Red, White, and Blue Jello Cups
Step 1: Prepare the Blue Layer
Begin by boiling 1 cup of water in a saucepan. Once boiling, remove from heat and stir in the Berry Blue Jello mix until fully dissolved. Add an additional cup of cold water and mix well. Pour this vibrant mixture into a 9 x 13 glass pan, spreading it evenly, then refrigerate until firm, which should take about 1-2 hours.
Step 2: Prepare the Red Layer
While the blue layer is chilling, repeat the process with the Raspberry Jello. Boil 1 cup of water, then add the Raspberry Jello mix, stirring until dissolved. Once mixed, add a cup of cold water. Carefully pour this red mixture into a separate pan, allowing it to cool slightly before placing it in the refrigerator to set for 1-2 hours as well.
Step 3: Cut the Jello
When both layers are solidified, retrieve them from the refrigerator. Using a sharp knife, cut the blue and red Jello into 1-inch cubes. This will help create those lovely layered cups when assembled. Feel free to use a spatula to gently lift the cubes from the pans without breaking them.
Step 4: Assemble the Cups
Grab 7 clear plastic cups for assembly. Begin by dividing the blue Jello cubes evenly among the cups, filling each about one-third full. Make sure the cubes sit nicely at the bottom; this colorful blue layer is the foundation of your Red, White, and Blue Jello Cups.
Step 5: Add the Creamy Layer
Next, spoon Cool Whip over the blue layer in each cup, filling them approximately two-thirds full. Use the back of a spoon to smooth out the layer, creating a pleasing contrast to the colorful Jello beneath. The creamy texture of the Cool Whip complements the fruity layers beautifully.
Step 6: Top with the Red Layer
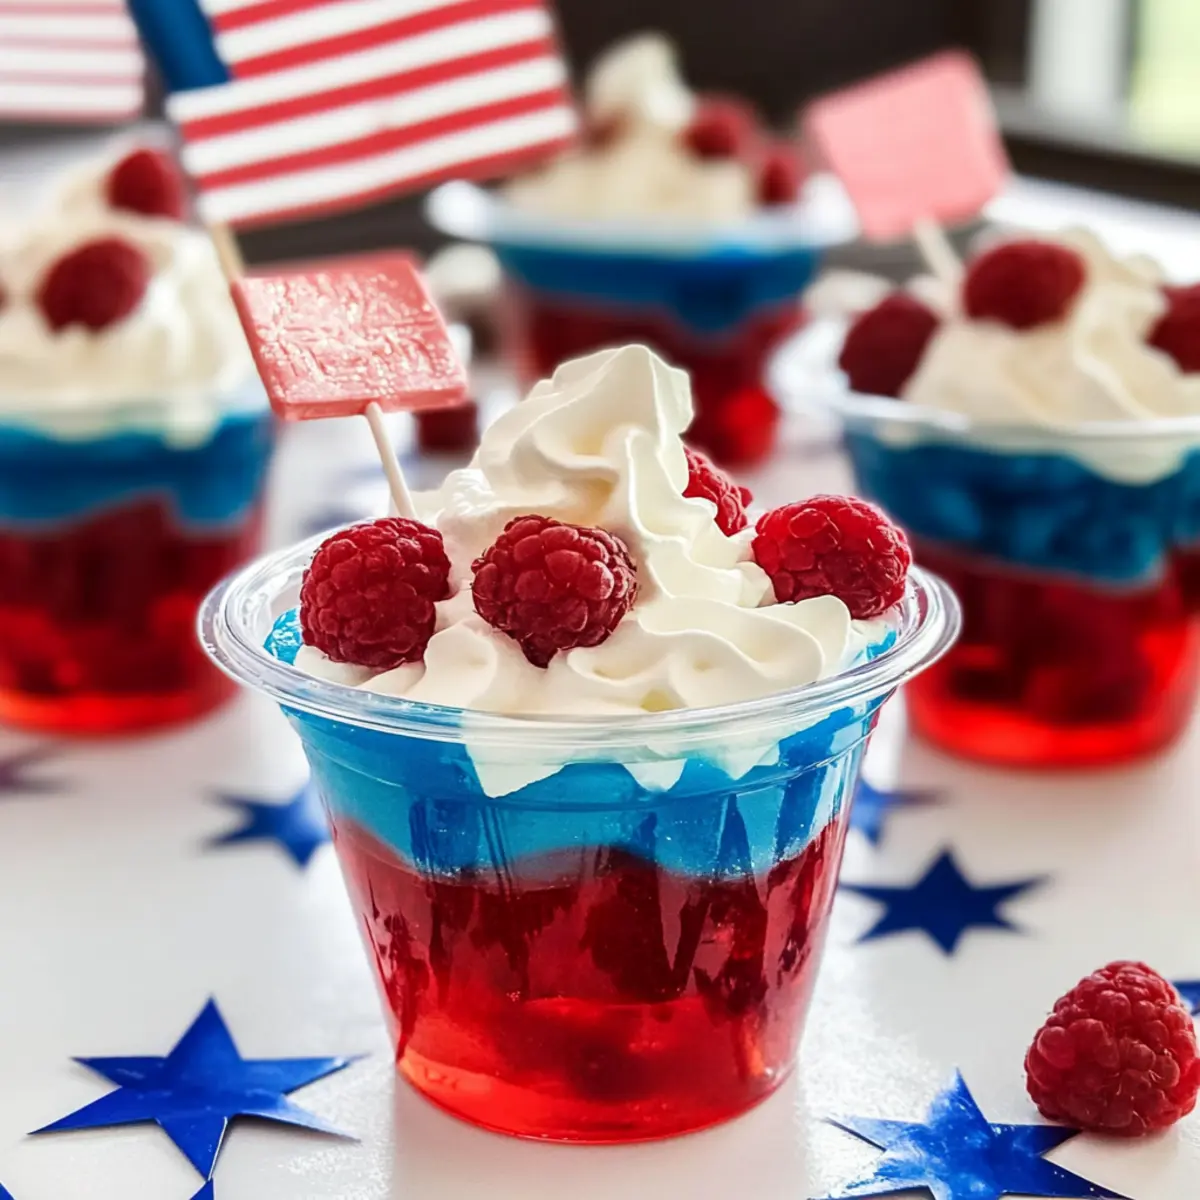
Now it’s time for the final touch! Carefully add the red Jello cubes on top of the Cool Whip in each cup, filling them to the brim. Gently press the cubes down just a bit to ensure they adhere to the layers beneath, creating that stunning red layer that completes your vibrant Red, White, and Blue Jello Cups.
Step 7: Garnish and Chill
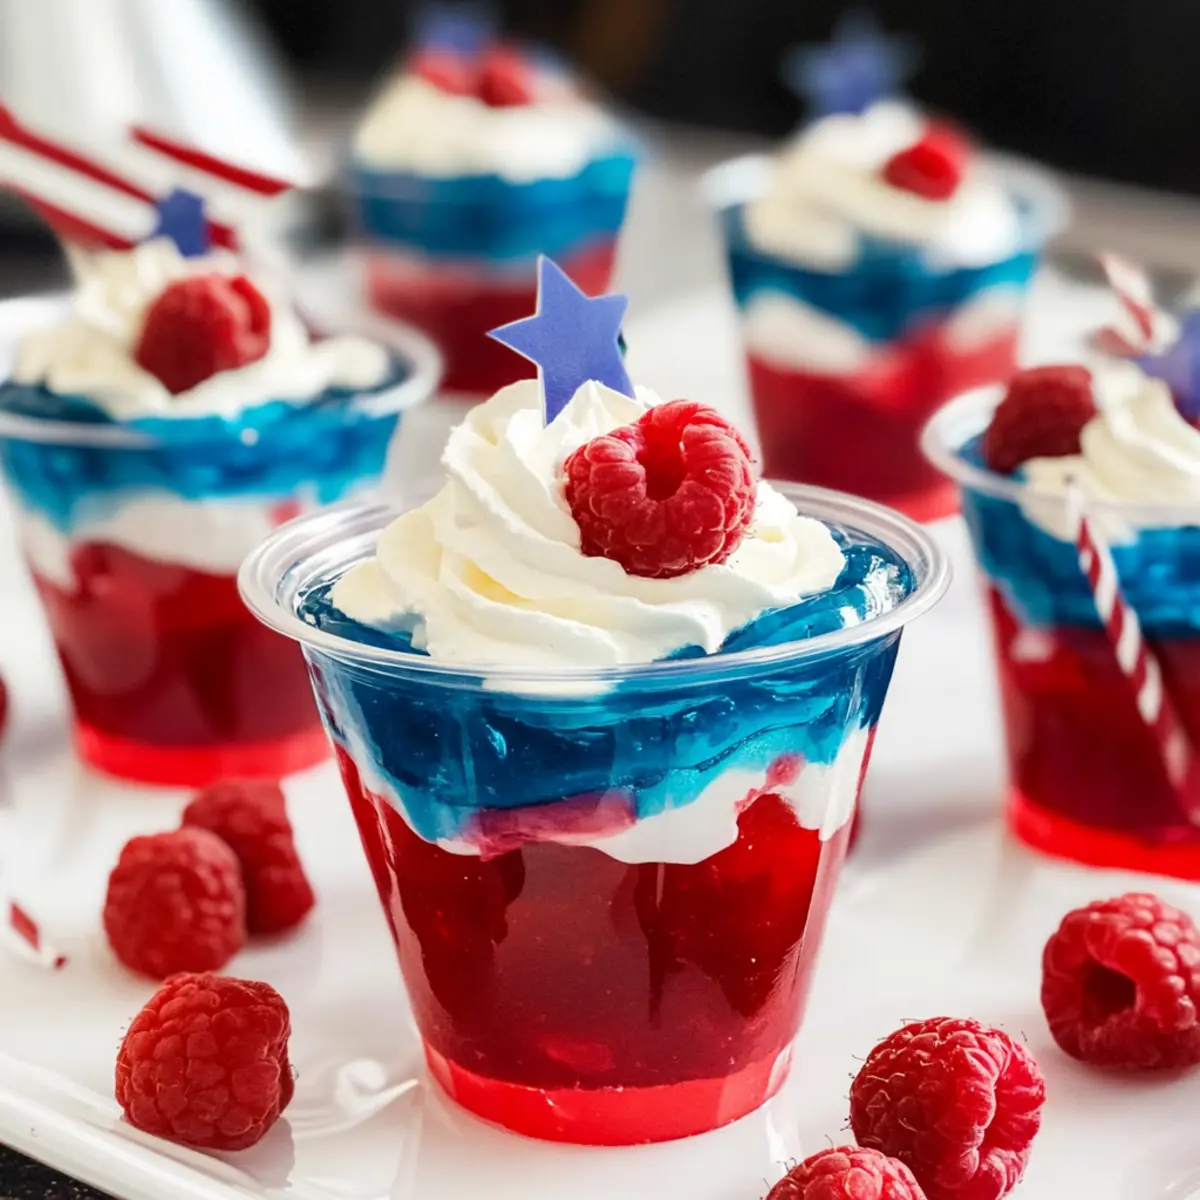
For an extra festive touch, consider garnishing each cup with patriotic decorations like sprinkles or fresh berries. Once garnished, place the assembled cups back in the refrigerator to chill for at least 30 minutes before serving. This allows all the layers to meld slightly, enhancing the delightful experience of your colorful dessert.
What to Serve with Easy Red, White, and Blue Jello Cups
Elevate your summer gatherings with delightful pairings that enhance these festive Jello Cups, creating a full flavor experience.
- Grilled Hot Dogs: Perfectly charred hot dogs add a savory element that balances the sweetness of the Jello, making them ideal for BBQs.
- Potato Salad: Creamy or tangy, this classic side brings a robust contrast to the lightness of the Jello Cups, ensuring satisfaction on every plate.
- Veggie Platter: Crisp, fresh vegetables not only provide a healthy crunch but add vibrant color to the table, attracting eyes and appetites alike.
- Fruit Skewers: Juicy seasonal fruits like strawberries and pineapple complement the fruity flavors of the Jello, creating a refreshing synergy for your guests.
- Lemonade Spritzers: Light and bubbly, this drink elevates the festive feel while mirroring the fun textures of the dessert. It’s a delight to sip alongside.
- Chocolate Chip Cookies: The soft chewiness of classic cookies pairs beautifully with the airy texture of the Jello Cups, offering a comforting sweet ending.
- Ice Cream Floats: Combine refreshing soda with a scoop of vanilla ice cream for an indulgent treat that echoes the playful spirit of your Jello Cups.
Mix and match these suggestions to curate a flavorful feast that everyone will enjoy this summer!
Expert Tips for Red, White and Blue Jello Cups
-
Layer Patience: Allow each layer to fully set before adding the next to avoid any mixing and maintain those lovely defined layers.
-
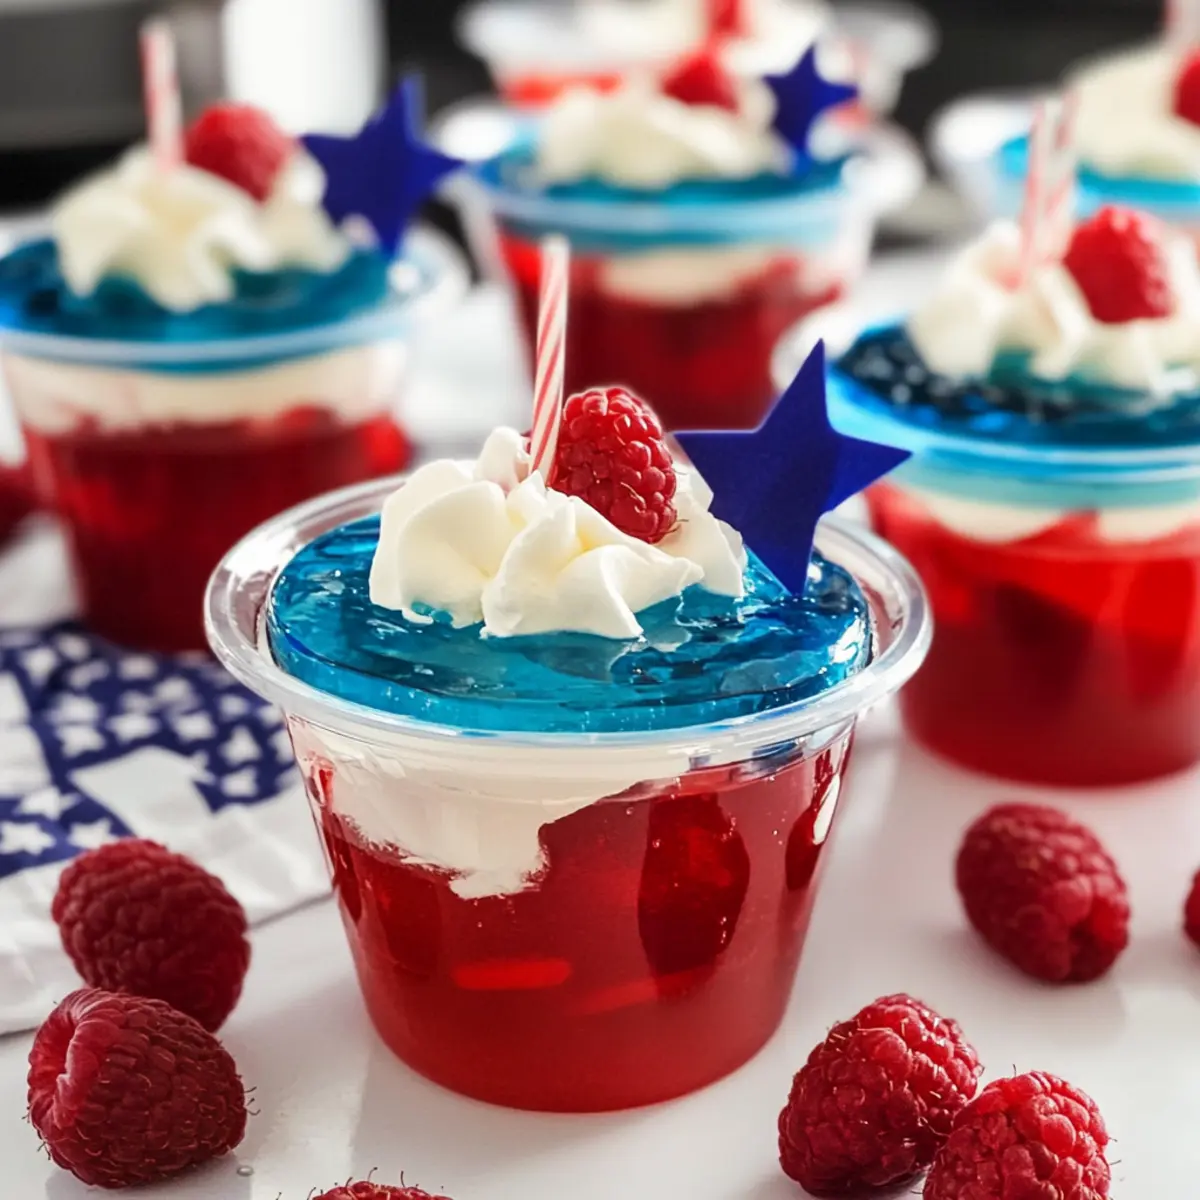
Clear Cups: Opt for clear plastic cups to showcase the beautiful colors of your Red, White and Blue Jello Cups, making them even more enticing.
-
Chill Before Serving: Giving them an extra chill time after assembly not only enhances the texture but also makes them refreshing to enjoy on a hot day.
-
Cut with Care: When cutting the Jello into cubes, use a sharp knife and a gentle sawing motion to avoid smashing the layers, ensuring they stay visually appealing.
-
Get Creative: Feel free to switch up the flavors and colors! Experiment with different fruit-flavored gelatins to create a custom variation that suits your taste and occasion.
Make Ahead Options
These Easy Red, White, and Blue Jello Cups are perfect for meal prep enthusiasts looking to save time on busy days! You can make the Jello layers up to 24 hours in advance by preparing the Berry Blue and Raspberry Jello according to the package instructions, then refrigerating them until firm. Once set, cut them into cubes and store each color separately in airtight containers. When it’s time to serve, simply assemble the cups with the prepped Jello cubes and Cool Whip, topping them off with the colorful layers. This approach ensures the Jello cups remain just as delicious while saving you precious time on the day of your gathering!
Red, White and Blue Jello Cups Variations
Feel free to spice up these delightful Jello cups with your own creative twists and make them even more fabulous!
-
Dairy-Free: Substitute Cool Whip with coconut whipped cream for a rich, dairy-free alternative that still delivers creamy goodness.
Your guests won’t even miss the traditional version! -
Fruits Galore: Add fresh layers of strawberries or blueberries between the Jello layers for a burst of natural sweetness and texture.
Not only do they add flavor, but they also enhance the visual appeal! -
Sugar-Free Options: Use sugar-free Jello mixes to create a lighter version that still satisfies your sweet tooth without the calories.
This is perfect for those watching their sugar intake while still enjoying a festive treat. -
Flavored Whip: Infuse some vanilla extract or a splash of almond extract into your Cool Whip to elevate the creamy layer with extra flavor.
This simple addition transforms the taste and complements the fruity layers beautifully. -
Layer Diversity: Experiment with other Jello flavors like Orange or Lime for a tangy twist and a new color contrast.
Mixing flavors keeps the fun alive, especially at gatherings where variety is key! -
Patriotic Sprinkles: Decorate the tops with red, white, and blue sprinkles or star-shaped candies for an extra festive touch.
This simple step adds a charming sparkle to your already stunning dessert presentation. -
Boozy Version: For adult gatherings, consider adding a splash of flavored vodka to the Jello mix for a fun, spirited take.
Let the good times roll with this playful twist, just remember to label them for guests! -
Parfaits: Layer the Jello and Cool Whip in a glass instead of cups to transform the dessert into beautiful parfaits.
This approach gives a chic twist and makes it perfect for brunch table setups or special occasions!
These variations not only add creativity but can also elevate your red, white, and blue festivities. The options are endless, so let your imagination run wild!
Storage Tips for Red, White and Blue Jello Cups
Fridge: Keep your assembled Red, White and Blue Jello Cups stored in the refrigerator for up to 2 days for the best flavor and texture. Make sure to cover them lightly with plastic wrap to prevent drying out.
Make-Ahead: You can prepare the cups a day in advance, just store them in the fridge until guests are ready to indulge. This is perfect for stress-free entertaining!
Freezer: While it’s not recommended to freeze the assembled cups due to the texture of the Cool Whip, you can freeze leftover Jello layers separately for up to 2 months. Thaw in the fridge overnight before using.
Reheating: No reheating is needed for this no-bake dessert. Just serve chilled for a refreshing treat!
Red, White, and Blue Jello Cups Recipe FAQs
What type of Jello should I use for the layers?
Absolutely! For the blue layer, use Berry Blue Jello for a vibrant color and sweet flavor. If that’s not available, any blue fruit-flavored gelatin will do. For the red layer, Raspberry Jello adds a delightful tartness; however, you can substitute it with Cherry Jello for a slightly different taste.
How should I store the assembled Jello cups?
Very good question! Keep your assembled Red, White, and Blue Jello Cups in the refrigerator for up to 2 days. I recommend covering them lightly with plastic wrap to prevent them from drying out while they chill. This way, they’ll be fresh and ready to impress your guests!
Can I freeze Jello cups or leftovers?
While it’s not advisable to freeze the assembled Jello cups due to the texture of the Cool Whip, you can freeze any leftover Jello layers separately. Just pour them into an airtight container, and they can last in the freezer for up to 2 months. Thaw overnight in the fridge before using, and you’ll be good to go!
What if my Jello layers aren’t setting properly?
If you find that the layers aren’t setting, here’s what you can do: ensure you’re following the package directions accurately, as incorrect measurements or temperatures can affect the setting. If your Jello layers are too soft, they may need more time in the fridge. Give them an additional hour or so to firm up, checking periodically. Patience is key!
Are these Jello cups safe for dietary restrictions?
Absolutely! These Red, White, and Blue Jello Cups are vegetarian, making them suitable for most diets. However, if you are catering to specific allergies, ensure to check that the Jello and Cool Whip do not contain any ingredients that could cause issues, such as gelatin from non-vegetarian sources or artificial colors.
Festive Red, White and Blue Jello Cups for a Summer Celebration
Ingredients
Equipment
Method
- Begin by boiling 1 cup of water in a saucepan. Once boiling, stir in the Berry Blue Jello mix until fully dissolved. Add an additional cup of cold water and mix well. Pour this mixture into a 9 x 13 glass pan and refrigerate until firm for about 1-2 hours.
- While the blue layer is chilling, repeat the process with the Raspberry Jello. Boil 1 cup of water, add the Raspberry Jello mix, and stir until dissolved. Add a cup of cold water and pour this mixture into a separate pan to cool slightly before refrigerating for 1-2 hours.
- When both layers are solidified, cut the blue and red Jello into 1-inch cubes to help create the layered cups.
- Divide the blue Jello cubes evenly among 7 clear plastic cups, filling each about one-third full.
- Spoon Cool Whip over the blue layer in each cup, filling them approximately two-thirds full and smooth out the layer.
- Add the red Jello cubes on top of the Cool Whip in each cup, filling them to the brim and pressing down slightly.
- Garnish each cup with sprinkles or fresh berries, then chill for at least 30 minutes before serving.
Leave a Reply