
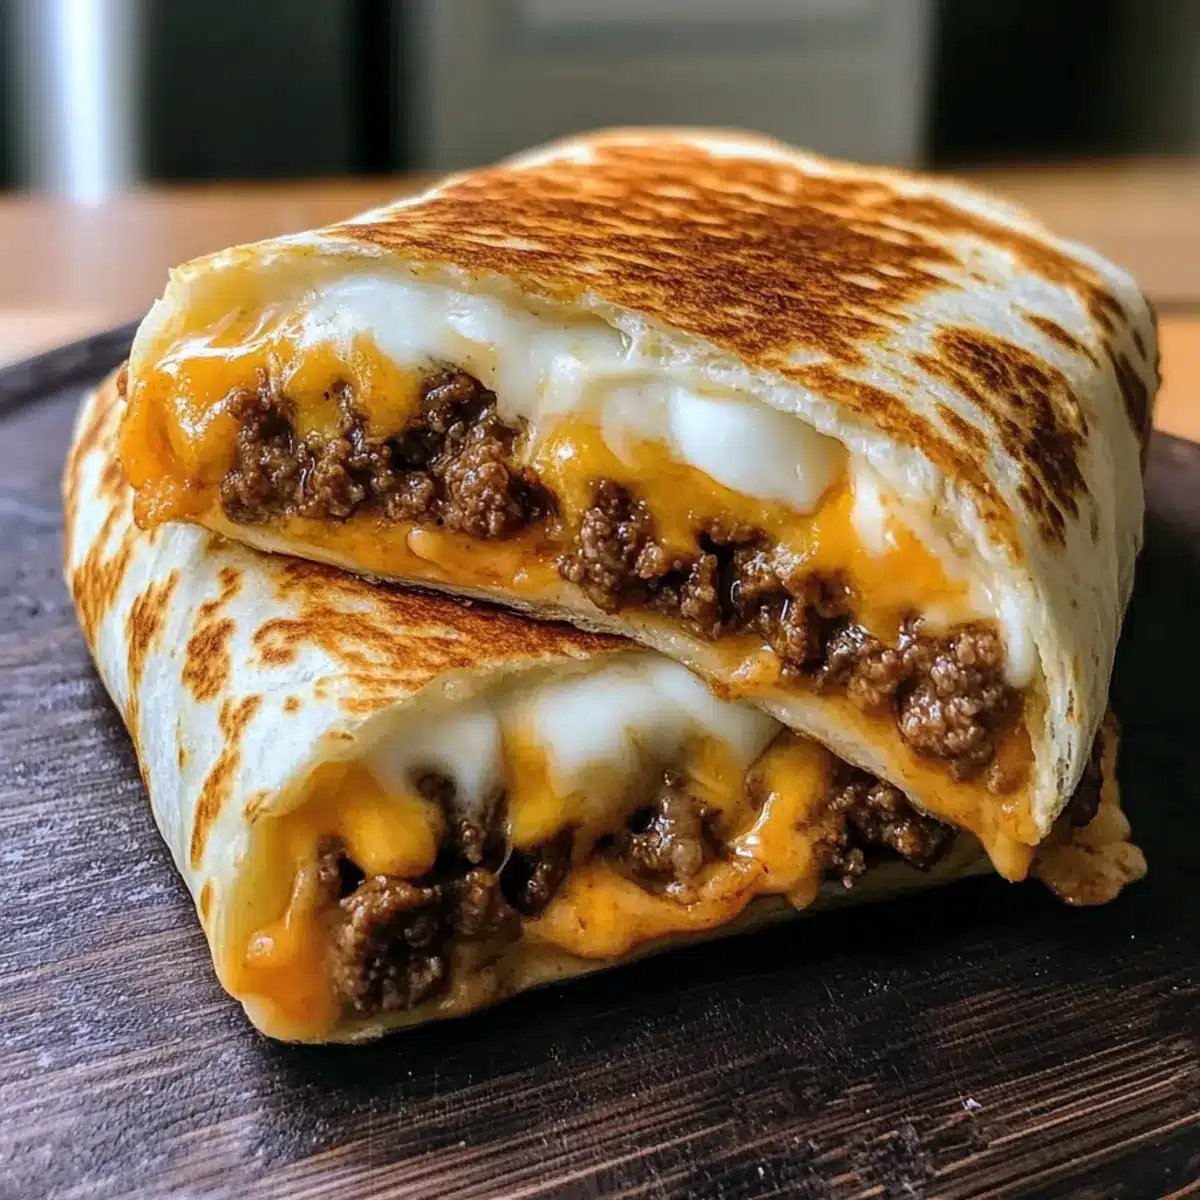
I once found myself in a minor crisis, staring blankly at my fridge, wondering how to transform the usual ingredients into something exciting. That’s when the idea of a Grilled Cheese Burrito struck me—a fusion of beloved comfort foods in one irresistible package. This recipe is not just quick and easy to make, but it also delivers the nostalgic flavors of a cheesy taco bell treat right in your kitchen. Picture seasoned ground beef mingling with melted mozzarella and sharp cheddar, all wrapped tightly in a golden tortilla with a perfectly crispy crust. Whether you’re looking to satisfy a craving or impress friends at a cozy dinner, this dish is a crowd-pleaser that elevates your cooking without the fast-food guilt. Ready to dive into a cheesy adventure that transforms your dinner routine? Let’s get started!
Why Is This Grilled Cheese Burrito Amazing?
Quick and Easy: The Grilled Cheese Burrito comes together in just 30 minutes, perfect for busy weeknights when you’re short on time but still crave something delicious.
Irresistible Flavor: The combination of seasoned ground beef, gooey mozzarella, and sharp cheddar results in an explosion of cheesy goodness that’s truly unforgettable.
Ultimate Comfort Food: It’s a delightful fusion of two classic favorites, making this dish a comforting choice that warms the soul.
Crowd-Pleasing Appeal: Whether it’s a family dinner or a get-together with friends, this Grilled Cheese Burrito is sure to impress everyone at the table.
Customizable Delight: Feel free to explore different variations by swapping in ground turkey or adding sautéed veggies; the possibilities are endless! For more cheesy inspiration, check out these Cheesy Ham Cheese sticks or Bacon Egg Cheese breakfast quesadillas.
Grilled Cheese Burrito Ingredients
For the Beef Filling
• Ground Beef – An 80/20 blend keeps the filling juicy and flavorful.
• Taco Seasoning – Enhances the beef with classic spices; use store-bought or homemade for convenience.
For the Burrito Assembly
• Flour Tortillas – Choose 10-inch tortillas for the perfect wrapping space.
• Shredded Mozzarella Cheese – Melts beautifully to create that gooey interior.
• Sharp Orange Cheddar Cheese – Adds a vibrant color and bold flavor; reserve some for the crust.
For Finishing Touches
• Butter or Oil – Needed for that golden, crispy exterior; just a tablespoon will do!
Get ready to indulge in this delightful Grilled Cheese Burrito, where the comfort of cheesy goodness meets convenient cooking!
Step‑by‑Step Instructions for Grilled Cheese Burrito
Step 1: Prepare the Beef
In a large skillet, heat over medium-high heat and add the ground beef. Brown the meat, breaking it into small crumbles and cooking for about 5-7 minutes until no longer pink. Drain excess fat, then sprinkle the taco seasoning over the beef. Add 1/4 cup of water, stir well, and let it simmer for 3-5 minutes until the liquid is absorbed, intensifying the flavors.
Step 2: Assemble the Burrito
Lay a 10-inch flour tortilla flat on a clean surface. Start by spreading a generous layer of sharp cheddar cheese across the center, followed by a portion of the seasoned ground beef. Top with a handful of shredded mozzarella for that gooey goodness. Fold in the sides of the tortilla and roll it tightly from the bottom up to secure all the delicious ingredients inside.
Step 3: Sear the Burrito
In the same skillet, heat 1 tablespoon of butter or oil over medium heat until hot. Carefully place the burrito seam-side down and cook for about 2-3 minutes, or until golden brown. Keep an eye on it—the perfect sear should be a lovely golden color that signals readiness for flipping. This step will give your Grilled Cheese Burrito a satisfying crunch.
Step 4: Create the Crispy Cheese Crust
Once the first side is golden, flip the burrito gently using a spatula. Immediately sprinkle reserved sharp cheddar on the skillet around the burrito to create a cheese crust. Press down slightly on the burrito with a heavy spatula, allowing the melted cheddar to form a deliciously crispy coating on the outside. Cook for another 2-3 minutes until golden and crispy on both sides.
Step 5: Serve and Enjoy
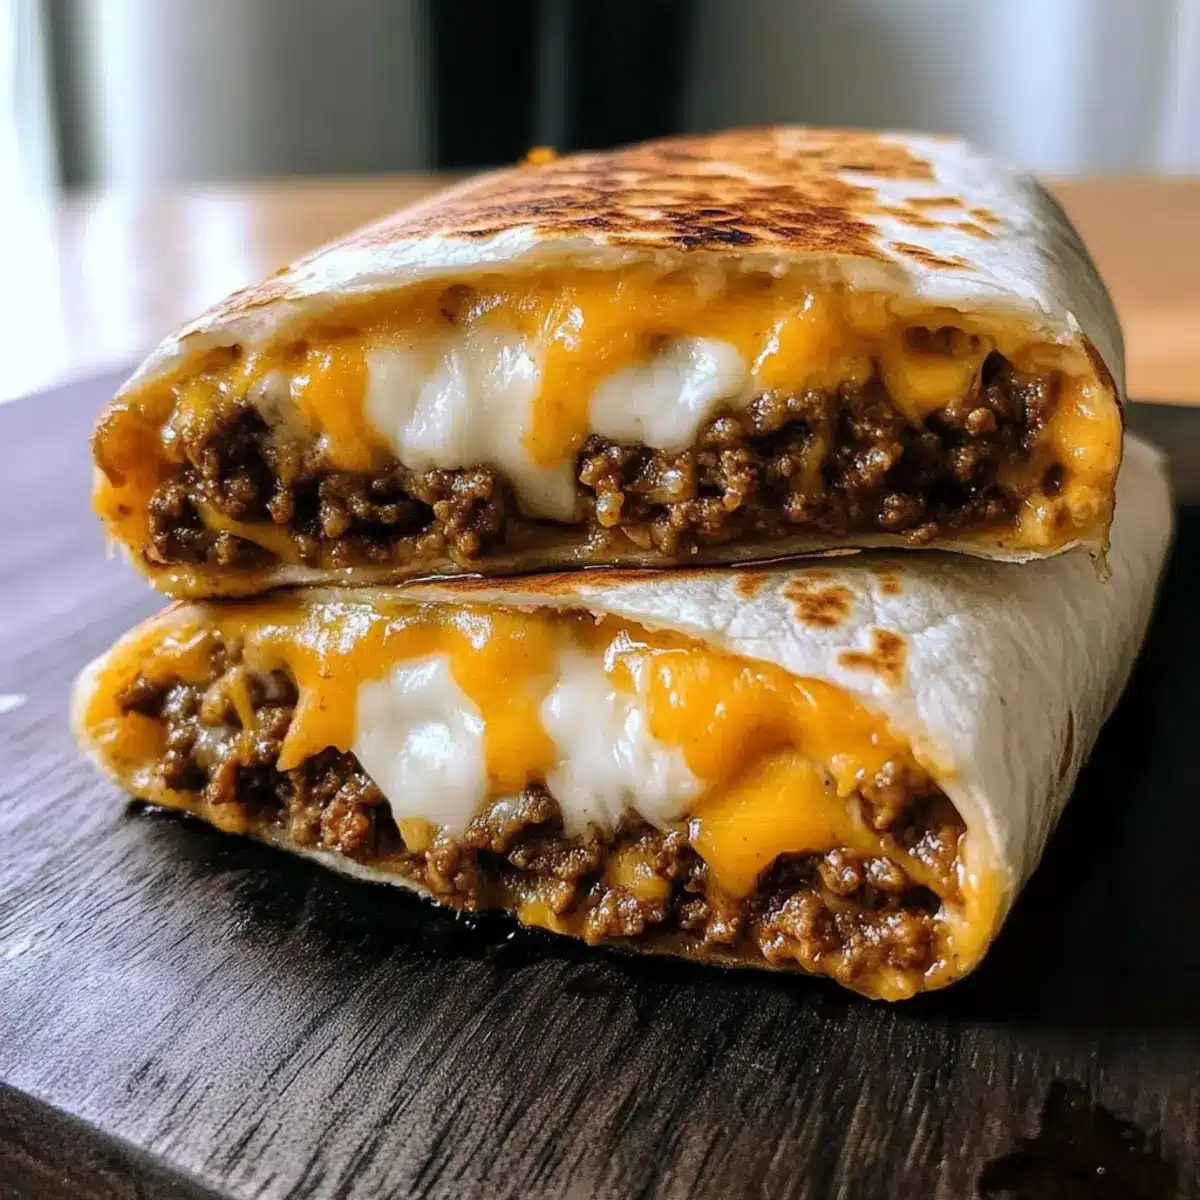
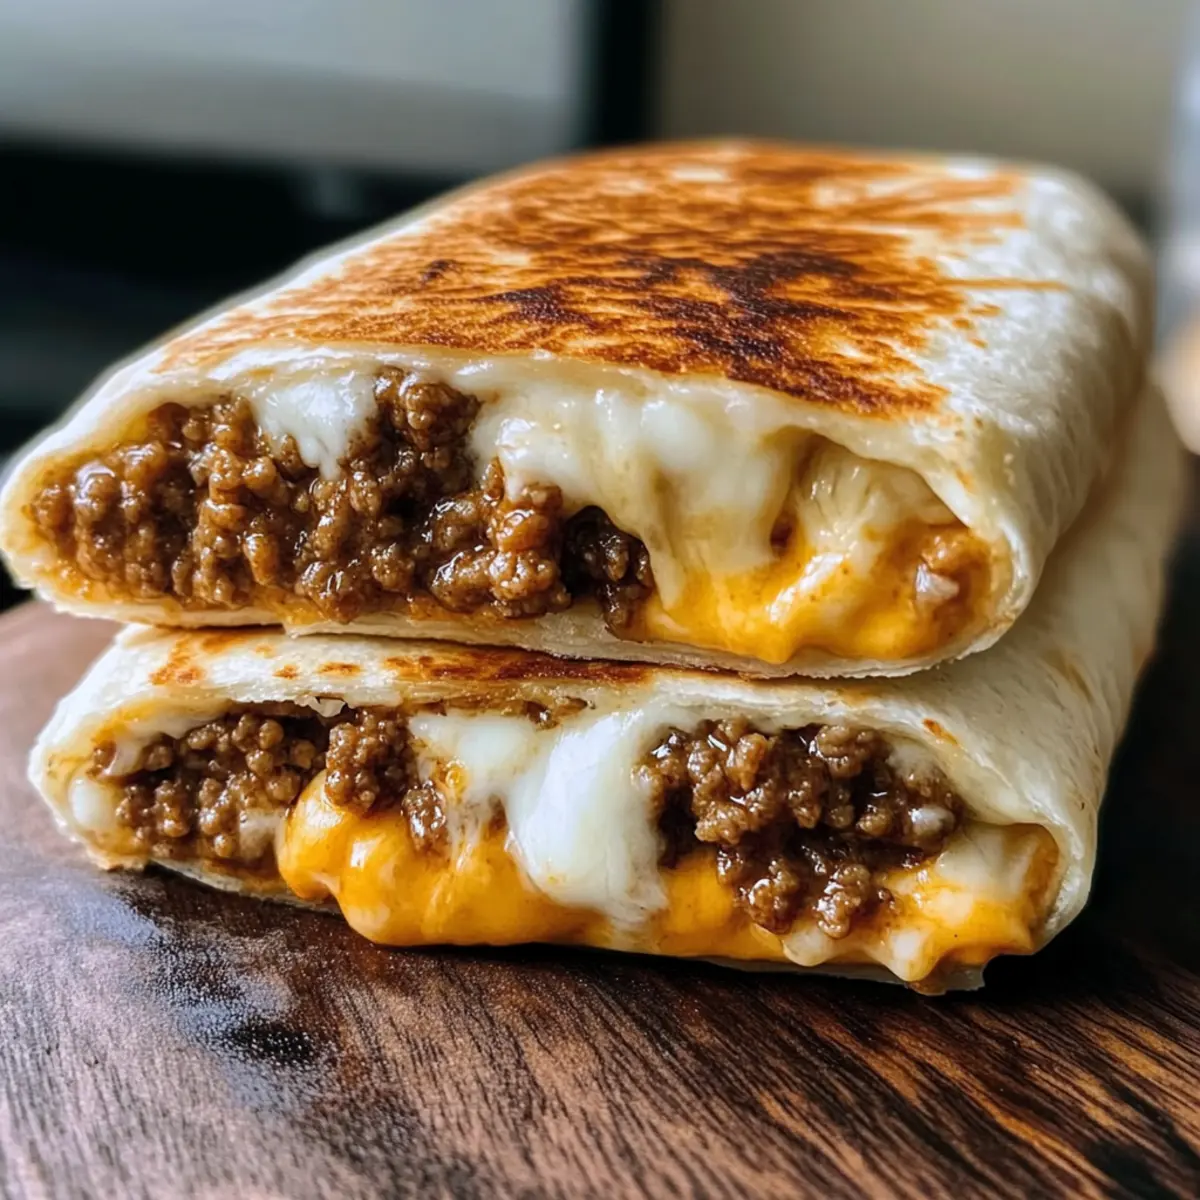
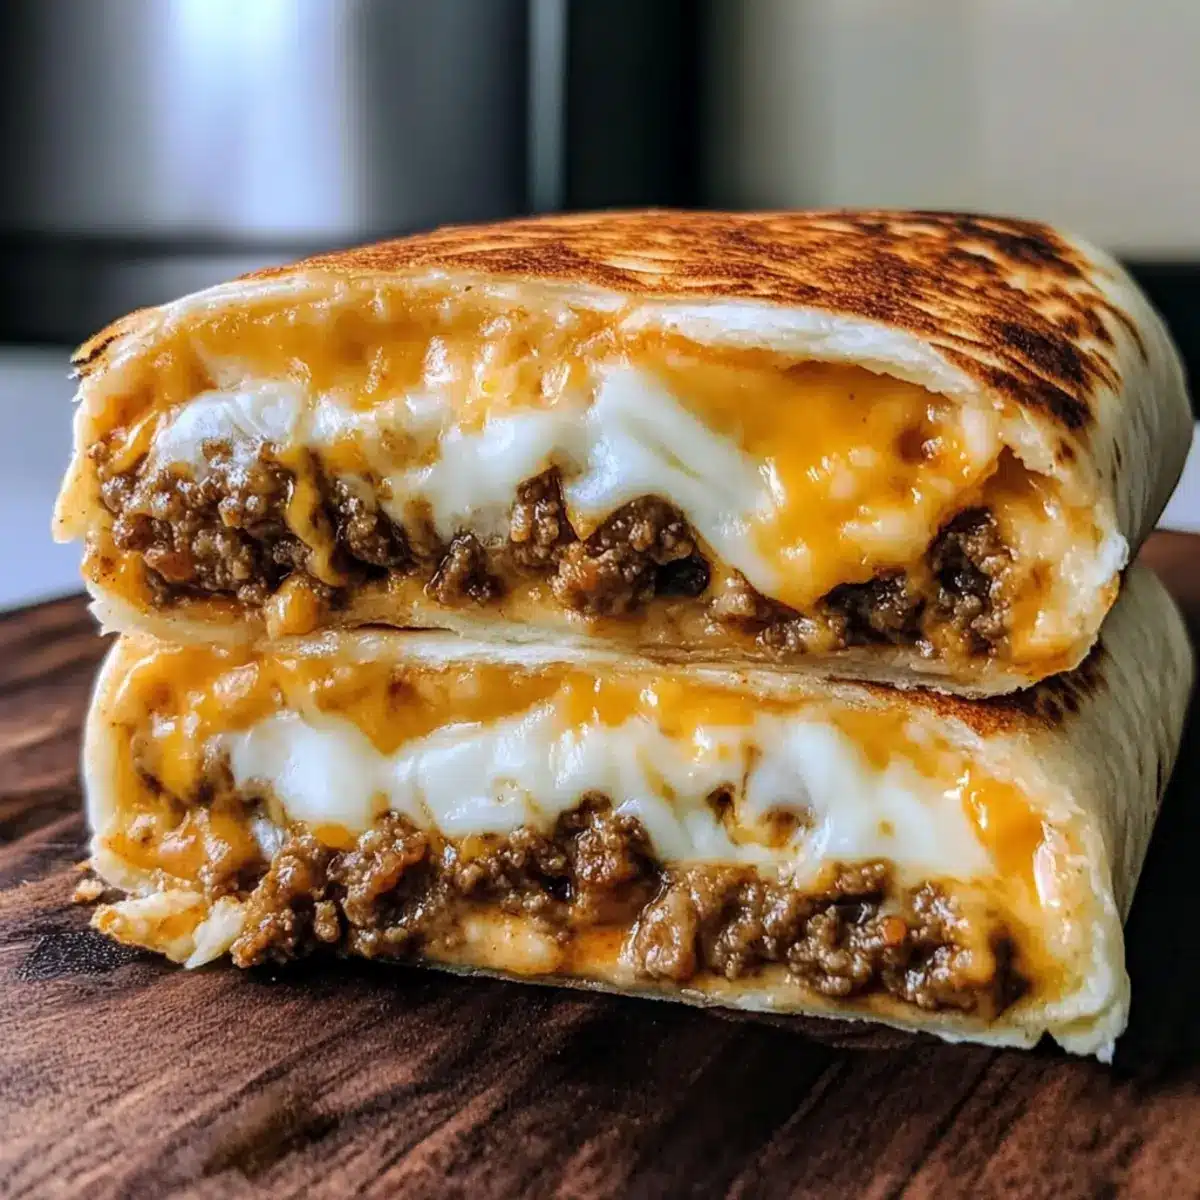
Once both sides of your Grilled Cheese Burrito are perfectly golden, transfer it to a cutting board. Let it cool for a minute before slicing in half to reveal the gooey filling. Serve immediately while still warm for the best experience. Enjoy it alongside your favorite salsa or a fresh green salad for a delightful meal!
Make Ahead Options
These Grilled Cheese Burritos are a fantastic option for meal prep, allowing you to save time on busy weeknights! You can prepare the seasoned ground beef and cheese filling up to 3 days in advance—just store it in an airtight container in the refrigerator. For optimal flavor, keep the ingredients separate until you’re ready to assemble. When it’s time to enjoy your burritos, simply fill your tortillas with the prepped beef and cheese, then sear them as directed. This method ensures your Grilled Cheese Burritos remain delicious and satisfying, providing that gooey, crispy experience even after being prepped ahead. Enjoy the ease of a hearty meal with minimal effort!
What to Serve with Grilled Cheese Burrito?
Nothing complements the cheesy, crunchy goodness of a Grilled Cheese Burrito quite like a few carefully chosen sides that enhance the dining experience.
-
Cilantro Lime Rice: This refreshing side brings a zesty brightness that pairs perfectly with the savory flavors of the burrito, elevating each bite.
-
Fresh Green Salad: Crisp greens, ripe tomatoes, and a tangy vinaigrette add a crunchy texture and balance out the richness of the grilled cheese burrito.
-
Chips and Homemade Salsa: Crunchy tortilla chips and a fresh, zesty salsa make for a fun, shareable side that adds a burst of flavor and excitement.
-
Guacamole: The creamy avocado dip offers a smooth contrast to the crispy burrito while enhancing the overall flavor profile, making every bite a delight.
-
Sweet Corn on the Cob: This side is an irresistible complement, lending a touch of sweetness and a bit of crunch that balances the savory filling inside the burrito.
-
Fresh Peach Cake: End your meal on a sweet note with a light dessert that adds fruity freshness, refreshing your palate after the cheesy indulgence.
Each of these sides elevates the experience of enjoying your Grilled Cheese Burrito, making for a delightful, well-rounded meal!
Expert Tips for Grilled Cheese Burrito
Perfectly Drained Beef: Ensure you drain excess fat from the cooked ground beef, preventing a soggy burrito and maintaining a crispy texture.
Optimal Tortilla Size: Use 10-inch flour tortillas for ample space to wrap, resulting in a well-filled Grilled Cheese Burrito without any spillovers.
Achieve that Crispiness: Use a heavy spatula to press the burrito while it cooks, creating a beautifully seared, crunchy crust.
Seasoning Balance: Adjust the taco seasoning to your taste; if you’re unsure, start with half a packet and add more after tasting the filling.
Experiment with Cheese: Try different cheese combinations! Adding pepper jack for a kick or gouda for a smoky flavor can elevate your Grilled Cheese Burrito.
Grilled Cheese Burrito Variations & Substitutions
Feel free to unleash your culinary creativity and customize this delicious recipe to suit your tastes!
- Dairy-Free: Substitute dairy cheese with vegan cheese and use oil instead of butter for a delightful twist.
- Protein Alternatives: Switch out ground beef for ground turkey, chicken, or even a plant-based meat alternative for a lighter option.
- Spicy Kick: Add pepper jack cheese or diced jalapeños to the filling for an extra layer of spice that takes your burrito to the next level.
- Veggie Boost: Mix in sautéed peppers, onions, or mushrooms with the beef for added texture and flavor, creating a hearty and colorful filling.
- Crunchy Surprise: Incorporate crushed tortilla chips inside for an exciting, crunchy texture that complements the gooey cheese.
- Savory Seasoning: Replace the taco seasoning with smoked paprika or chili powder for a smoky flavor punch, giving your burrito a unique flair.
- Herby Freshness: Sprinkle fresh cilantro or green onions into the filling for a bright, fresh finish that enhances each bite.
- Breakfast Twist: For a breakfast option, swap the beef for scrambled eggs and add crispy bacon or sausage to create a savory morning delight.
For more cheesy ideas, don’t forget to explore these Bacon Cream Cheese concoctions or try your hand at these tasty Philly Cheesesteak Egg rolls!
How to Store and Freeze Grilled Cheese Burrito
Fridge: Store leftover Grilled Cheese Burritos in an airtight container for up to 3 days. Wrap them in foil to keep them moist and ready to reheat.
Freezer: For longer storage, wrap each burrito tightly in plastic wrap and place in a freezer-safe bag. They can be frozen for up to 2 months without sacrificing quality.
Reheating: When ready to enjoy, reheat from frozen in the oven at 350°F (175°C) for 20-25 minutes, or until heated through. A quick stovetop method will also restore crispiness—just sear on medium heat until heated through.
Room Temperature: Avoid leaving the Grilled Cheese Burrito at room temperature for more than 2 hours to ensure food safety and quality.
Grilled Cheese Burrito Recipe FAQs
What type of ground beef should I use for the filling?
For optimal flavor and moisture, I recommend using an 80/20 blend of ground beef. This ratio allows for a juicy filling that doesn’t dry out as it cooks.
How should I store leftover Grilled Cheese Burritos?
Store your leftover Grilled Cheese Burritos in an airtight container for up to 3 days. To maintain moisture, wrap them in foil before placing them in the fridge. This way, they’ll be just as delicious when you reheat them.
Can I freeze Grilled Cheese Burritos, and how?
Absolutely! For freezing, wrap each burrito tightly in plastic wrap, then place them in a freezer-safe bag. They’ll keep well for up to 2 months. To enjoy, reheat them from frozen in the oven at 350°F (175°C) for about 20-25 minutes, ensuring they are warmed through.
What should I do if the burrito falls apart while rolling?
If your burrito is falling apart, it might be too overstuffed or the tortilla is too cold and fragile. To fix this, try using a little less filling and warming the tortilla slightly before assembling. This makes it more pliable and easier to wrap securely.
Are there any dietary considerations I should keep in mind?
Yes! If you’re cooking for someone with food allergies, be mindful of the cheese and tortilla ingredients. Some store-bought tortilla brands may contain gluten or dairy. Always check the labels, and feel free to use gluten-free tortillas or dairy alternatives to ensure everyone can enjoy this Grilled Cheese Burrito!
Grilled Cheese Burrito: A Cheesy Twist on Comfort Food
Ingredients
Equipment
Method
- In a large skillet, heat over medium-high heat and add the ground beef. Brown for 5-7 minutes until no longer pink. Drain fat, sprinkle taco seasoning, add 1/4 cup water, stir, and let simmer for 3-5 minutes.
- Lay a tortilla flat, spread sharp cheddar cheese across the center, add seasoned ground beef, and top with shredded mozzarella. Fold in sides and roll tightly.
- In the same skillet, heat butter or oil over medium heat. Place burrito seam-side down and cook for 2-3 minutes until golden brown.
- Flip the burrito and sprinkle reserved cheddar around it. Press with a heavy spatula to form a crispy coating. Cook for another 2-3 minutes until golden on both sides.
- Transfer to a cutting board, cool for a minute, then slice in half to reveal gooey filling. Serve immediately.
Leave a Reply