
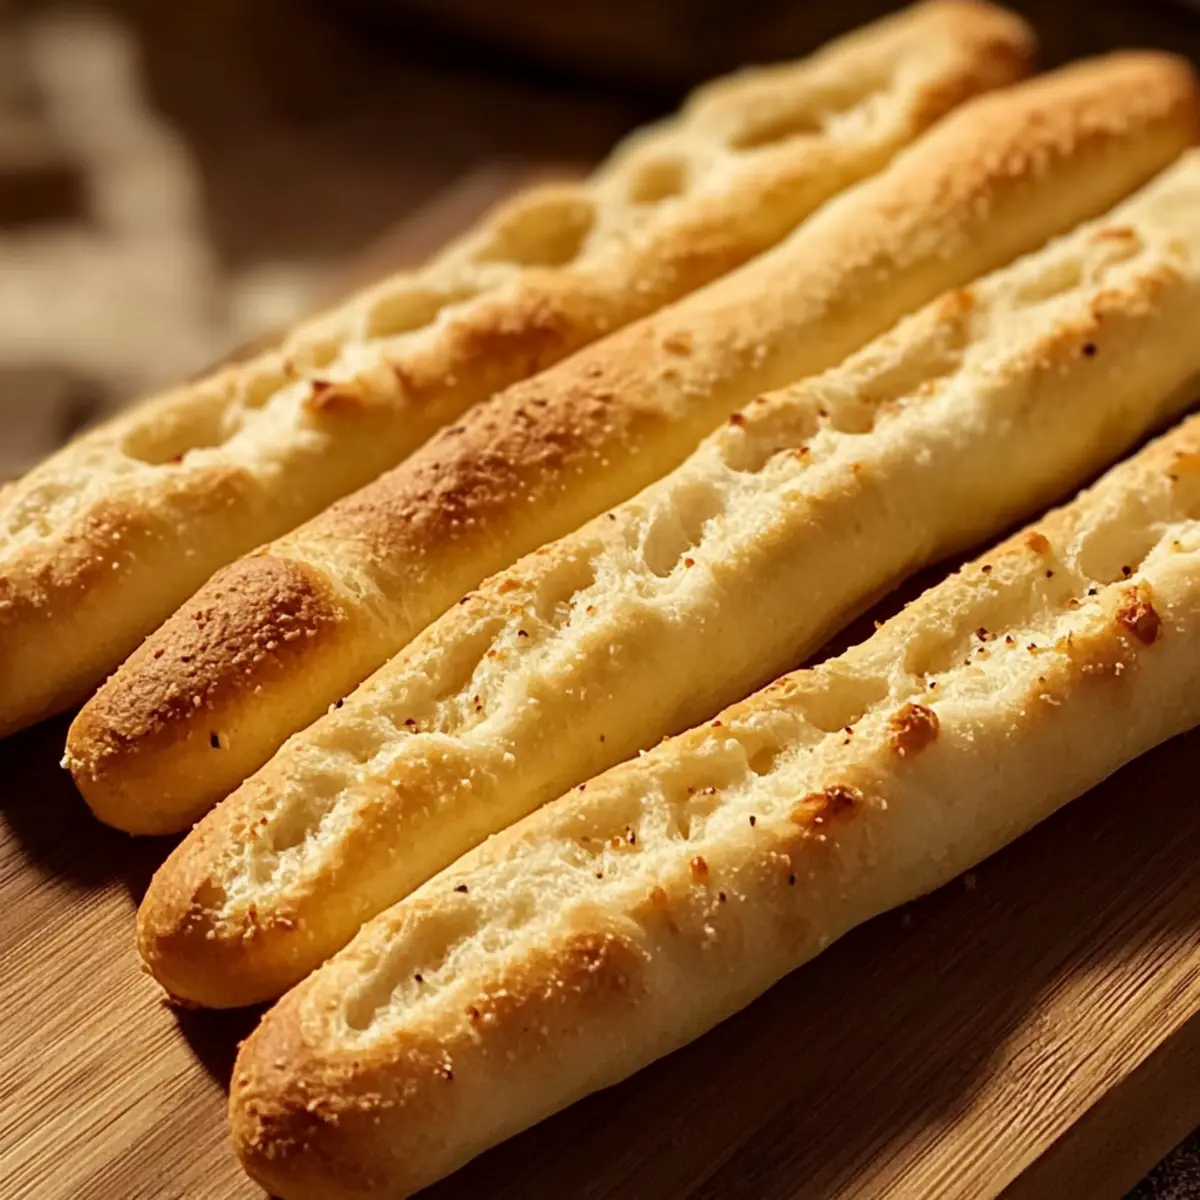
Every time I walk into an Italian restaurant, the warm, buttery scent of freshly baked breadsticks fills the air, luring me to my seat. Inspired by that experience, I created this recipe for Easy Homemade Olive Garden Style Breadsticks that you can whip up at home. With just a few simple ingredients and minimal effort, you’ll get perfectly crispy on the outside and delightfully soft on the inside breadsticks that will transport you straight to a cozy restaurant atmosphere. Not only are they a fun way to impress friends and family, but they also make for a comforting companion to any meal or dipping sauce. Ready to roll up your sleeves and turn your kitchen into a bread-making hub? Let’s dive in!
Why Should You Make These Breadsticks?
Irresistible Aroma: The moment they come out of the oven, the buttery garlic scent will fill your home, creating an inviting atmosphere.
Effortless Preparation: This straightforward recipe is perfect for both novice bakers and seasoned chefs looking for a quick win.
Versatile Pairing: Perfectly complements any meal—try them with a rich marinara sauce or as a delightful addition to a warm soup.
Customizable Fun: Feel free to add your twist—whether it’s a sprinkle of cheese or herbs in the dough, the possibilities are endless! For a sweet treat, consider serving them alongside your homemade chocolate milk for a fun dip.
Impress Guests: Serve these alongside a homemade garlic rosemary bread for a dazzling appetizer spread everyone will talk about!
Homemade Olive Garden Style Breadsticks Ingredients
For the Breadsticks
• Warm Water – Provides moisture and activates the yeast; use warm (not hot) water for best results.
• All-Purpose Flour – Forms the base structure; substitute with whole wheat flour for a heartier breadstick.
• Yeast (Active Dry or Instant) – Essential for leavening; no substitutions allowed for expansion.
• Sugar – Feeds the yeast and adds subtle sweetness; honey can be swapped in for a natural alternative.
• Salt – Elevates flavor and controls the yeast’s activity; opt for kosher salt for a healthier choice.
For the Garlic Butter
• Garlic Butter – Adds rich flavor and aroma after baking; use olive oil for a dairy-free option.
This delightful recipe for Homemade Olive Garden Style Breadsticks not only hints at nostalgia but also invites creativity—each breadstick is a canvas waiting for your flavorful touch!
Step‑by‑Step Instructions for Easy Homemade Olive Garden Style Breadsticks
Step 1: Prepare the Dough
In a large mixing bowl, combine 1 cup of warm water, 2 teaspoons of sugar, and 2 teaspoons of yeast. Stir gently and let it sit for about 5 minutes until the mixture becomes frothy, indicating the yeast is activated and ready to work its magic. This step is crucial for achieving the delightful texture of your homemade Olive Garden style breadsticks.
Step 2: Mix Ingredients
Add 3 cups of all-purpose flour and 1 teaspoon of salt to the yeast mixture. Mix with a wooden spoon or your hands until a sticky dough forms, ensuring the flour is well incorporated. You should see the dough start to come together, transforming into a cohesive, shaggy mass that will soon turn into beautiful breadsticks.
Step 3: Knead the Dough
Transfer the dough onto a lightly floured surface. Knead the dough for about 7-10 minutes, applying pressure with the palms of your hands until it becomes smooth and elastic. This kneading is essential for developing gluten, giving your breadsticks their classic chewy texture. Remember to add a pinch of flour if it gets too sticky.
Step 4: First Rise
Shape the kneaded dough into a ball and place it in a greased bowl, turning to coat all sides. Cover the bowl with a clean kitchen towel or plastic wrap and let it rise in a warm place for about 1 hour, or until it has doubled in size. You’ll know it’s ready when the dough has expanded and feels airy to the touch.
Step 5: Shape Breadsticks
Once risen, punch down the dough gently, releasing the excess air. Divide the dough into 10-12 equal portions and roll each piece into a long stick, about 6-8 inches in length. Place the shaped breadsticks on a parchment-lined baking sheet, ensuring they have space to expand during the second rise.
Step 6: Second Rise
Cover the shaped breadsticks with a kitchen towel and let them rise for another 30 minutes. This step is essential to ensure they fluff up and become tender. As they rest, the dough will puff up nicely, giving them that characteristic Olive Garden-style softness we all love.
Step 7: Bake
Preheat your oven to 375°F (190°C). Brush the risen breadsticks with melted garlic butter for that irresistible flavor before baking. Place the baking sheet in the oven and bake for 15-20 minutes, or until they are golden brown and have a beautiful, crisp exterior. Keep an eye on them during the last few minutes to avoid overbaking.
Step 8: Serve and Enjoy
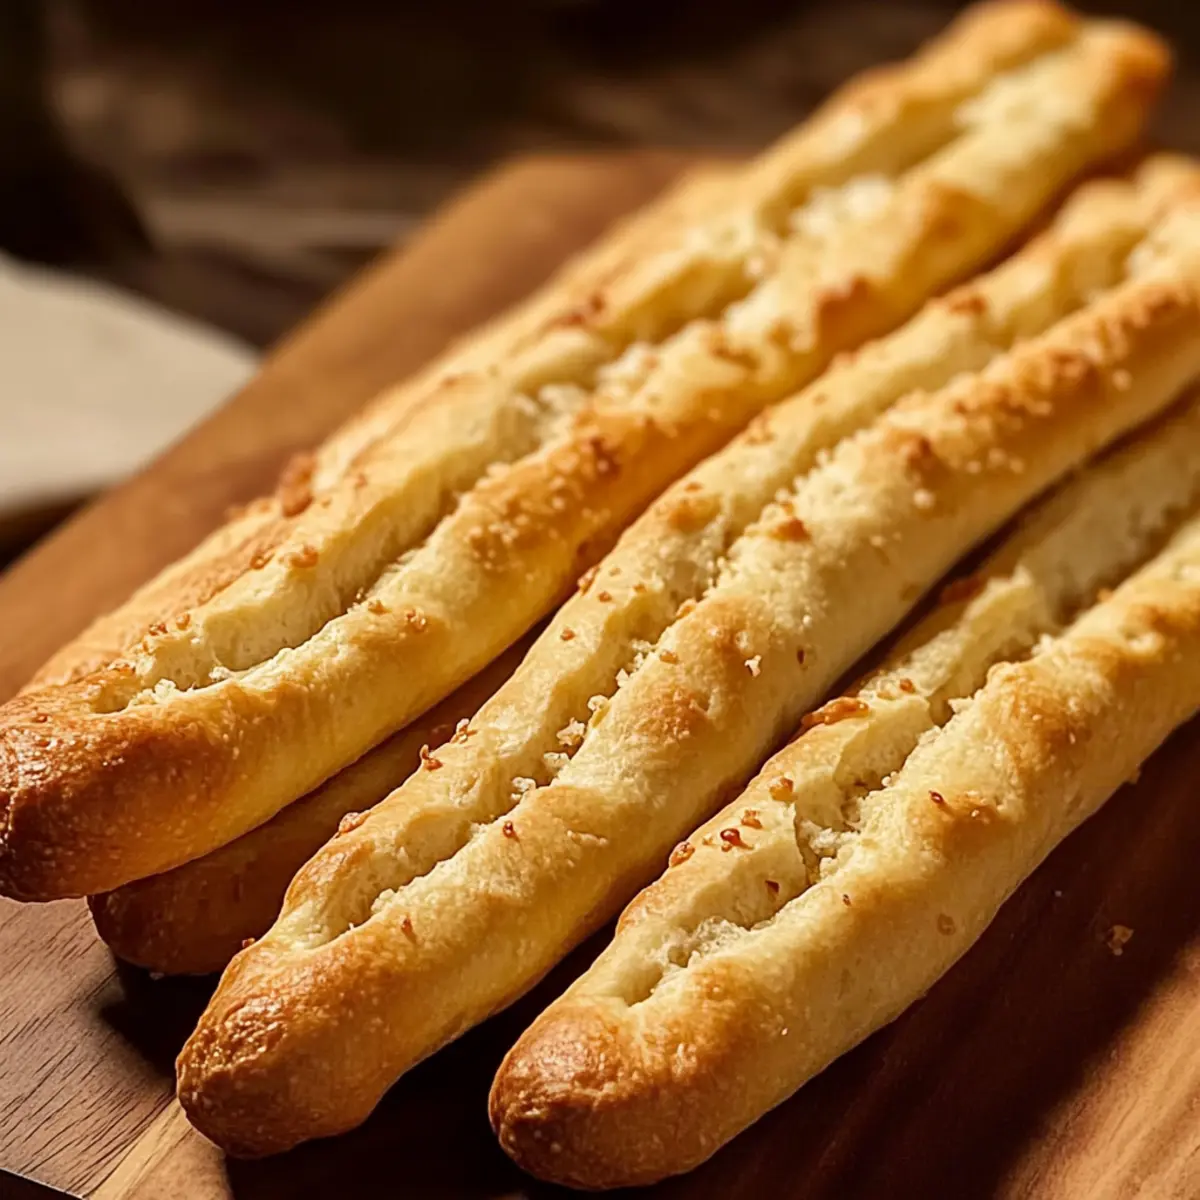
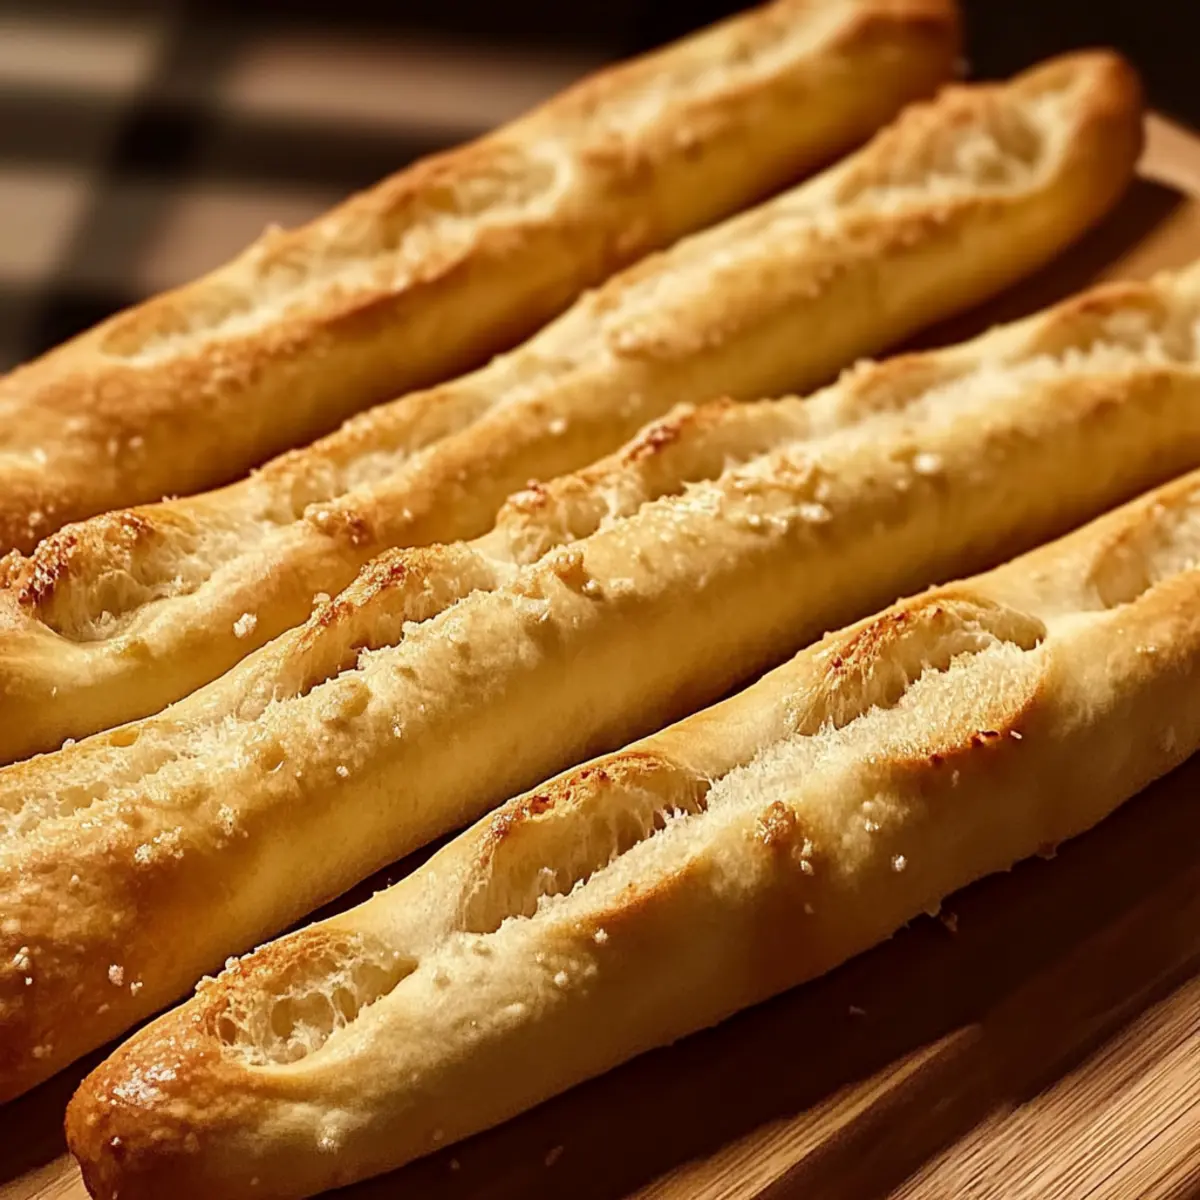
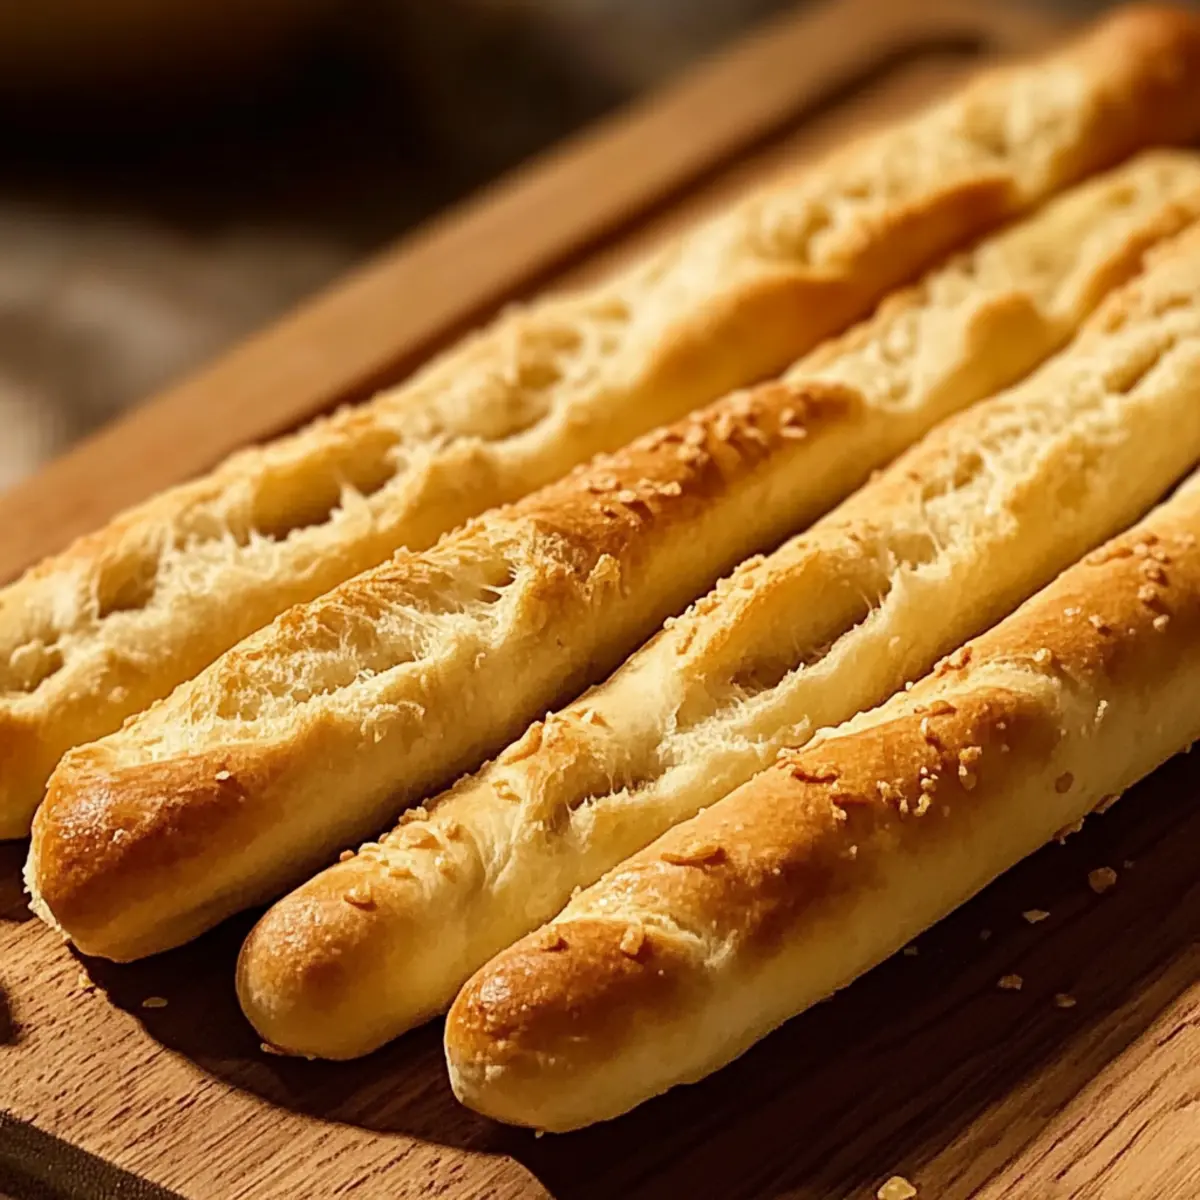
Once the breadsticks are out of the oven and have cooled slightly, brush them with a bit more garlic butter for extra richness. Serve your freshly baked Easy Homemade Olive Garden Style Breadsticks warm, paired with a delicious marinara sauce or your favorite dipping sauce. Enjoy the warm, buttery goodness!
Make Ahead Options
These Easy Homemade Olive Garden Style Breadsticks are perfect for meal prep enthusiasts! You can prepare the dough up to 24 hours in advance by following the first rise and then refrigerating it after shaping the breadsticks. Just cover them well with plastic wrap to maintain moisture and prevent drying out. When you’re ready to serve, allow the dough to come to room temperature before letting them rise for about 30 minutes again. After that, simply brush with garlic butter and bake them as directed for absolutely delicious breadsticks, just as fresh and fluffy as if made the same day!
What to Serve with Easy Homemade Olive Garden Style Breadsticks
Every bite of these warm, buttery delights deserves a companion that enhances their joyful flavor and aroma.
-
Marinara Sauce: This classic dipping sauce adds a tangy, rich flavor; perfect for enjoying the breadsticks as you pull apart each cheesy bite.
-
Caesar Salad: The crunch of fresh romaine, creamy dressing, and savory Parmesan balances the soft and fluffy texture of the breadsticks beautifully.
-
Italian Wedding Soup: A warm bowl of this hearty soup, featuring meatballs and greens, creates a comforting feeling that will have everyone wanting more.
-
Garlic Herb Butter: Mixing softened butter with minced garlic and fresh herbs elevates the taste of your breadsticks, making each bite even more irresistible.
-
Roasted Veggies: Colorful roasted vegetables, like bell peppers and zucchini, provide a delightful contrast in both texture and flavor that complements the soft bread.
-
Sparkling Lemonade: A refreshing, bubbly drink with a hint of citrus adds brightness and balances the rich, garlicky flavor of the breadsticks.
-
Cheesy Garlic Bread: Serve these alongside a softer, cheese-laden variation to create an impressive and comforting appetizer spread.
-
Coffee or Hot Chocolate: For a unique pairing, consider serving a warm drink like coffee or rich hot chocolate, perfect for dipping the breadsticks directly for a fun twist!
Expert Tips for Homemade Olive Garden Style Breadsticks
- Warm Water Matters: Use water that’s warm to the touch but not hot—hot water can kill the yeast, preventing your breadsticks from rising properly.
- Avoid Overkneading: Knead just until the dough is smooth and elastic; over-kneading can lead to tough breadsticks. Aim for soft and fluffy!
- Watch the Bake Time: Keep an eye on the breadsticks during the last few minutes of baking to avoid overbaking, which can result in a dry texture.
- Second Rise Importance: Don’t skip the second rise! It helps achieve that perfect airy interior, making your homemade Olive Garden style breadsticks irresistibly fluffy.
- Flavor Boosting: Feel free to get creative! Add herbs or cheese directly into the dough for a unique twist that personalizes your breadsticks.
How to Store and Freeze Homemade Olive Garden Style Breadsticks
Room Temperature: Store the breadsticks in an airtight container for up to 3 days. This keeps them soft and prevents them from drying out.
Fridge: If you want them to last longer, refrigerate the breadsticks in an airtight container for up to a week. Just let them come to room temperature before serving.
Freezer: For longer storage, freeze the shaped, unbaked dough on a baking sheet; once firm, transfer to a freezer bag. This method allows you to bake fresh Homemade Olive Garden Style Breadsticks whenever you desire!
Reheating: To rewarm, place breadsticks in a preheated oven at 350°F (175°C) for about 5-7 minutes, brushing with a bit of garlic butter for that fresh-out-of-the-oven taste!
Homemade Olive Garden Style Breadsticks Variations
Feel free to get creative and put your own spin on these delightful breadsticks—they’re sure to be a hit!
- Whole Wheat: Swap all-purpose flour for whole wheat flour for a heartier, nutty flavor while keeping the same delicious texture.
- Honey Sweetened: Use honey instead of sugar for a natural sweetener that pairs beautifully with the garlic butter.
- Herb-Infused: Add dried Italian herbs or fresh chopped rosemary to the dough for a fragrant flavor twist. The aroma will be irresistible!
- Cheesy Delight: Fold shredded mozzarella or Parmesan into the dough before shaping, or sprinkle on top before baking for a melty finish.
- Dairy-Free: Substitute garlic butter with olive oil or a dairy-free margarine to keep this recipe suitable for a lactose-free diet.
- Spicy Kick: Incorporate a pinch of red pepper flakes into the dough for a warm, spicy flavor that will surprise your taste buds!
- Stuffed Breadsticks: Add cheese or fillings like spinach and ricotta directly into the dough before shaping for a fun, indulgent twist.
- Flavorful Dips: Pair these breadsticks with a rich marinara or a homemade garlic dipping sauce to enhance their allure. Consider making Minute Homemade Condensed milk for a sweet dip!
Explore these variations to elevate your breadsticks game, and don’t forget to enjoy them with a side of Homemade Garlic Rosemary bread for an extra touch of flavor!
Easy Homemade Olive Garden Style Breadsticks Recipe FAQs
What type of water should I use?
Absolutely! Use warm water that feels comfortable to the touch—around 110°F (43°C). This warmth activates the yeast without killing it. Hot water can hinder the yeast’s ability to create those delightful, airy breadsticks we all love!
How long can I store my breadsticks?
You can store your Homemade Olive Garden Style Breadsticks in an airtight container at room temperature for up to 3 days. If you prefer, refrigerate them for up to a week. Just be sure to let them come back to room temperature for the best taste!
Can I freeze the breadsticks?
Yes! For freezing, shape your risen dough into sticks and place them on a baking sheet. Freeze until firm (about 1-2 hours) before transferring to a freezer bag. They can be stored for up to 3 months. When you’re ready to bake, no need to thaw—just pop them in the oven from frozen and add a few extra minutes to the baking time.
What should I do if my dough isn’t rising?
If your dough isn’t rising, check the yeast’s freshness first; expired yeast won’t work. Make sure your warm water isn’t too hot, as this can kill the yeast. Also, ensure the dough is placed in a warm, draft-free environment. If using instant yeast, skip the proofing step and combine it with dry ingredients directly.
Are there any dietary considerations I should be aware of?
Certainly! If you have a dairy allergy, you can substitute the garlic butter with olive oil for a dairy-free version. Additionally, using whole wheat flour instead of all-purpose flour can add dietary fiber. Always double-check the labels of your ingredients, especially the yeast and any added seasonings.
Soft and Crispy Homemade Olive Garden Style Breadsticks
Ingredients
Equipment
Method
- In a large mixing bowl, combine warm water, sugar, and yeast. Stir gently and let it sit for about 5 minutes until frothy.
- Add all-purpose flour and salt to the yeast mixture. Mix until a sticky dough forms.
- Transfer the dough onto a floured surface and knead for about 7-10 minutes until smooth and elastic.
- Shape the dough into a ball, place it in a greased bowl, cover, and let it rise in a warm place for about 1 hour.
- Once risen, punch down the dough, divide into 10-12 portions, and roll each into a long stick.
- Place on a parchment-lined baking sheet and let rise for another 30 minutes.
- Preheat oven to 375°F (190°C). Brush the risen breadsticks with melted garlic butter and bake for 15-20 minutes until golden brown.
- Once out of the oven, brush with more garlic butter and serve warm.
Leave a Reply